1. Introduction
2. Settings
3. Set Membership Pricing
4. Set Customer Group Pricing
5. Import Membership or Group Pricing by Excel
6. View Membership or Group Pricing (From Customer Perspective)
7. Additional Information
1. Introduction
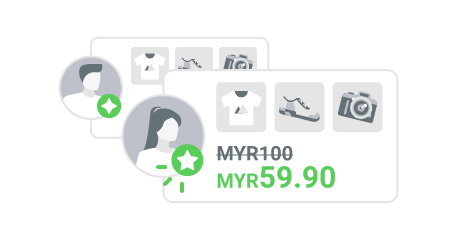
Membership and Customer Group Pricing allow sellers to offer different pricing based on customer groups or membership levels. This feature helps manage exclusive pricing and promotions for selected customers, such as wholesale customers, VIP members, or loyalty members. Sellers can assign different prices to products, ensuring the correct pricing is automatically applied based on the customer’s assigned group or membership level.
2. Settings
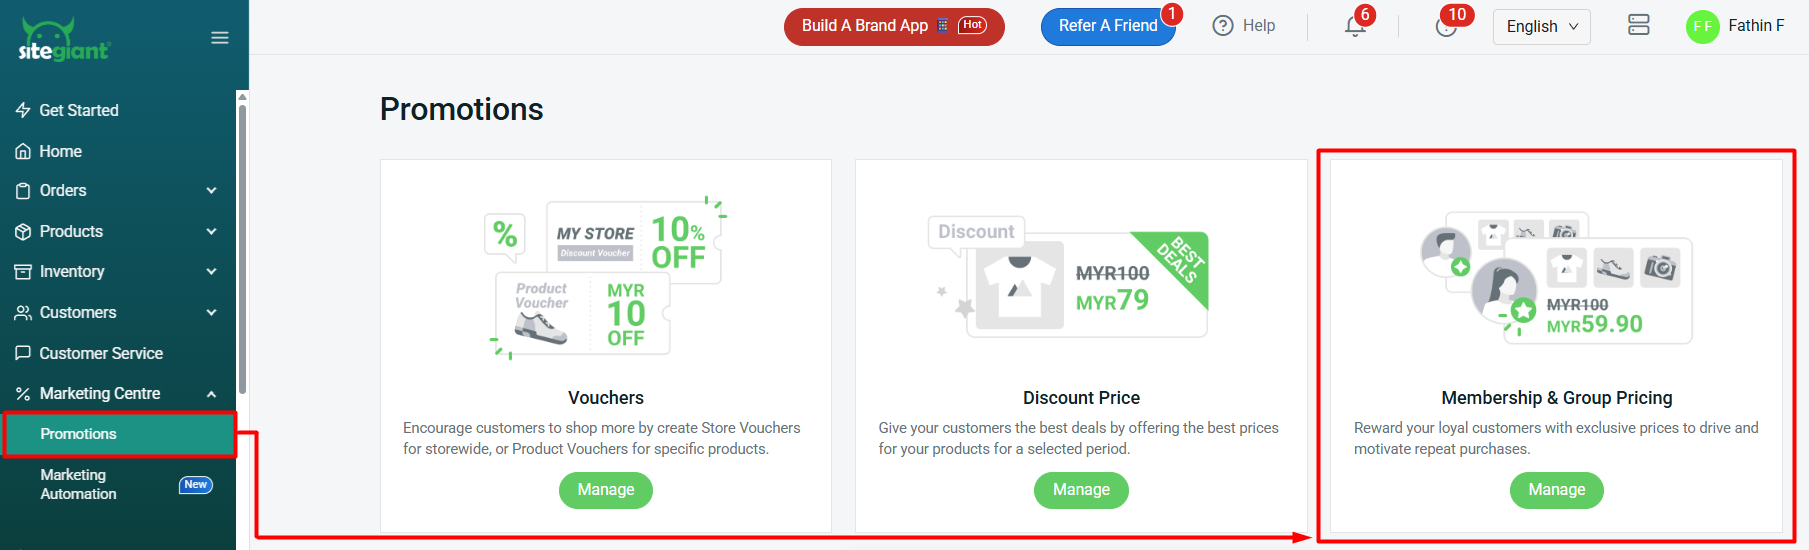
Step 1: Go to Marketing Centre on the sidebar menu > Promotions > Membership & Group Pricing.
Step 2: Click More (…) > select Apply Special Pricing based on > Save.
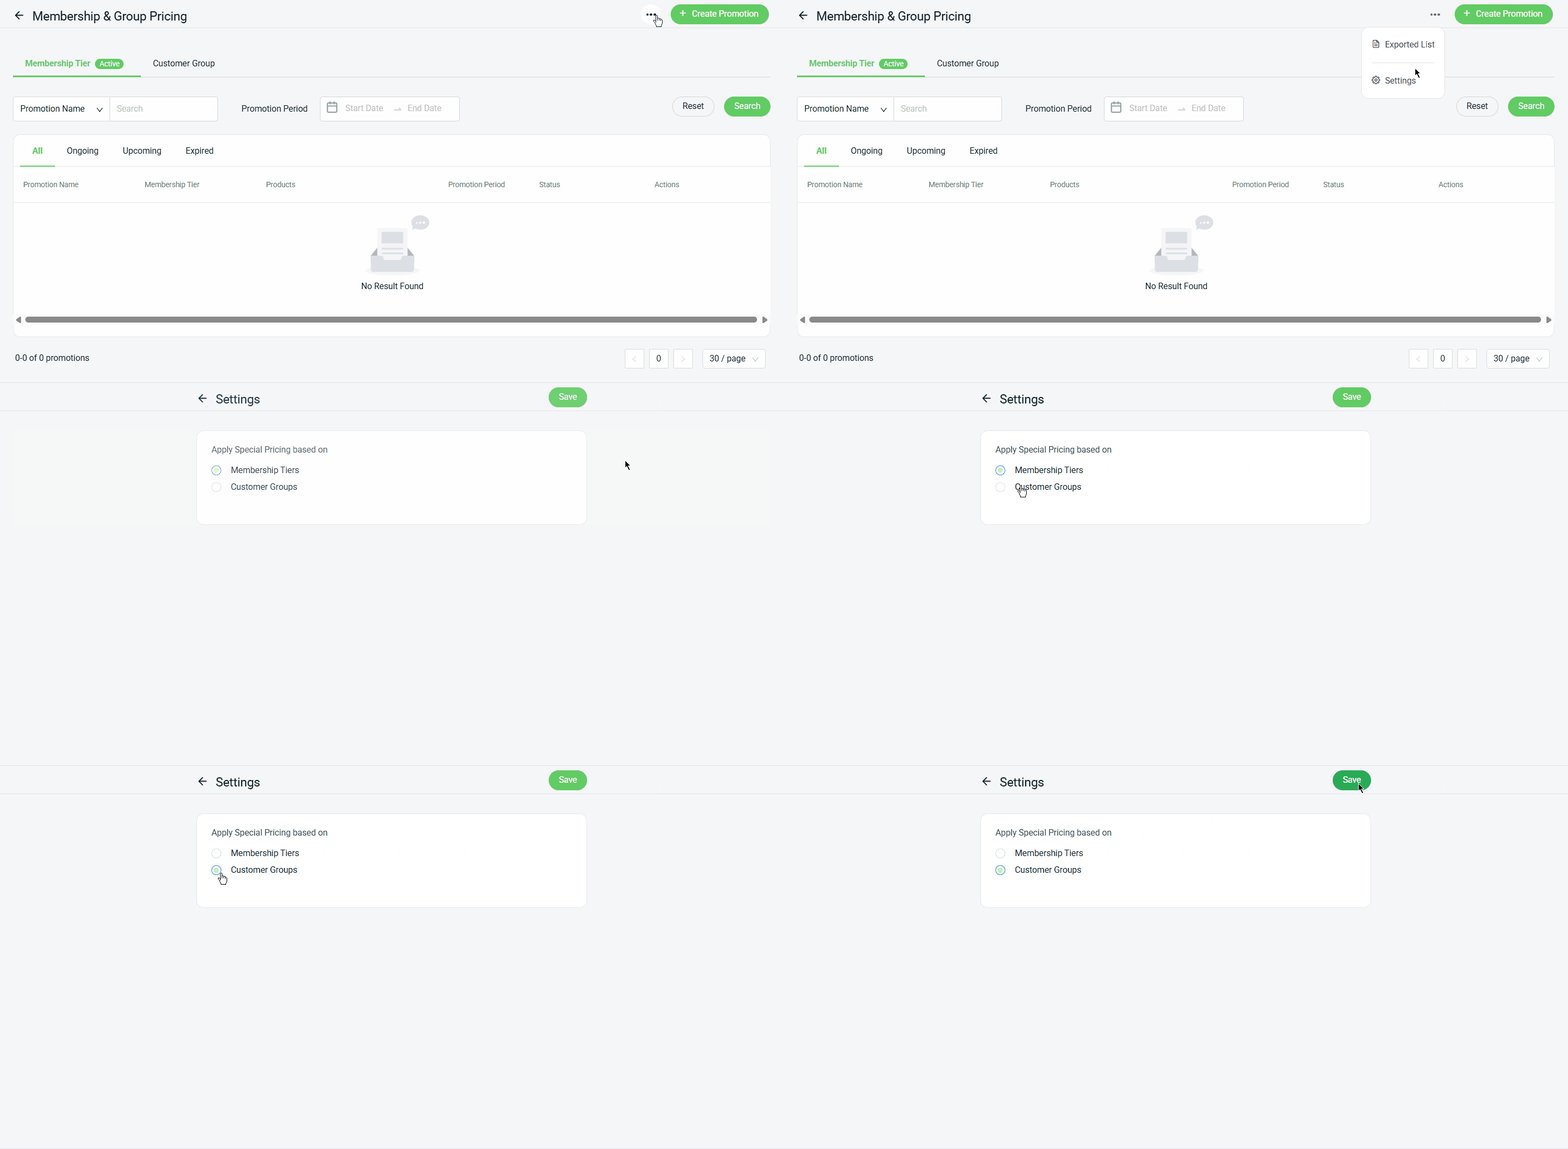
📌Note: You can only apply the price to either one of them, as both pricing options cannot be applied at the same time.
3. Set Membership Pricing
This feature is only available in SiteGiant OMO Pro and above.
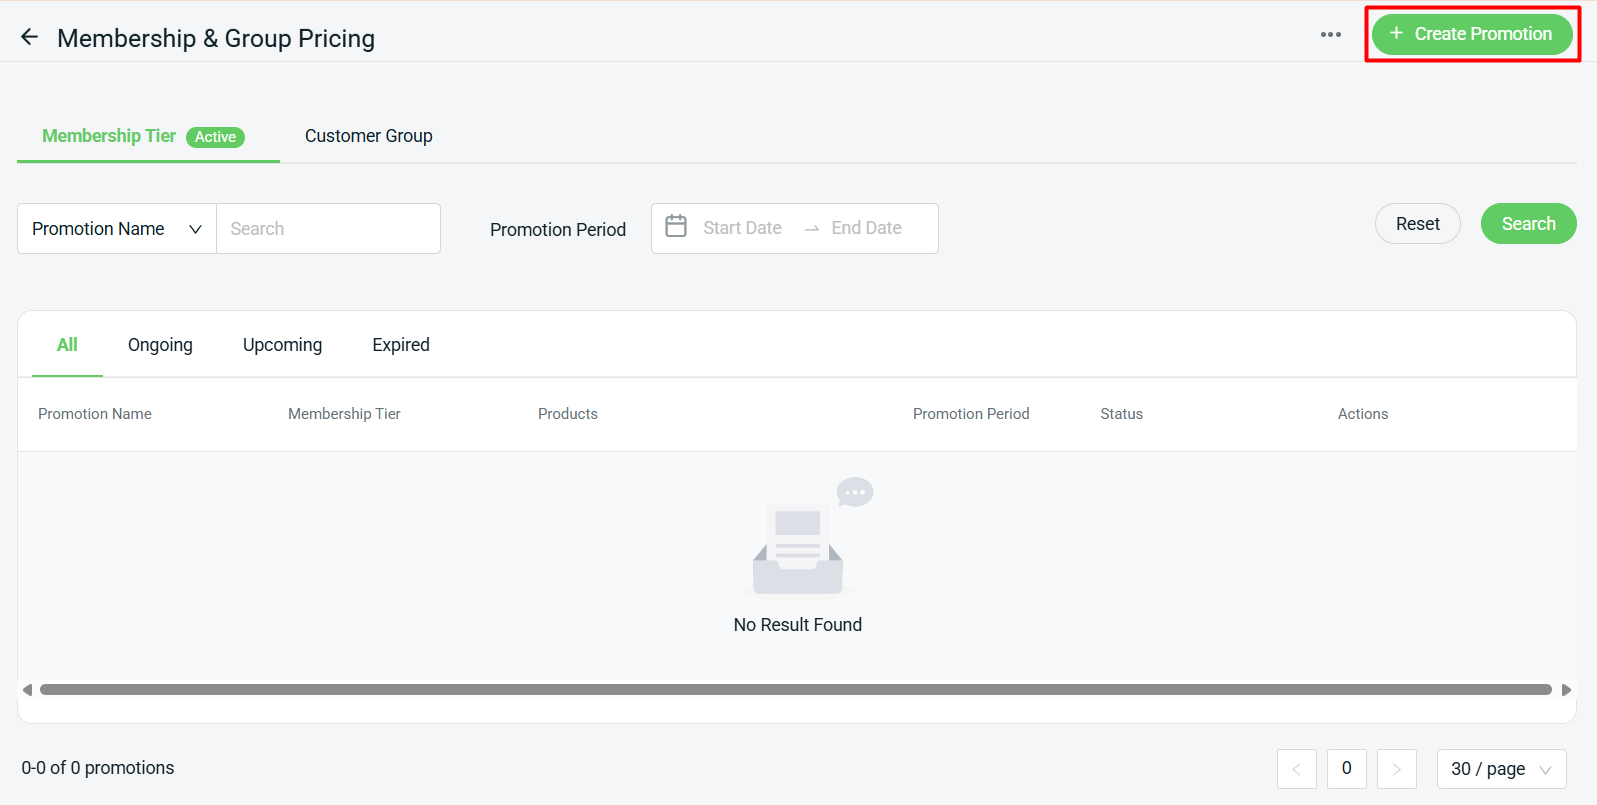
Step 1: Under the Membership Tier tab, click + Create Promotion to add a new Membership Pricing.
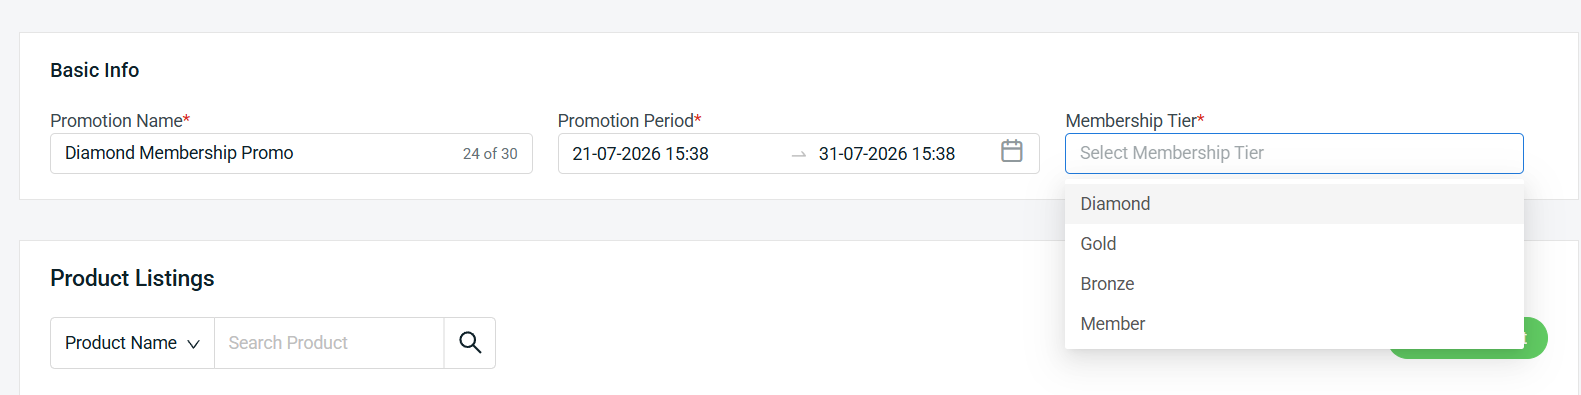
Step 2: Fill in the Basic Info such as Promotion Name and Period > select the Membership that is entitled to the special price.
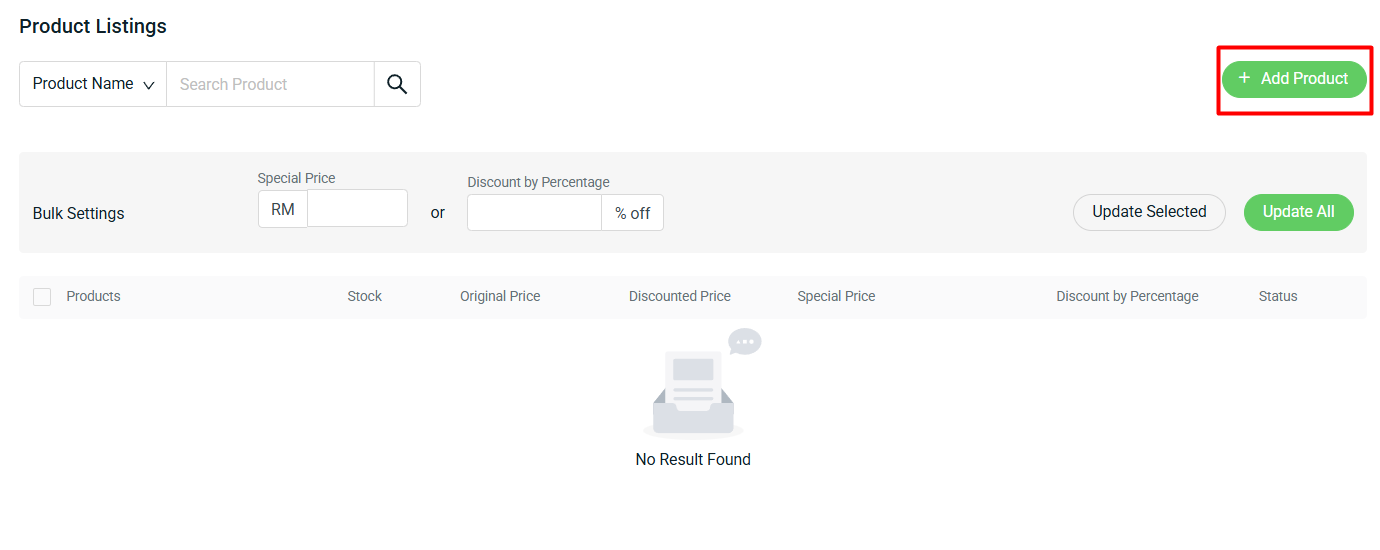
Step 3: Click + Add Product to add membership products.
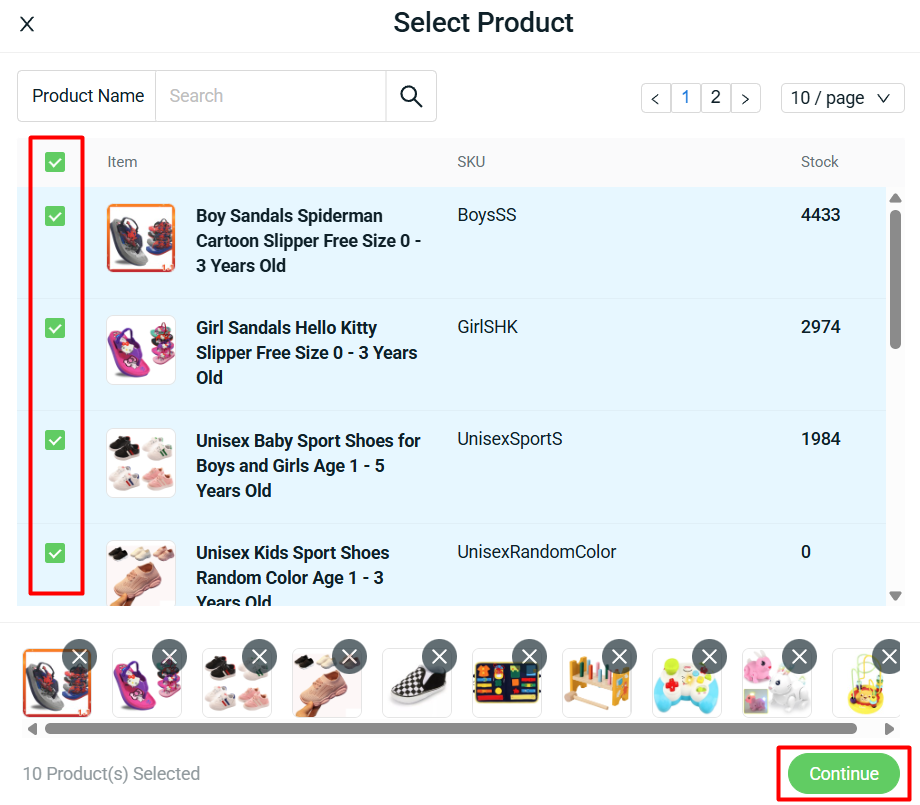
Step 4: Select the products > Continue.
Step 5: Insert the Special Price or Discount by Percentage for your products. You can also use the Bulk Settings to update selected products/update all products in the list.
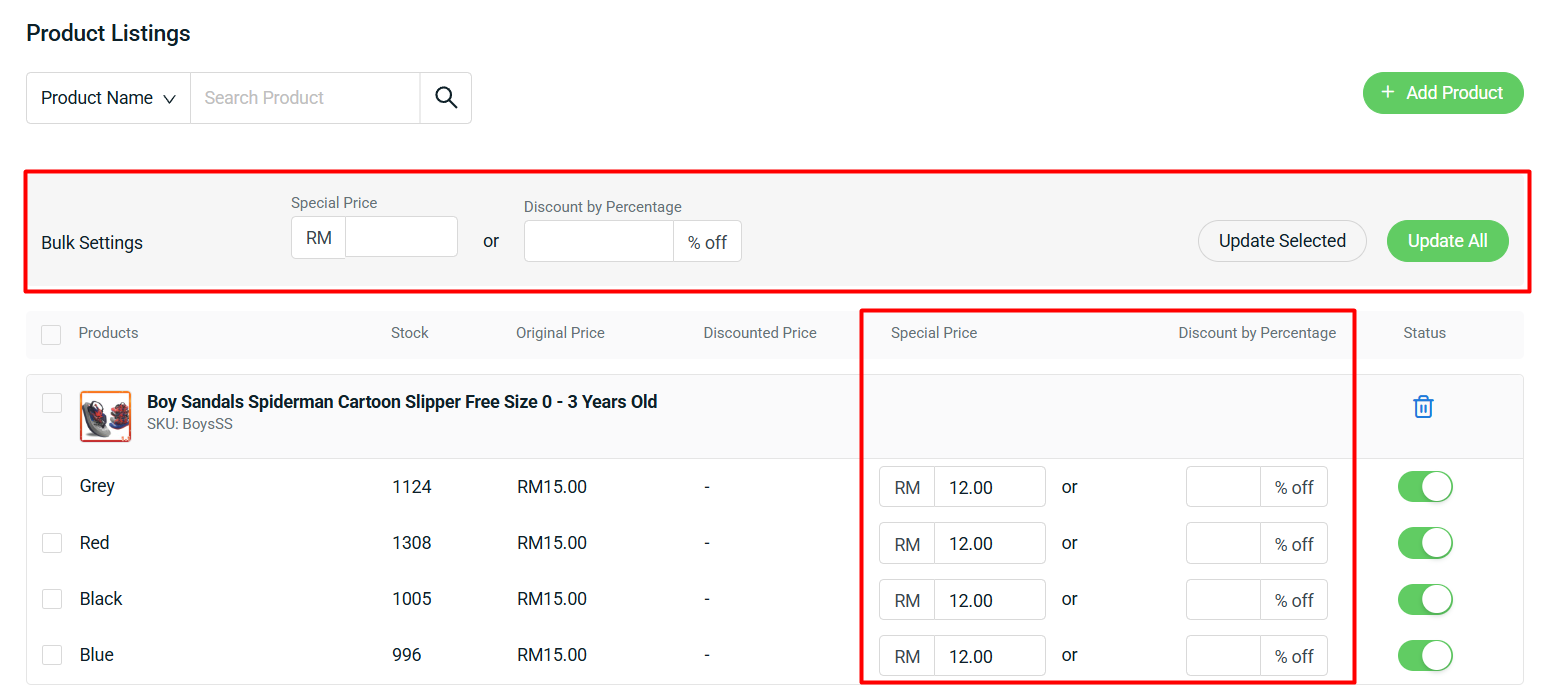
📌Note: The Special Price has to be LOWER than the Original Price or the Discounted Price. The Discounted Price is the special price that is already set in the webstore listing product details, which is applied to all customers, including guests.
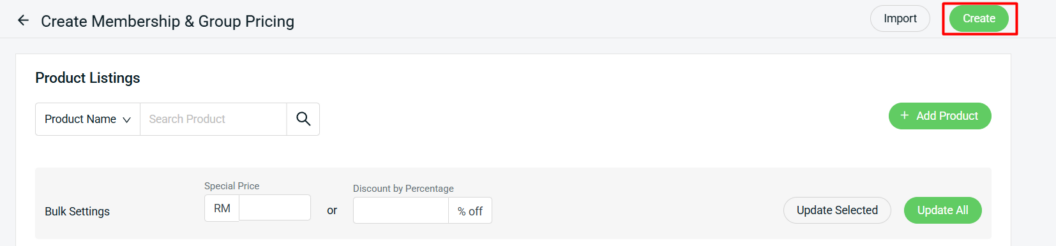
Step 6: Click on the Create button on the top right once done with settings.
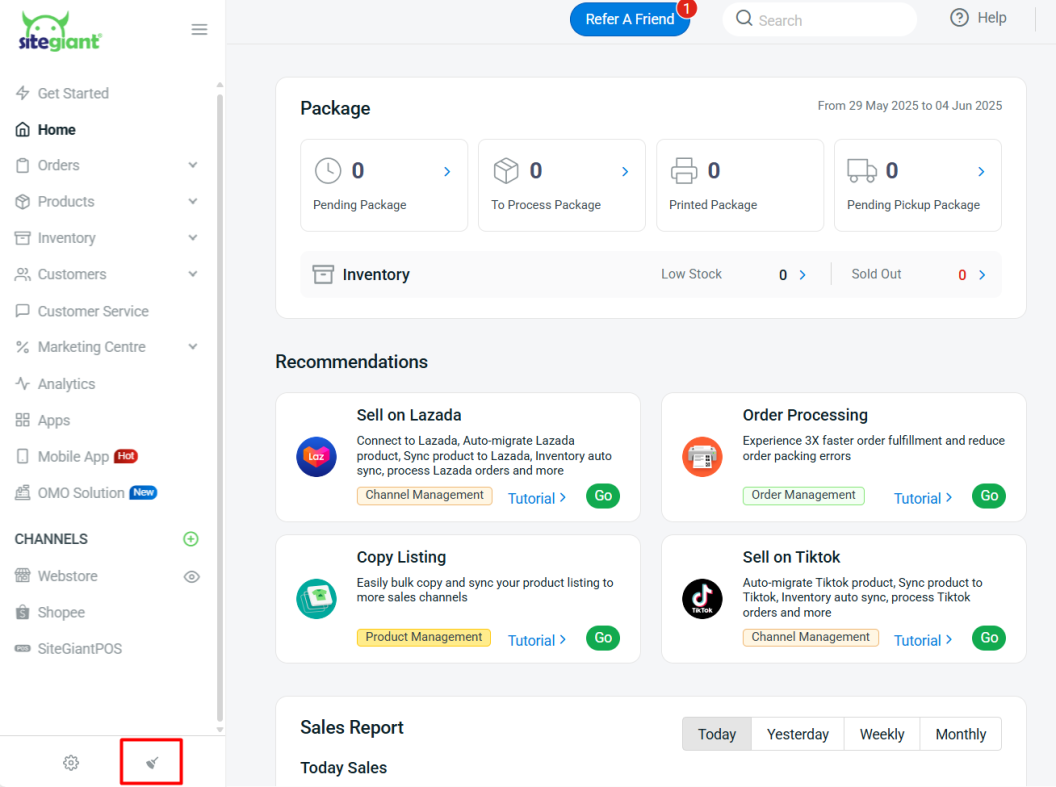
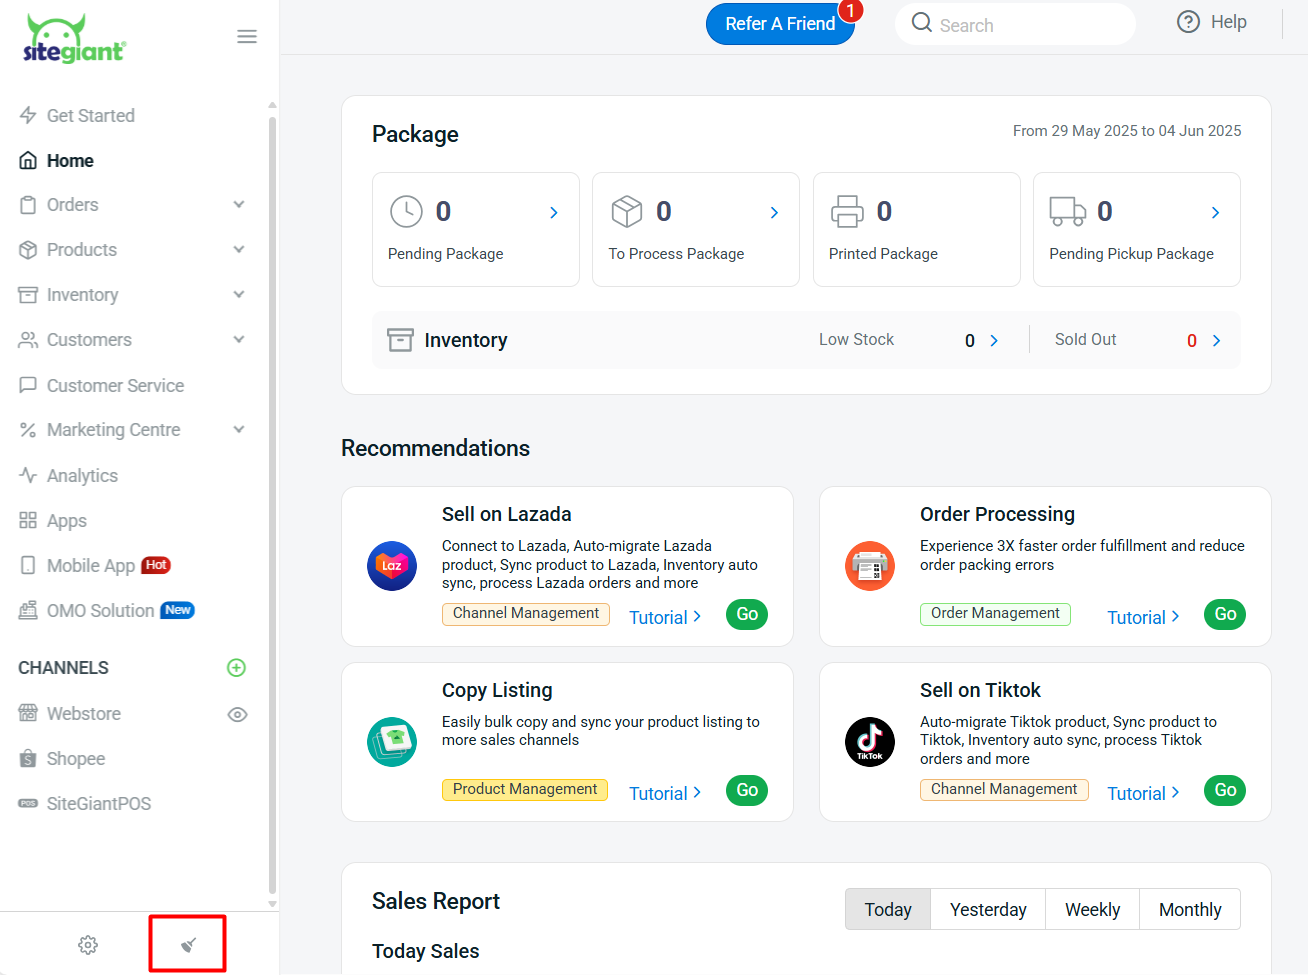
Step 7: Go back to the dashboard and clear the cache to see the changes on your Webstore.
4. Set Customer Group Pricing
📌Note: You may create customer groups and assign your customers to these groups.
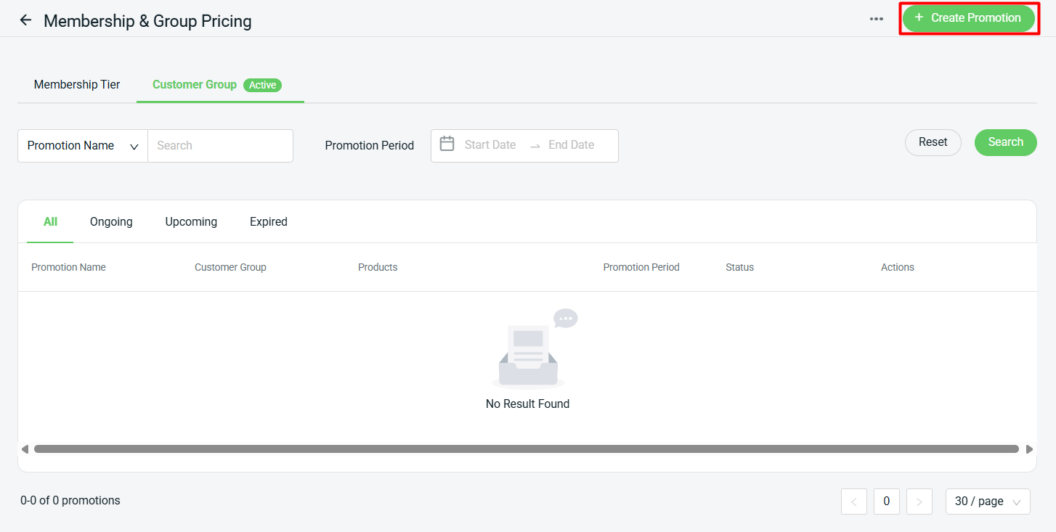
Step 1: Under the Customer Group tab, click + Create Promotion to add a new Customer Group Pricing.
Step 2: Fill in the Basic Info such as Promotion Name and Period > select the Customer Group(s) that are entitled to the special price.

📌Note: Remain Default if you only have one customer group.
Step 3: Click + Add Product to add customer group pricing products.
Step 4: Select the products > Continue.
Step 5: Insert the Special Price or Discount by Percentage for your products. You can also use the Bulk Settings to update selected products/update all products in the list.
📌Note: The Special Price has to be LOWER than the Original Price or the Discounted Price. The Discounted Price is the special price that is already set in the webstore listing product details, which is applied to all customers, including guests.
Step 6: Click the Create button on the top right once done with settings.
Step 7: Go back to the dashboard and clear the cache to see the changes on your Webstore.
5. Import Membership or Group Pricing by Excel
Step 1: Go to Marketing Centre on the sidebar menu > Promotions > Membership & Group Pricing.
Step 2: Select the Promotion setting that you are using.

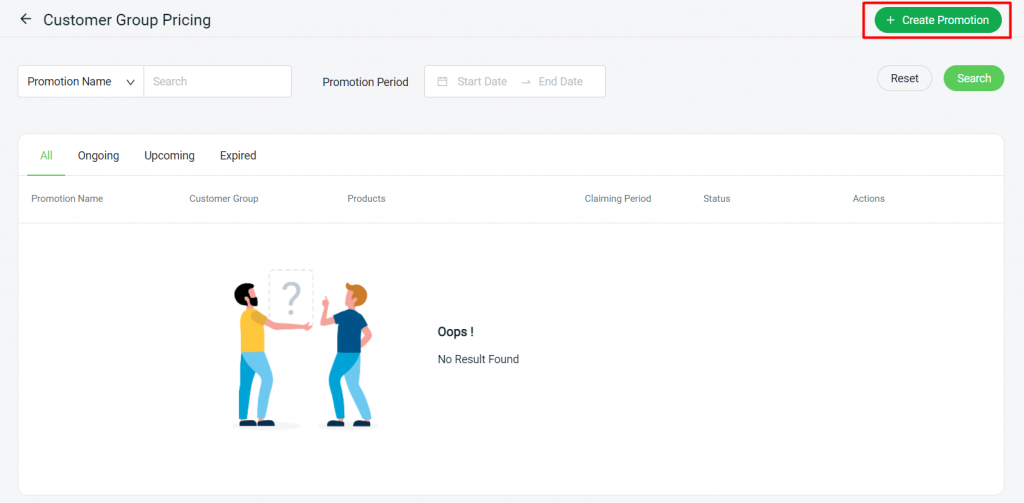
Step 3: Click on + Create Promotion.
Step 4: Fill in the Basic Info such as Promotion Name and Period > select the Customer Group(s) or Membership Tier which entitled to the special price.
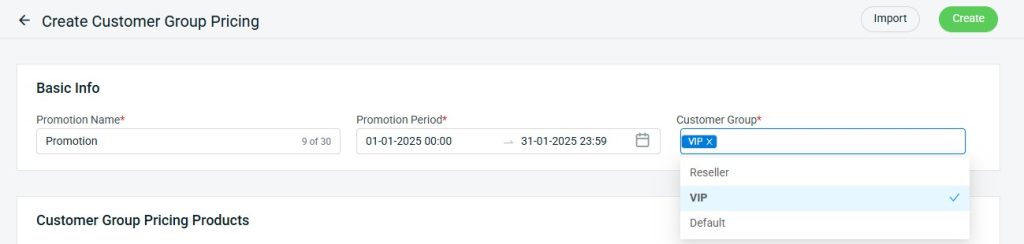
Step 5: Click the Import button on the top right.

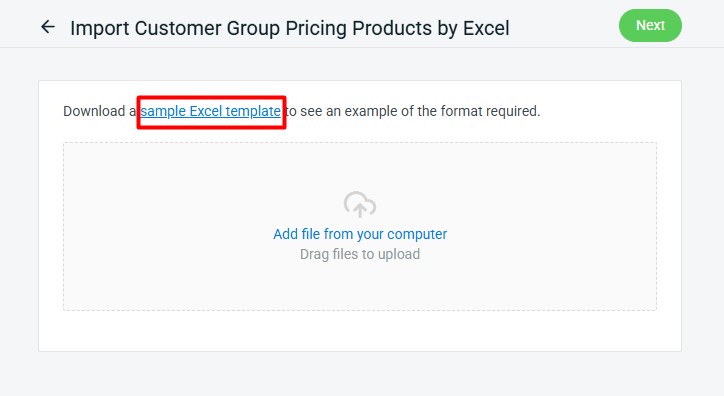
Step 6: Click the sample Excel template to download for updates.
Step 7: Fill up the special price product’s details field correctly.
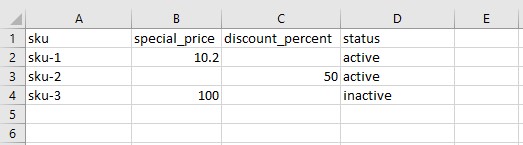
📌Note: Column with * is required.
| Column | Description | Sample Date |
| *sku | Product SKU | product_a |
| special_price | Special Price of the product you wish to adjust | 100 |
| discount_percent | Adjust by Discount Percentage | 10 |
| *status | Customer Group Pricing product status | active OR inactive |
Step 8: Update either special_price or discount_percent column for product price adjustment.
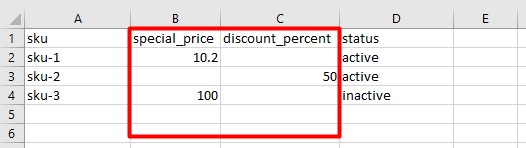
📌Note: If both special_price and discount_percent columns are filled, the system will update based on the special_price.
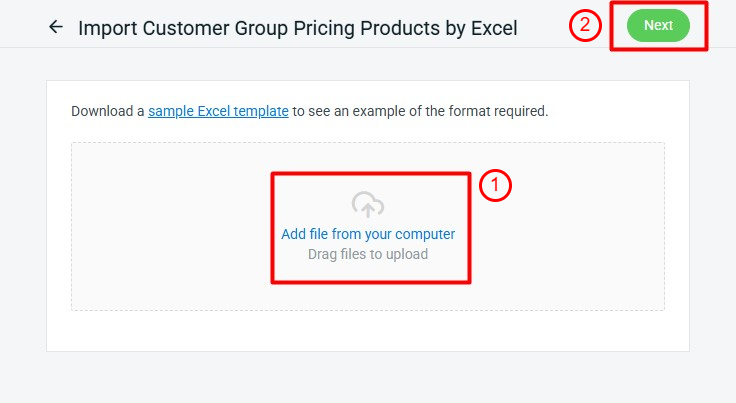
Step 9: Back to Import Customer Group Pricing Products page > Add file from your computer > Next.
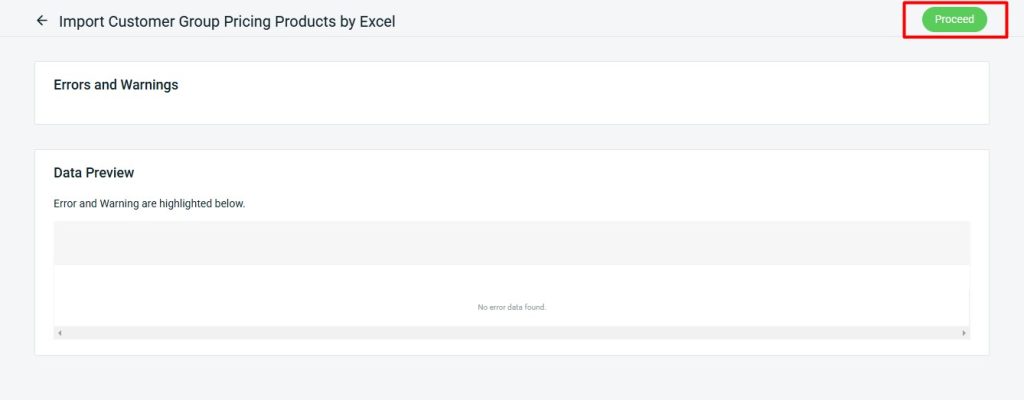
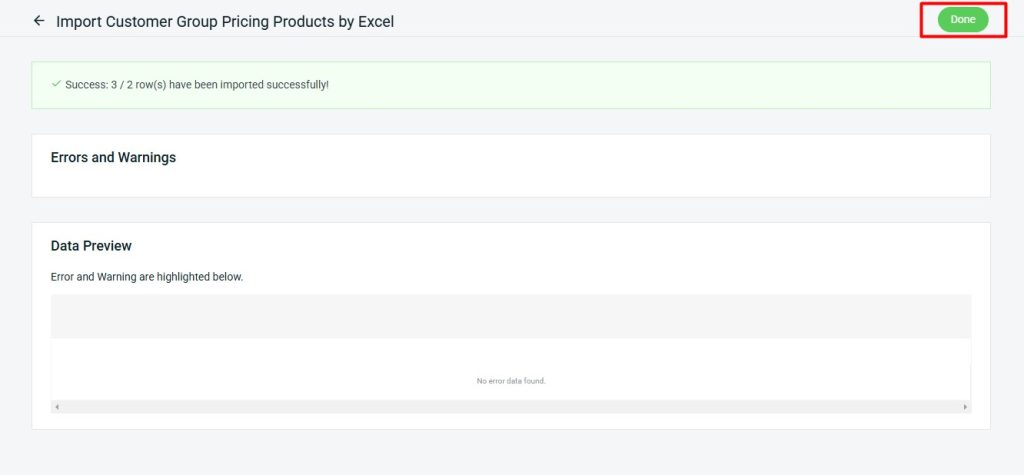
Step 10: If there are any errors in the Excel uploaded, you will see the error message in Errors and Warnings and it will show the error column in the Data Preview. Amend the error column and reupload the file. Click on Proceed if the file uploaded does not have errors.
Step 11: When the import shows Success with a green message, it indicates that the data has been completely imported. Click on Done.
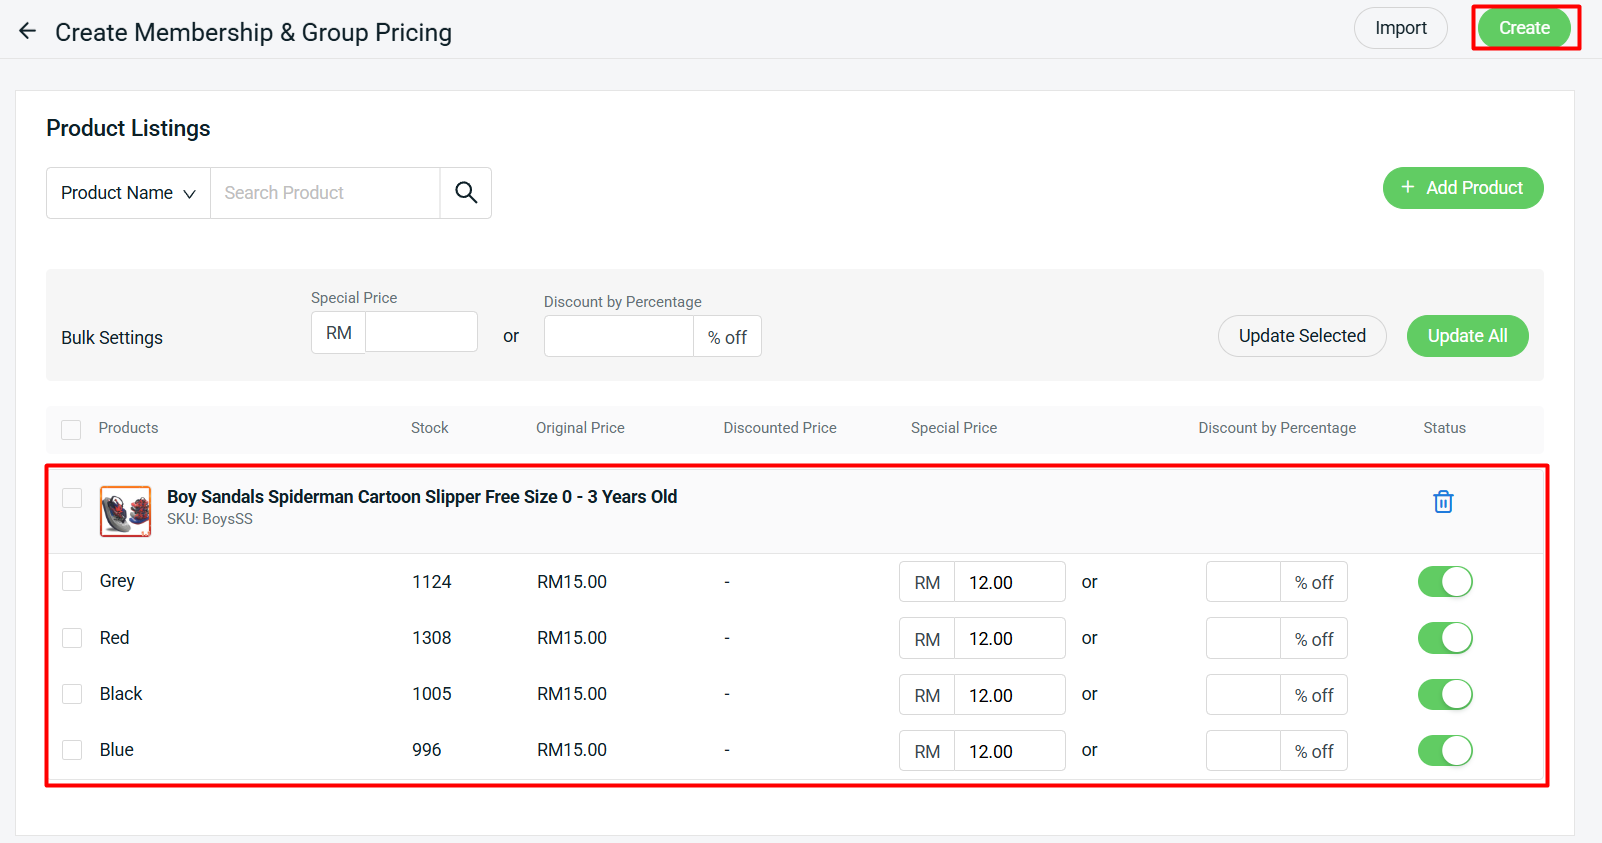
Step 12: The products and special price will appear in the Customer Group Pricing Products. Click on Create button on the top right once done with settings.
6. View Membership or Group Pricing (From Customer Perspective)
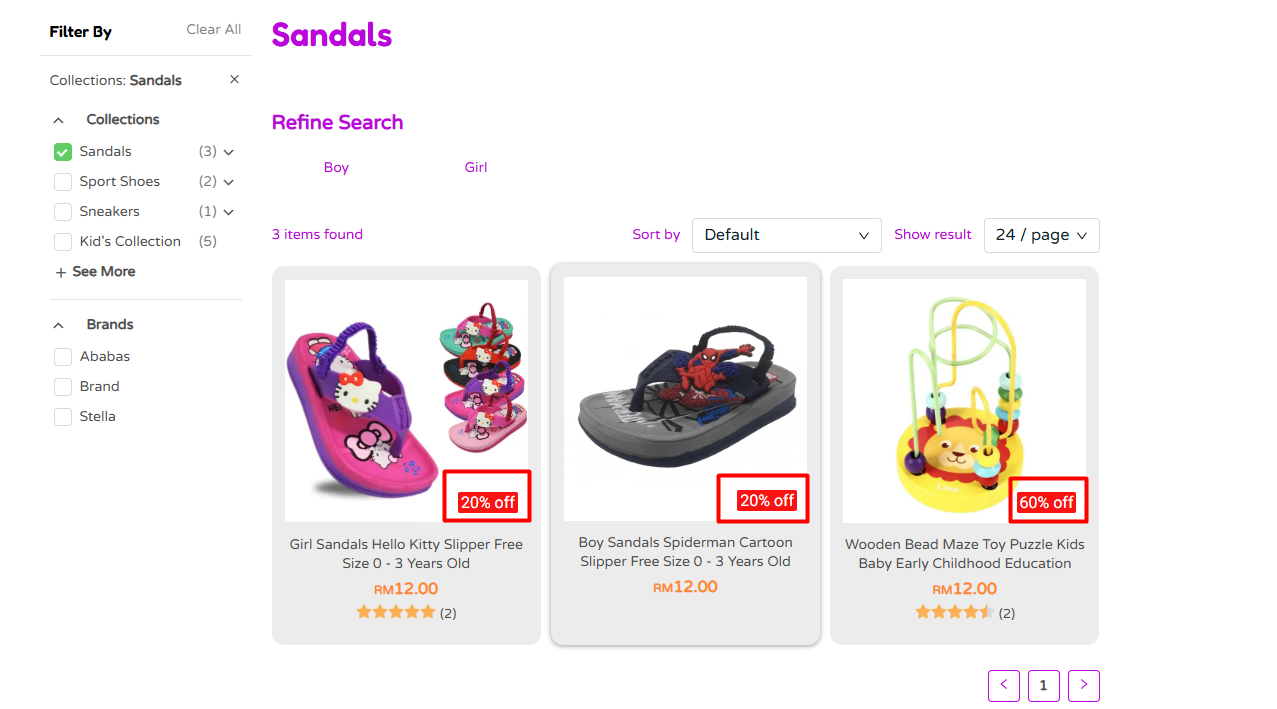
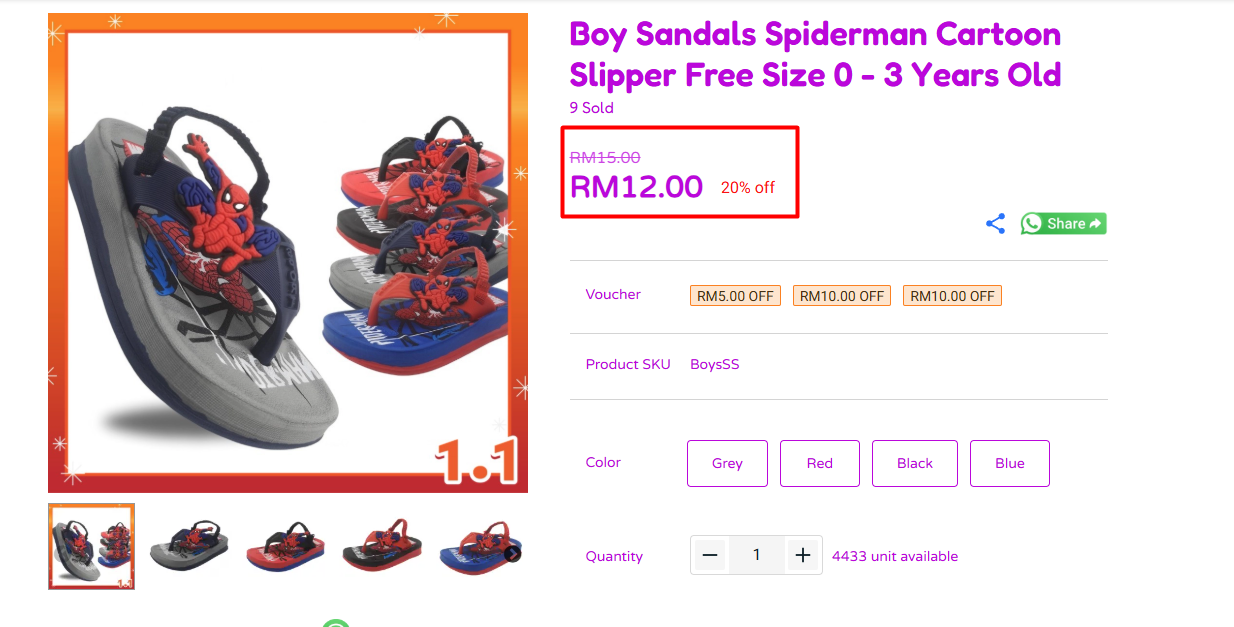
Step 1: When customers log in to their account, if they fall into the customer group or membership tier that you assigned for the special price, they are able to purchase the products with the special price.
📝Additional Information
1. SiteGiant POS
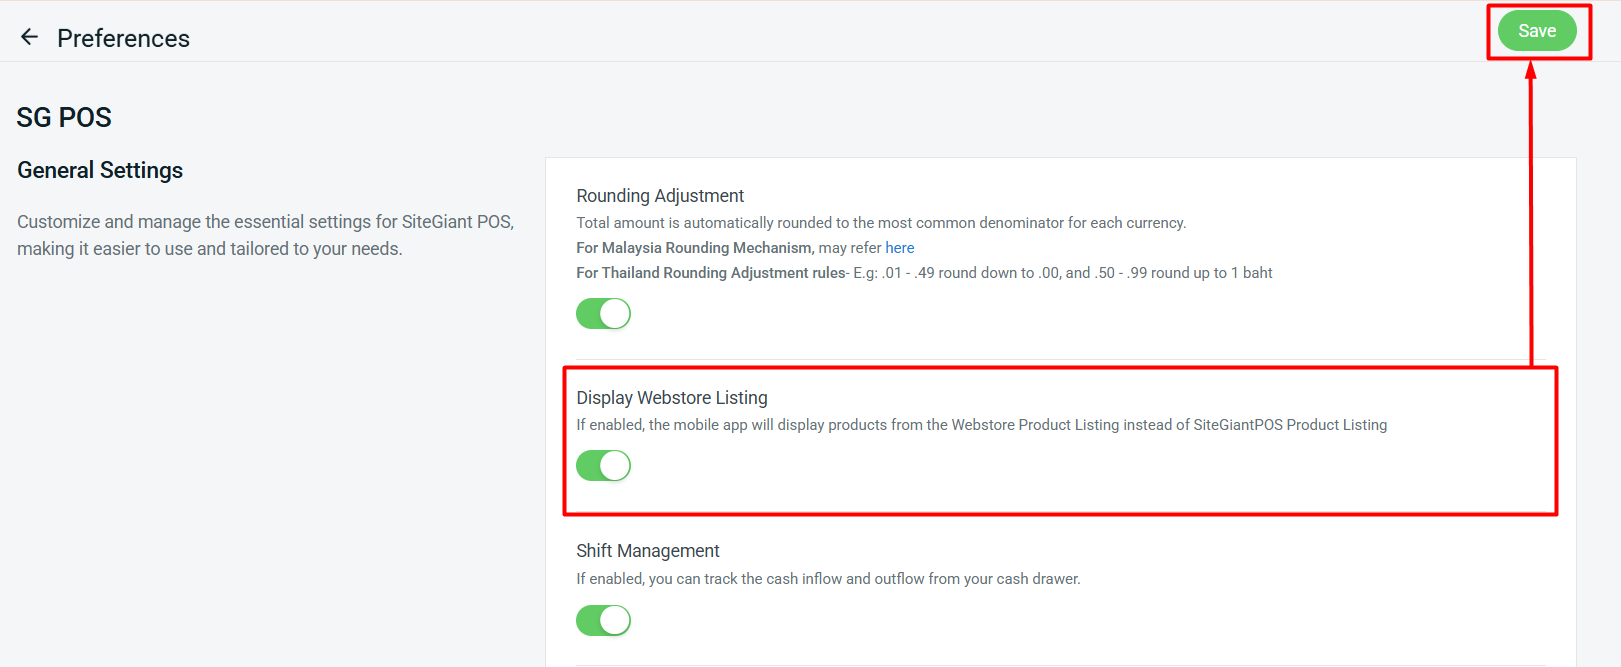
If you would like this special price to be displayed in the SiteGiant POS, you will need to enable the Display Webstore Listing setting in SiteGiant POS.
Step 1: Navigate to SiteGiant POS on the sidebar menu > POS account > Preferences.
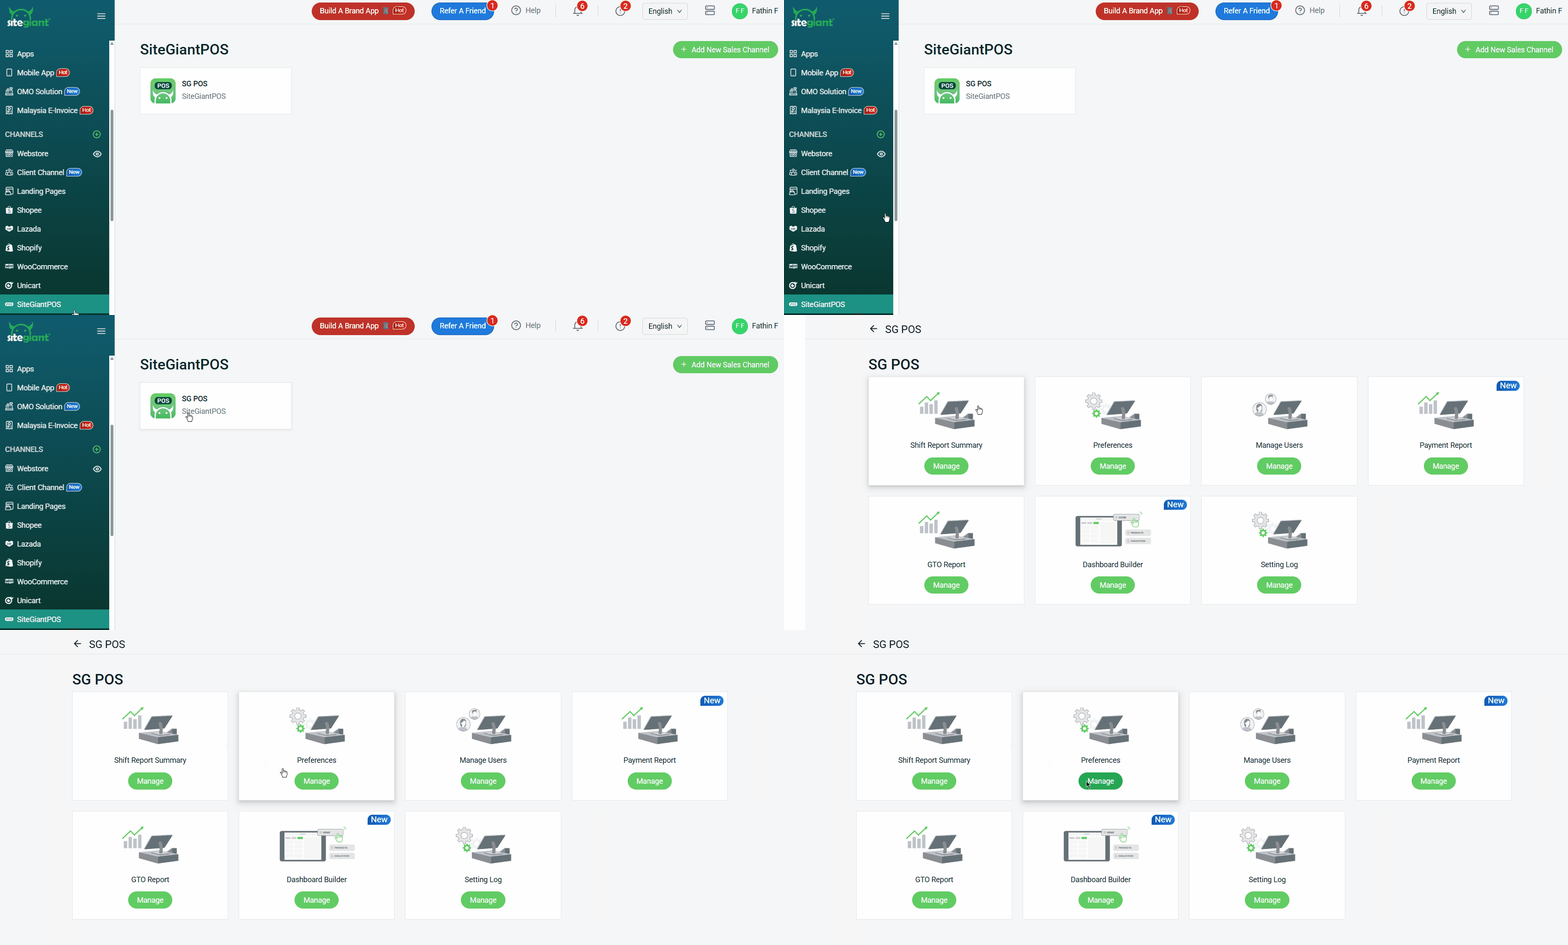
Step 2: Toggle on Display Webstore Listing > Save.