1. Introduction
2. Create Add-On Deal
3. Purchase Add-On Deal (From Customer Perspective)
1. Introduction
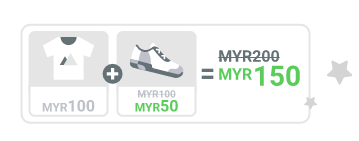
An Add-on deal allows your customers to add on other products at discounted prices when they purchase something on your webstore. It is best used for complimentary products as customers are more inclined to purchase products that can be used together.
2. Create Add-On Deal
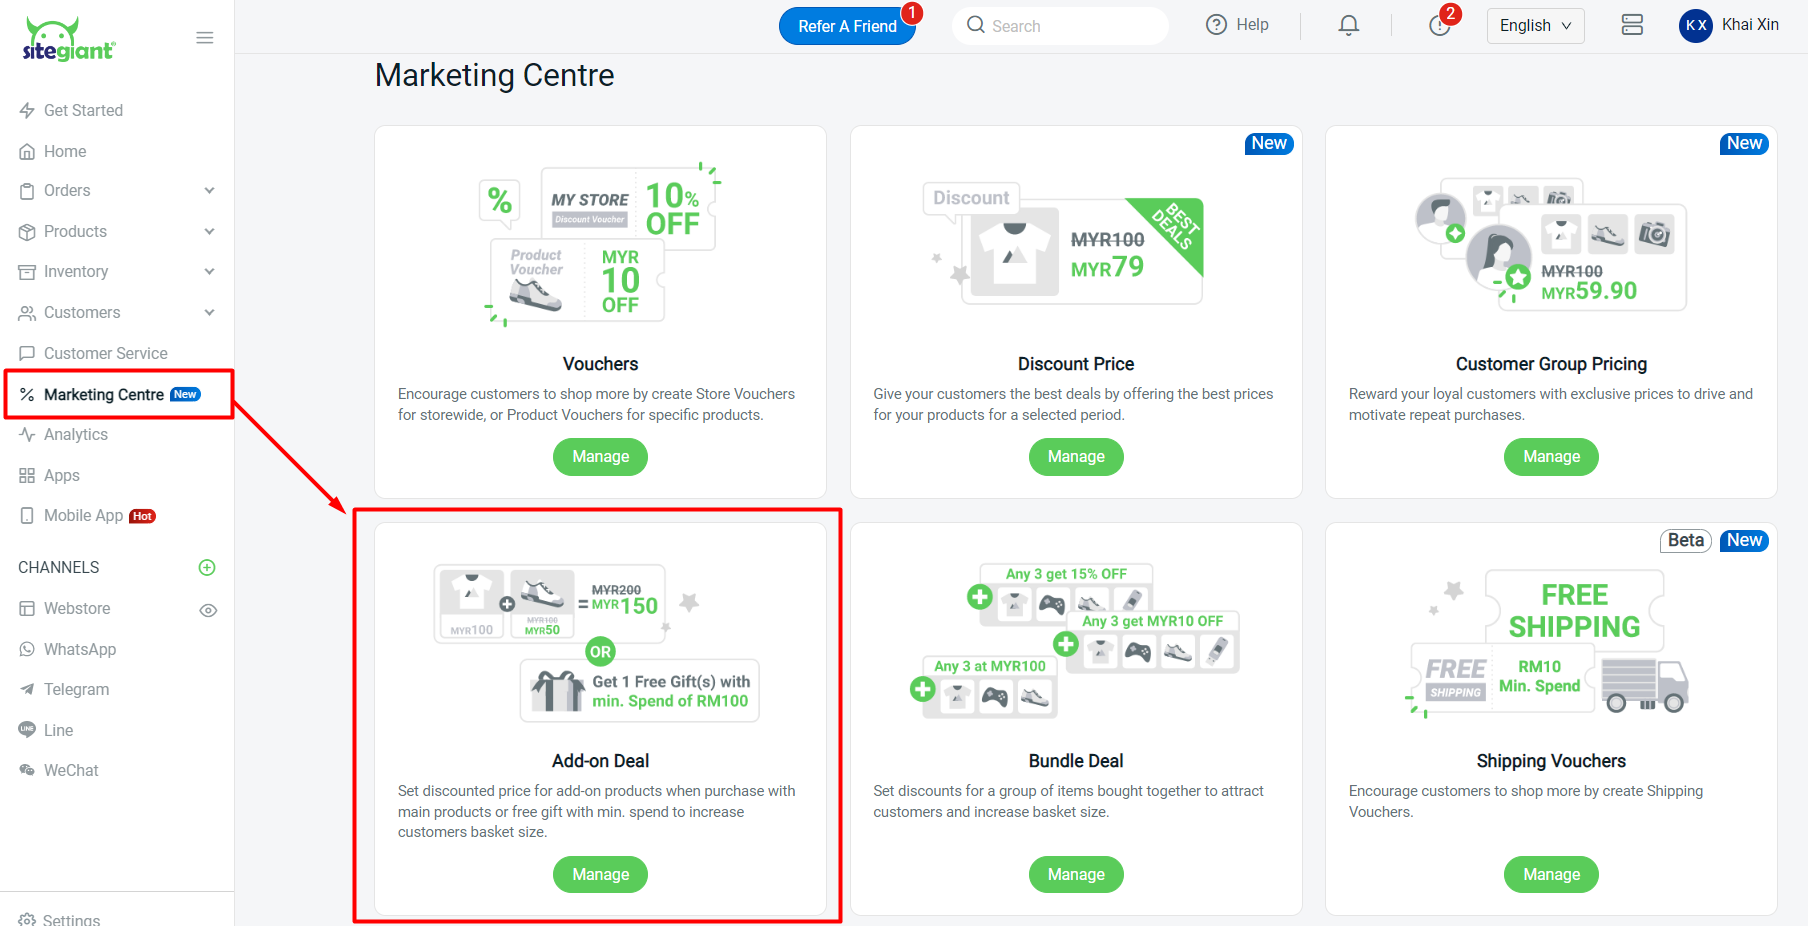
Step 1: Go to Marketing Centre on the sidebar menu > Add-on Deal.
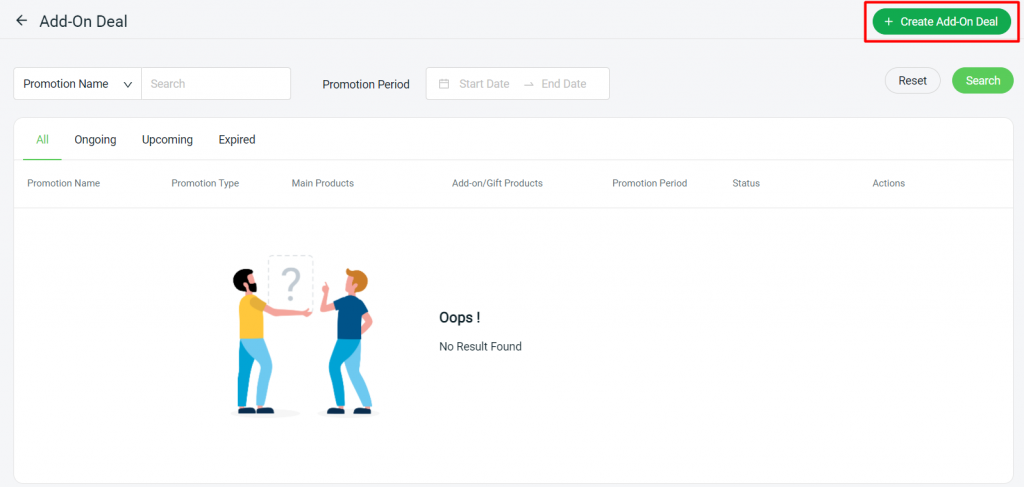
Step 2: Click on + Create Add-On Deal.
Step 3: Choose Add-on Discount as the Promotion Type.

Step 4: Set a Promotion Name, Promotion Period, and Purchase Limit > select the store for add-on deal > Next.

📌Note: The Purchase Limit is the maximum number of add-on products that can be purchased by a customer in one order. For example, if the Purchase Limit is set as 1, customers can only add 1 add-on product from multiple add-on products in one order.
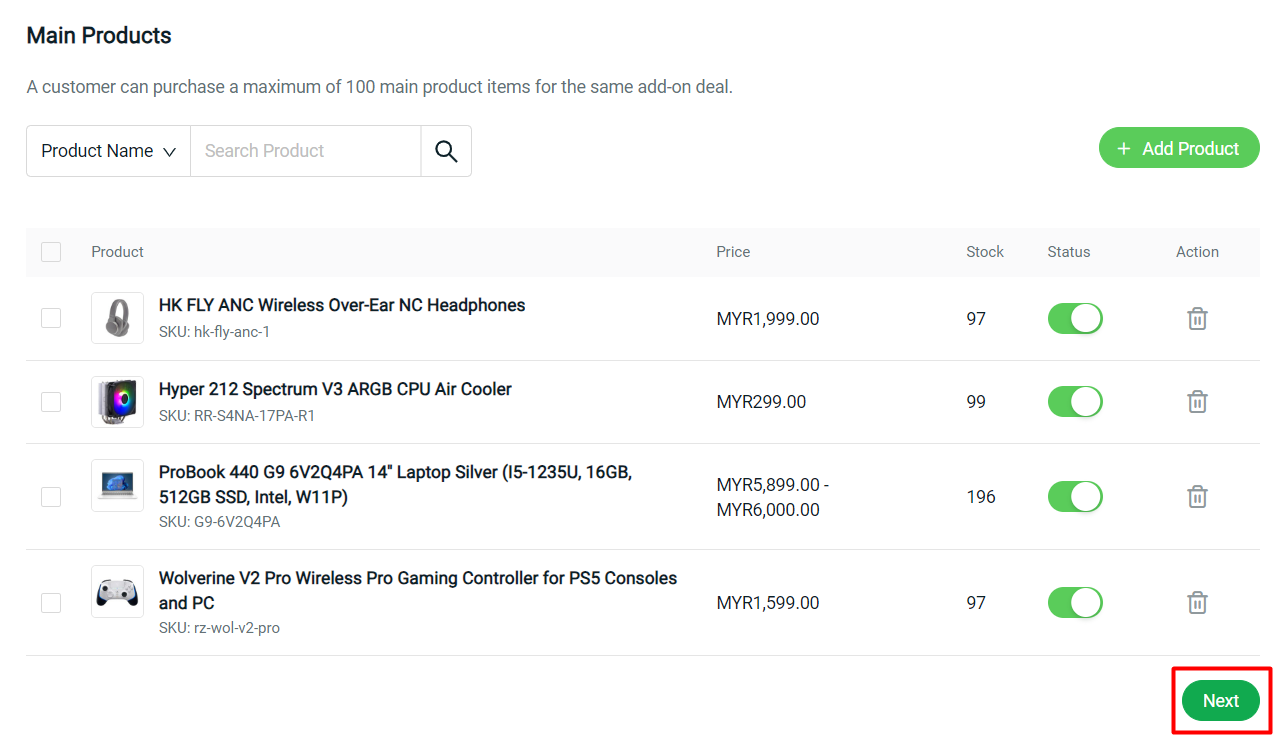
Step 5: Click + Add Product to add the main products.

Step 6: Choose the main products > click on the Select Product button to add.

Step 7: Once the main product is added, click on the Next button to proceed to add Add-on Products.
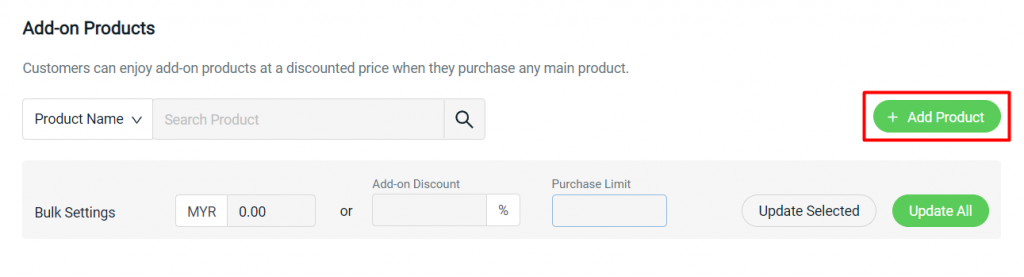
Step 8: Click + Add Product to add Add-on Products.
Step 9: Set the Add-on Price or Add-on Discount and Purchase Limit for your add-on product(s) > Confirm.
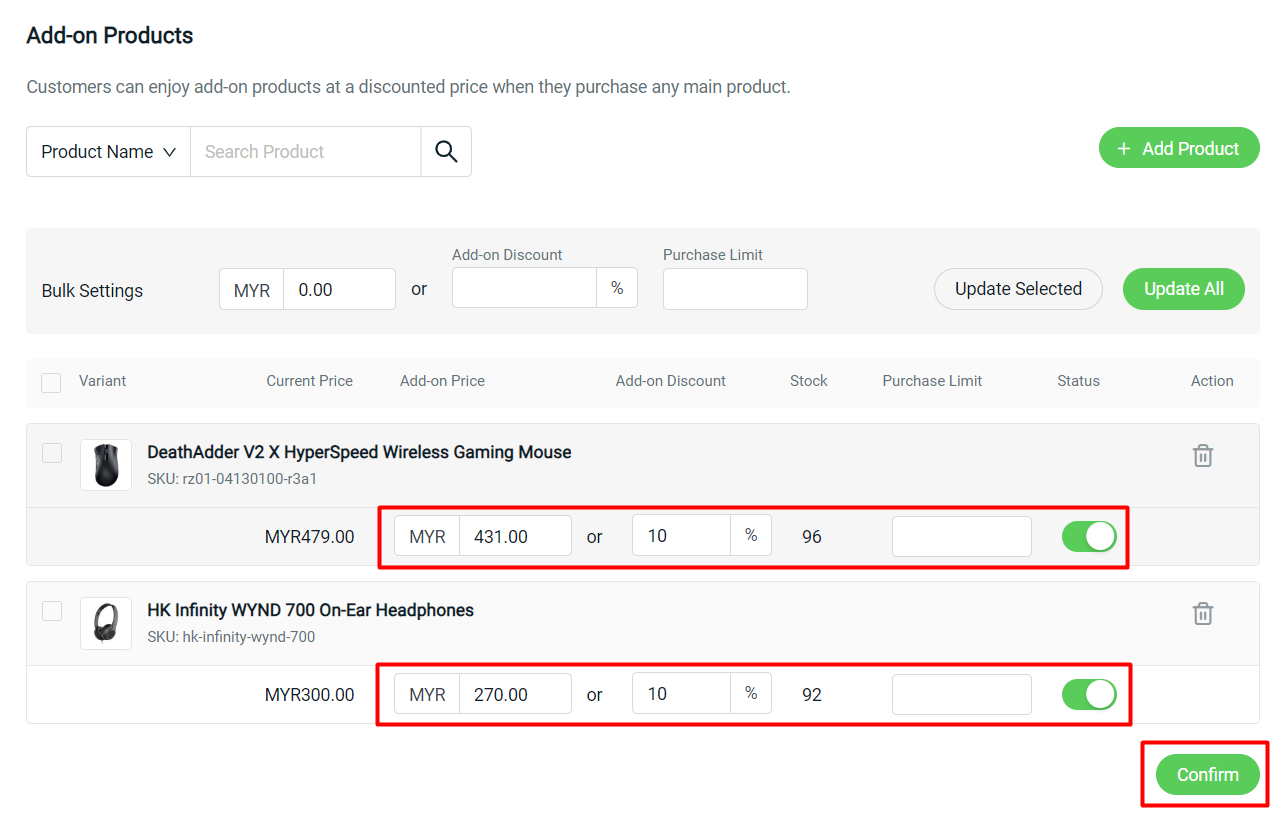
📌Note: Purchase Limit here refers to the quantity of the same add-on item a customer can purchase. Purchase Limit will be pre-filled as No Limit if empty.
Step 10: Click on the Create button on the top right once done with settings.
Step 11: Back to the dashboard and Clear Cache to see the changes on your Webstore.
3. Purchase Add-On Deal (From Customer Perspective)
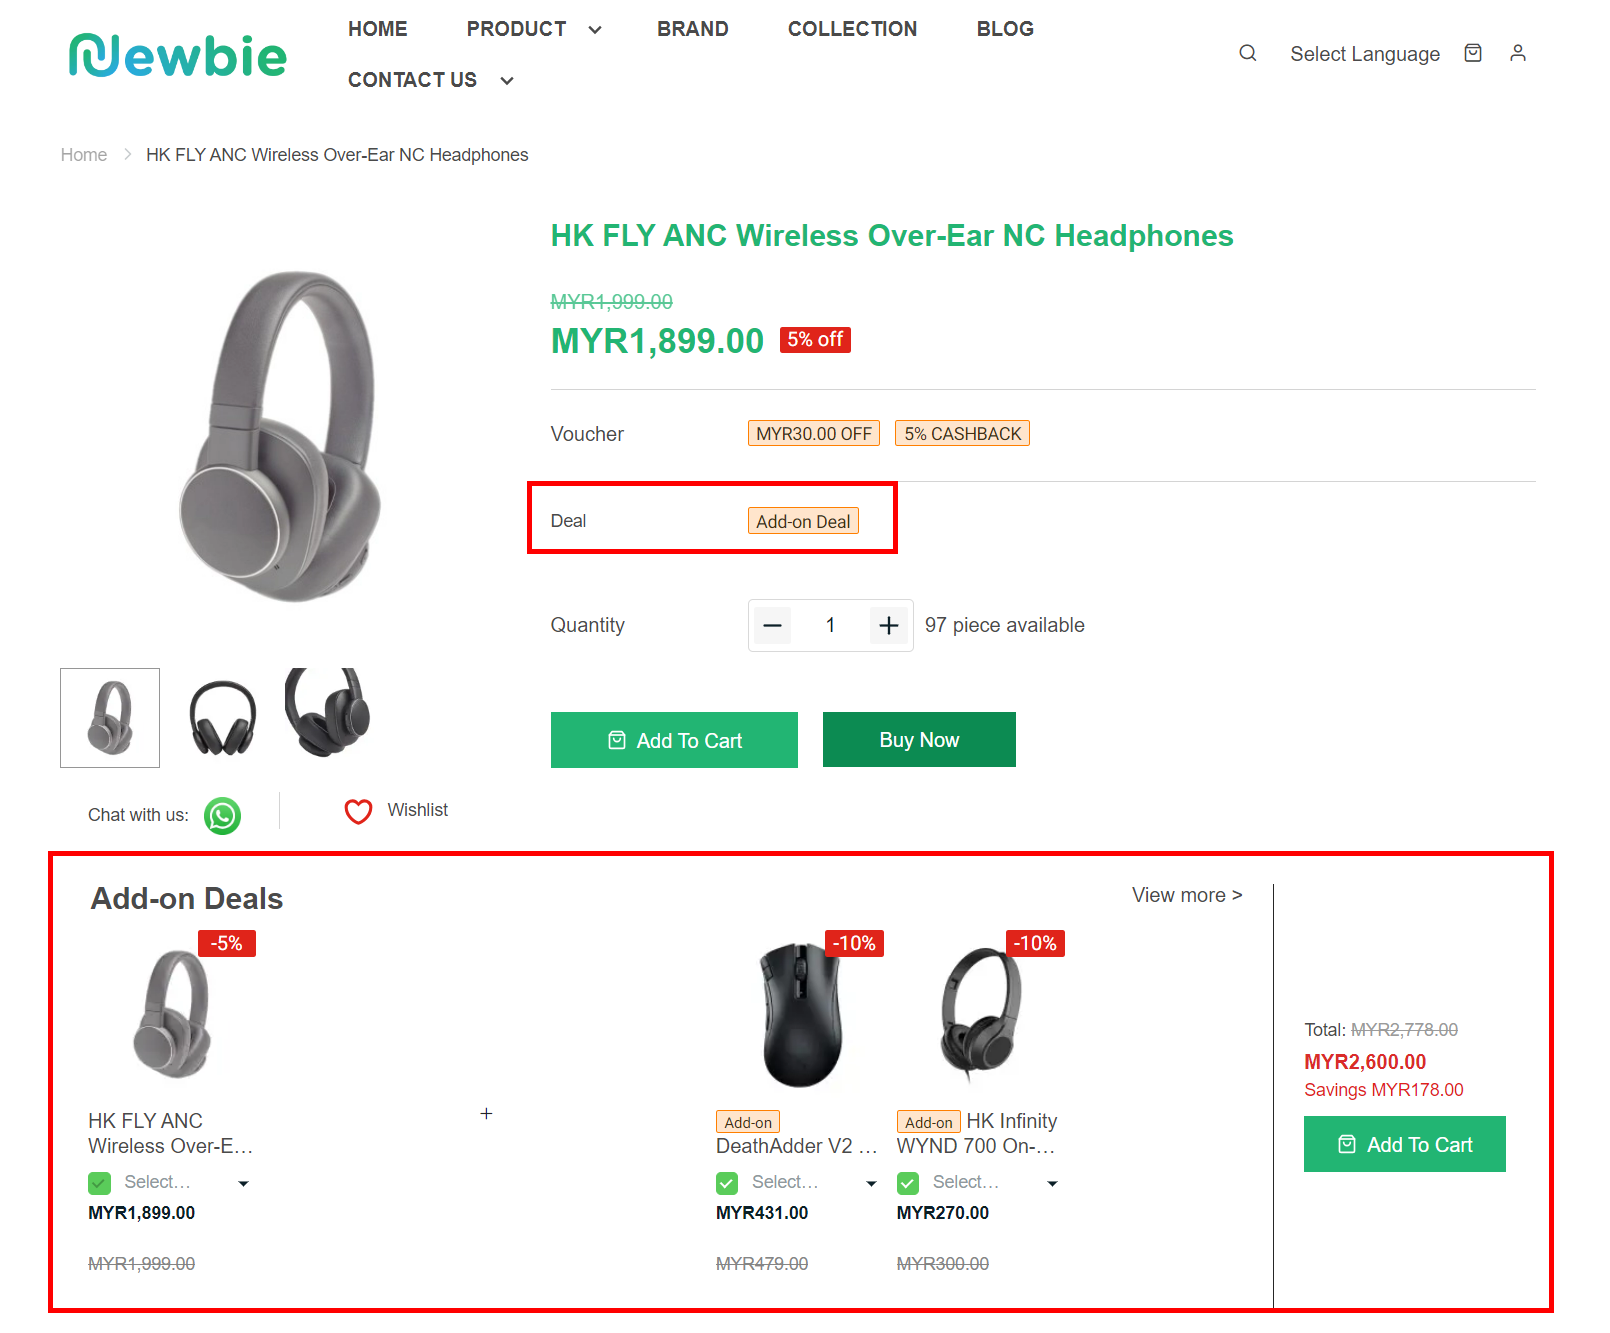
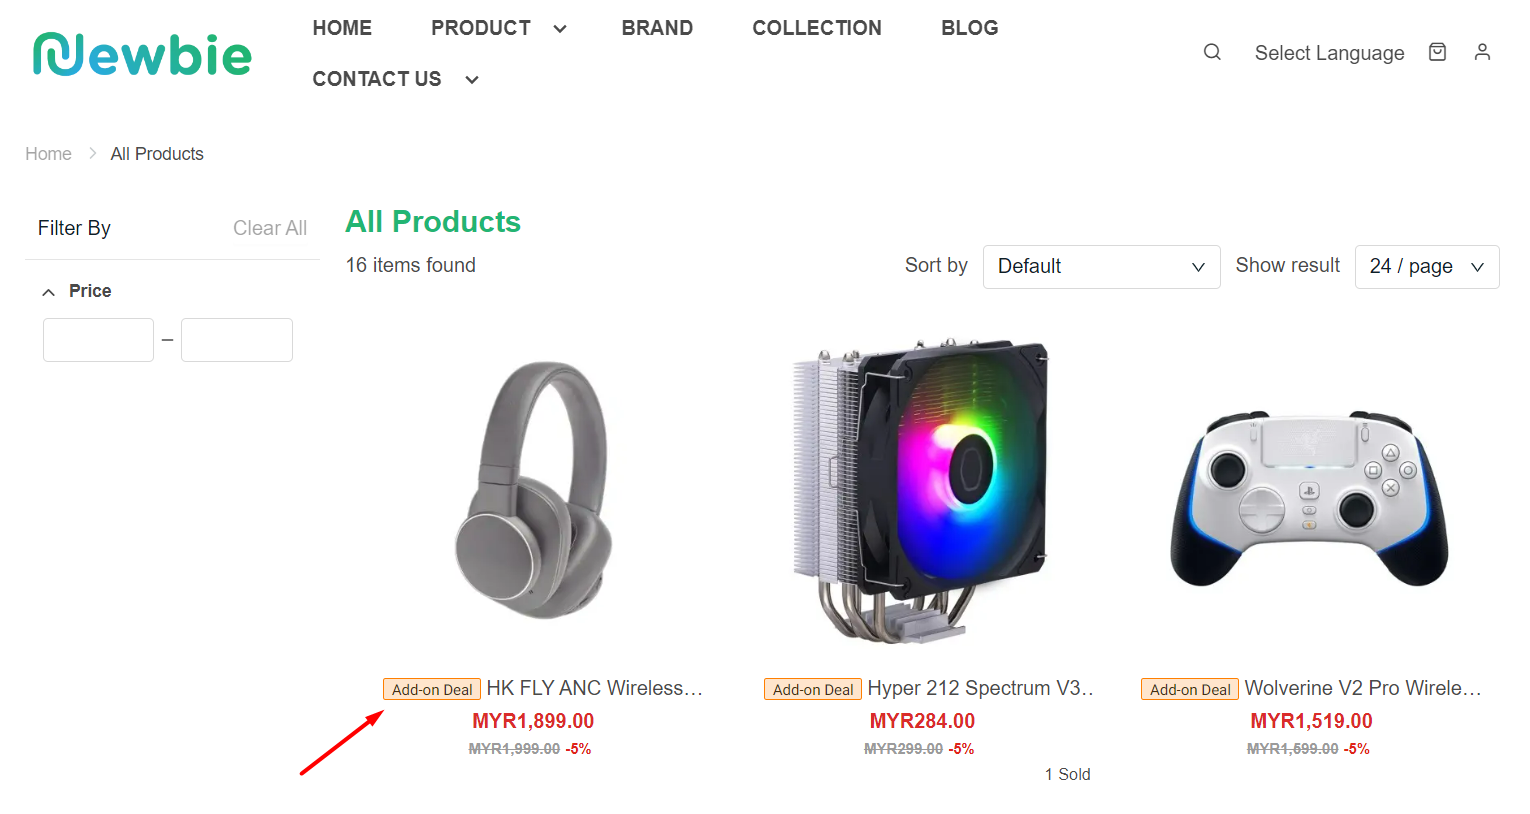
Step 1: Customer will be able to see an Add-on Deal label on your products when browsing. This makes your products more attractive, thus generating more clicks and sales.
Step 2: On the product details page, customers can choose to add-on products and Add To Cart.