1. Introduction
2. Configure Shipping Label Settings
3. Arrange Shipment
4. Update Tracking Number
5. Print Shipping Label
1. Introduction
You can now print the Shipping Label, Invoice, and Packing List for your TikTok Shop based on the customizable settings that suit your order fulfillment process that increase productivity and efficiency.
2. Configure Shipping Label Settings
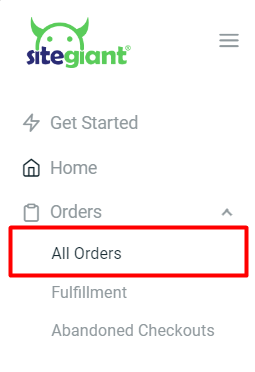
Step 1: Go to Orders > All Orders
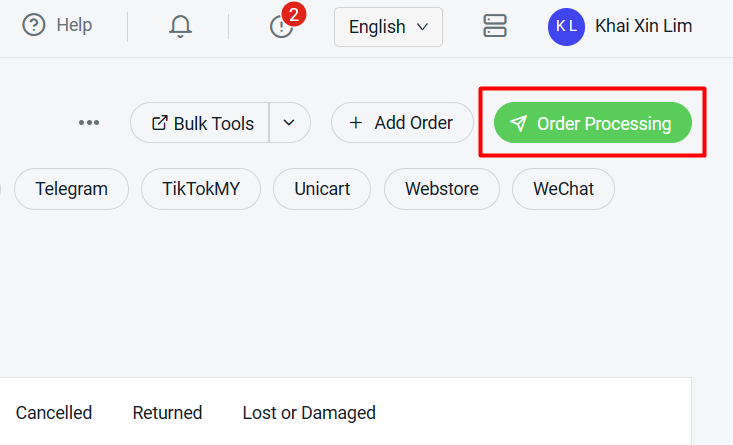
Step 2: Click on the Order Processing button
Step 3: Click on More(…) > Shipping Label Settings
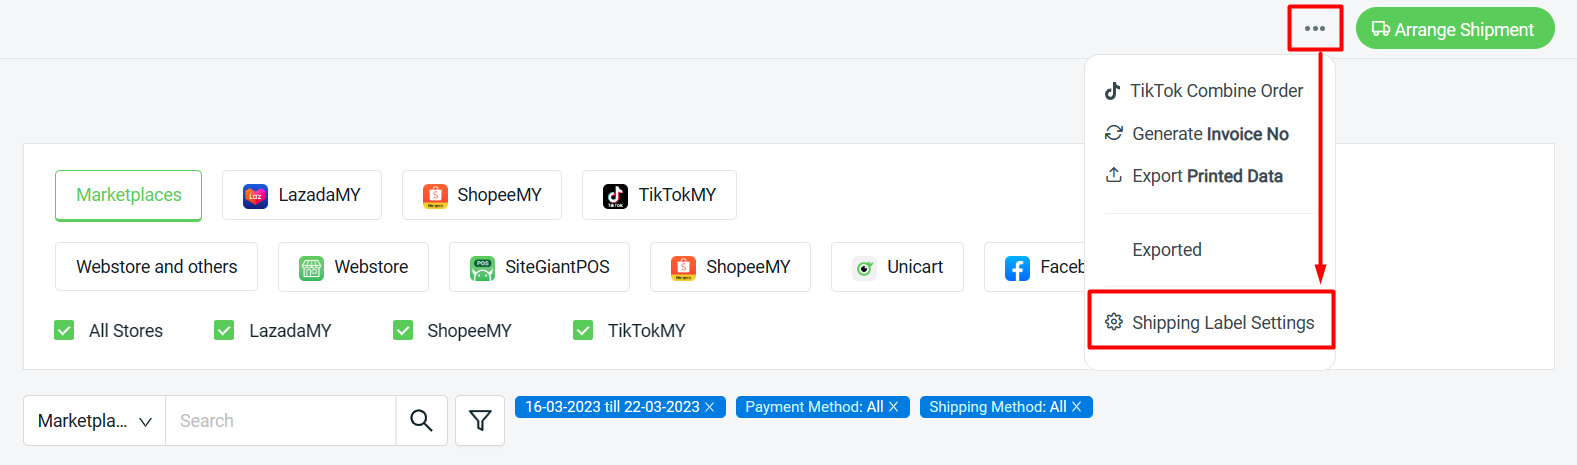
Step 4: Select TikTokMY > configure all the settings > Save

3. Arrange Shipment
Step 1: Select Marketplaces to display orders from all marketplaces or select only Tiktok to view Tiktok orders > select Warehouse.
📌Note: You can arrange orders from different marketplaces together at the same time.
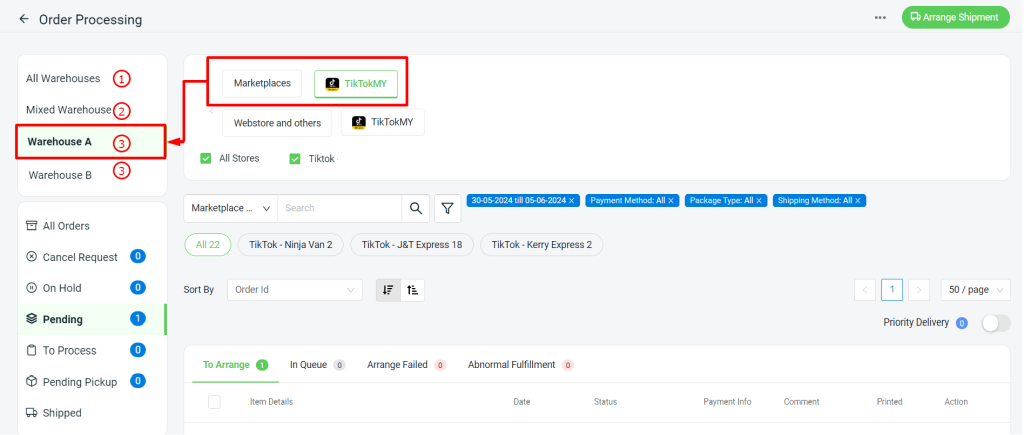
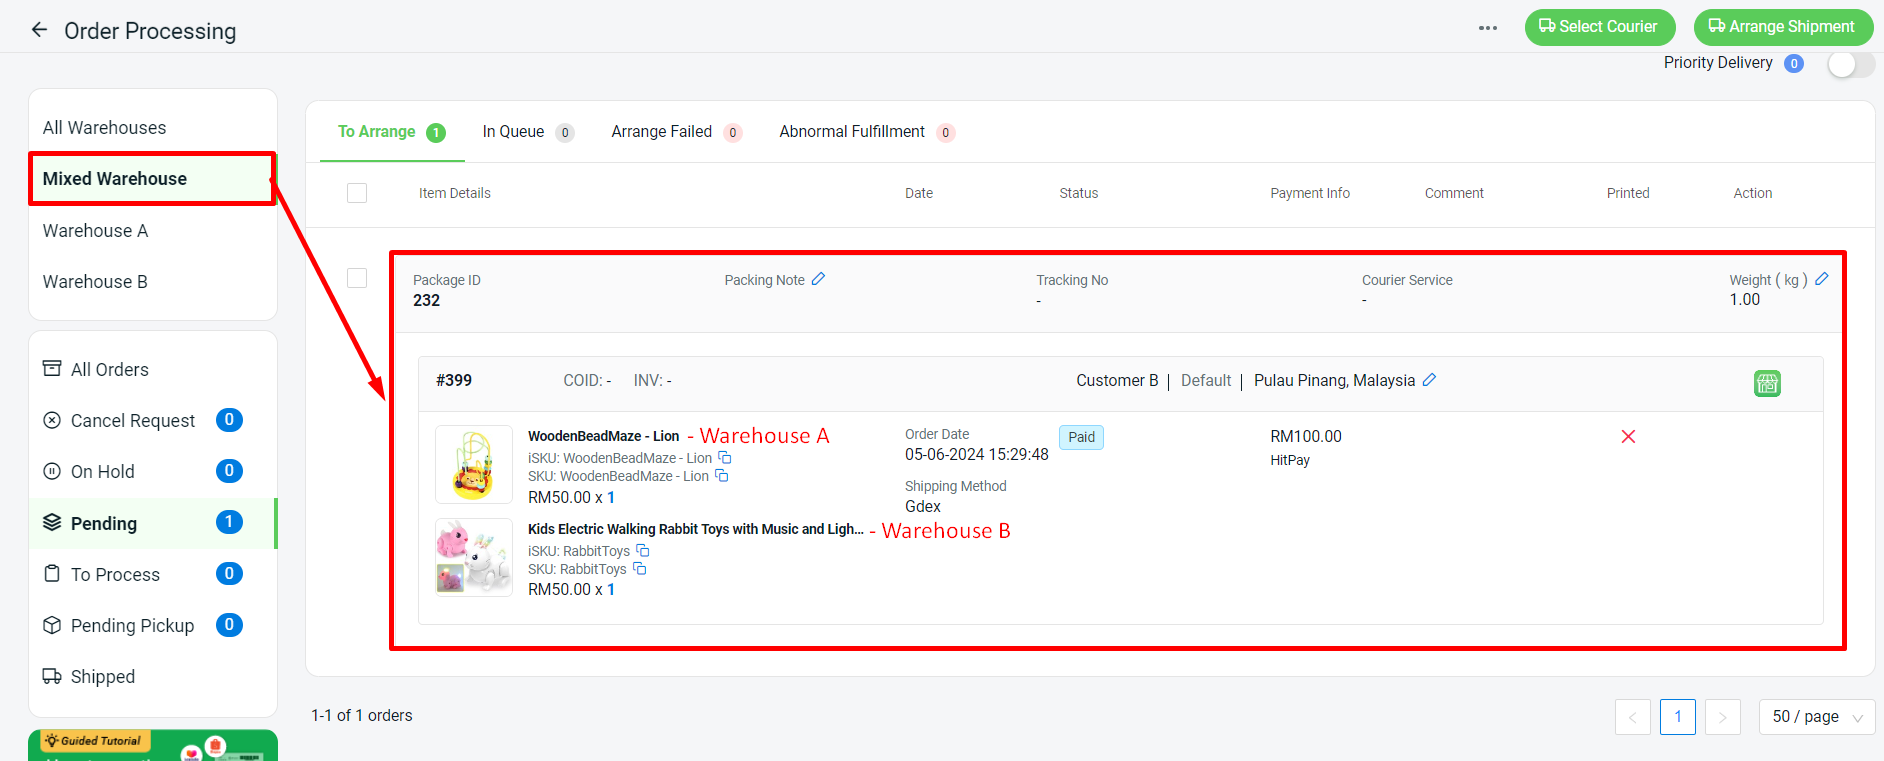
1. All Warehouse: It will include all orders, including those with no links item. However, once the item has been linked, it will appear under the relevant Warehouse tab as well. 2. Mixed Warehouse: It is for webstore orders. If an order has two items, one from Warehouse A and one from Warehouse B, the order will appear under this tab.3. Individual Warehouse: Individual warehouse will appear based on your Warehouse setting update. Learn more on How to Create Warehouse. Order will appear based on your default warehouse from the Sales Channel setting or Webstore Warehouse setting. If the webstore order has 1 item located in all warehouses(Warehouse A and Warehouse B), it will appear at the first warehouse that is set from webstore warehouse. Sales Channel Setting You can go to Setting > Sales Channel > Authorized Channel > Click Gear button on the related marketplace.
Webstore Warehouse Setting You can go to Webstore > Preferences > Webstore Settings section.
📌Note: The Warehouse Section will only appear if a merchant has set up two or more warehouses. It enables merchants to process orders according to warehouse location. If you only have one warehouse, proceed to Step 2, as the warehouse section will not appear on the page.
 3. Individual Warehouse: Individual warehouse will appear based on your Warehouse setting update. Learn more on
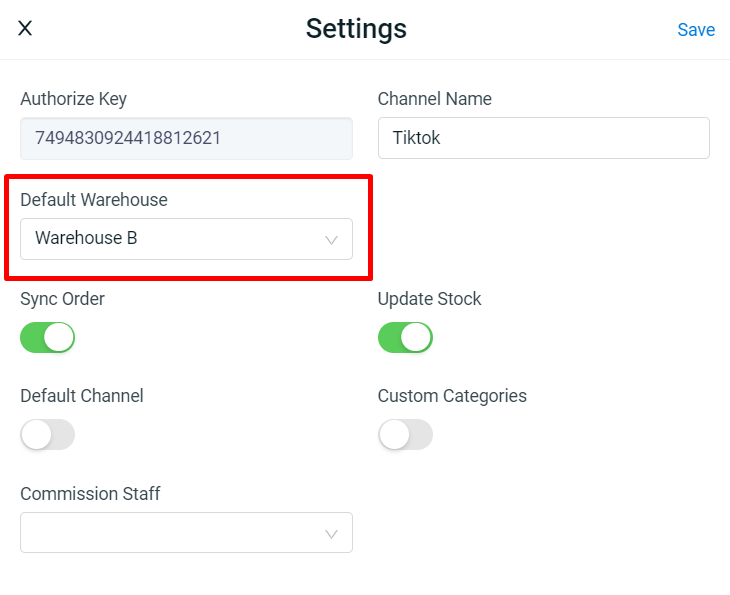

Step 2: Go to Pending section > To Arrange tab > select the order(s) you wish to arrange shipment > click Arrange Shipment.
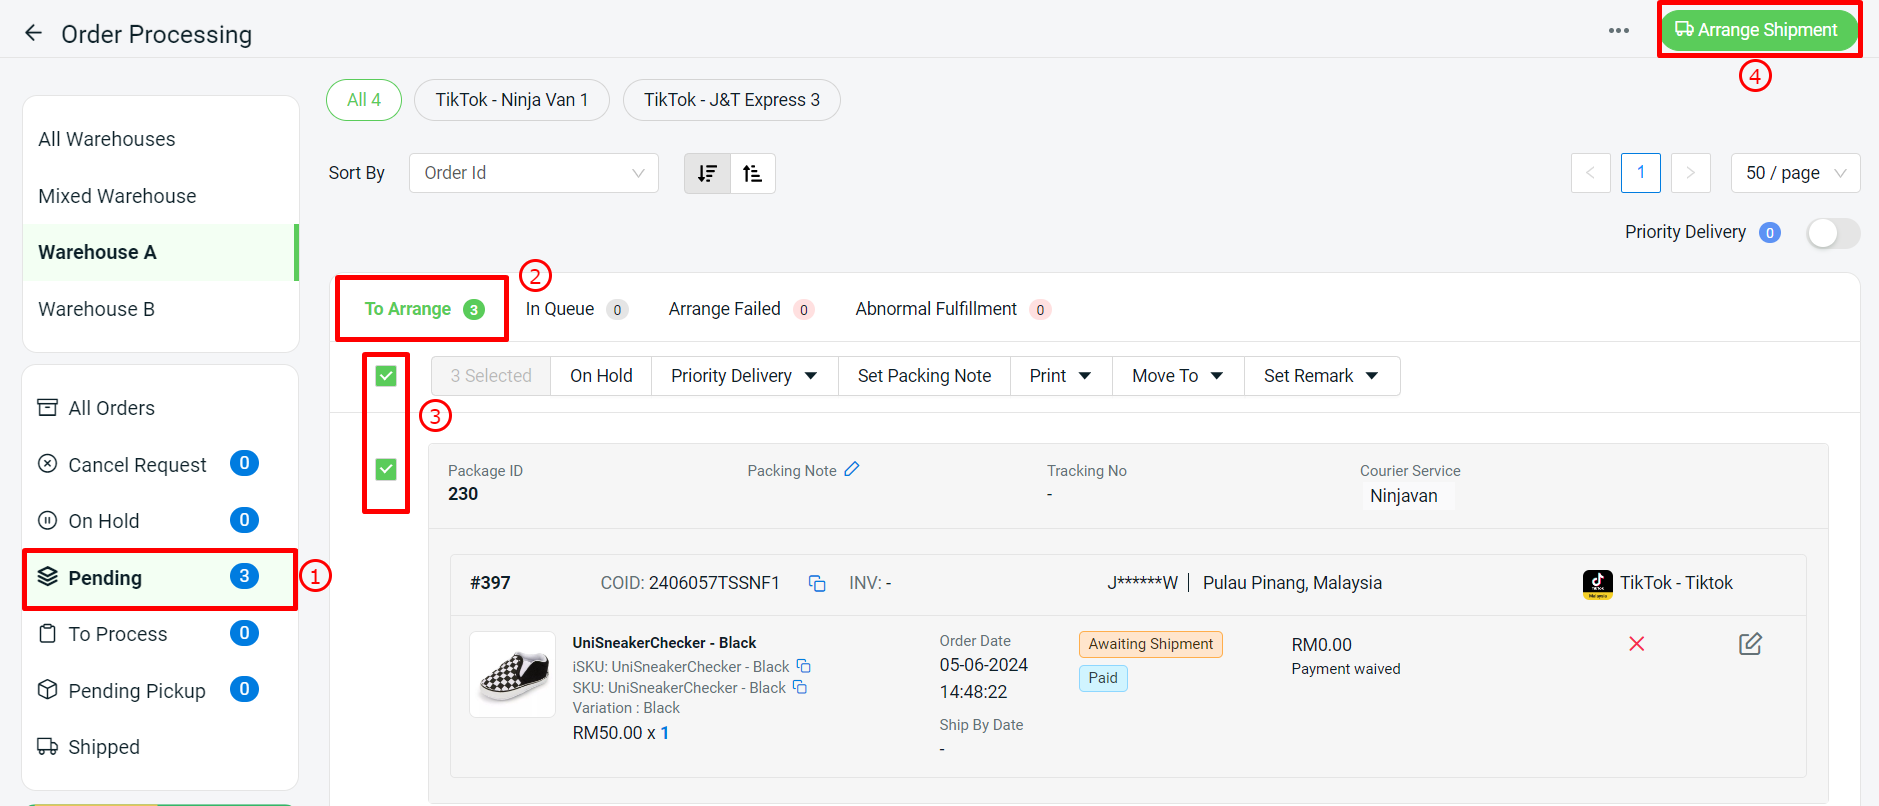
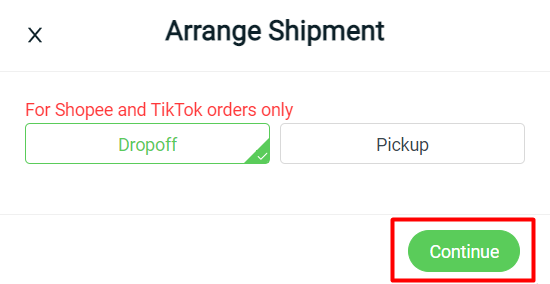
Step 3: Choose Dropoff or Pickup based on your preference > Continue
4. Update Tracking Number
Step 1: Go to To Process > Processing tab
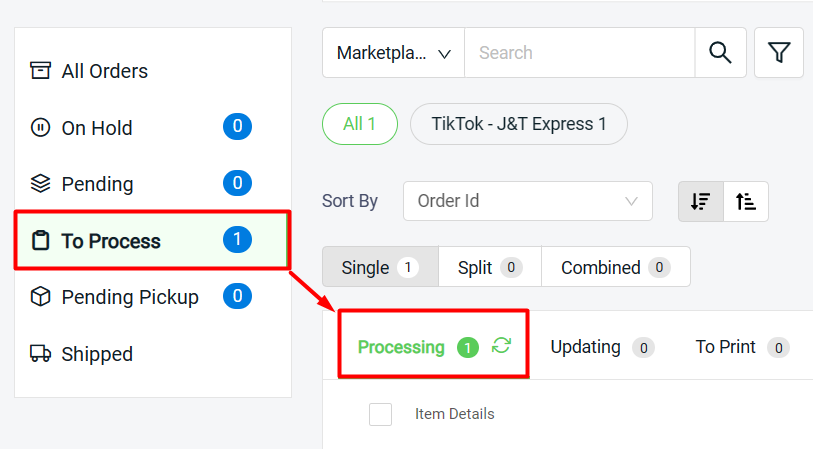
Step 2: Select the order(s) > click on the update icon or Update Tracking No. button
📌Note: May skip this step if the order(s) moves to To Print tab directly when Arrange Shipment.
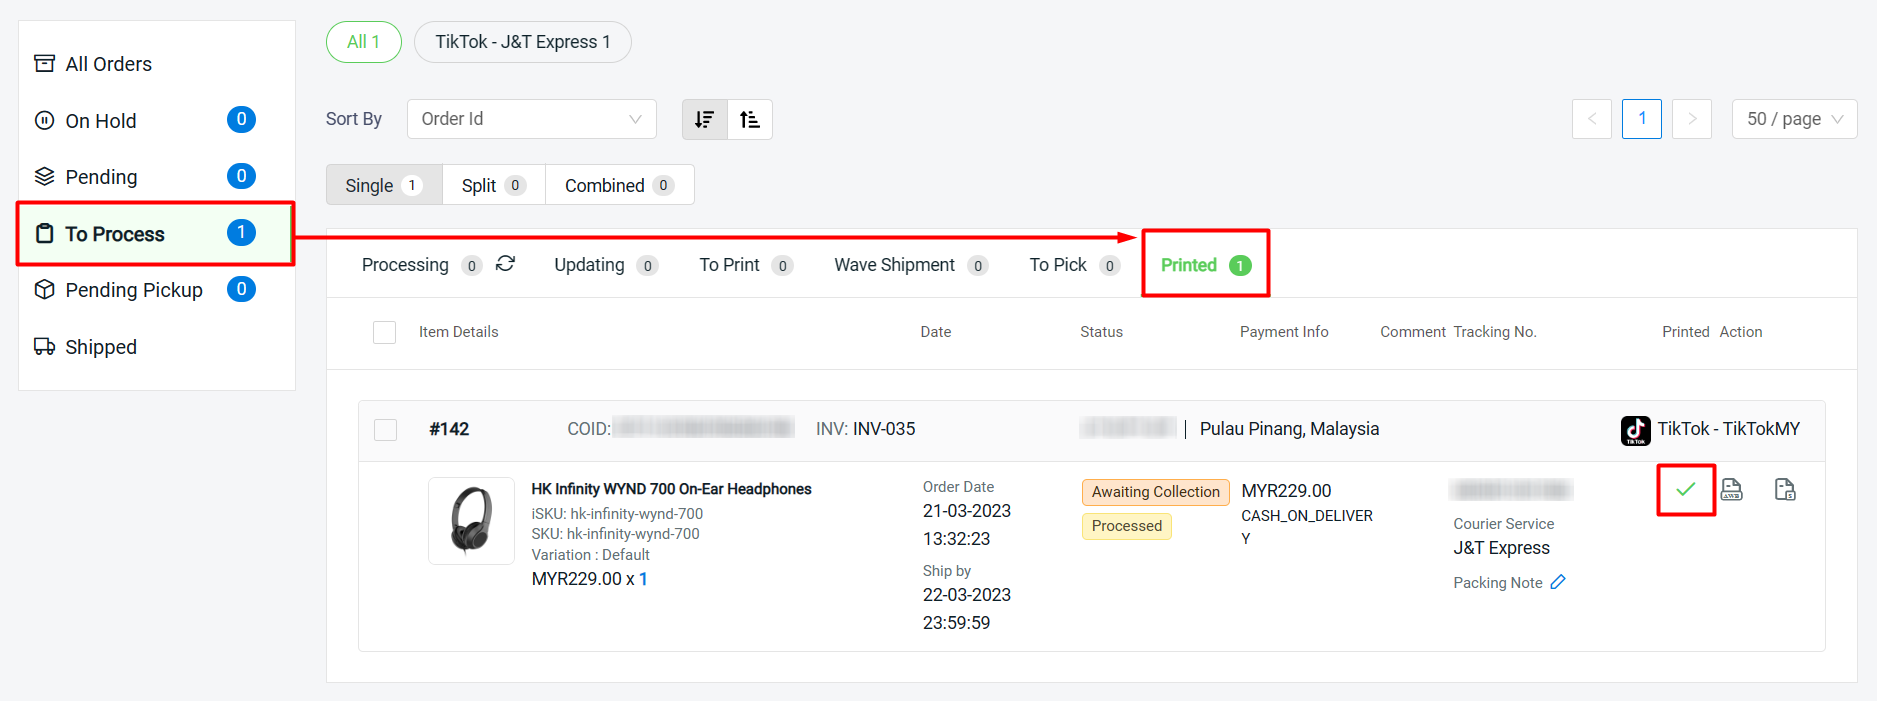
5. Print Shipping Label
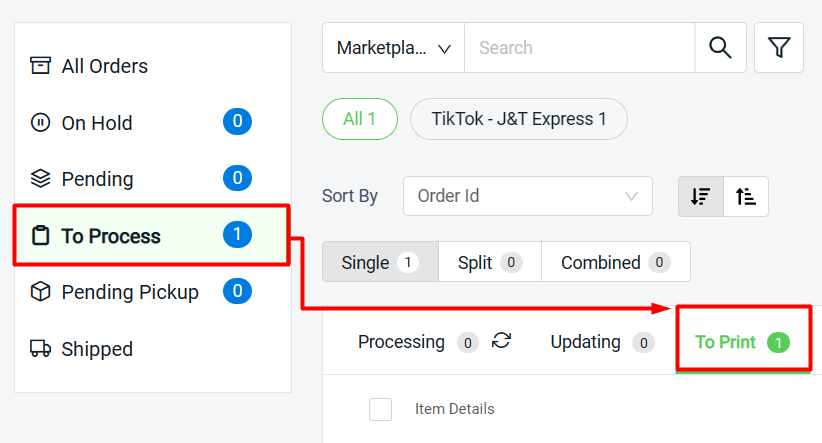
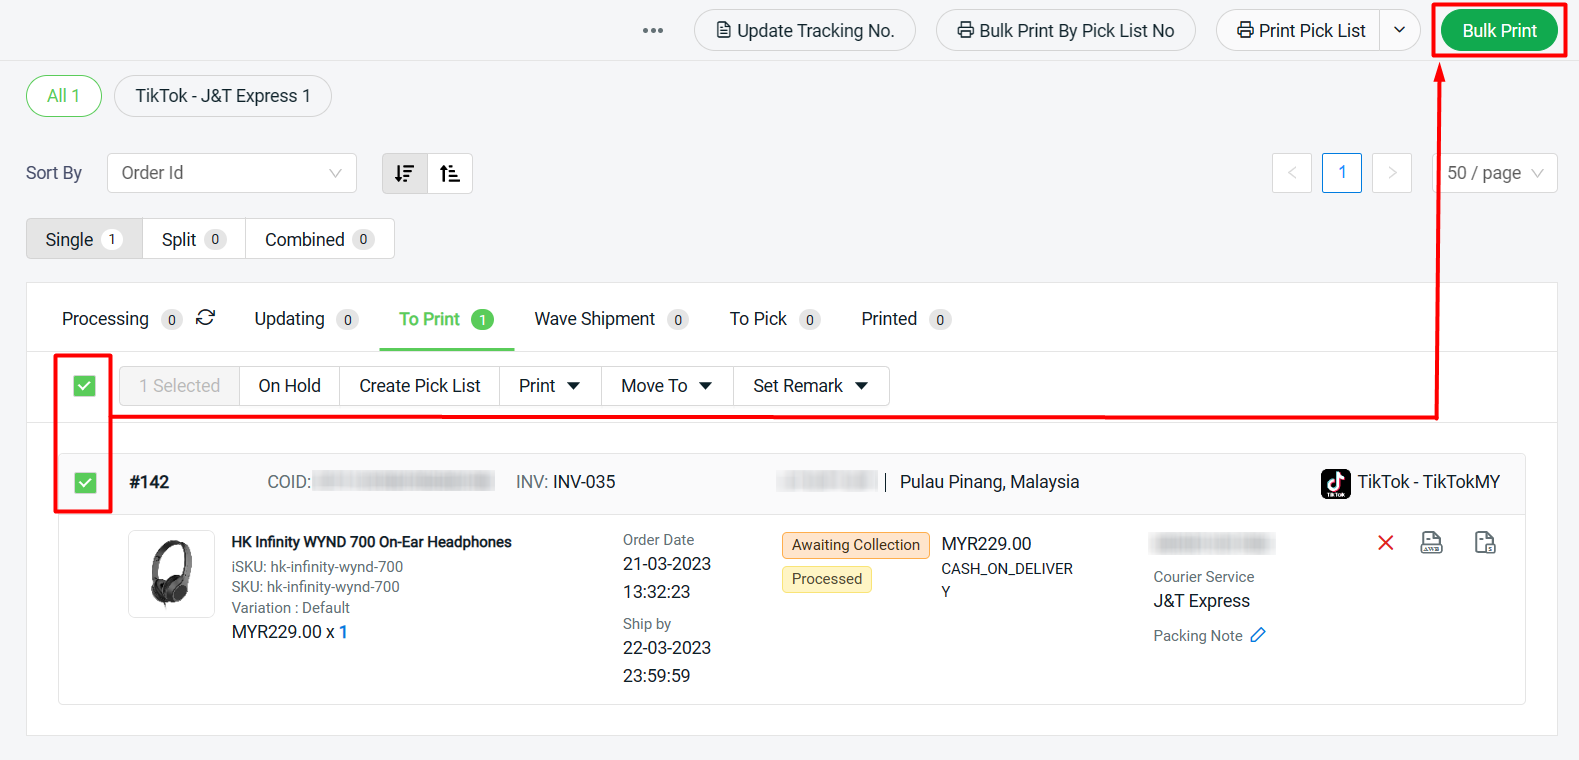
Step 1: Go to To Process > To Print tab
Step 2: You may print the Pick List before printing out the shipping label (optional)
Select Order(s) > Print Pick List > choose either to Print Selected or Print All
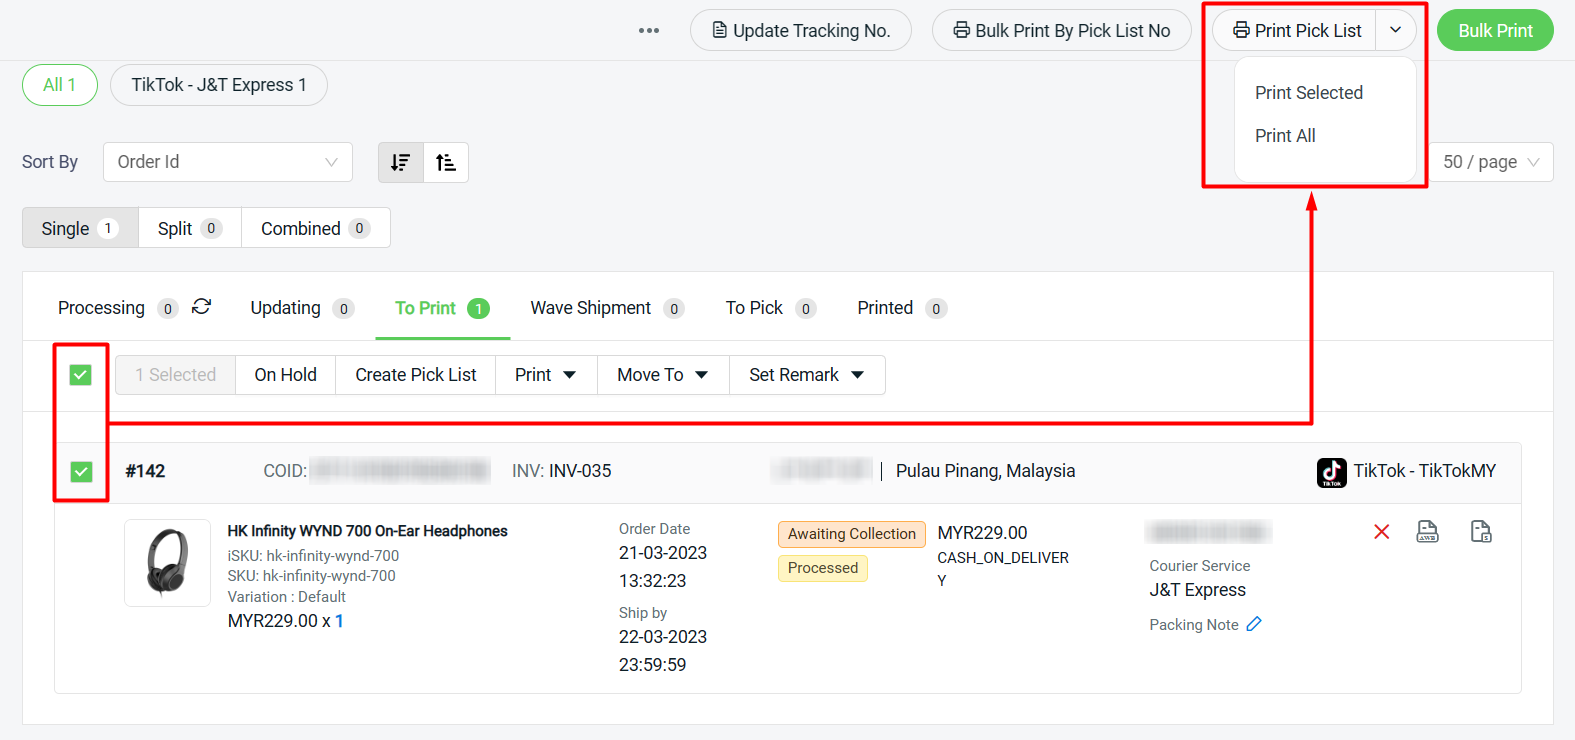
Step 3: Select the order(s) > click on Bulk Print button on top to print out the shipping label
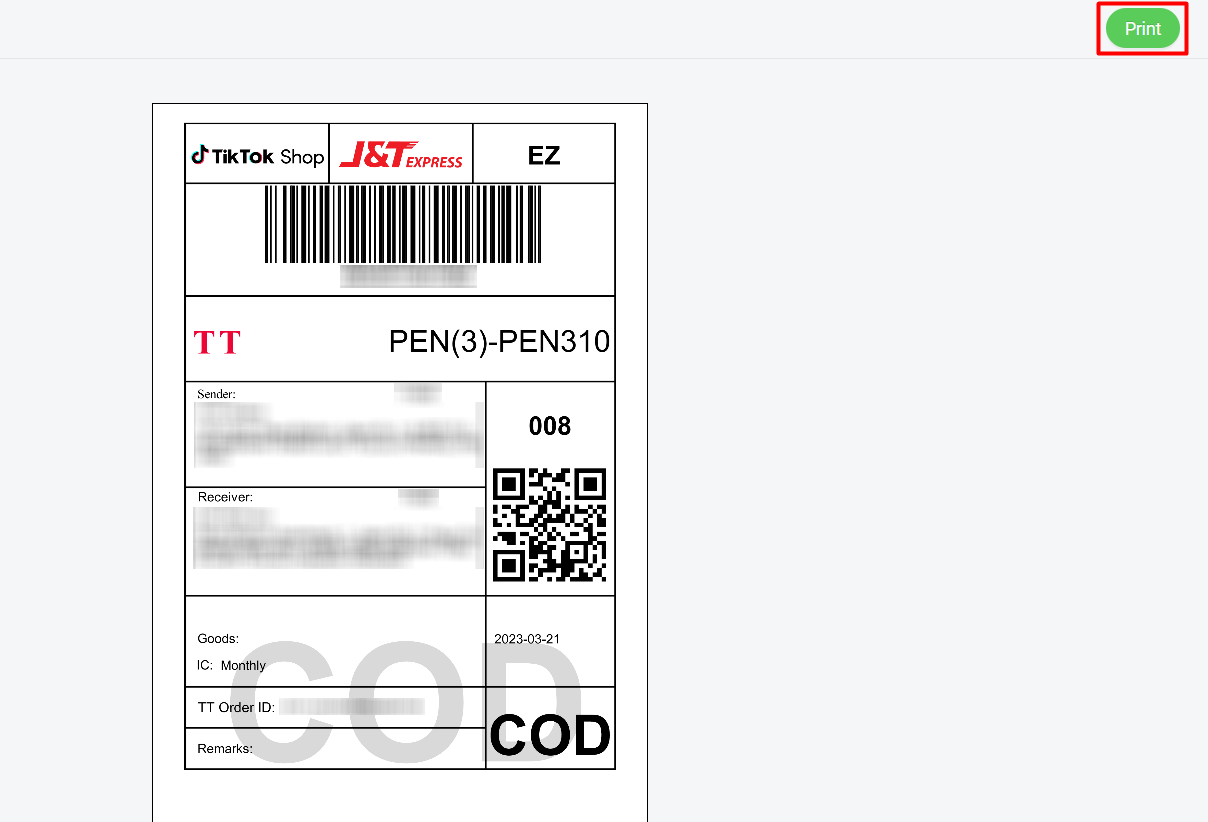
Step 4: Click on Print button from the preview page to print out the shipping label
Step 5: The printed order(s) will move to To Process > Printed tab