1. Introduction
2. Set Up SiteGiant POS For The First Time
3. Add Additional SiteGiant POS Channel
4. Set Up SiteGiant POS Preferences
5. Download SiteGiant POS System
1. Introduction
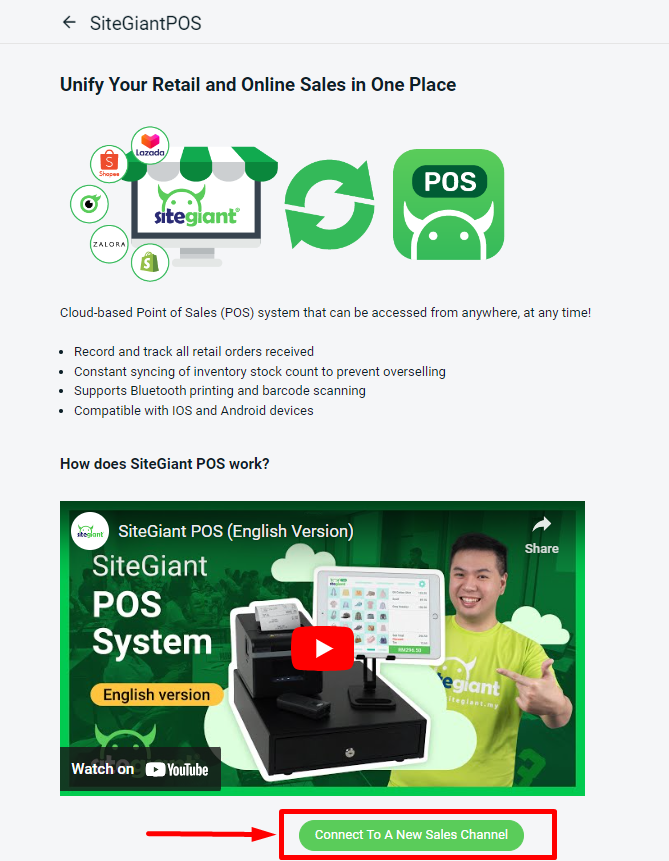
Do you find it a hassle to manage your retail and online business separately? With SiteGiant POS system, you can unify your retail and online sales all in one place. All your sales data and stock inventory count will be synced and updated accordingly after-sales purchases made offline and online. Furthermore, you can flexibly access the POS system on a tablet and conveniently take orders from customers on the spot, wherever you are!
This feature is only available in SiteGiant Value Plus Plan and above.
2. Set Up SiteGiant POS For The First Time
Step 1: Log in to your SiteGiant Seller Center > add [+] channels > choose SiteGiant Pos.
Step 2: Click Connect To A New Sales Channel.
Step 3: Enter all the mandatory details (*) > click Connect.
📌Note: You will need to create a customer account to link with Default SiteGiant POS Customer. All orders placed from SiteGiant POS will be posted under the selected Default POS Customer. If you do not have any customer account created, you can refer to How To Add And Manage Customer Account.
You have now successfully integrated your SiteGiant Pos in SiteGiant!
3. Add Additional SiteGiant POS Channel
This feature is only available in SiteGiant OMO Essential Plan and above.
Step 1: Click on the [+] channels on the sidebar menu > choose SiteGiant POS > fill in the channel details > Connect.
4. Set Up SiteGiant POS Preferences
Step 1: Navigate to SiteGiant POS channel on the sidebar menu > select the SiteGiant POS channel > Preferences.
General Settings
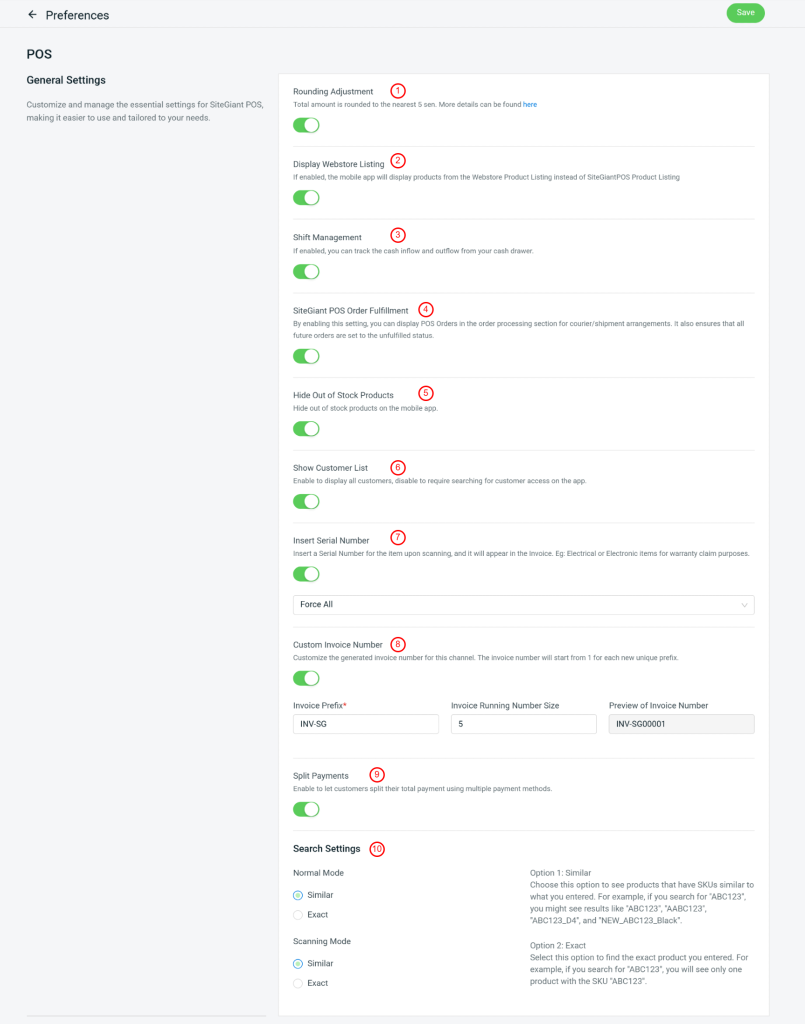
1. Rounding Adjustment: Enable to round upwards or downwards the amount decimals to the nearest 5 sen.

2. Display Webstore Listing: Enable to display products from Webstore Listing instead of SiteGiant POS Listing. If wish to utilize any marketing tools from Marketing Centre, it is a MUST to use Webstore Listing.

3. Shift Management: Enable to support multiple user management and track cash flow activities conducted by your staff during their shifts. Learn more on How To Set Up SiteGiant POS Shift Management.

4. SiteGiant POS Order Fulfillment: Enable to display POS order in the order processing section for arrange shipment.

5. Hide Out of Stock Products: Enable to hide products that set Out of Stock status in Inventory Restock Details.

6. Show Customer List: Enable the button will show all customers. Disable will hide your customer information. You must search for customer information either using the Contact Number, Member ID, or Name/Email/Contact Number.

7. Insert Serial Number: You can enter the product's serial number when placing an order. There has 3 option that you can set:

I)Default(Can skip any item): It is not required to enter the serial number when placing the order.
II)Optional (Based on item setting): You must enter the serial number for the product for which the serial number option is enabled in the inventory item list settings. If the serial number is not updated, you will be unable to place an order.
III)Force All: All products must have their serial numbers updated before placing an order.

8. Custom Invoice Number: Customize your SiteGiant Pos Invoice Prefix, Invoice Running Number Size, and Next Invoice Running Number based on your preference.

9. Split Payments: Enable the button to let customers use multiple payment methods in a single transaction for a smoother checkout experience. Learn more on How To Use SiteGiant POS Split Payments.

10. Search Settings: Set the search behavior for Normal Search Mode and Scanning Mode.
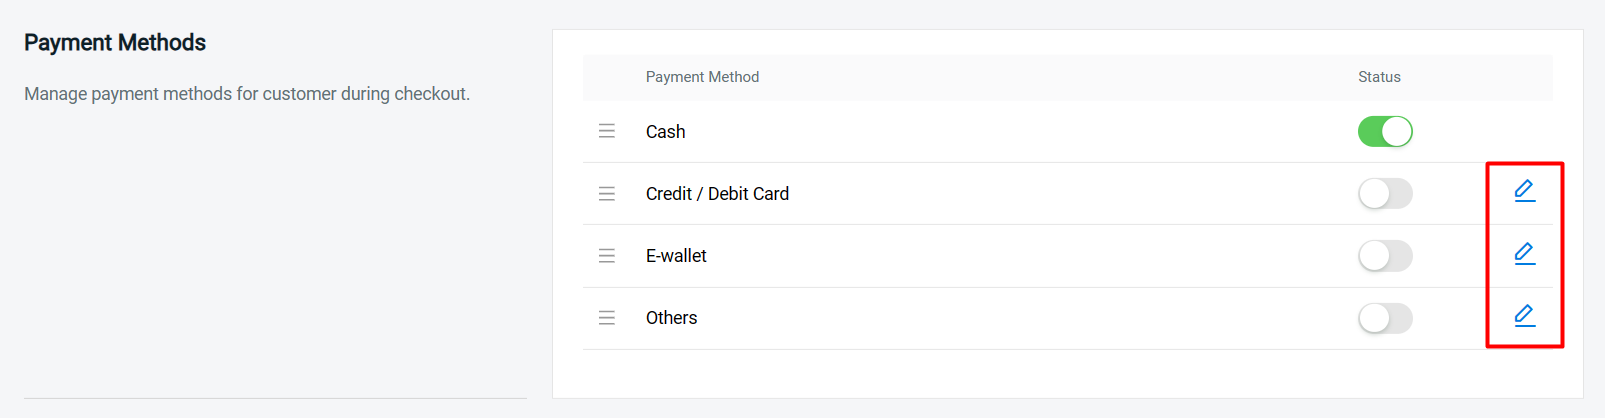
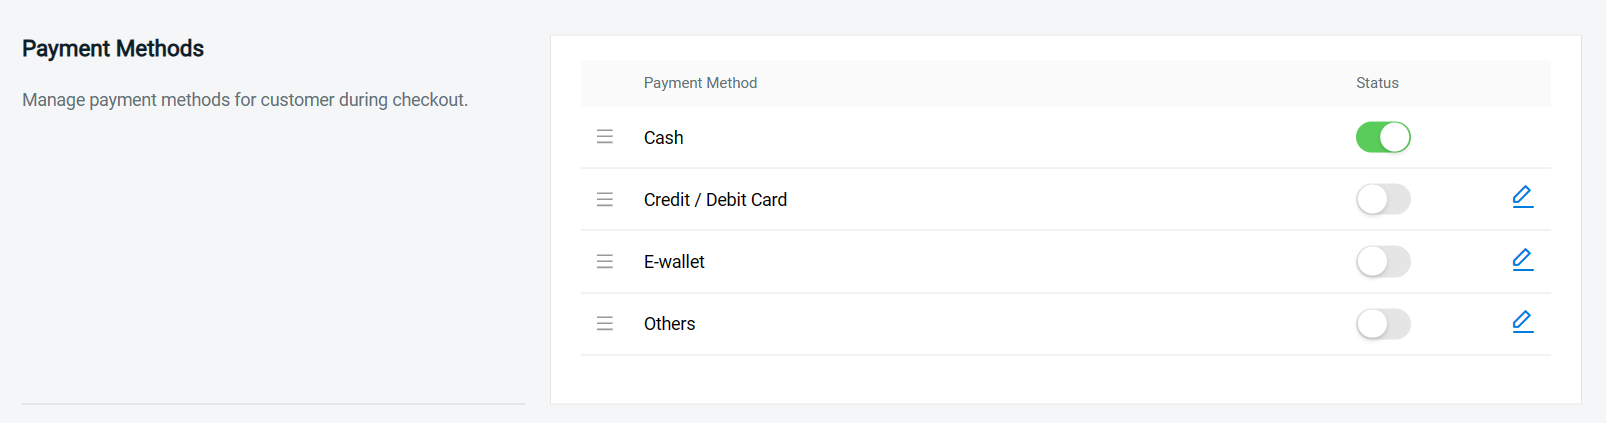
Payment Methods
Step 1: By default, only Cash is enabled for Payment Methods. Click on the Edit icon to Add Payment Method for Credit/Debit Card, E-wallet or Others.
Step 2: Click on + Add Device > fill in the Device Details > Save.
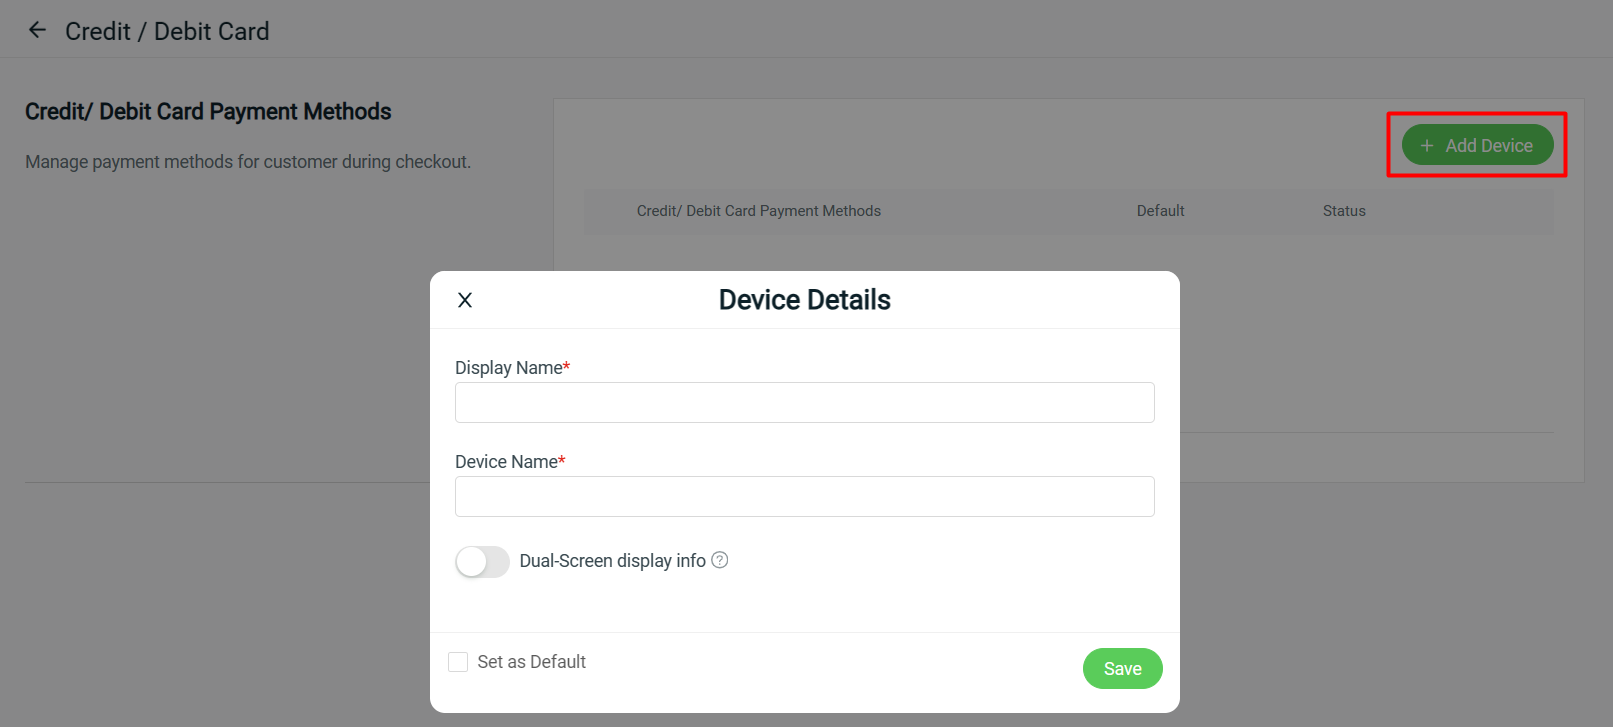
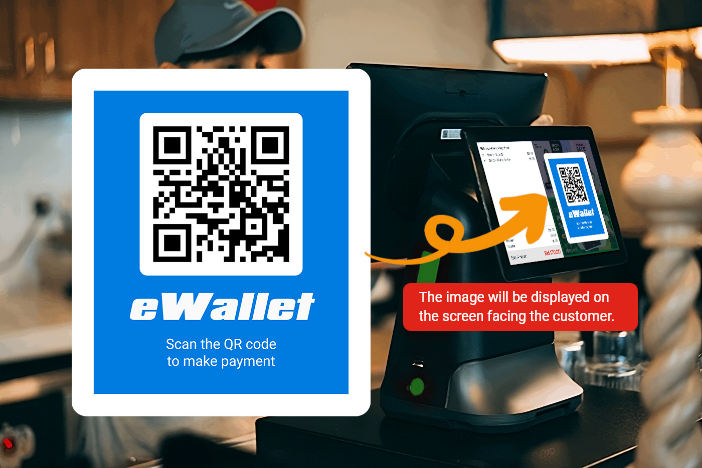
📌Note: For merchants who are using a Dual-Screen POS device, you may enable the Dual-Screen display info and upload the image you wish to display to customers when making payments.
Step 3: Enable the Payment Method status.
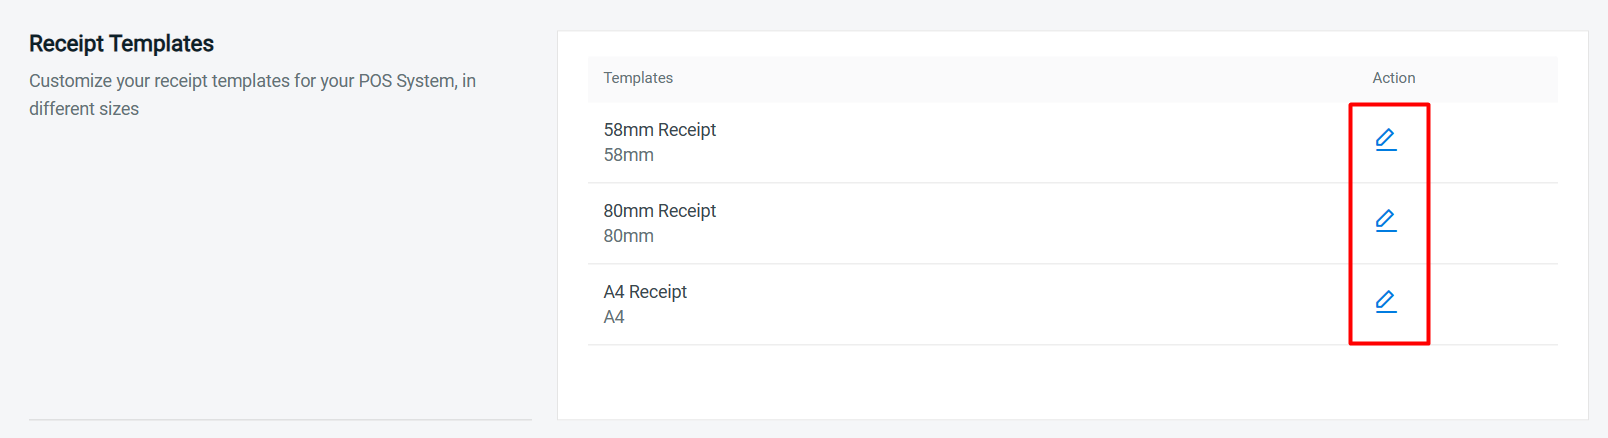
Receipt Templates
Step 1: Choose the receipt sizes for your POS system and click on the Edit icon.
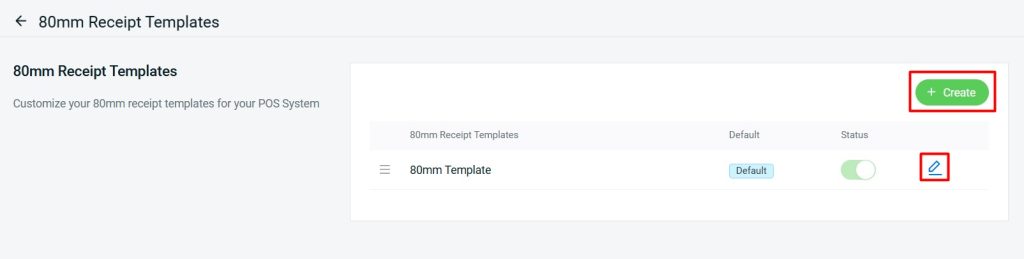
Step 2: Click Create to add multiple receipt templates or click on the Edit icon to customize the default template.
Step 3: Customize the template > Save.
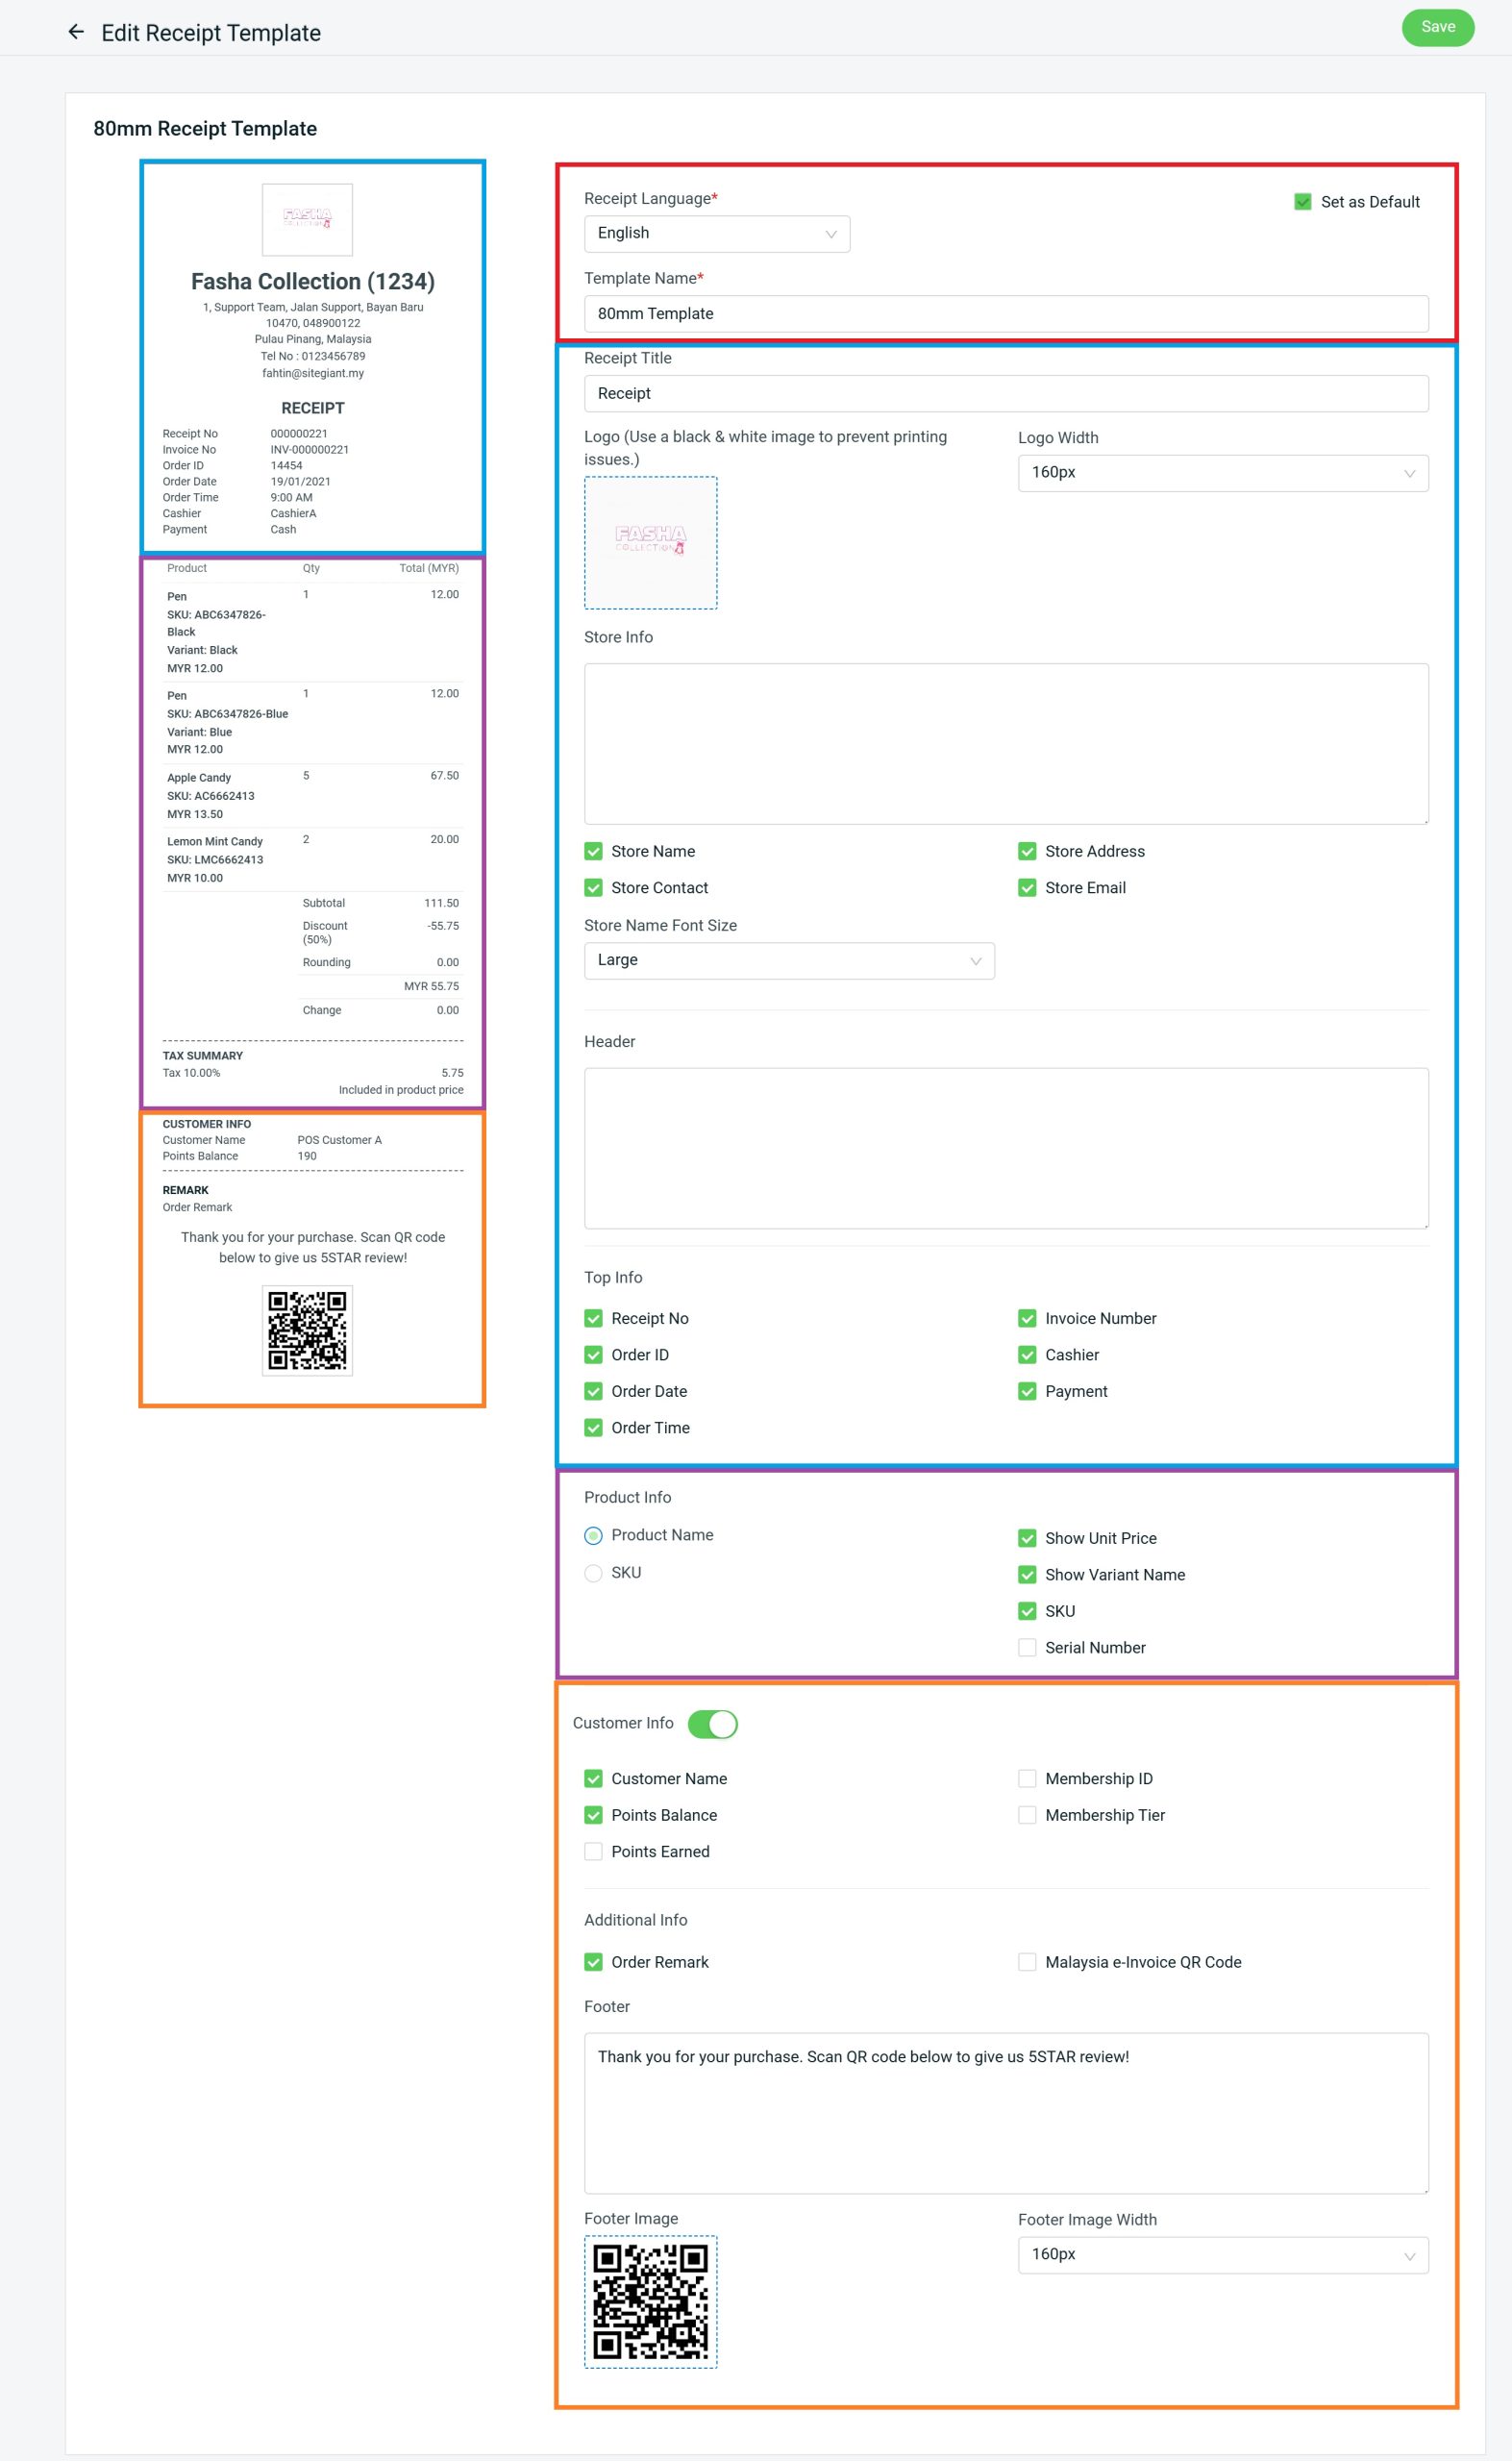
Step 4: Toggle On and Off status to show the receipt template in POS. Drag and drop to arrange the receipt template sequence.
Channel Address
Step 1: Your contact information for the POS system shown here will appear on your invoices.
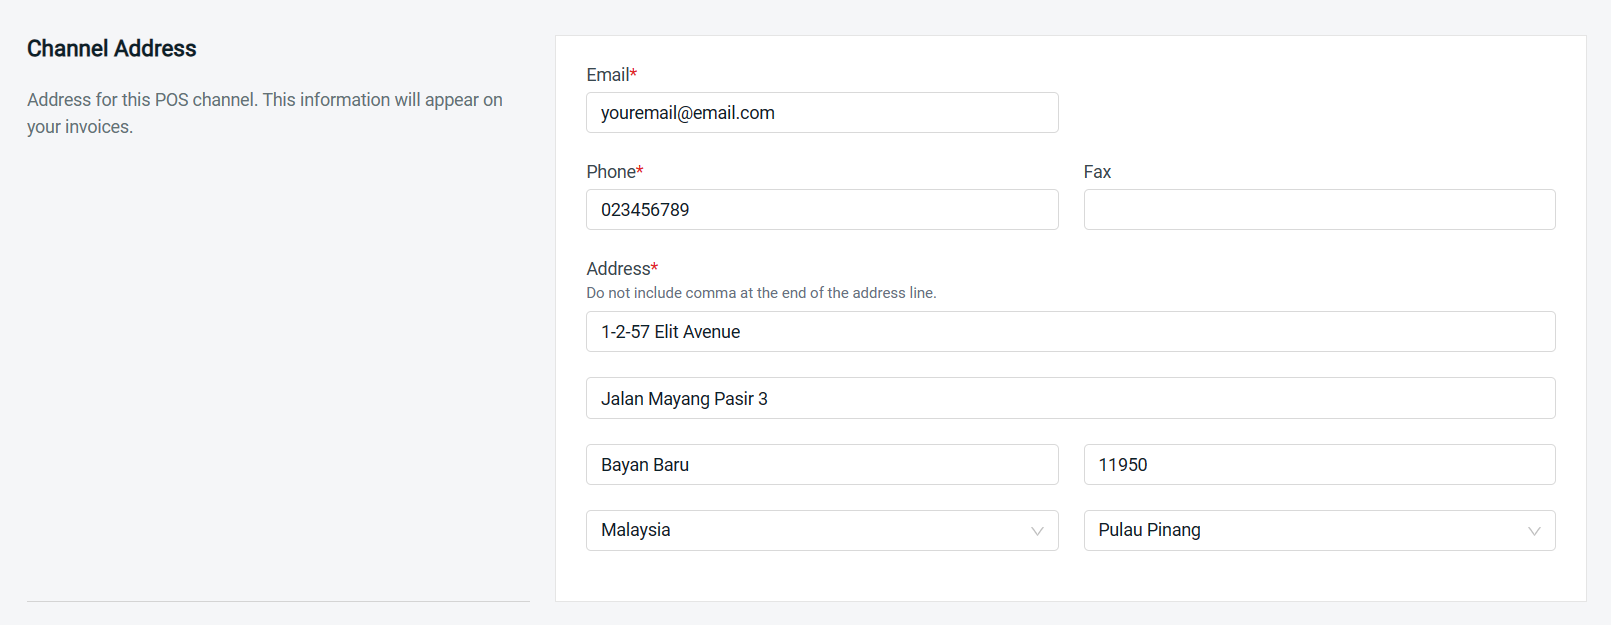
Step 2: Once done with all the Preferences Settings, click on the Save button on the top right to save changes.
5. Download SiteGiant POS System
Step 1: You can download the SiteGiant POS from the Google Play Store for Android and Apple App Store for IOS (iPad only).