
1. Introduction
2. Login SiteGiant POS
3. POS Settings
4. Add Product To Cart
5. Apply Discount
6. Add Voucher
7. Add Custom Sale
8. Add Remark
9. Checkout And Payment
10. View Order Records
1. Introduction
The primary function of the SiteGiant POS is to ring up sales, so you need to familiarize yourself with the process of adding items to the sale by scanning the product’s barcode or searching it on the product list. From there, you can adjust the quantities depending on how many units the customer buys.
Other than that, you can apply discounts to the product or the entire cart if you’re running a sale. And lastly, the payment process and print invoice for customers to complete the order.
2. Login SiteGiant POS
Step 1: Log in to your SiteGiant POS system on your device.
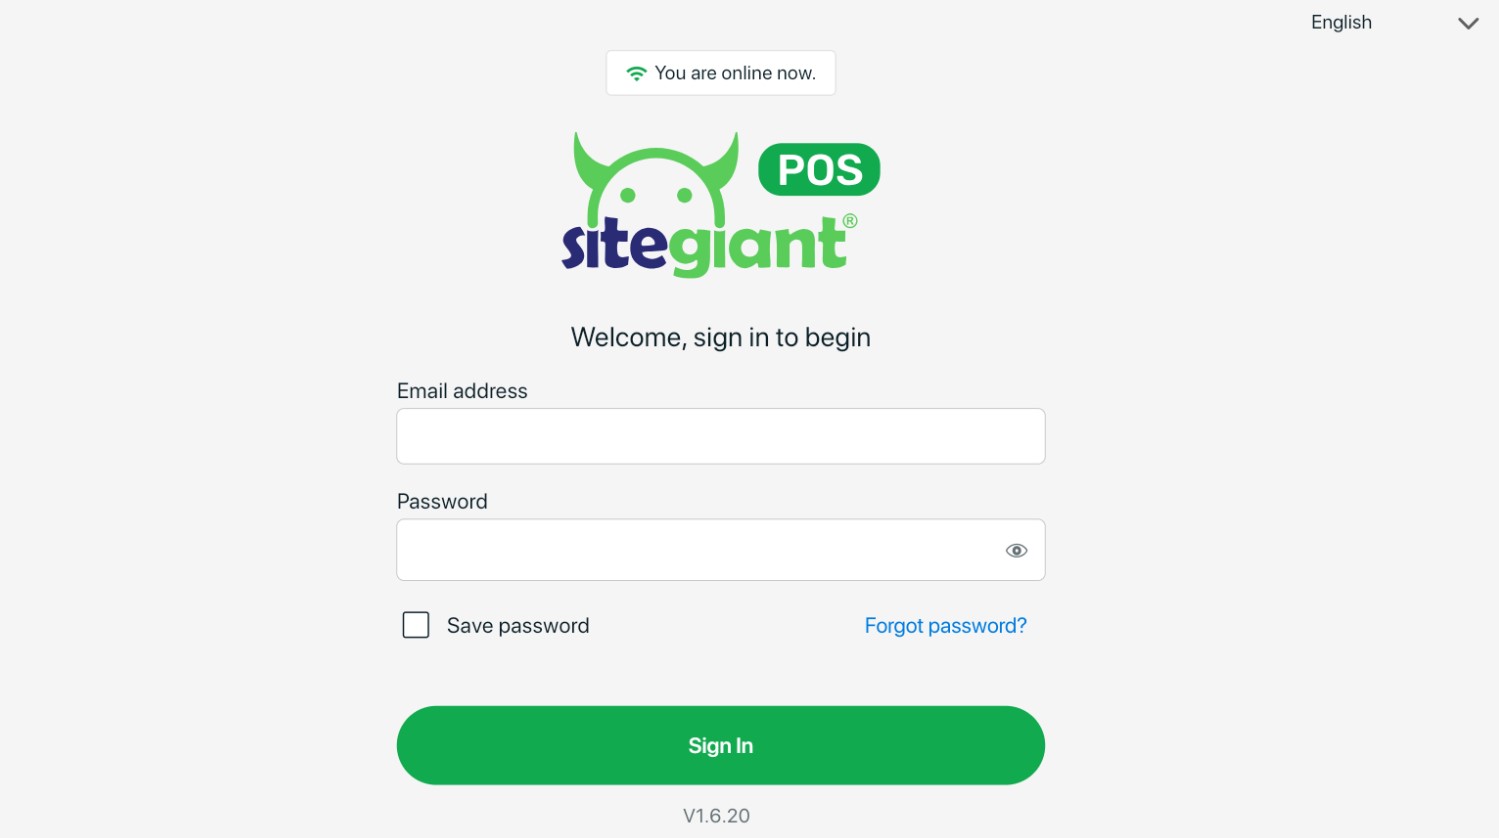
📌Note: SiteGiant POS system login credential is the same as your SiteGiant ERP.
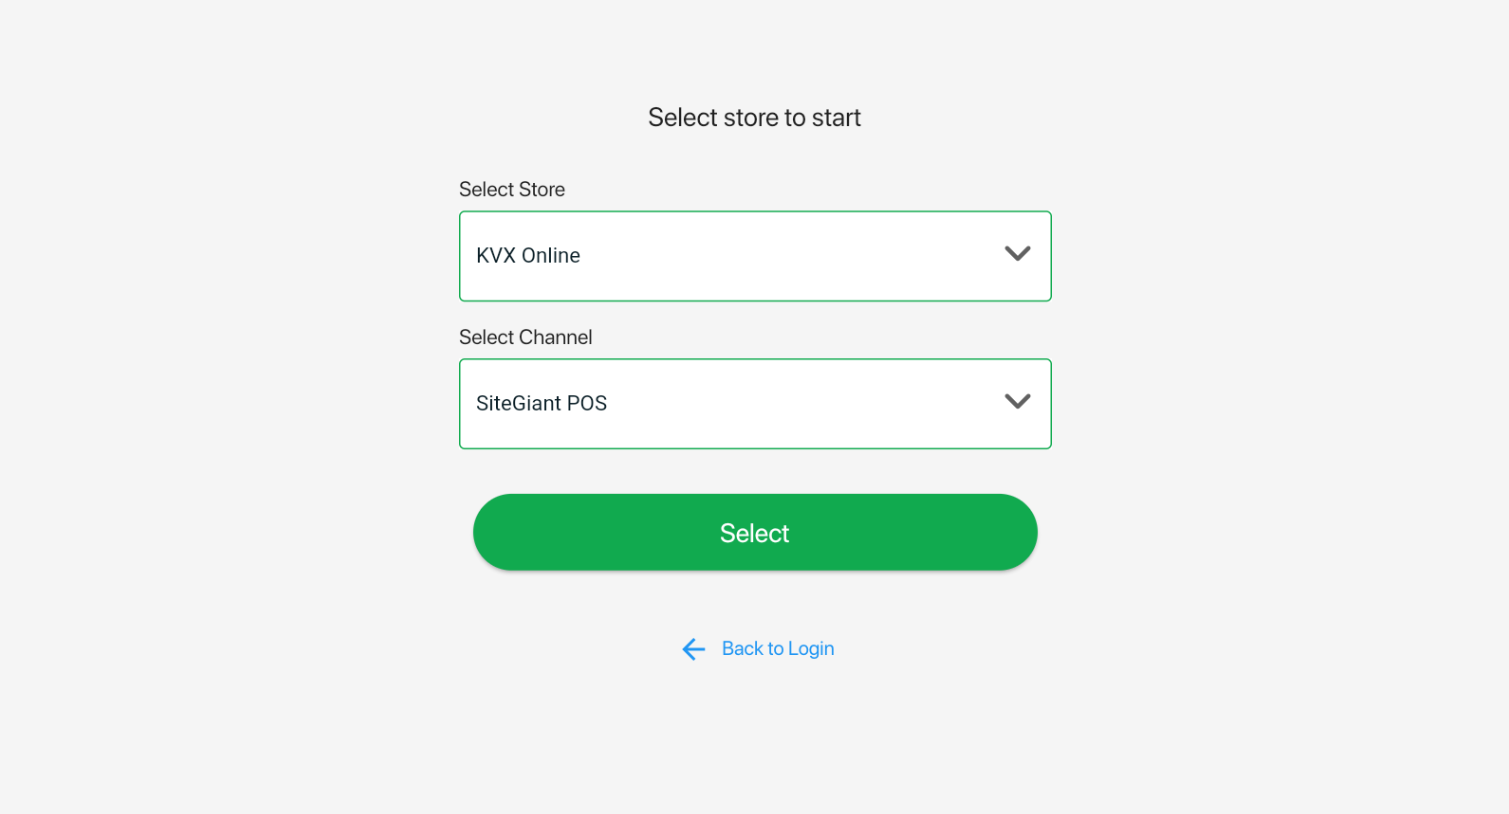
Step 2: Select Store and Channel > click on the Select button.
Step 3: Enter the POS Pin if you enabled Shift Management.
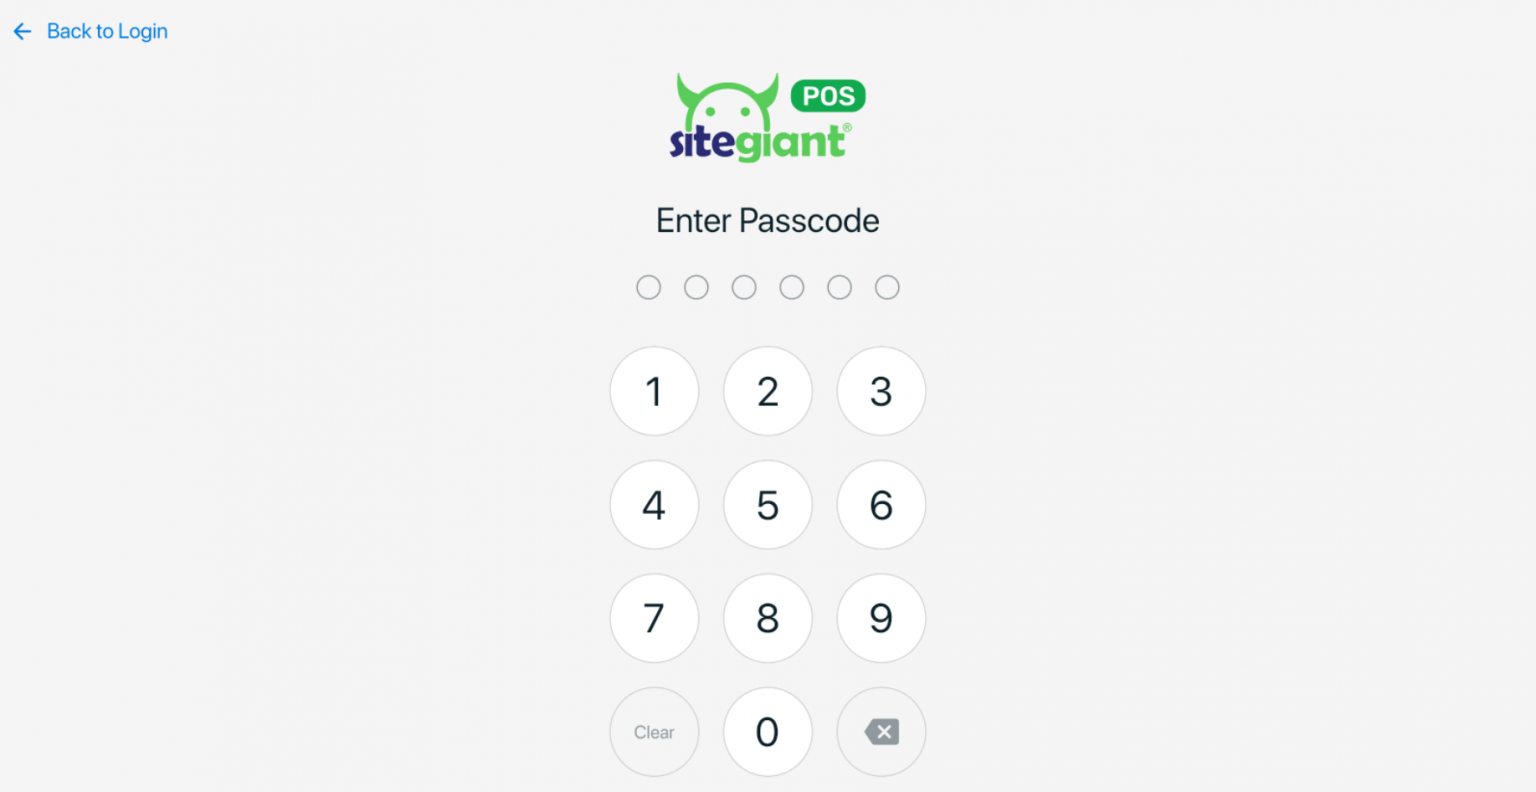
💡Tips: Learn More on How To Set Up SiteGiant POS Shift Management.
Step 4: SiteGiant POS interface is as shown:
💡Tips: Learn More on How To Manage SiteGiant POS Dashboard Builder.
3. POS Settings
Step 1: Navigate to Username > Settings.
I. General
The settings will only apply to your SiteGiant App and will not affect your SiteGiant account.
Step 1: Select your preferred Language, Order Currency, and App Orientation.
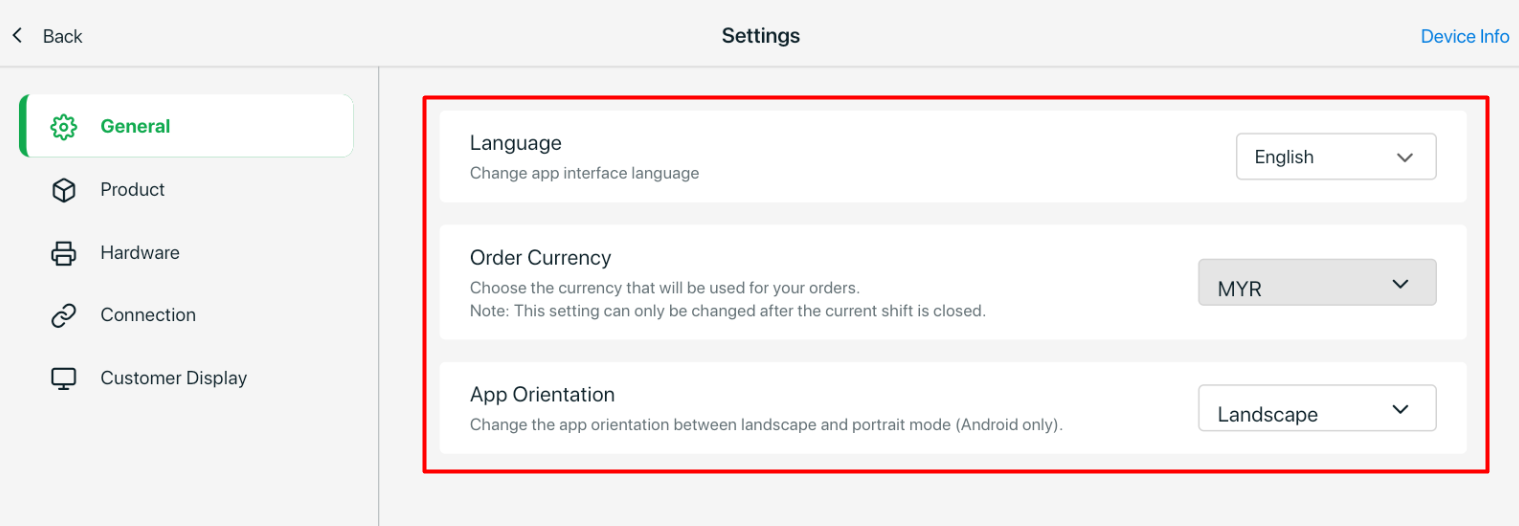
💡Tips: Learn more about How To Change The Order Currency.
II. Product
Step 1: Configure the Product settings as shown below.
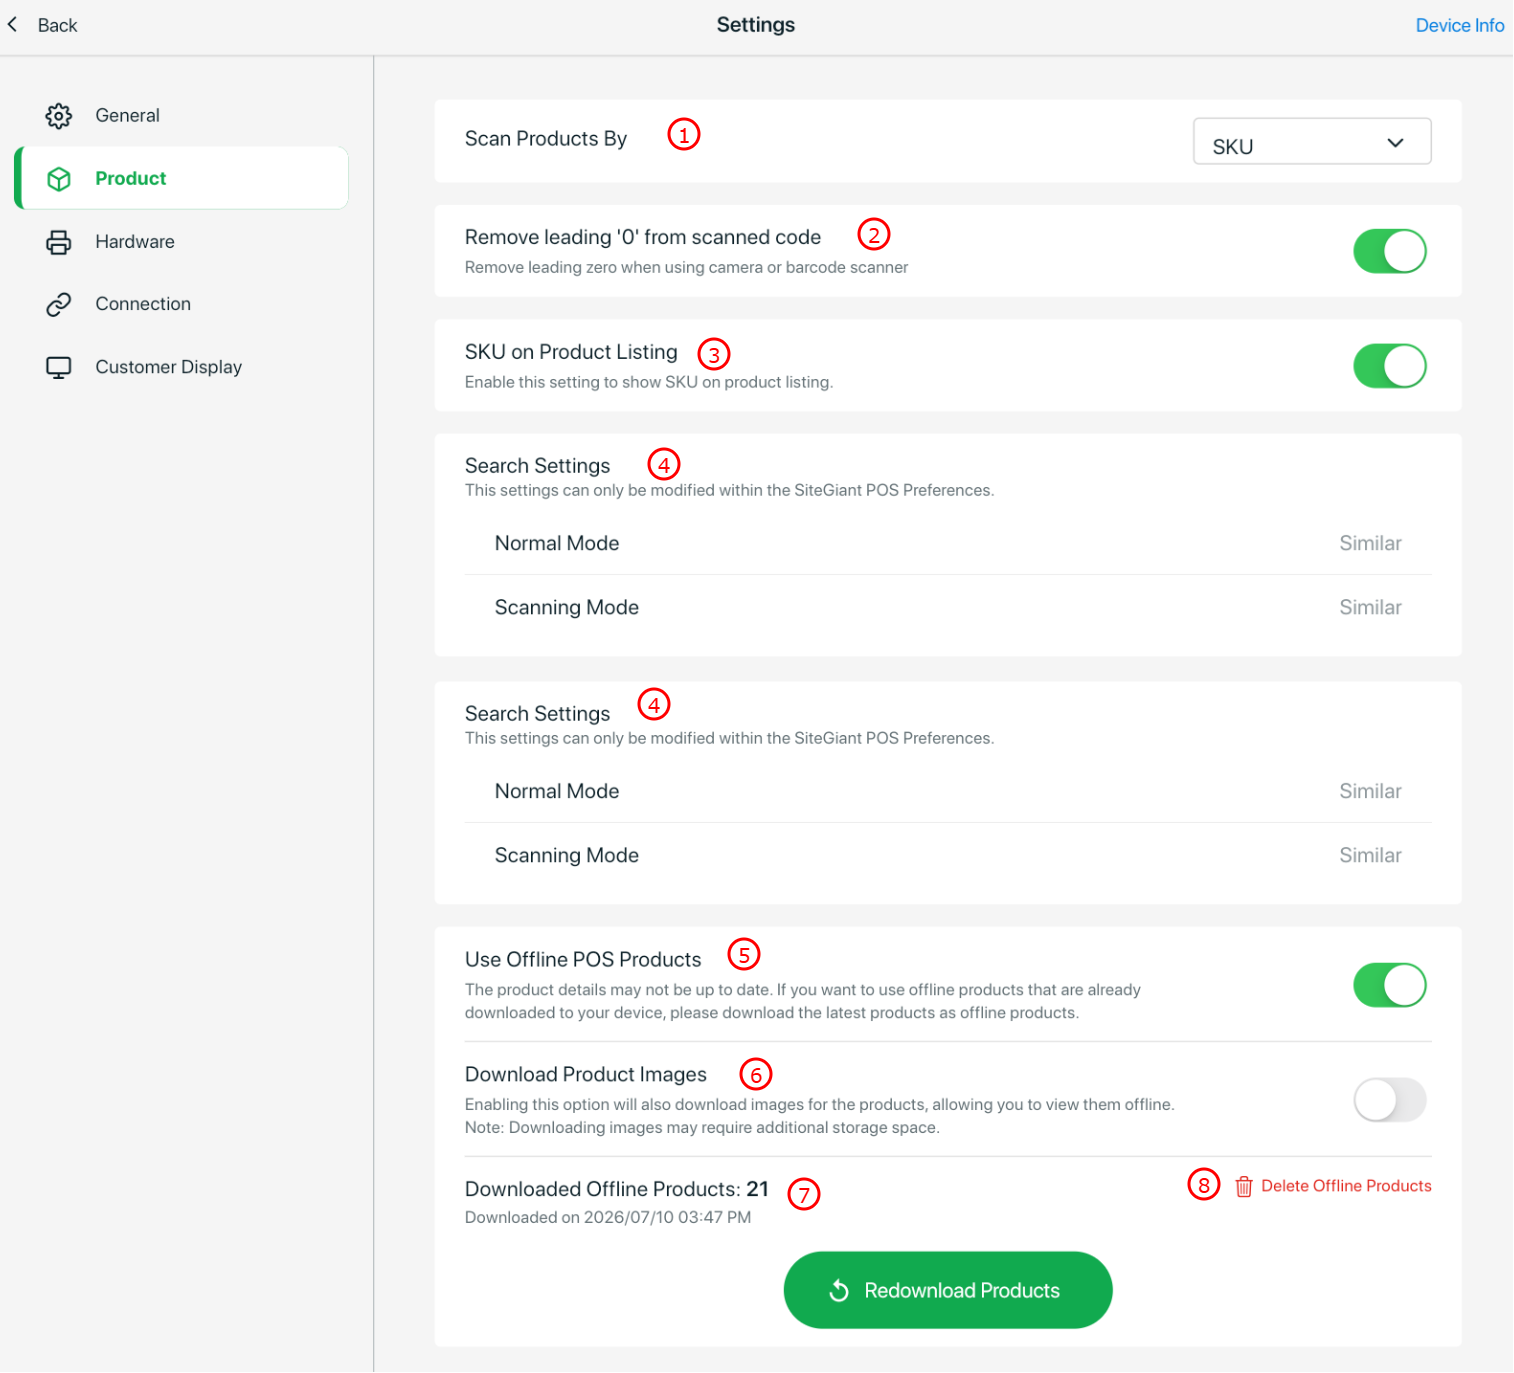
1. Scan Products By: Select the product identifier to use when scanning (SKU, UPC or iSKU).

2. Remove leading '0' from scanned code: If you are using iOS, enable this option to automatically remove the leading '0' from the scanned barcode to avoid the product not being found when there is an extra '0' at the beginning of the barcode.

3. SKU on Product Listing: Display the product SKU on the product listing page.

4. Search Settings: Configure how products are searched in the app. This setting can only be updated in the SiteGiant POS Preferences. Learn more in How To Update Search Settings.

5. Use Offline POS Products: Enable offline mode to use downloaded POS products without an internet connection.

6. Download Product Images: Download product images for offline use.

7. Downloaded Offline Products: You can see the last date and time that the system downloaded the offline products. If you want to manually download offline products, click Redownload Products.
(Note: This action can only be performed when your SiteGiant POS is in ONLINE mode.)

8. Delete Offline Products: This action will delete all downloaded products from the SiteGiant Offline page.
III. Hardware
Step 1: Configure the Hardware settings as shown below
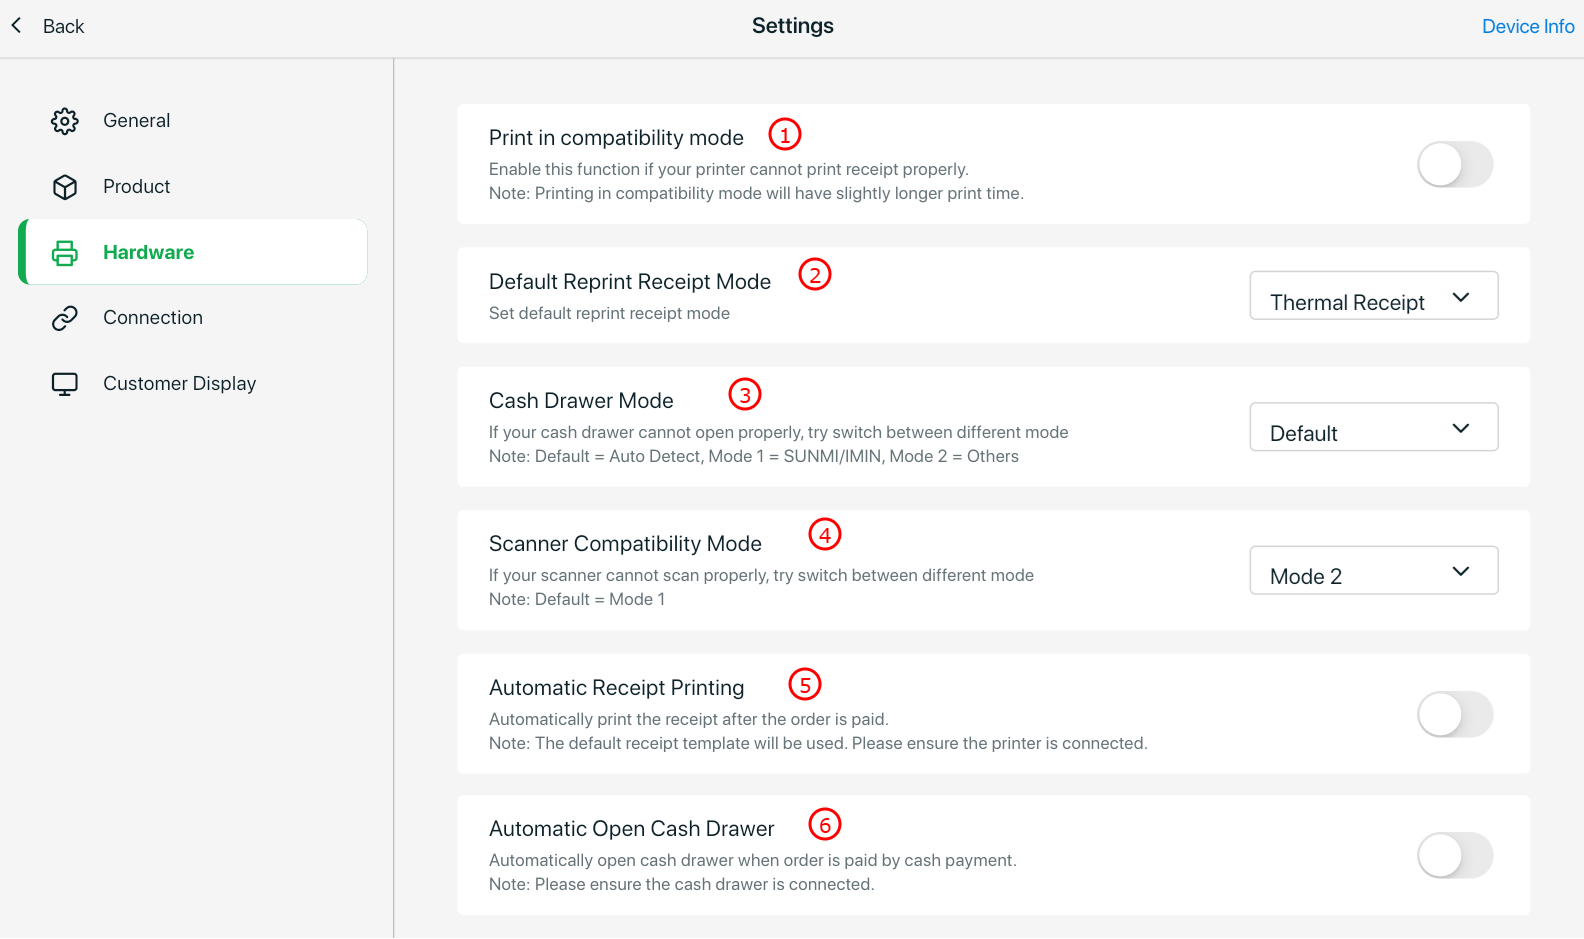
1. Print in Compatibility Mode: Enable this if the printer has compatibility issues or cannot print receipts properly.

2. Default Reprint Receipt Mode: Set the default receipt type for reprinting, either A4 Invoice or Thermal Receipt.

3. Cash Drawer Mode: Configure this setting if the cash drawer cannot open properly.

4. Scanner Compatibility Mode: Change the mode if the scanner cannot scan properly.

5. Automatic Receipt Printing: Enable this option to automatically print the receipt after the order status is updated to Paid.

6. Automatic Open Cash Drawer: Enable this option to automatically open the cash drawer after the order status is updated to Paid with cash payment.
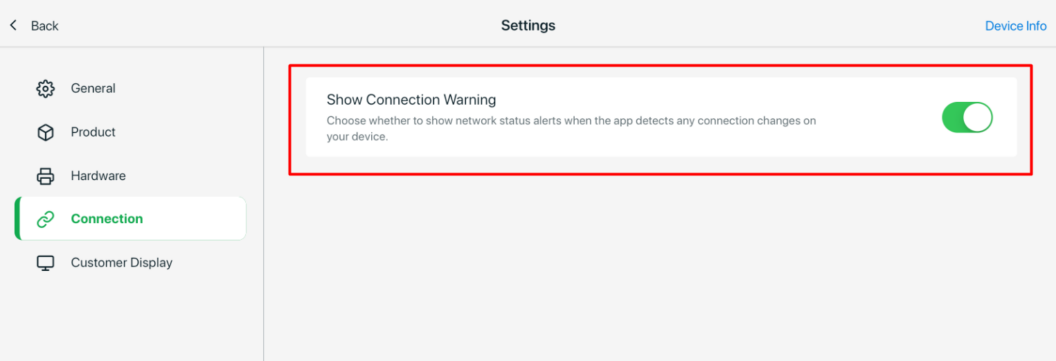
IV. Connection
Step 1: Enable the Show Connection Warning option to receive notifications when the app detects any connection changes on the device.
V. Customer Display
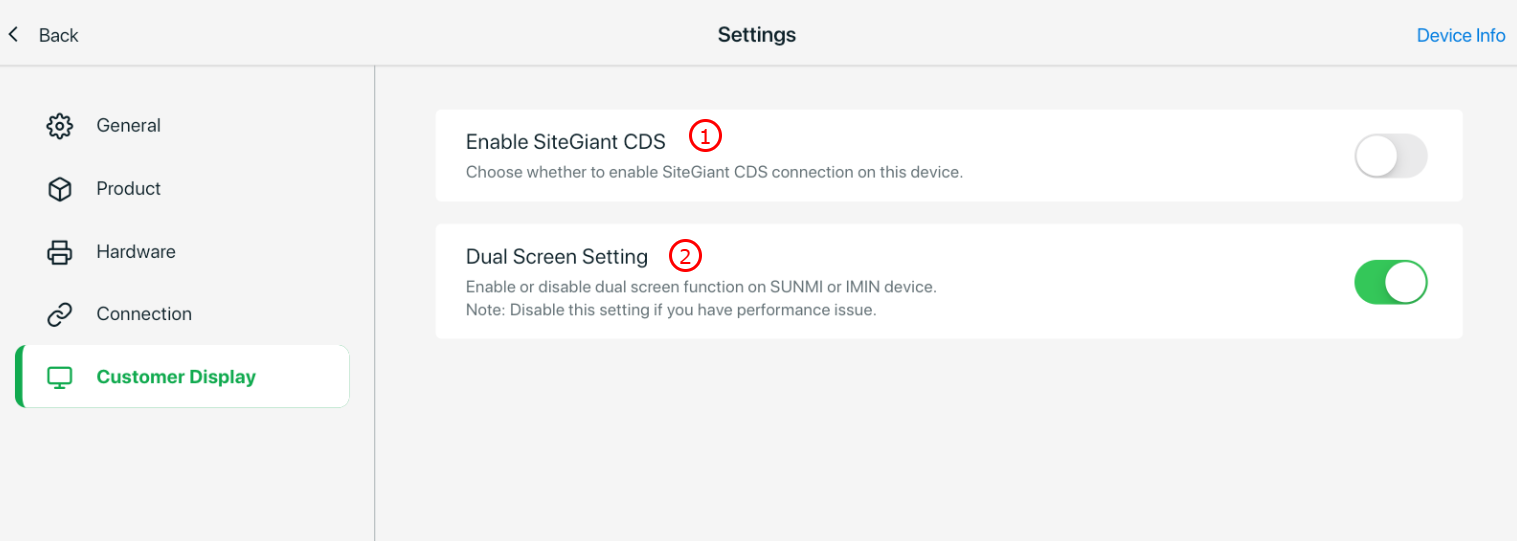
1. Enable SiteGiant CDS: Enable this option to connect SiteGiant CDS with your device. Learn more in How To Use SiteGiant CDS.

2. Dual Screen Setting: If using a SUNMI or IMIN device, enable this option to activate the dual screen.
4. Add Product To Cart
Step 1: Navigate to Products tab > Click on the product to add it to the cart. Select the option if your product has variants > adjust the quantity > Add to Cart. You can also long press the product to adjust the quantity > Add to Cart.

Step 2: If you wish to modify the product from the cart, click on the product to modify > Update Cart. If you wish to remove the product from the cart, click on the product > Remove from Cart, or simply swipe right on the product in the cart.
Step 3: If the customers change their mind about the purchase, you can click on Discard Sale to clear all the products from the cart.
Step 4: If the customer is not ready to make payment after adding the product to the cart, you can Hold the cart temporarily and proceed with a new order. When it is ready to make payment, you may click on More > Holding List and Resume.
5. Apply Discount
Step 1: You may apply a discount for each product by clicking on the product > tick Apply Discount > choose by Percentage, Amount or Change Price.
Step 2: You may also apply a discount to the entire cart by clicking on More > Apply Discount > set discount by Percentage or Amount > Apply.

6. Add Voucher
This feature is only available in SiteGiant OMO Essential Plan and above.
Step 1: You may also apply a voucher for the customer by clicking … More Actions > Add Voucher > Select Voucher either from Store or Customer.
7. Add Custom Sale
Step 1: Sometimes you might need to add sales for other products that are not in the product list or inventory. Click on More (…) > Add Custom Sale > fill in the Product Name, Price, Quantity, and tick Taxable Product (Optional) > Add to Cart.
8. Add Remark
Step 1: You may add a remark to the order by clicking on More > Add Remark > enter the Remark > Apply.
9. Checkout And Payment
Step 1: Click on the Pay button when the customer is ready to checkout. Select the payment method that the customer uses to make payment.

📌Note: The payment method can be added in SiteGiant POS channel > Preferences > Payment Methods. For Split Payment, may refer to How To Split Payments In SiteGiant POS.
Step 2: The amount of change will be shown. You may choose to Print Invoice (A4), Bluetooth, Wi-Fi, or USB Print to print thermal receipt (58mm/ 80mm). You may also send an invoice via email by inputting the customer’s email address > Apply. Once done, click on Complete.
💡Tips: Learn more on How To Connect Thermal Printer With SiteGiant POS.
📌 Note: You can set automatically print receipt after click on the Pay button. Navigate to Username > Settings > enable Automatic Receipt Printing. The receipt will be generated using the default receipt template set in SiteGiant POS channel > Preferences > Receipt Templates.
10. View Order Records
Step 1: If you wish to view and manage the past transaction records, you may navigate to User Name > Transaction > click on the Order ID. You may reprint the receipt or invoice, send an email invoice, reorder, and cancel the transaction.
Step 2: The order can also be found in SiteGiant Seller Center > All Orders.