
1. Introduction
2. Add New SiteGiant POS Listing
3. Additional Information
1. Introduction
After setting up SiteGiant POS in the Sales Channel, you can create product listings in SiteGiant POS Listing to sell in SiteGiant POS system.
📌Note: You must have the inventory items ready before creating your products. Learn more on How To Create Inventory Item.
2. Add New SiteGiant POS Listing
Step 1: Navigate to Products > SiteGiantPOS Listing > Add Product.

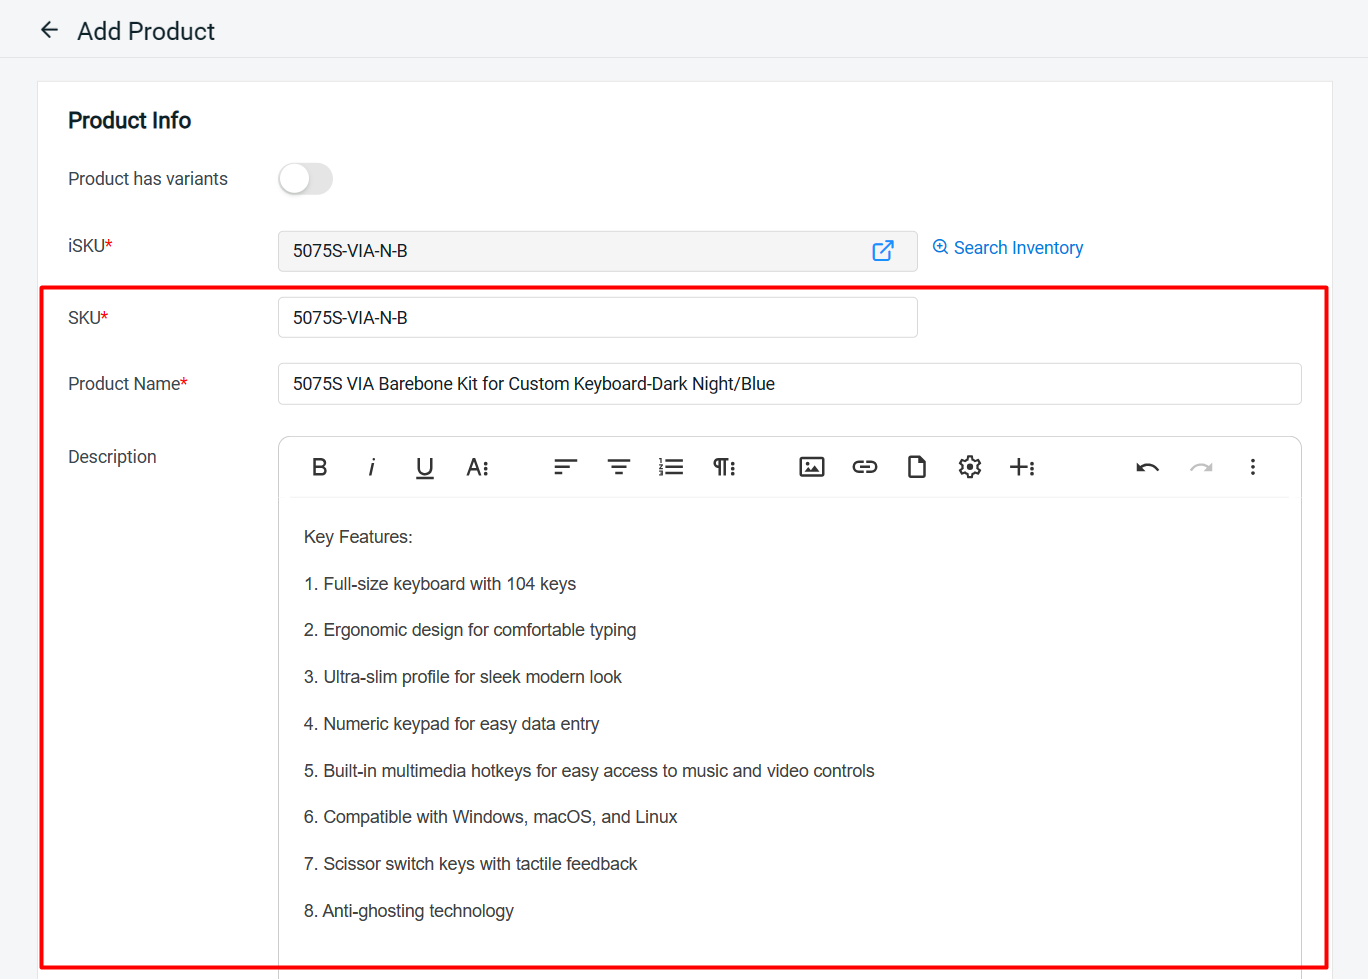
Step 2: If your product has variants, enable the Product has variants status. Otherwise, click the Search Inventory to link the product with Inventory iSKU.
Step 3: Fill in the SKU, Product Name and Description.
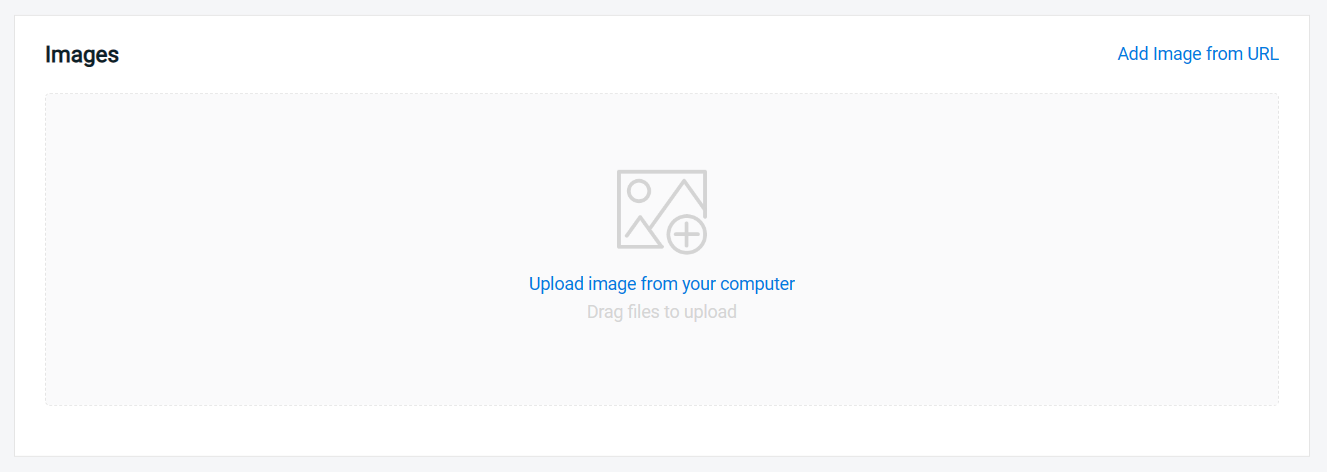
Step 4: Upload your product images (Recommended: Image size less than 2MB).
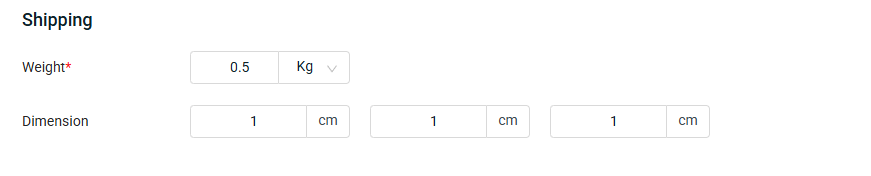
Step 5: The Weight and Dimension will be auto-generated based on the selected inventory item.
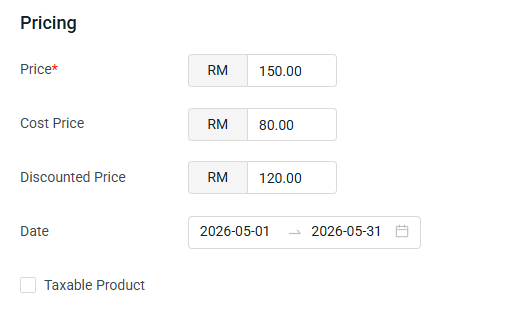
Step 6: For products without variants, the Price and Cost Price will be automatically generated based on the selected inventory item. You can set the promotional price under Discounted Price and update the promotion duration. If it is an all-time promotion, kindly leave the date fields blank.
Step 7: The Stock Quantity will appear based on the selected inventory item.
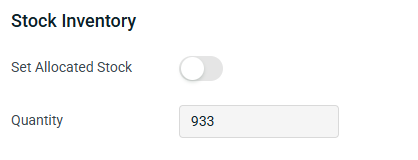
📌Note: If you wish to allocate a certain quantity of stock to sell on SiteGiant POS, enable the Set Allocated Stock and allocate the stock quantity.
Step 8: For products with the Variant toggle enabled, a Variation section will be available. Insert the variant name and variant options accordingly. You may click on the square box to upload the variant image.
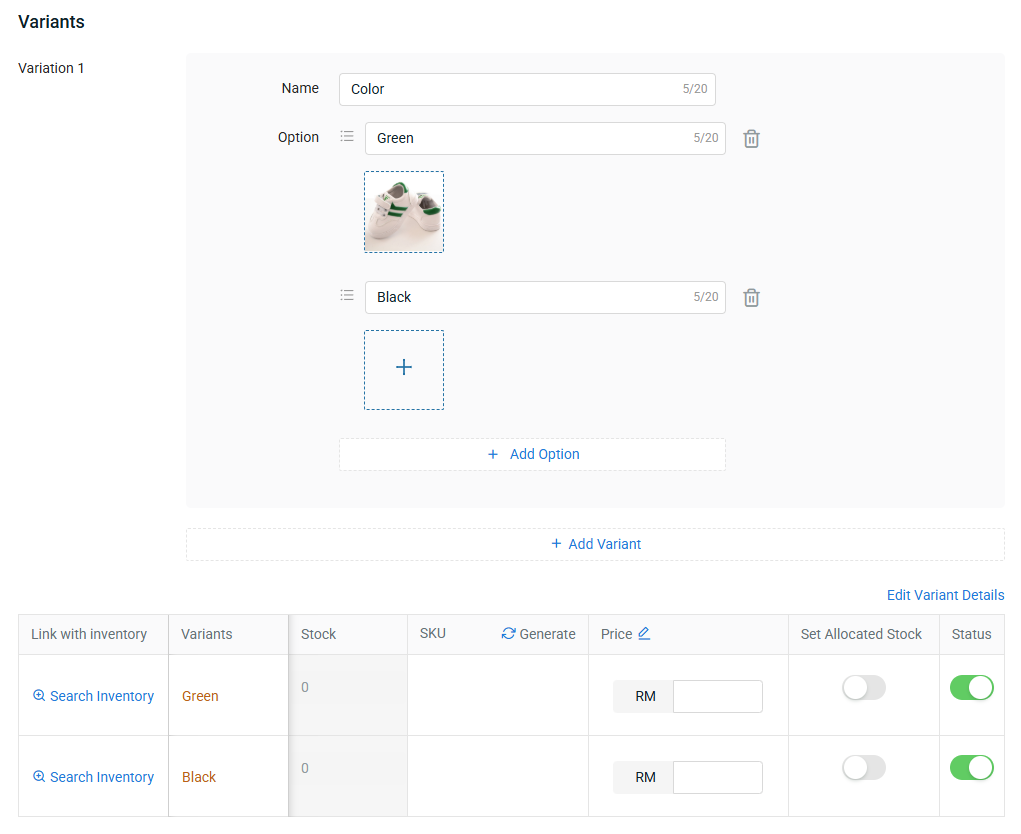
💡Tips: You can drag and drop the variant options to adjust their sorting, which will be reflected on SiteGiant POS App.
Step 9: Click on Search Inventory and Link each variant with the inventory item created for it.
Step 10: Click on Edit Variant Details to edit more information.
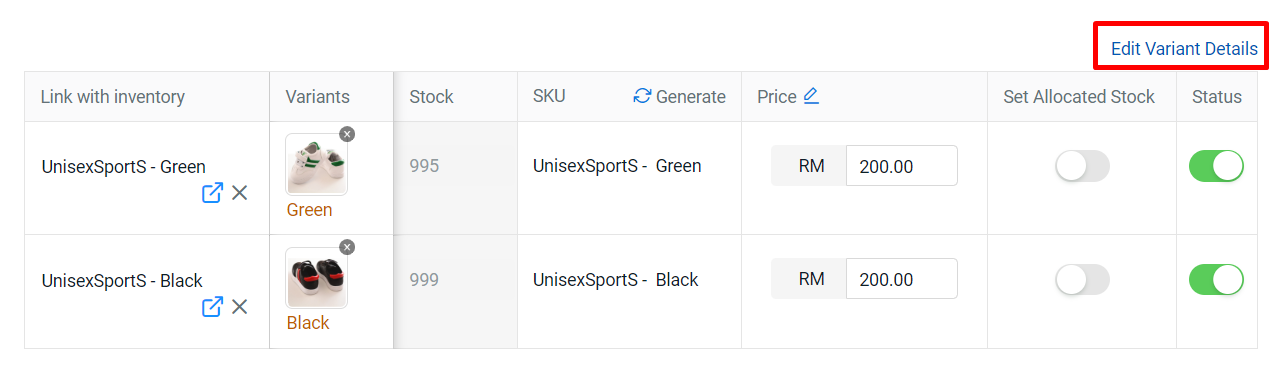
Step 11: You can edit the Discounted Price, Promotion Date, Weight, and Dimensions for the variant > once done, click Save.

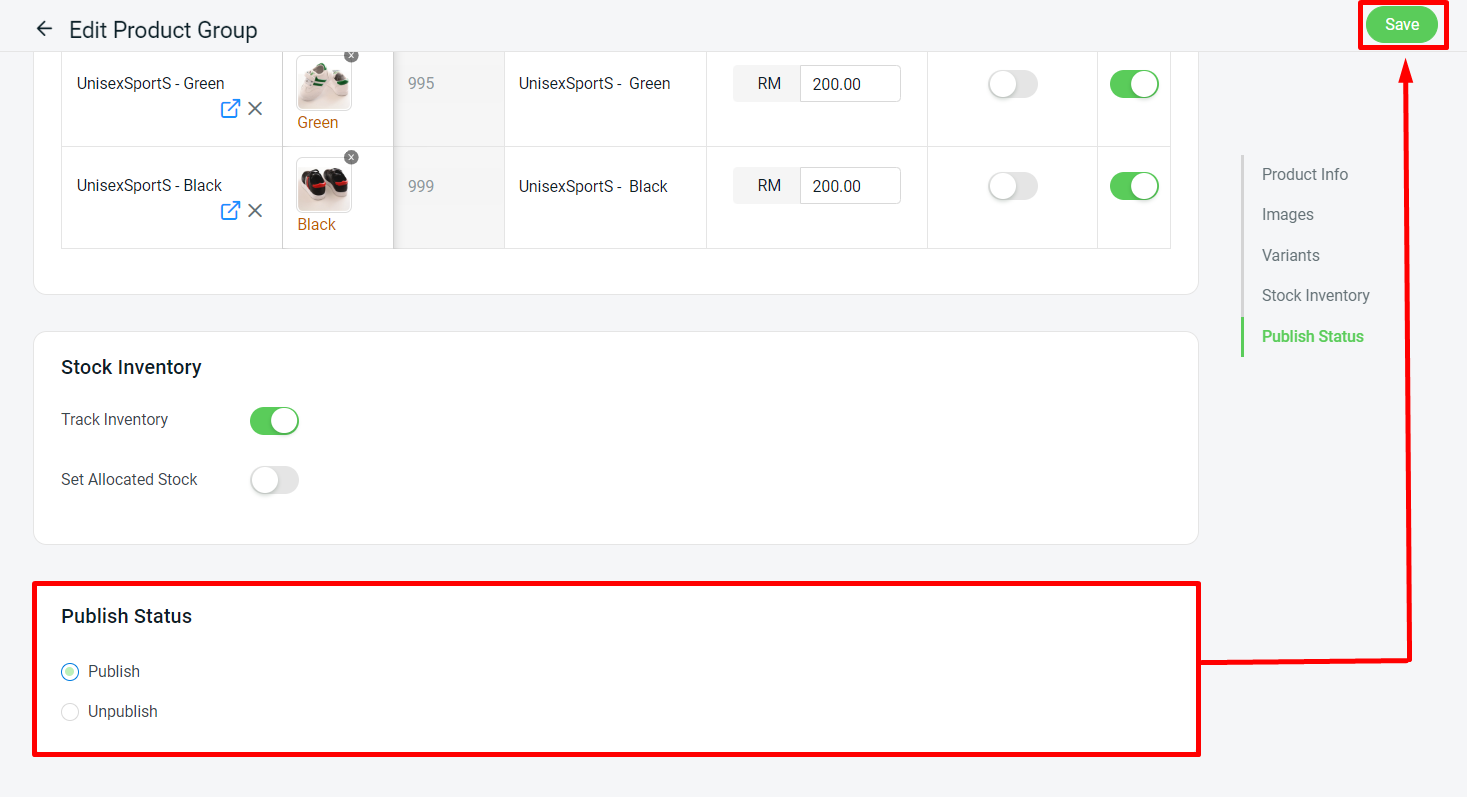
Step 12: Set the Publish Status > Save.
📝Additional Information
1. Bulk Copy Listing
If you are selling in Webstore, Shopee and Lazada channels, you can copy products from these Product Listing to SiteGiant POS Listing. Learn more on How To Use Bulk Copy Listing.
2. Print Barcode Label
Step 1: Tick product > click Print Barcode
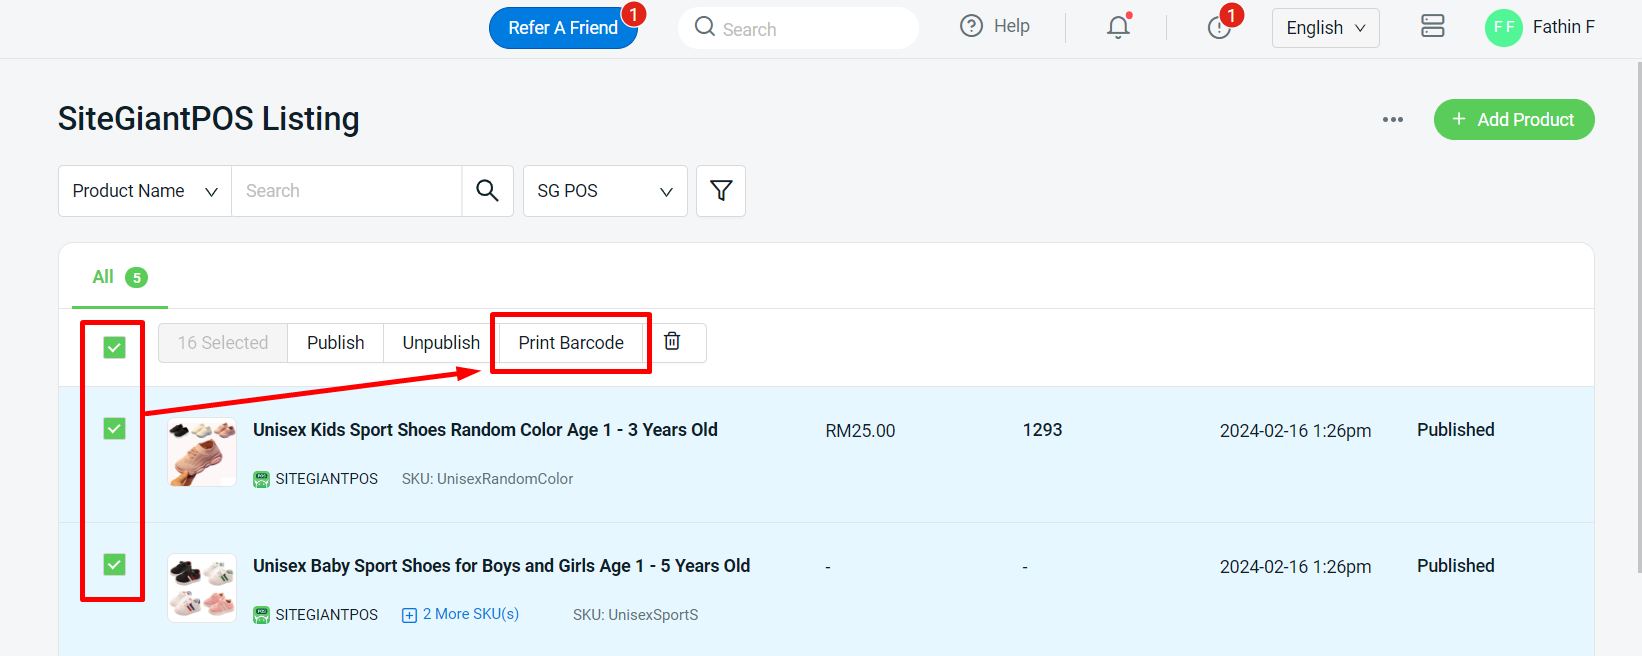
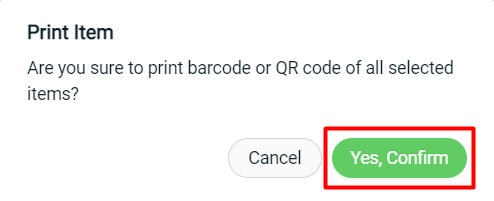
Step 2: Click on Yes, Confirm to proceed
Step 3: Click on the barcode icon of the item to preview > click on the Print Barcode button to proceed with printing
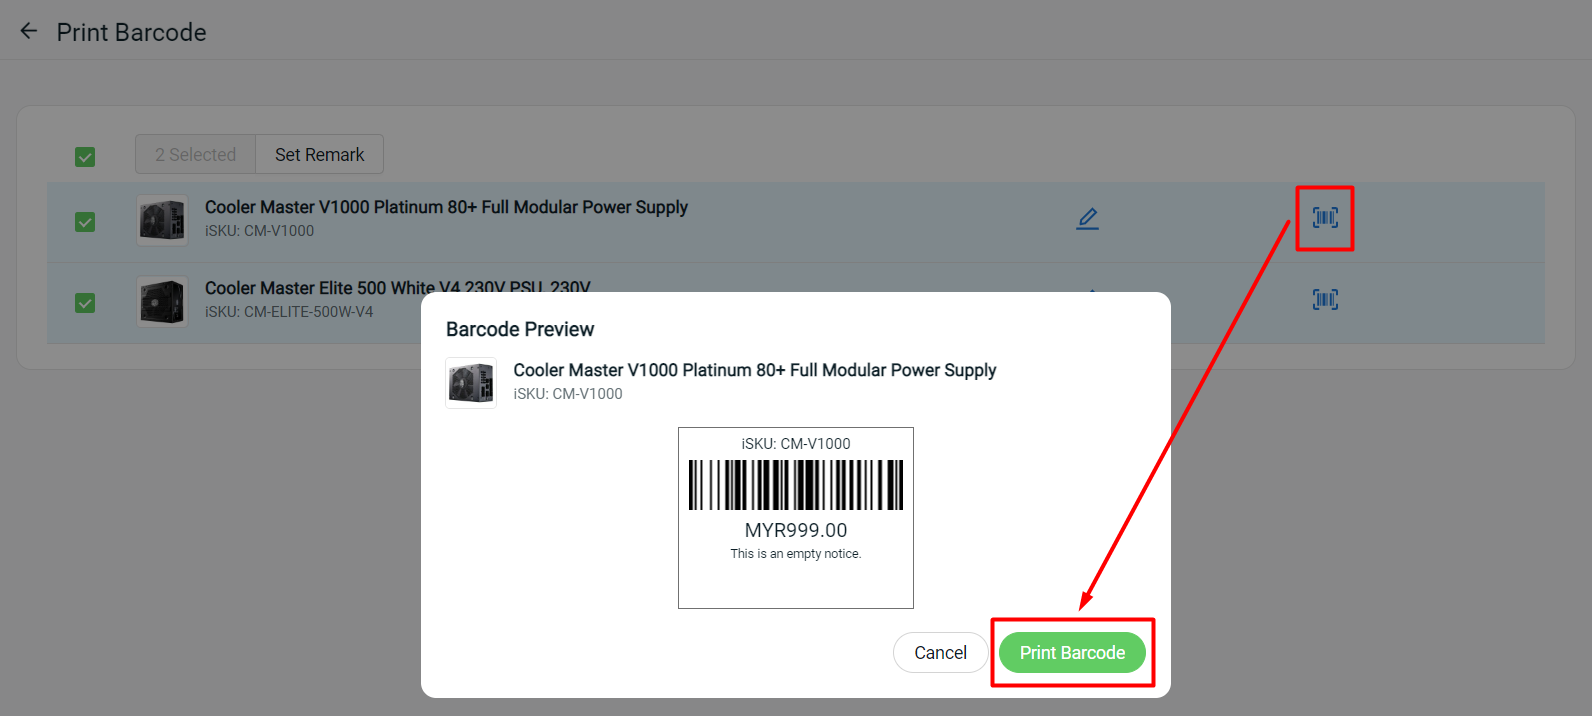
📌Note: The barcode label will have to preview and print item by item
💡Tips: Learn more on how to set Print Barcode Label