1. Introduction
2. Serial Number Setting
3. Print Out Invoice With Serial Number
1. Introduction
A serial number is a unique identifier assigned to every item or product. It provides a unique code that distinguishes one item from another, even if they have the same make and model. So, if you want to enter the serial number on your SiteGiant Pos receipt, see the guide below.
2. Serial Number Setting
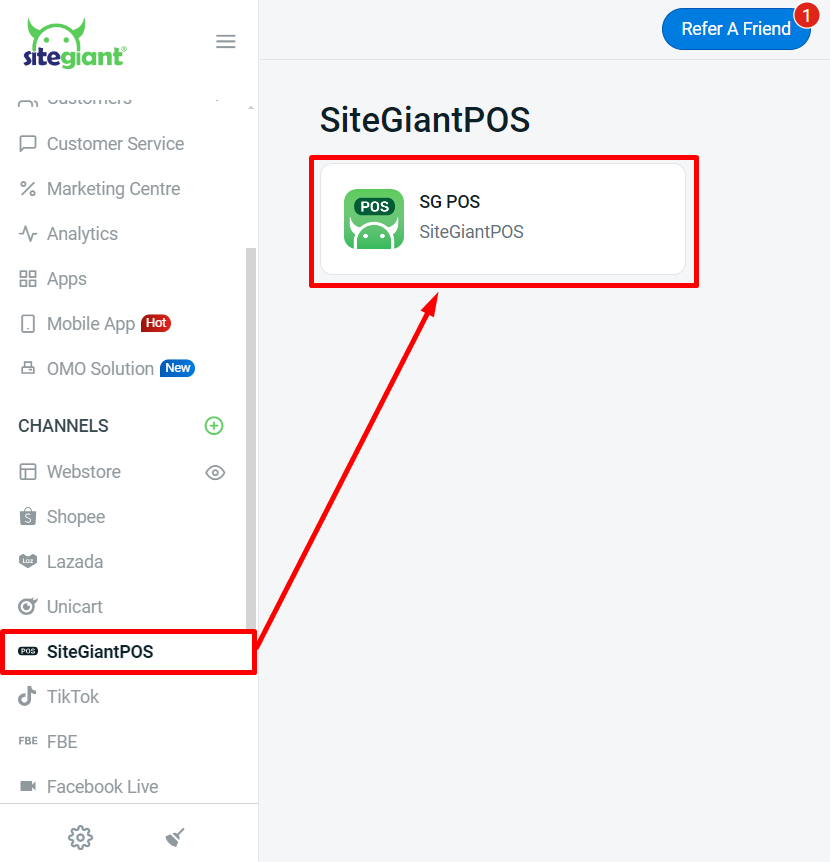
Step 1: Navigate to SiteGiant Pos on the sidebar menu > click SG Pos.
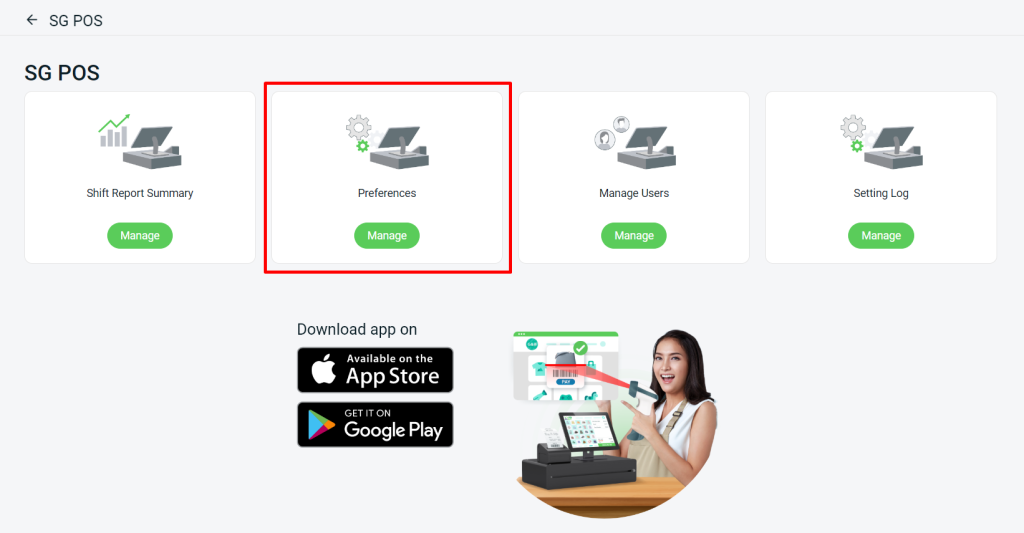
Step 2: Click Preferences.
Step 3: Under the General Settings section enable Insert Serial Number > select the setting option.
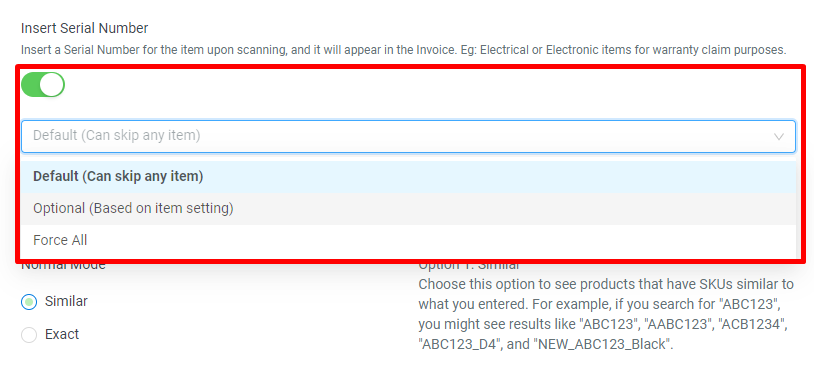
Type I: Default (Can skip any item)
When you disable the required serial number in the inventory item listing settings, you will still be able to see the insert serial number icon. However, this type does not require entering the serial number when placing your order.
Type II: Optional (Based on item setting)
The serial number icon will only appear for products that have enabled the required serial number in the inventory item listing settings. It is required to enter the serial number for this product before placing the order.

Type III: Force All
If you disable the required serial number in inventory item listing settings, you will still see the insert serial number icon. However, this type is required when entering the serial number. If the serial number is not updated, you will receive an error when placing an order.
💡Tips: Learn more on how to set the Required Serial Number in inventory item listings.
3. Print Out Invoice With Serial Number
Step 1: Tick the Serial Number in the receipt setting under Preferences.

💡Tips: Learn more on how to set SiteGiant POS Receipt.
Step 2: Once you click Pay > click Print Receipt. The invoice will be updated with a serial number.