
1. Introduction
2. Blog Settings
3. Add New Blog Post
4. Manage Categories
5. Display Blog Post On Webstore
1. Introduction
Providing informational and relevant content to your webstore is a great way to show customers that the webstore is updated, informative, and useful. Blogs can provide answers to the most common and the most obscure questions customers have. Customers enjoy quick, easy reads that give them more information about something that interests them. It’s a fun way to learn and provides entertainment.
2. Blog Settings
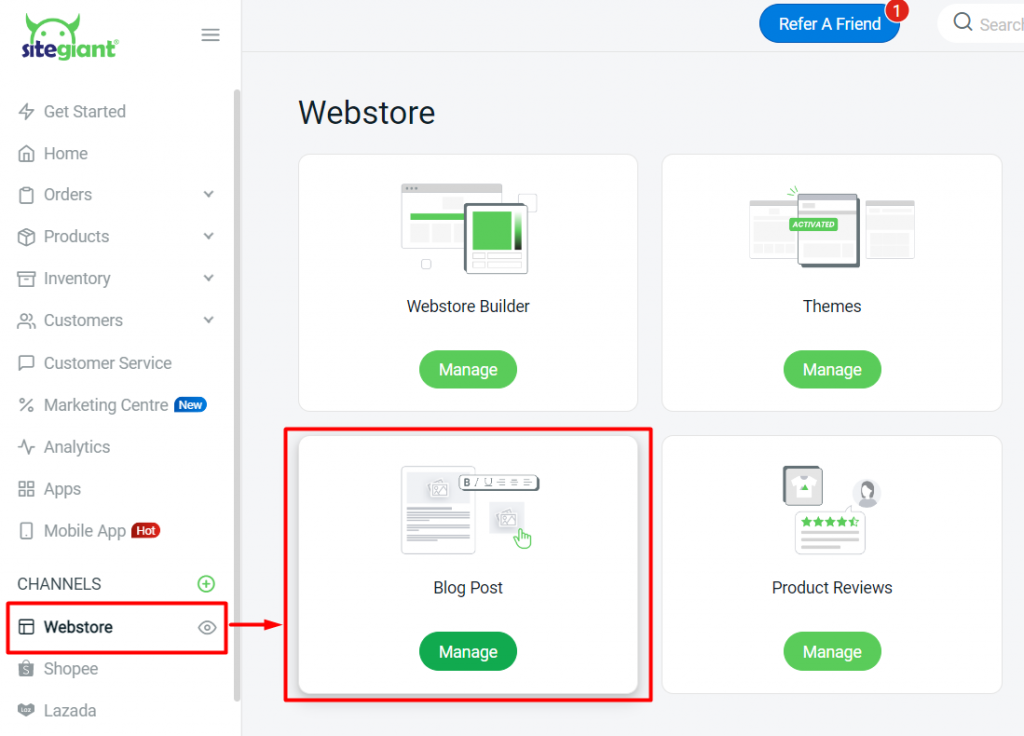
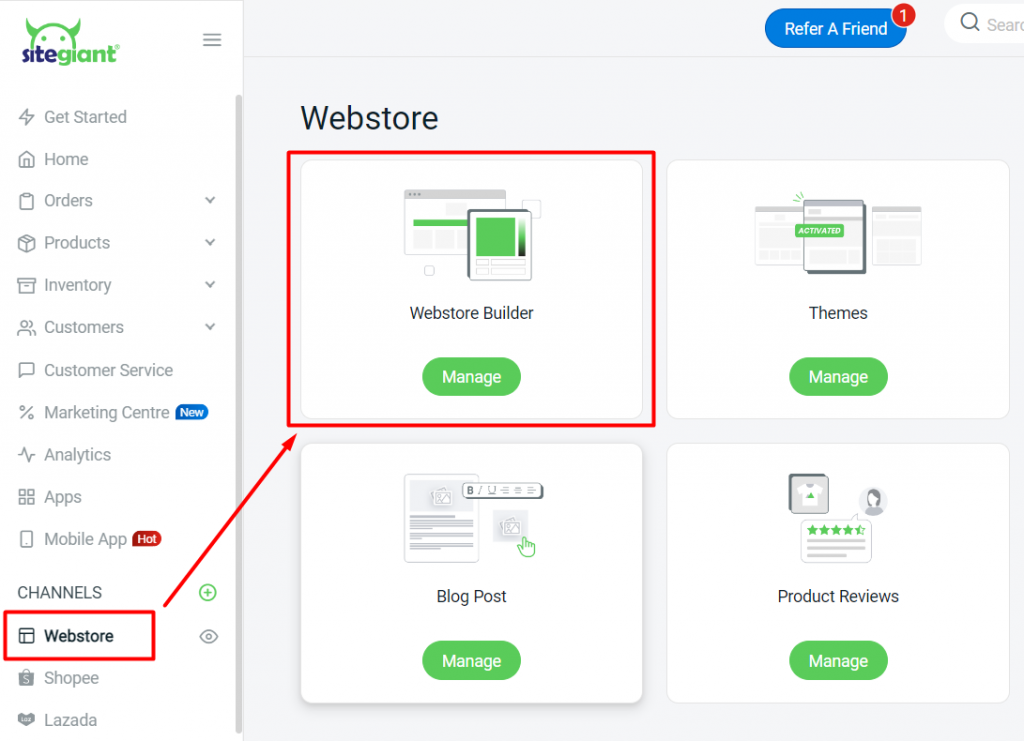
Step 1: Navigate to Webstore on the sidebar menu > Blog Post.
Step 2: Click on more (…) > Settings.

Step 3: Select Settings > click Save.
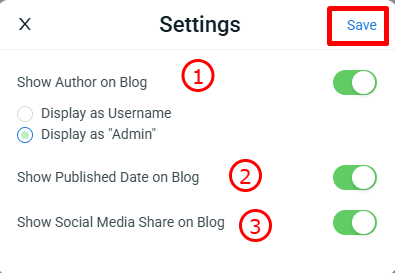
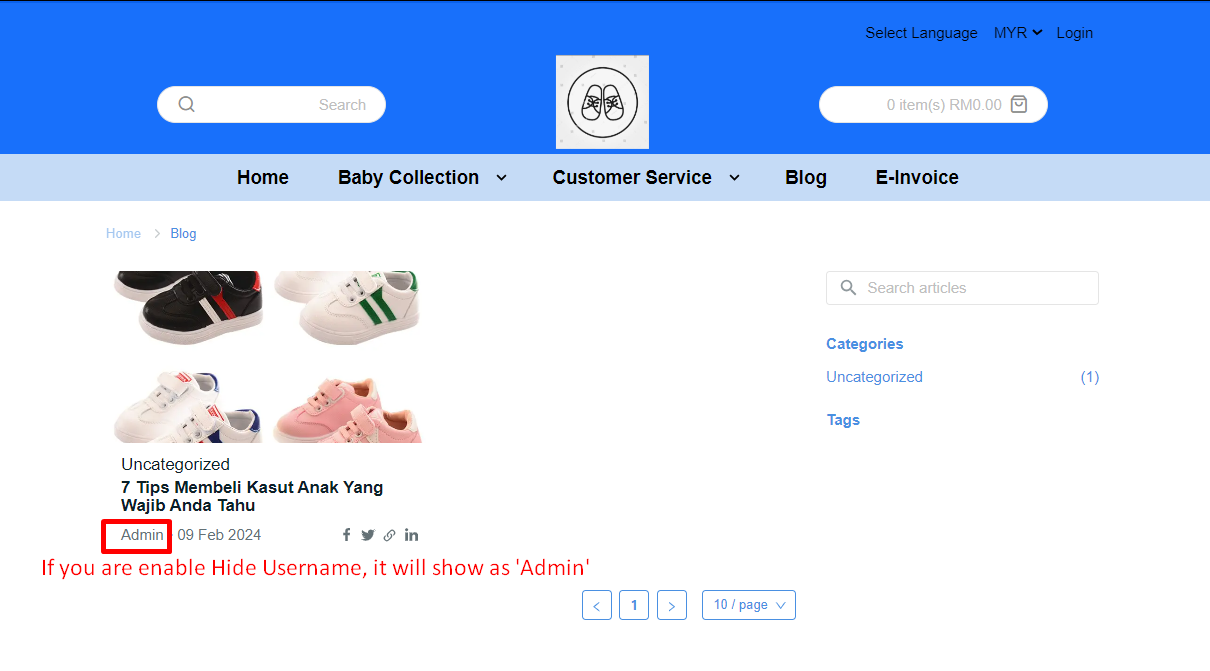
1. Show Author on Blog: You can choose whether to display the author’s username on the blog, or show it as ‘Admin’ instead.

2. Show Published Date on Blog: Readers will be able to see the date the blog post was published.

3. Show Social Media Share on Blog: The social media sharing button will appear on the blog post, allowing readers to easily share the content on their social media platforms.
3. Add New Blog Post
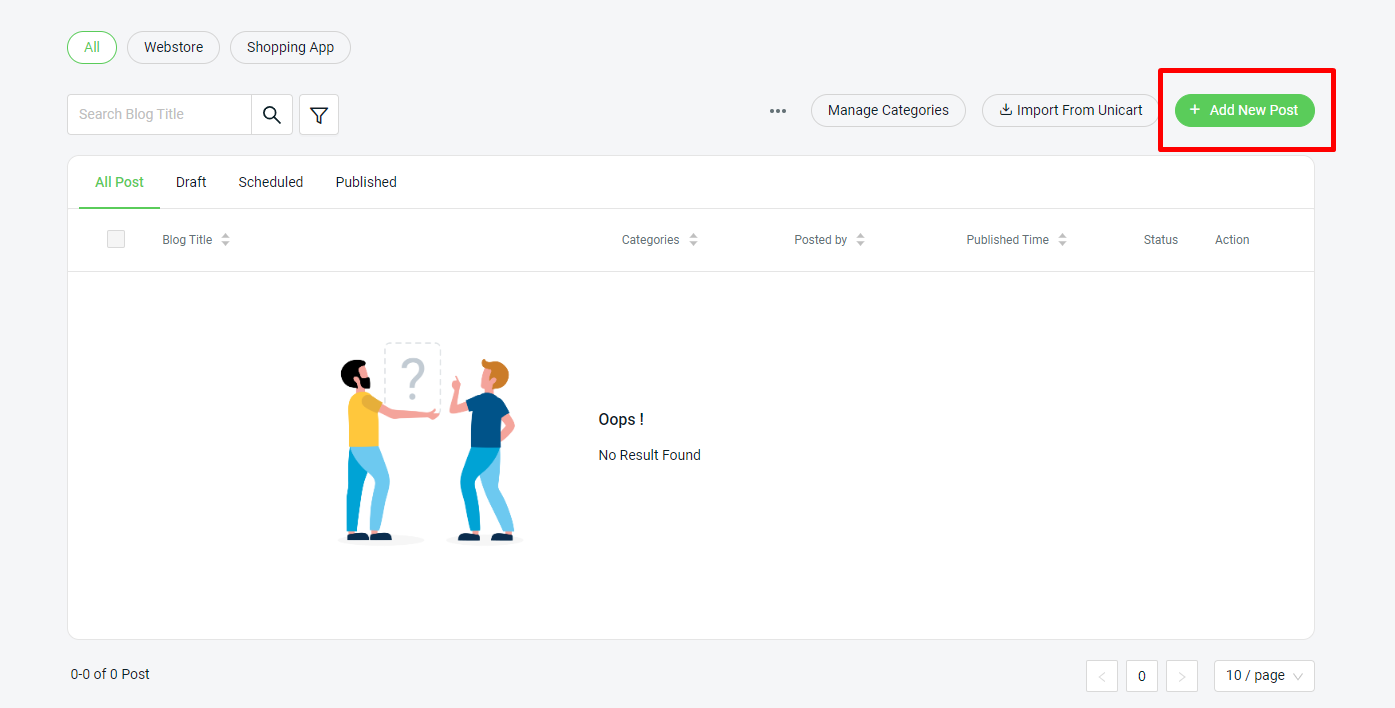
Step 1: Click on + Add New Post.
Step 2: Select Channel > upload the Image for the channel chosen as the cover image for your blog post > enter the blog Title > assign the blog Category > choose Tag and Customer Group (Optional).
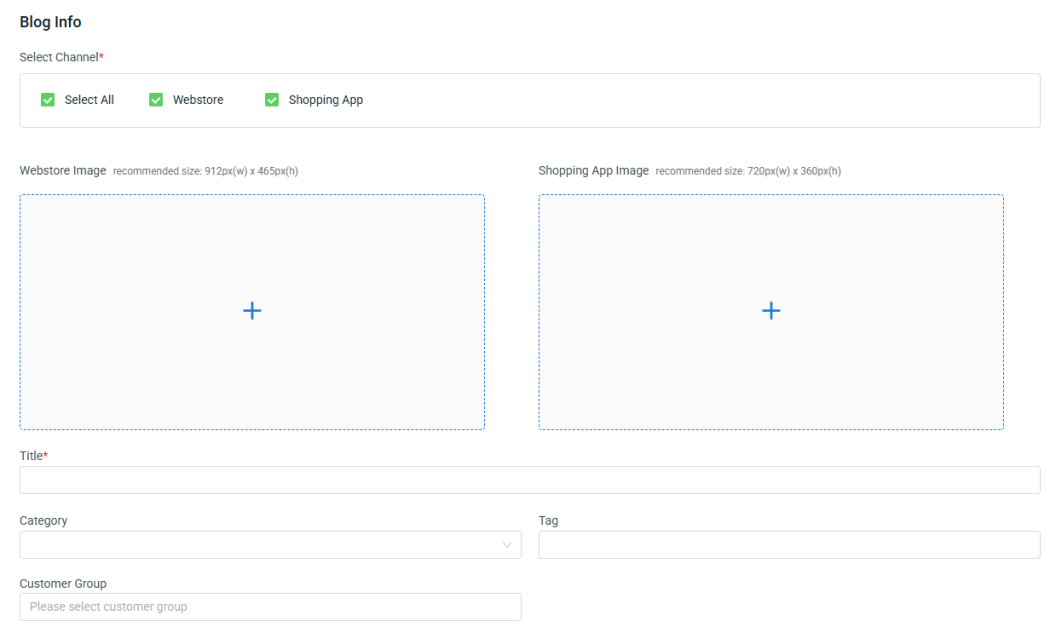
📌Note: The category of the Blog Post will be auto-assigned as Uncategorized if left blank.
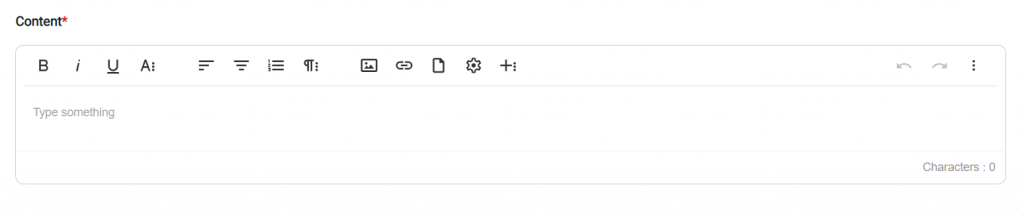
Step 3: Fill up the Content to begin your creative writing in this field and you may insert images or videos to increase the reading experience.
Step 4: The Title, URL and Handle will be auto-generated by your blog title as a quick link to access this blog post > fill up the Description as a summary of this blog post.
💡Tips: Learn more about How To Setup SEO for Webstore.
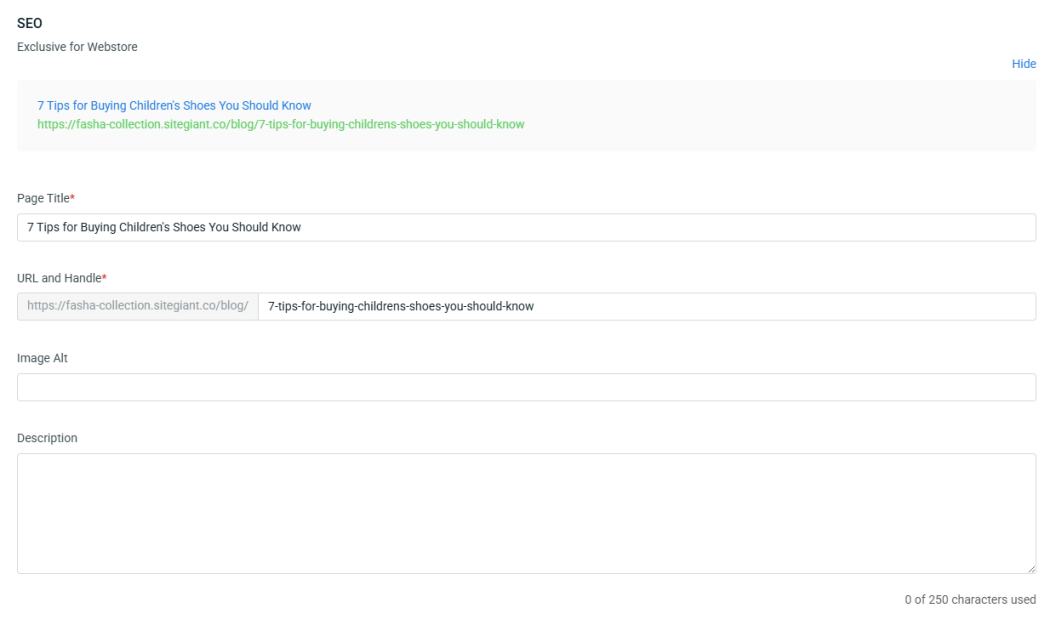
📌Note: SEO only needs to be filled in if you select the Webstore sales channel when updating the blog.
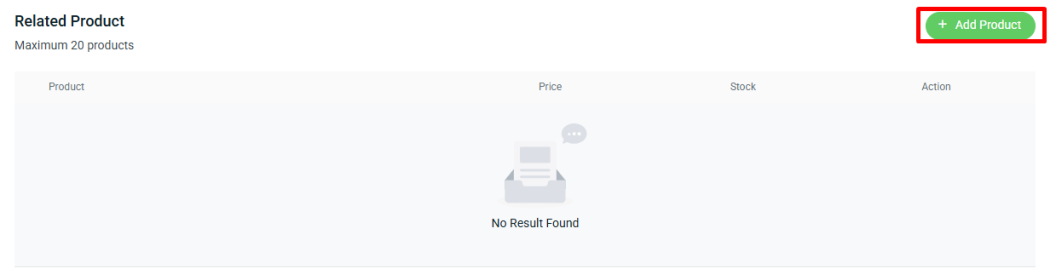
Step 5: Click + Add Product if you want to update the related products for the blog.
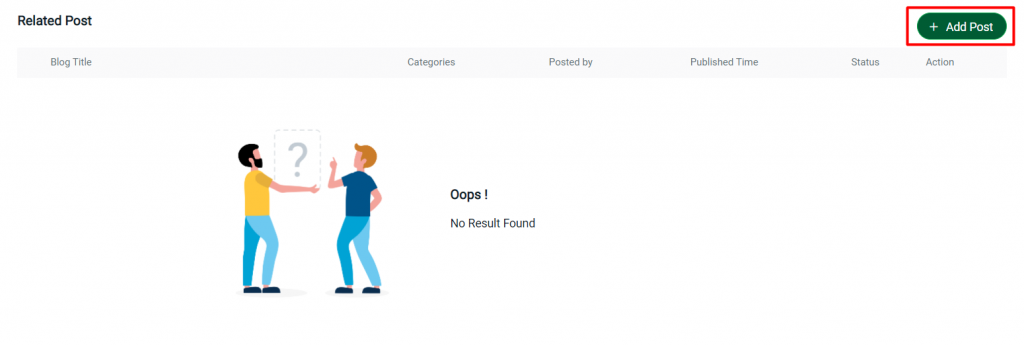
Step 6: Related posts can be added as a recommendation to customers or readers to explore more.
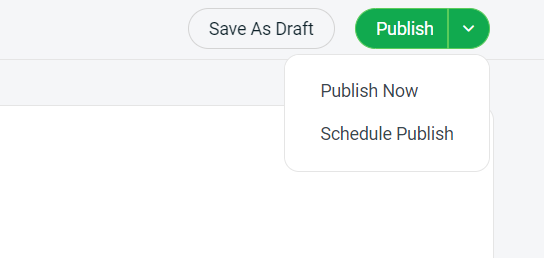
Step 7: Click on Publish Now or Schedule Publish to set a specific time to publish. If you do not wish to publish the blog post yet, you may click on Save As Draft to keep it as a draft.
4. Manage Categories
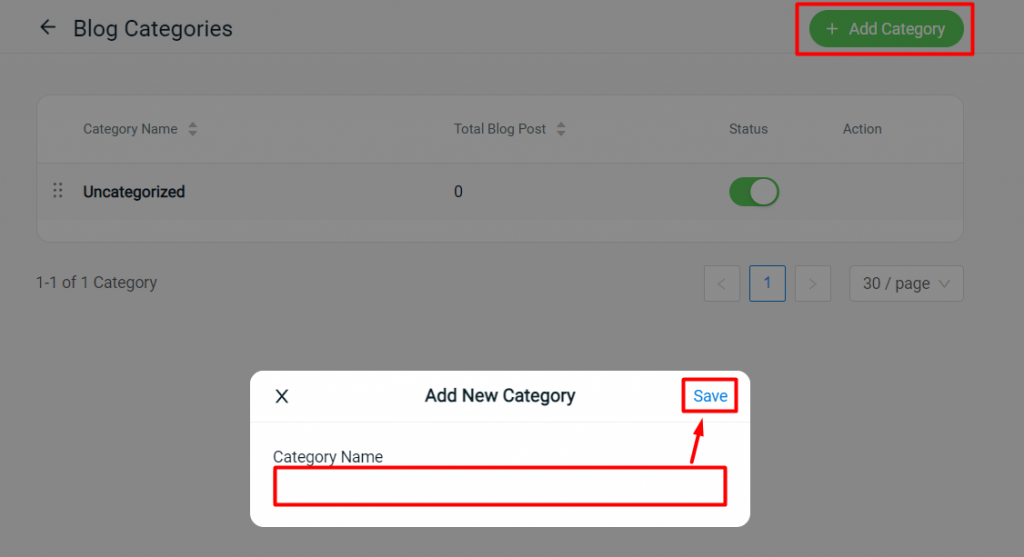
Step 1: You can also assign the categories for the blog post. Click on Manage Categories.

Step 2: Click on the + Add Category button > insert Category Name > Save.
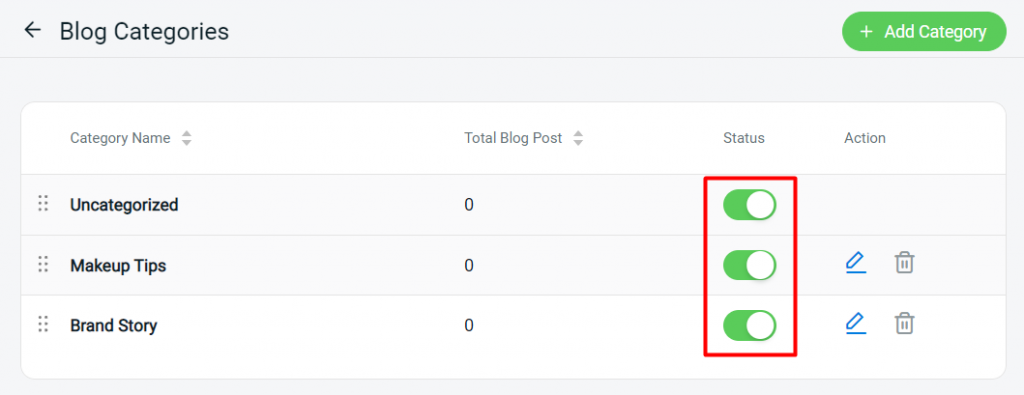
Step 3: Enable the status of the categories in order to show in Webstore.
Step 4: Choose the blog post > Change Categories.
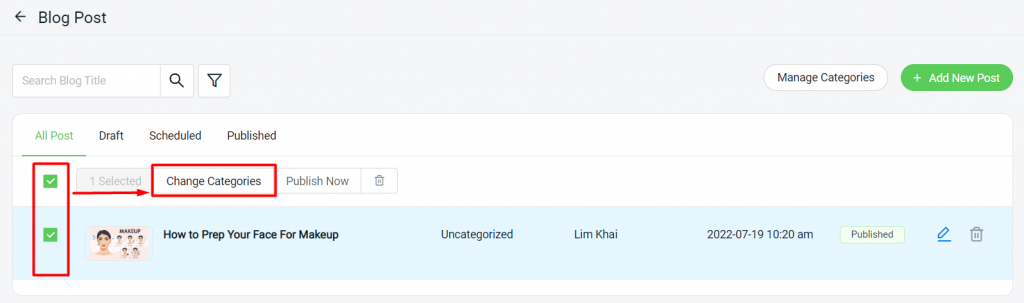
Step 5: Choose the Categories created > Save.

Step 6: Back to dashboard and Clear Cache to see the changes on your Webstore.
5. Display Blog Post On Webstore
Display on Menu
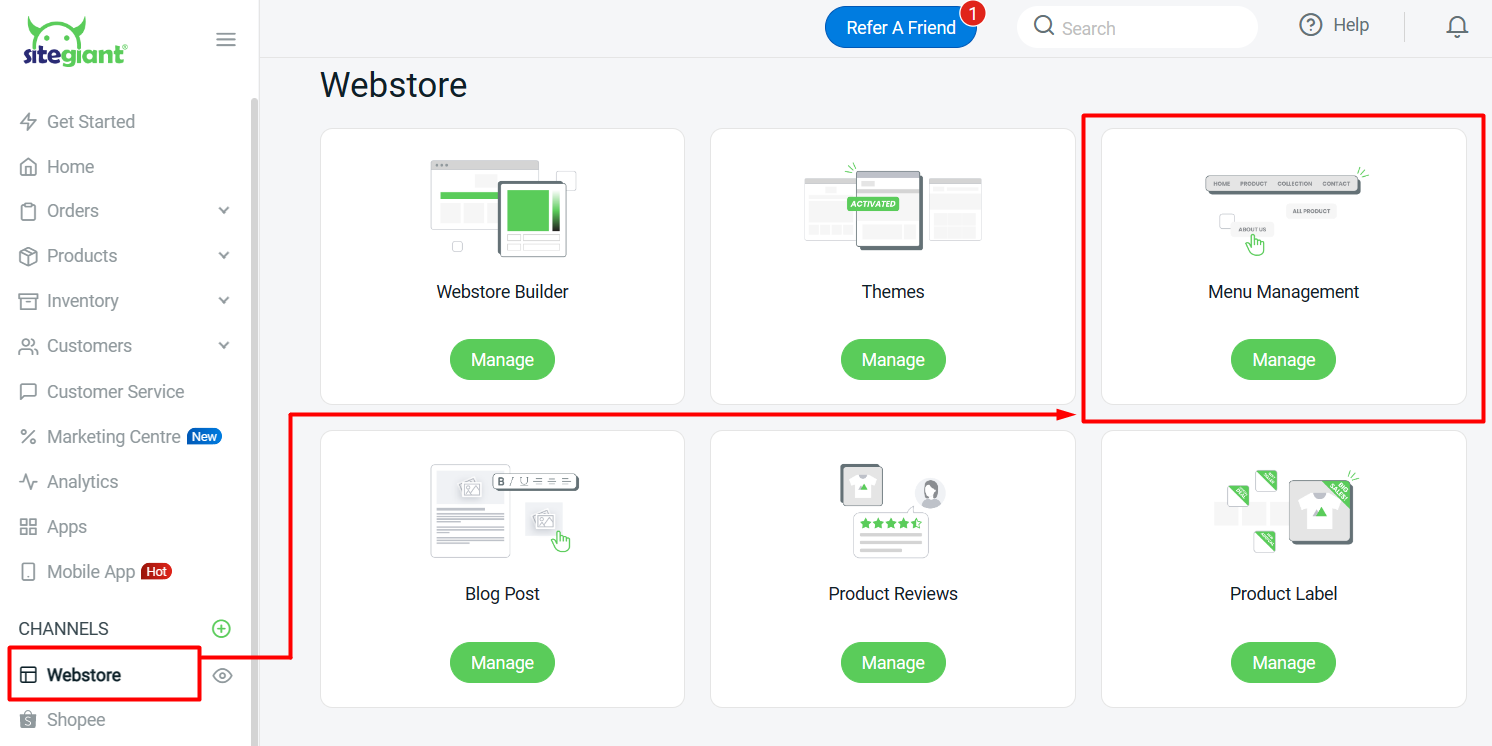
Step 1: Navigate to Webstore > Menu Management.
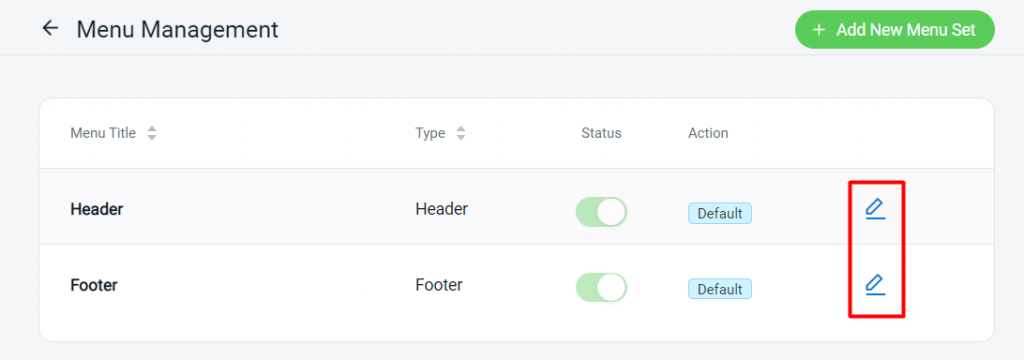
Step 2: Click on the Edit button of the Menu e.g. Header.
Step 3: Under Menu Set, click on + Add Menu Item.
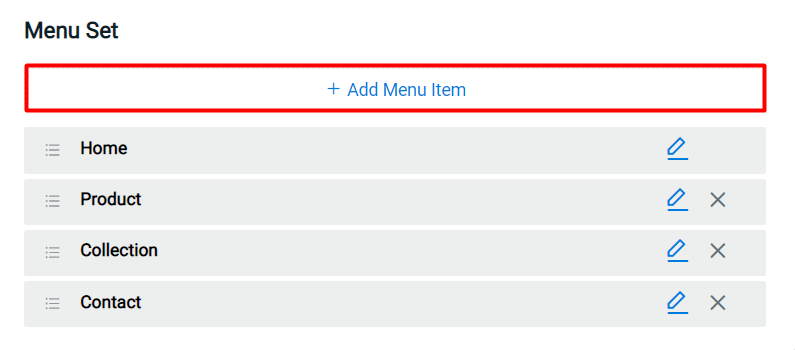
Step 4: Insert the Menu Name > set link to Internal page > select page as Blog > Save.
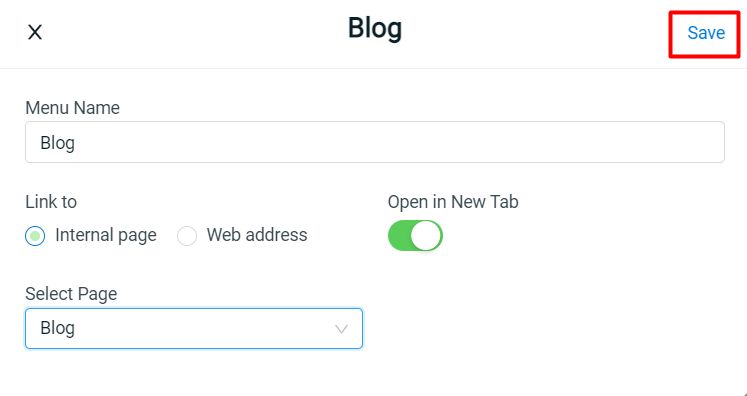
Step 5: Click on the Save button on the top right once done.
Preview:
Display on Webstore Page
Step 1: Navigate to Webstore > Webstore Builder.
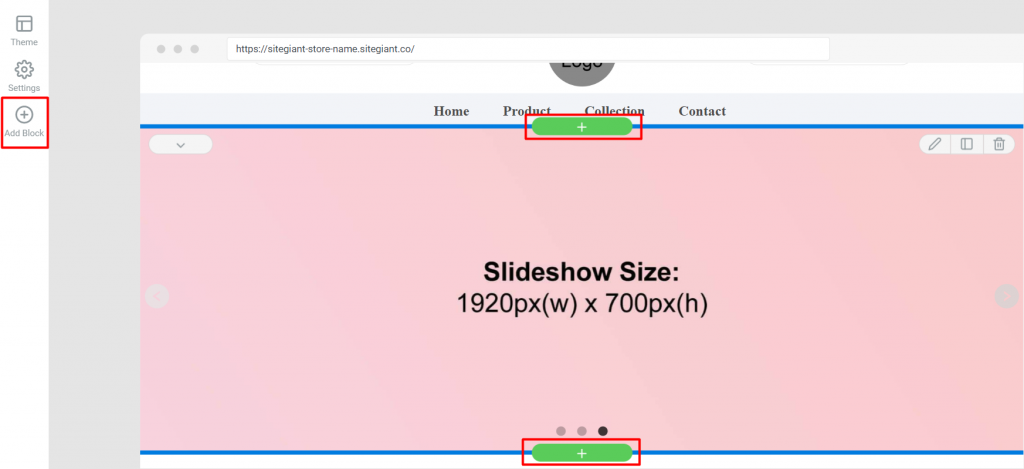
Step 2: Click on the Add Block on the left menu or the + button on the top and bottom of the block.
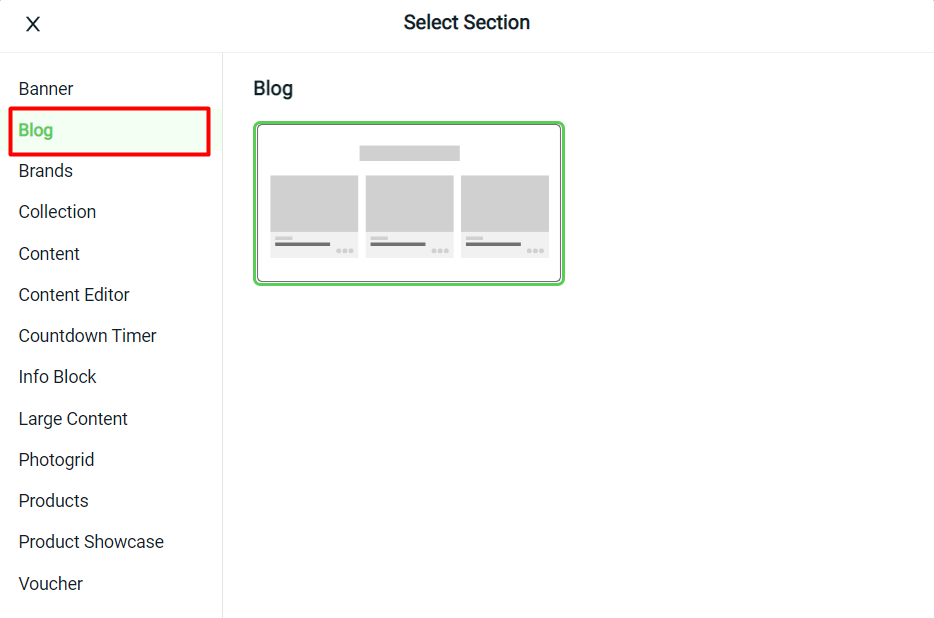
Step 3: Click on Blog and select the layout.
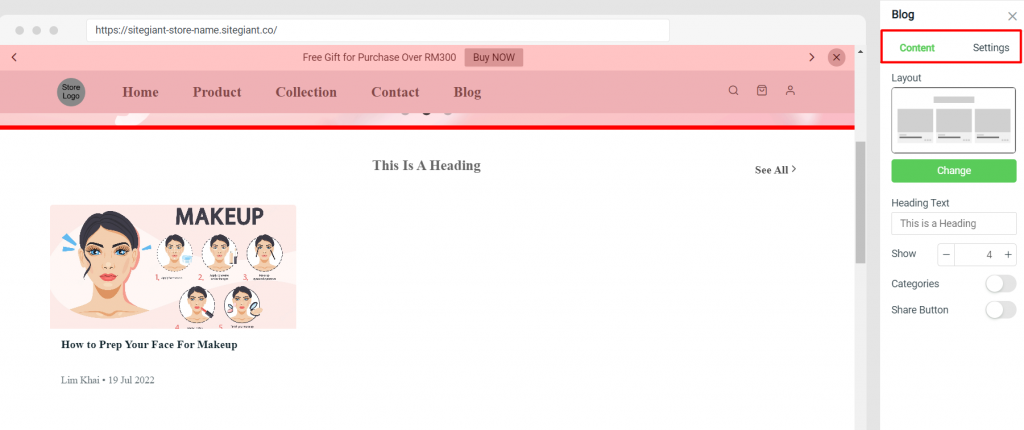
Step 4: After adding a new block, you can edit the block content and settings on the right.
Step 5: Click on Save And Publish and the change will apply to Webstore.
Step 6: Back to dashboard and Clear Cache to see the changes on your Webstore.