1. Introduction
2. Customize Default Product Label
3. Apply Custom Product Label
4. Additional Information
1. Introduction
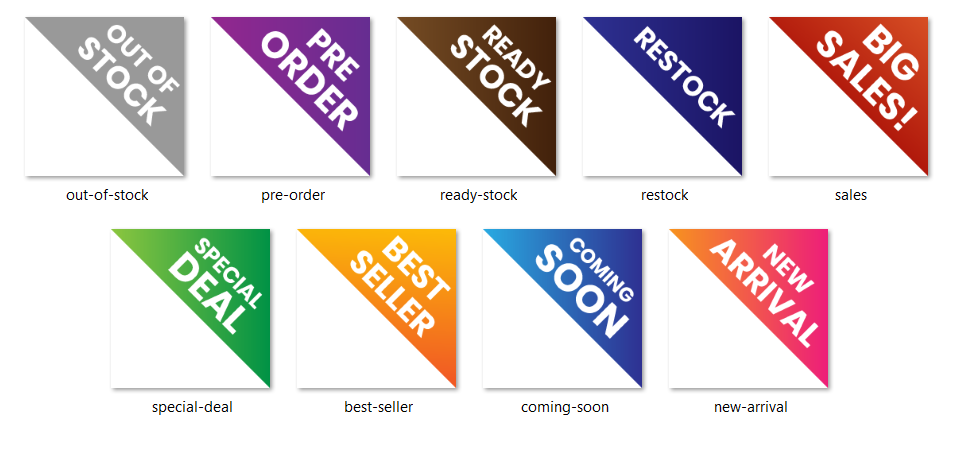
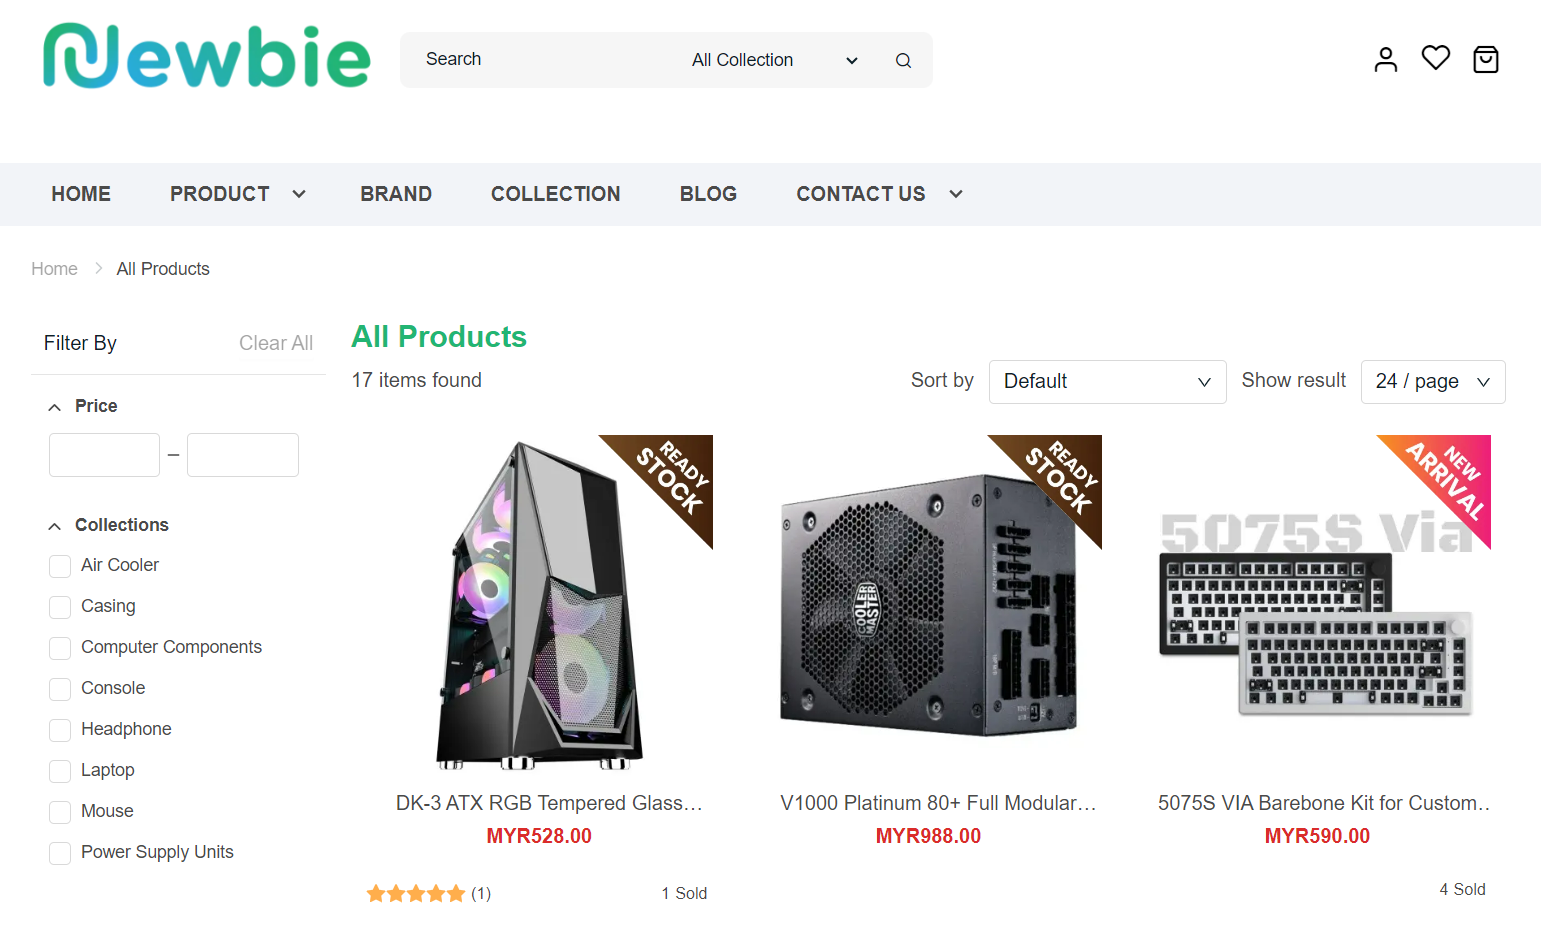
Product Label enables you to attract your customers with eye-catching images. You may download and apply our ready-made templates, or you can design and create these labels to match your Webstore’s branding and style. Including such labels can help customers quickly understand the availability status of your products and make informed purchasing decisions.
2. Customize Default Product Label
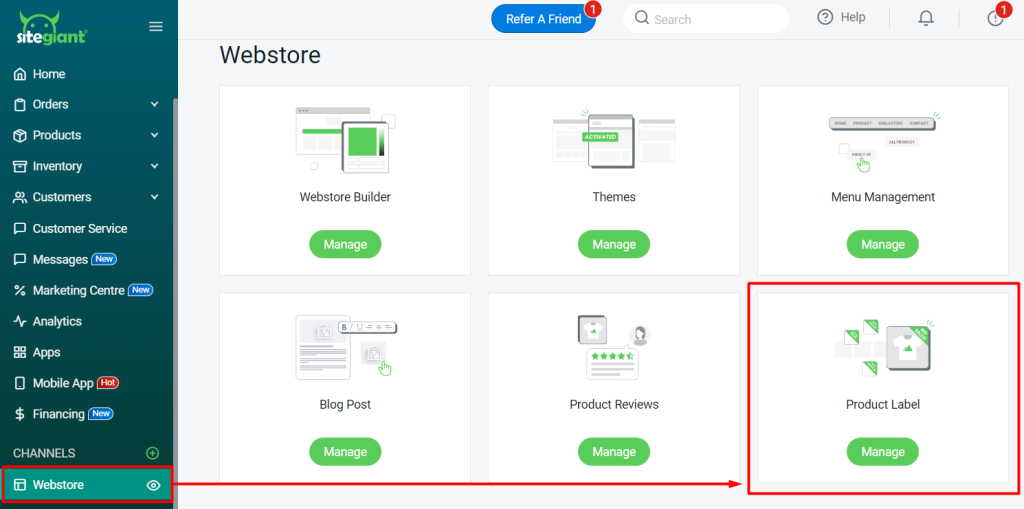
Step 1: Navigate to the Webstore channel on the sidebar menu > Product Label.
Step 2: Click the Edit icon to customized default product label.

Step 3: Choose to display the default product label as Text or Image. You can customize it based on your preference, upload a default product label image, and select its position. Click Save once done.
📌Note: The image must be in PNG file format with a transparent background. The recommended image size is 100px x 100px.
Step 4: The default label status is always enabled and automatically applied based on product availability and the product status set in the Webstore Listing.
3. Apply Custom Product Label
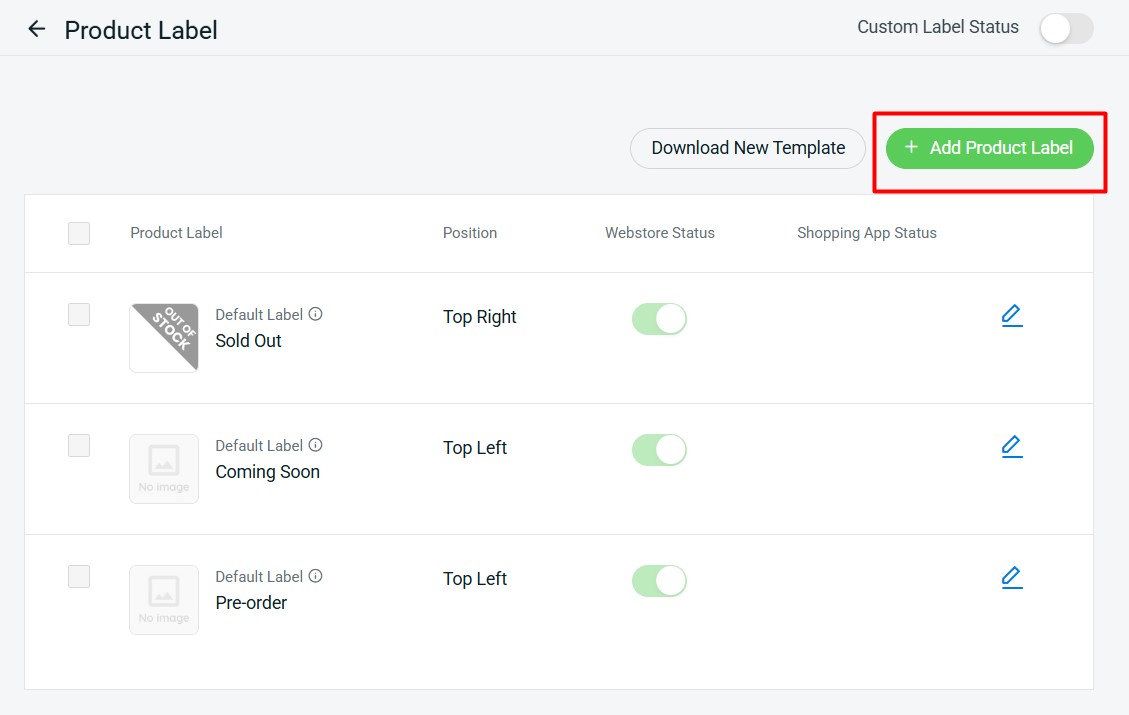
Step 1: Click on + Add Product Label.
Step 2: You can choose to display the product label by Text or Image. If by Text, choose Display as Text > insert Product Label Name > customize the Background and Text Format > choose the Label Shape and Position.
Step 3: If by Image, choose Display as Image > upload the product label Image > choose the Position for your product label.
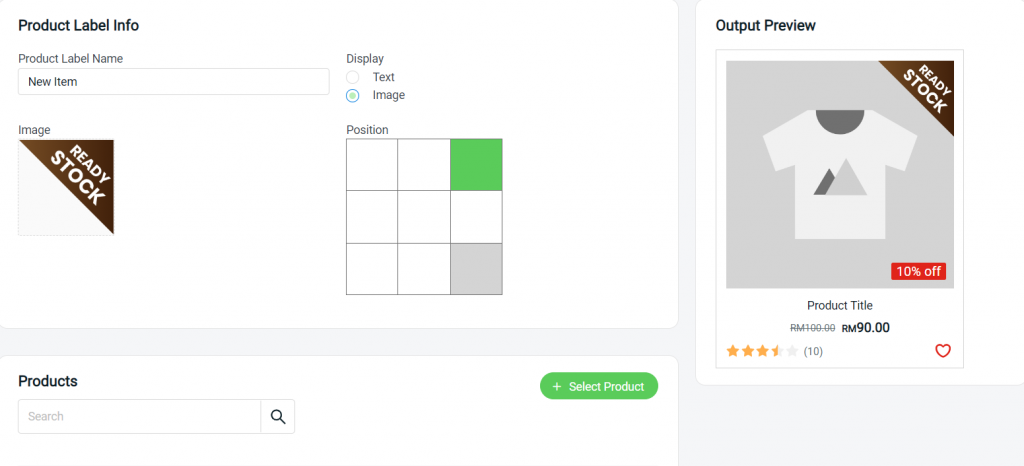
📌Note: The image must be in PNG file format with a transparent background. The recommended image size is 100px x 100px.
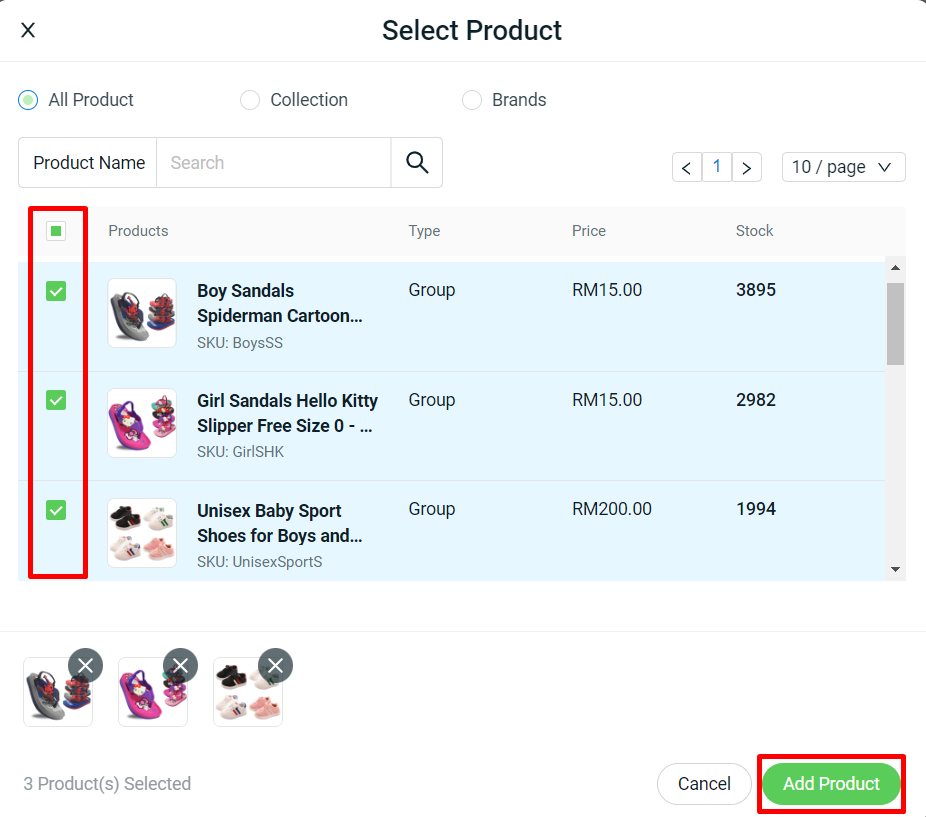
Step 4: Click on the + Select Products button to add this product label to your products.

Step 5: Search and select the products > Add product.
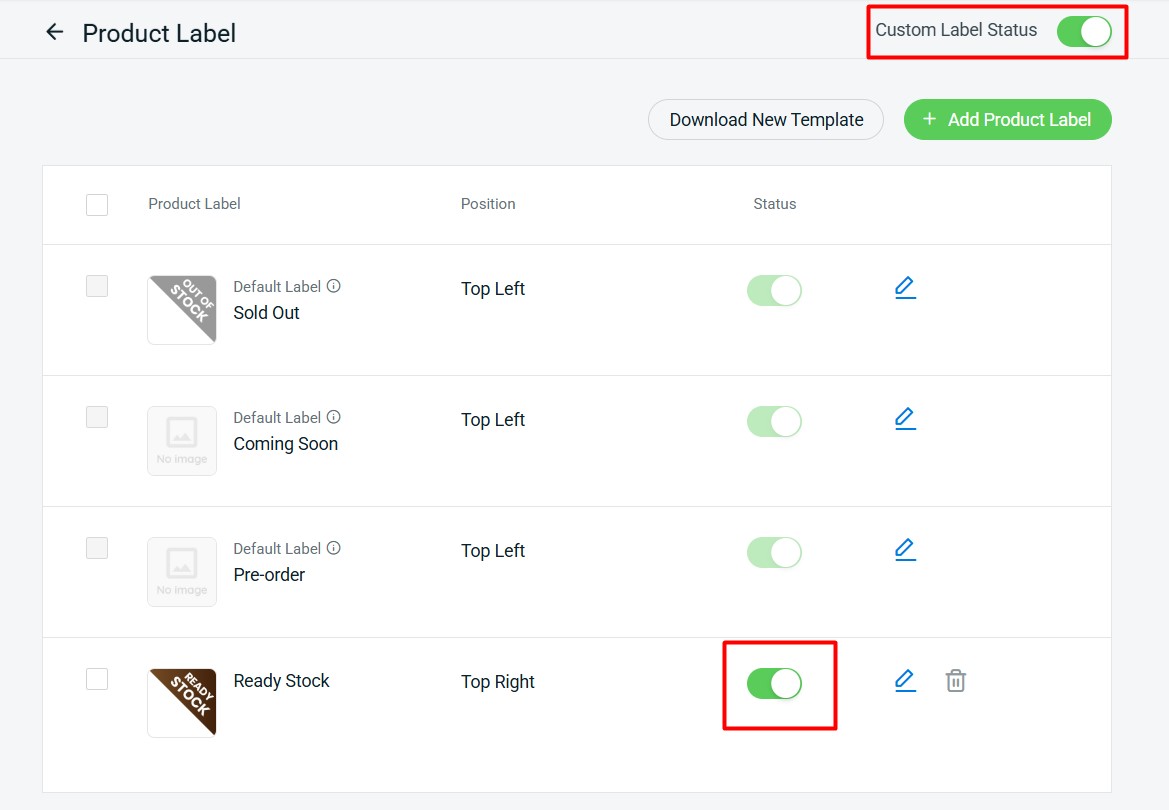
Step 6: Once done, click on the Save button on the top right. Make sure the Custom Label Status is enabled.
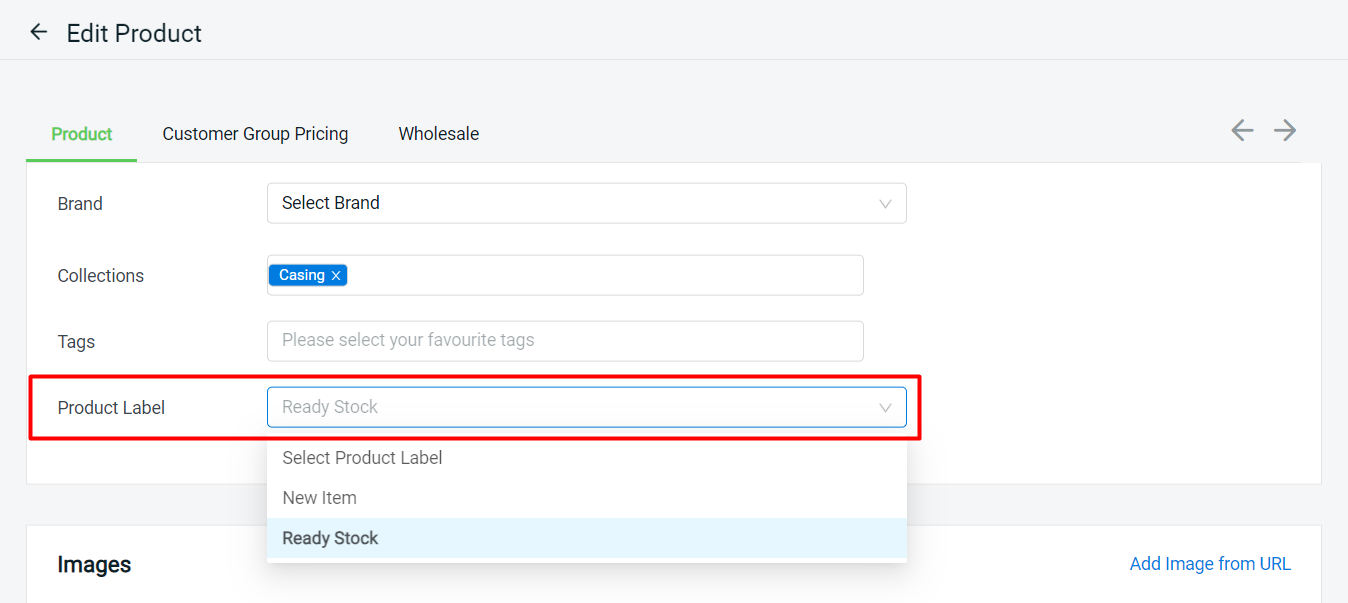
Step 7: You may also apply the Product Label in Webstore Listing when you edit your product.
📝Additional Information
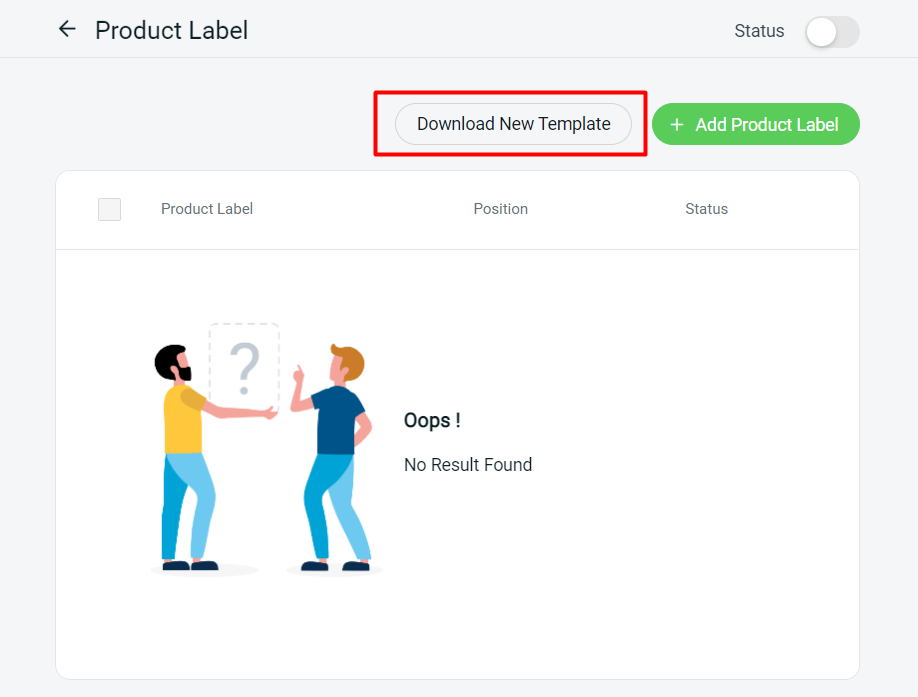
1. You can click Download New Template to download our ready-made template.