
1. Introduction
2. Set Up Ninjavan Integration
3. Add Multiple Couriers (Optional)
4. Arrange Shipment With Ninjavan
5. Print Ninjavan Shipping Label
1. Introduction
Ninjavan is a logistics and courier company that provides shipping and delivery services. Through SiteGiant, merchants can integrate Ninjavan for deliveries in Malaysia, Singapore, and the Philippines. This integration allows businesses to create shipments, print labels, and update tracking numbers directly within SiteGiant, making order processing faster and easier.
📌Note: Please make sure you already registered an account with Ninjavan for integration purposes. If you do not have an account yet, may proceed to register here.
2. Set Up Ninjavan Integration
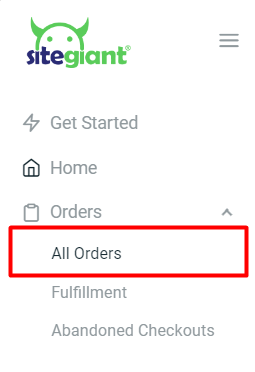
Step 1: Navigate to Orders > All Orders.
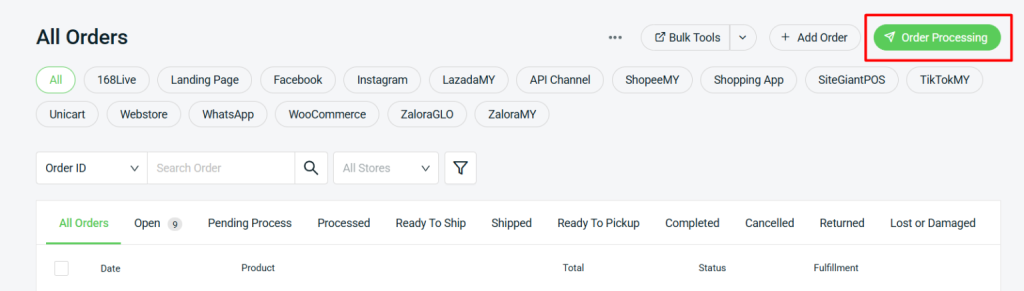
Step 2: Click on the Order Processing button.
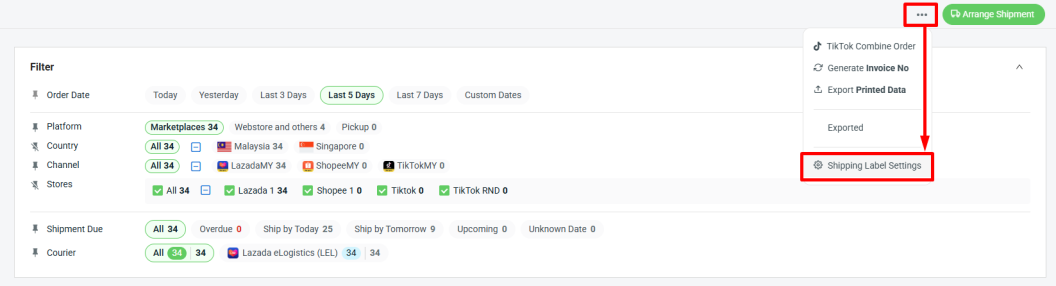
Step 3: Click on More (…) > Shipping Label Settings.
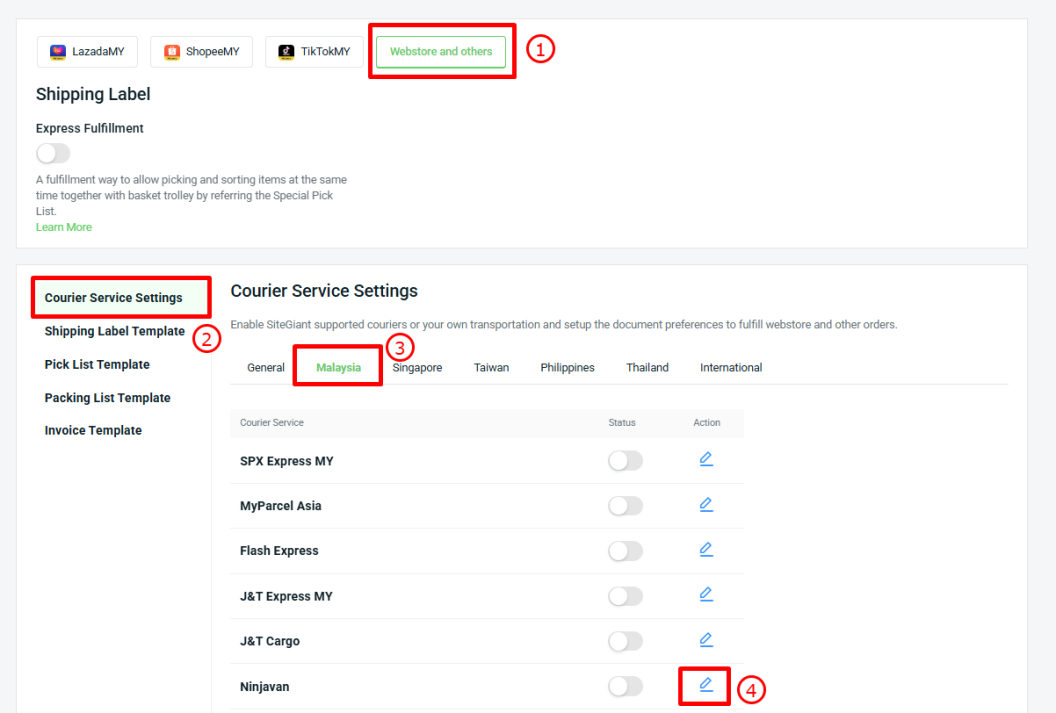
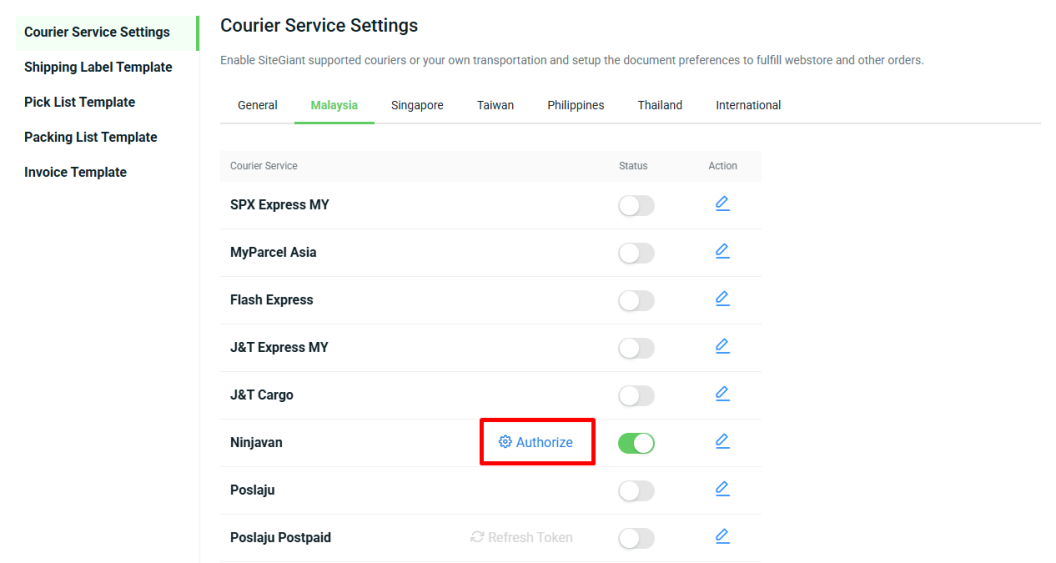
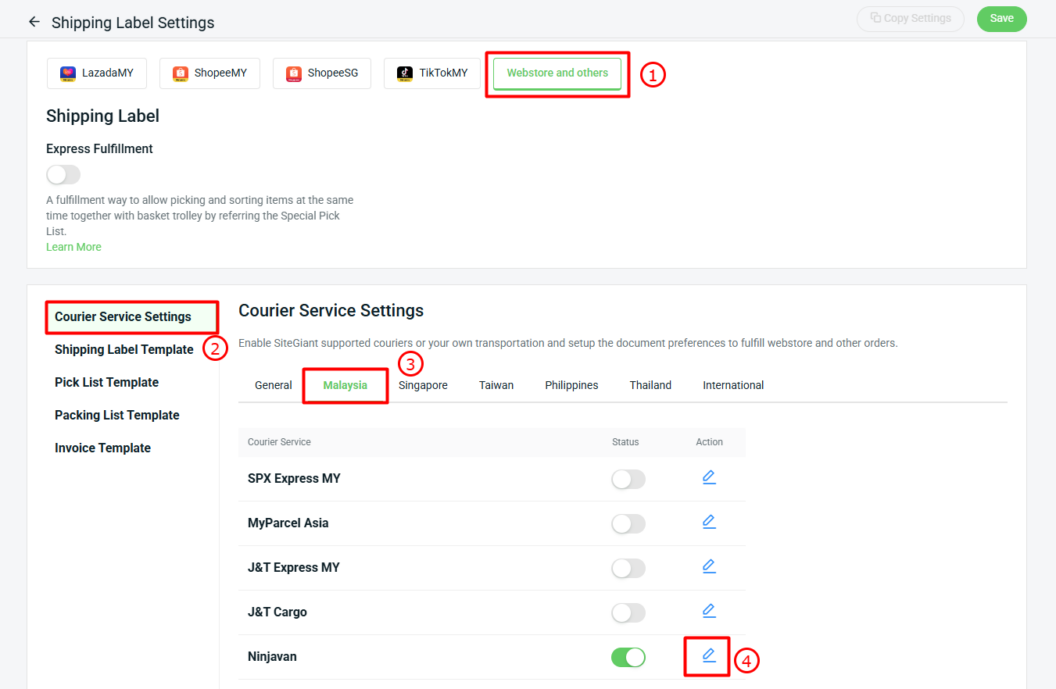
Step 4: Select Webstore and others tab > Courier Service Settings > Malaysia > click on the Action icon of Ninjavan.
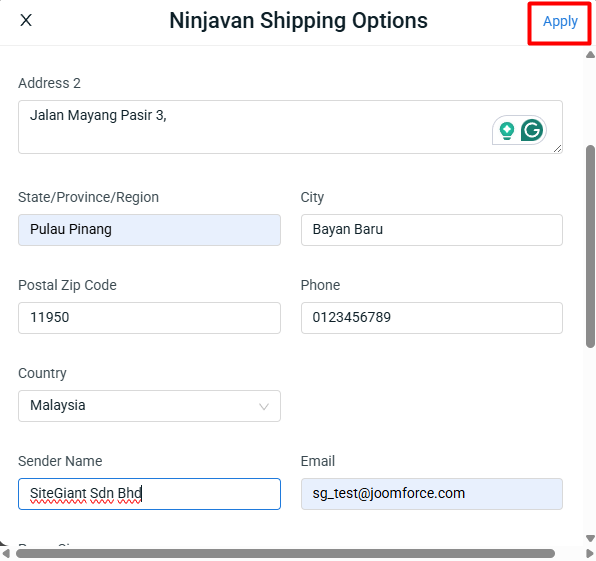
Step 5: Update the Ninjavan Shipping Options details > click Apply > Save.

1. Address: Update the sender’s address.

2. Phone: Update the sender’s phone number.

3. Sender Name: Update the sender or company name.

4. Email: Update the sender’s email address.

5. Paper Size: Select the paper size for printing the AWB.

6. Print Shipping Label With: Tick Packing List or Invoice if you want them printed together with the AWB.

7. Number of Shipping Label Copies: Set how many AWB copies to print. If Packing List or Invoice is selected, the same number of copies will be printed.

8. Cash On Delivery: Enable this option to allow updating the COD amount when processing the order. This can be apply if COD shipping method is enabled for your webstore.

9. Notify Customer for Webstore Order: Enable this option to automatically send the tracking number to the customer.

10. Shipment Insurance: When enabled, the Shipment Insurance option will be available during order processing, and the additional insurance charges need to update. (Optional)
Step 7: Click the Authorize button.
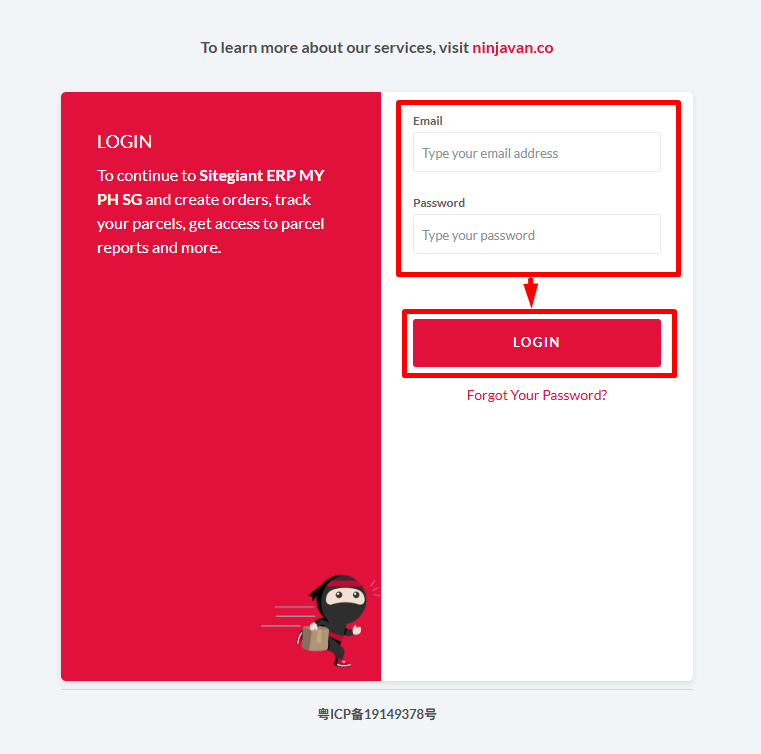
Step 8: Enter Ninjavan Login Credentials (Email address and Password) > Login.
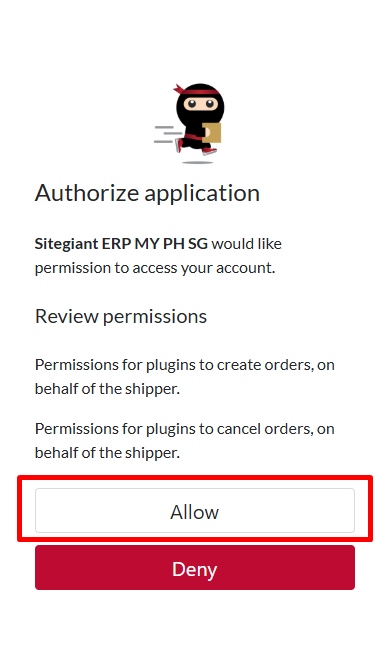
Step 9: Click the Allow button.
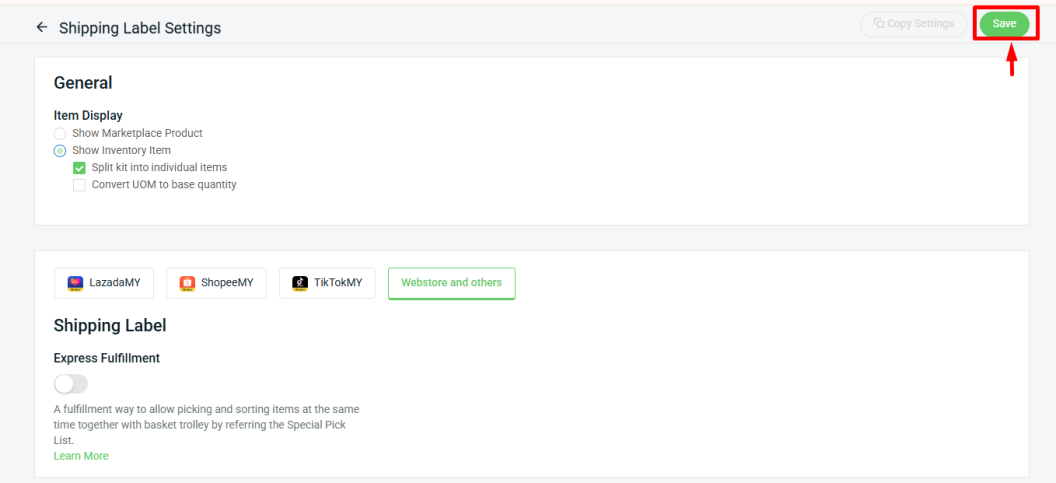
Step 10: Once done, click the Save button at the top right. Ninjavan has now been successfully integrated with SiteGiant!
3. Add Multiple Couriers (Optional)
This feature is available to SiteGiant ERP Ultimate X1 and above.
Step 1: Select Webstore and others tab > Courier Service Settings > Malaysia > click on the Action icon of Ninjavan.
Step 2: Click Add New Profile > enter Profile Name > Create.

Step 3: Click the Action button.
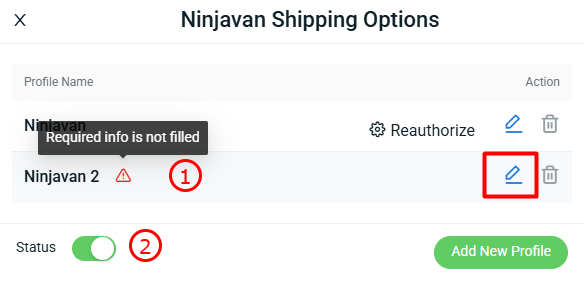
📌Note:

1. Required info is not filled: The settings are still incomplete, so this profile will not be shown when arranging shipment.

2. Status: The courier Status can only be enabled when at least one courier profile has complete information.
Step 4 : Fill in all the Ninjavan Shipping Options settings > click Apply > Save.
Step 4: Click the Action button again under Courier Service Settings > Authorize for the second Ninja Van account.
Step 5: Enter Ninjavan Login Credentials (Email address and Password) > Login.
Step 6: Click the Allow button.
Step 7: Once done, click the Save button at the top right. Your second Ninjavan account has now been successfully integrated with SiteGiant!
4. Arrange Shipment With Ninjavan
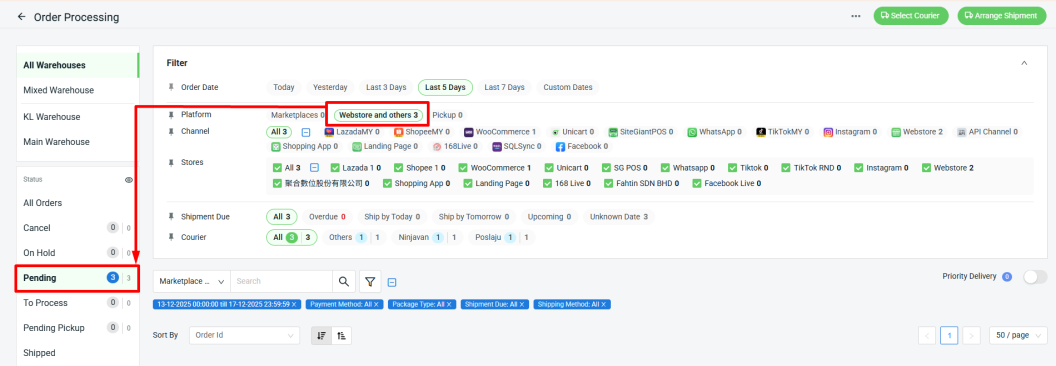
Step 1: Go to Webstore and others > Pending section.
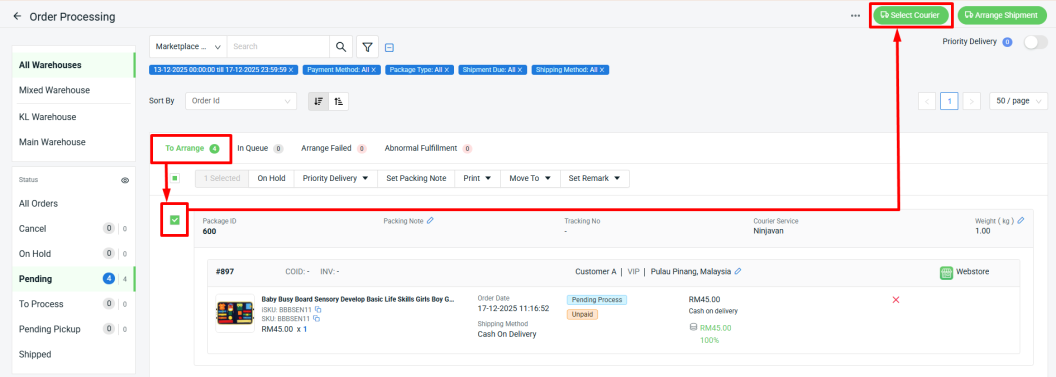
Step 2: Go to To Arrange tab > select the order(s) > Select Courier.
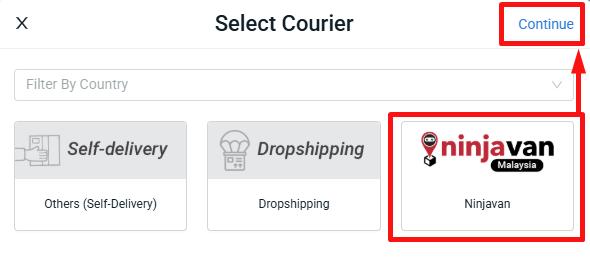
Step 3: Choose Ninjavan > Continue.
Step 4: Tick the Order(s) > Click Arrange Shipment.

📌Note: Only order(s) with the same courier can be arranged for shipment together.
📌Note: If you have set up multiple couriers, you will be able to select the courier profile you want to use after clicking Arrange Shipment.
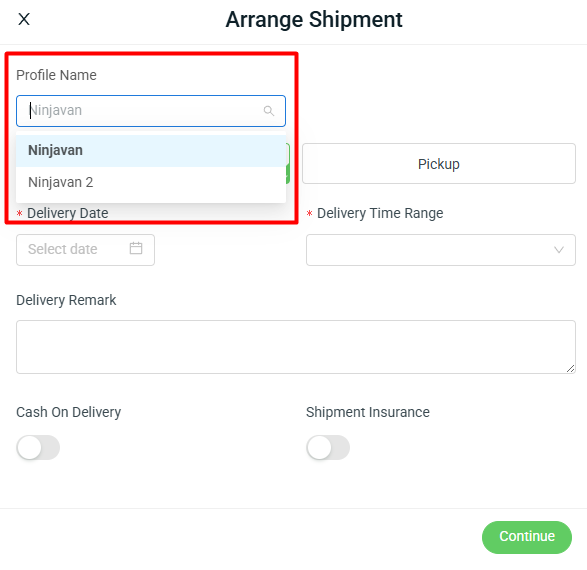
Step 5: Choose the preferred shipment options (Dropoff or Pickup) > fill in the required Arrange Shipment Information > Continue.
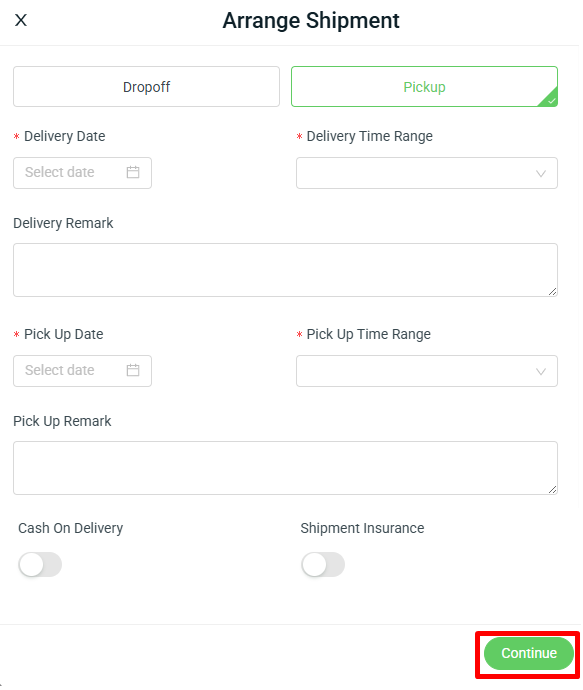
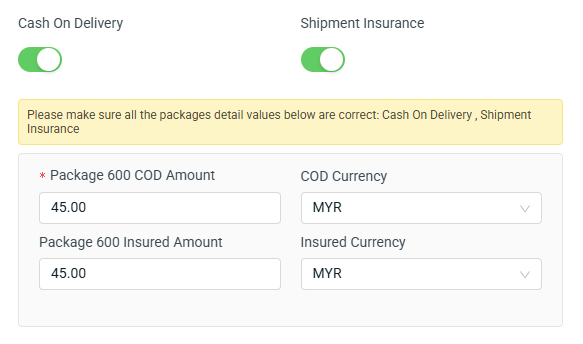
📌Note: If Cash On Delivery and Shipment Insurance are enabled in the Shipping Label settings, the options will appear under this Arrange Shipment Information. Enabling these options requires you to enter the COD amount and the Insured Amount. The Insured Amount is considered an additional charge for shipment insurance.
Step 6: The order will go to In Queue tab and will move to To Process section once it is successfully arranged.
5. Print Ninjavan Shipping Label
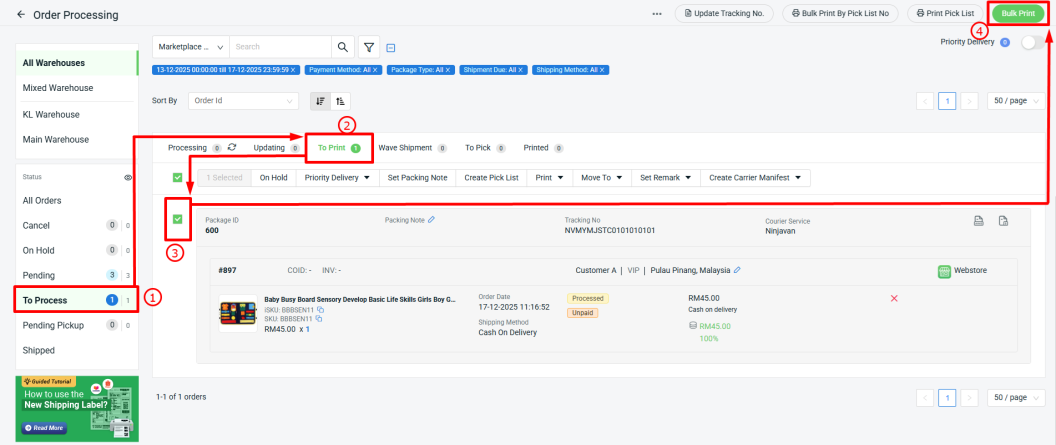
Step 1: Go to To Process section > To Print tab > select the order(s) > Bulk Print.
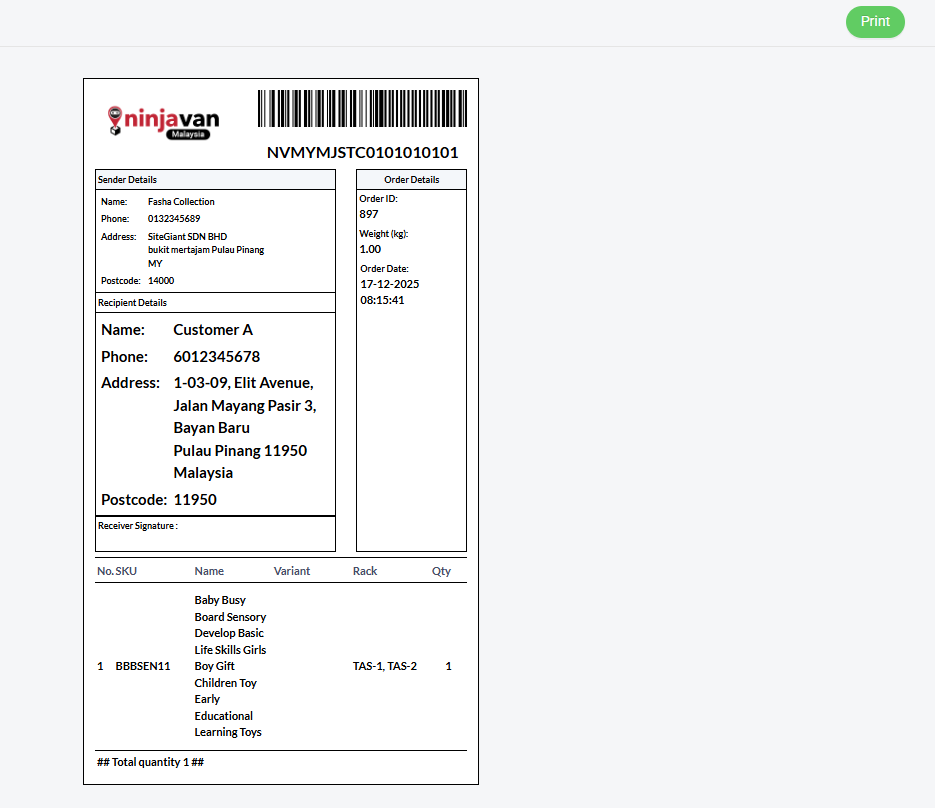
Step 2: Click Print button from the preview page to print out the shipping label.
Step 3: The printed order(s) will move to Printed tab. Once the parcel has been shipped, you may move the order(s) to Shipped.

📌Note: For Cash On Delivery (COD) orders, the payment status must be updated manually once the seller has received the payment. The seller can then manually update the order status to Completed.