1. Introduction
2. Configure Quotation Settings
3. Request Quotation
4. Manage Quotation
5. Additional Information
1. Introduction

The Quotation App makes it simple for customers to request quotes right from the products in your webstore. It also helps you keep track of all customer interactions and easily turn approved quotes into confirmed orders, making the whole process smooth and hassle-free.
This feature is available for the Add-On only.
2. Configure Quotation Settings
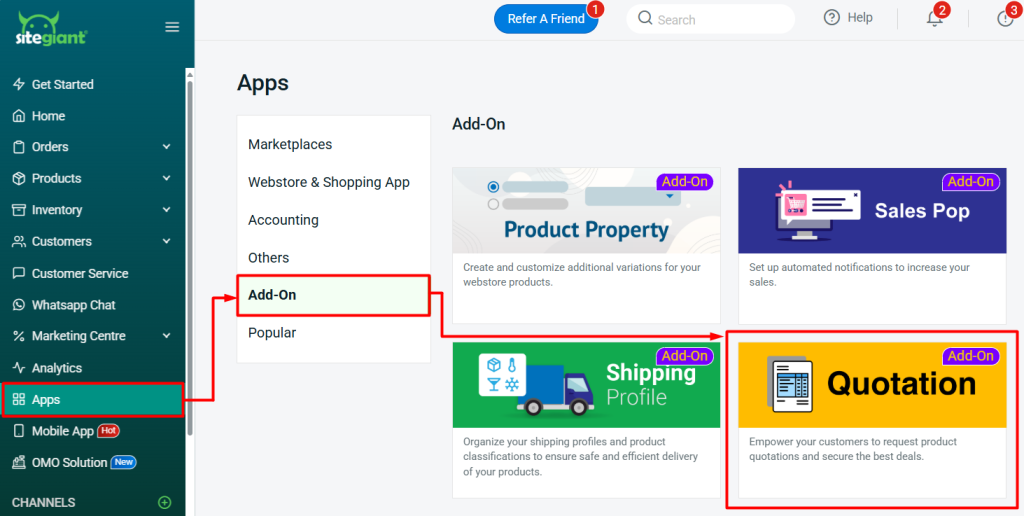
Step 1: Navigate to Apps on the sidebar menu > Add-On > Quotation.
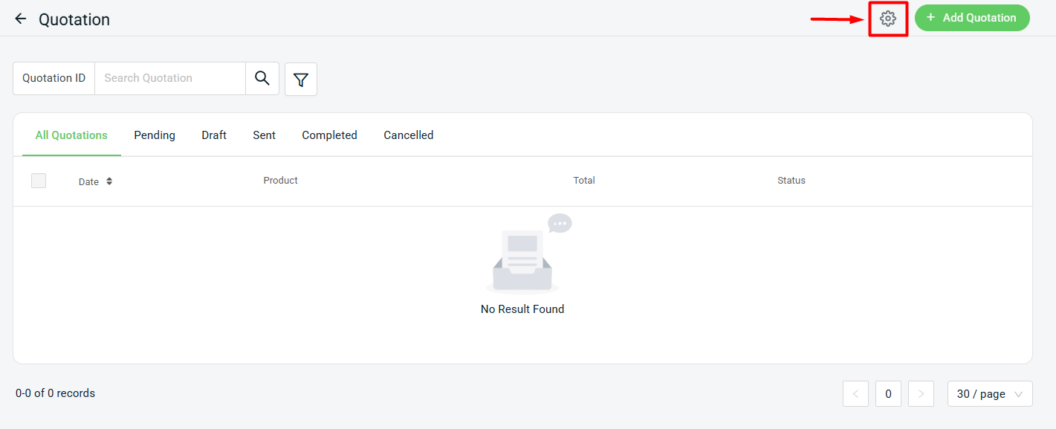
Step 2: Go to Settings.
Step 3: Configure the settings > Save.

1. Display "Add to Quote" button in webstore: The Quote button will appear on the product page.

2. Allow guest to request quote: Toggle on to allow guest to request quote. Toggle off to allow login customer only to request quote.

3. Allow price offers on webstore: This setting allows customers to submit their own price offer when they request a quotation from your webstore.

📌Note: The offer price must not be higher than the original price.

Step 4: Back to the dashboard and Clear Cache to see the changes on your Webstore.
3. Request Quotation
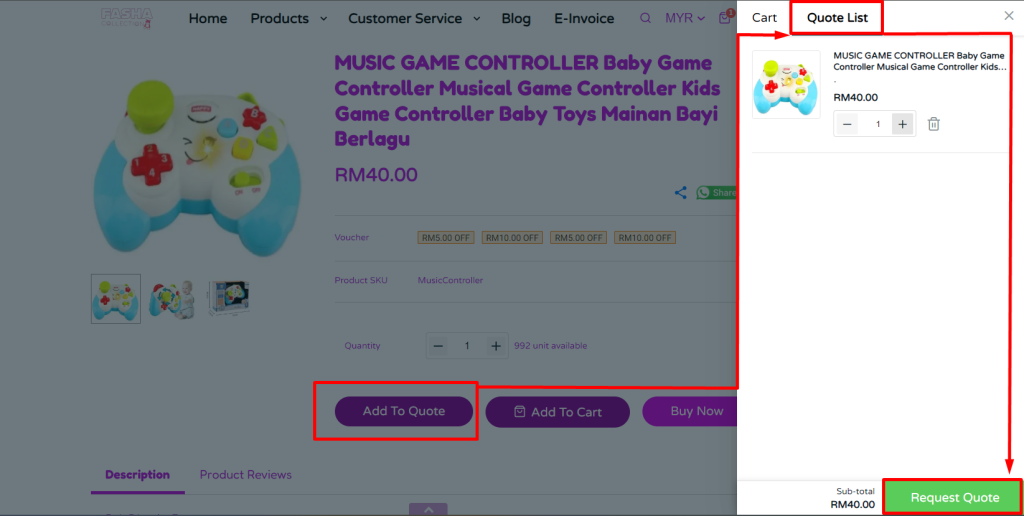
Method 1: Customer Request via Webstore
Step 1: Click Add To Quote for the product(s) you are interested in > you will find the product(s) under Cart > Quote List > click Request Quote.
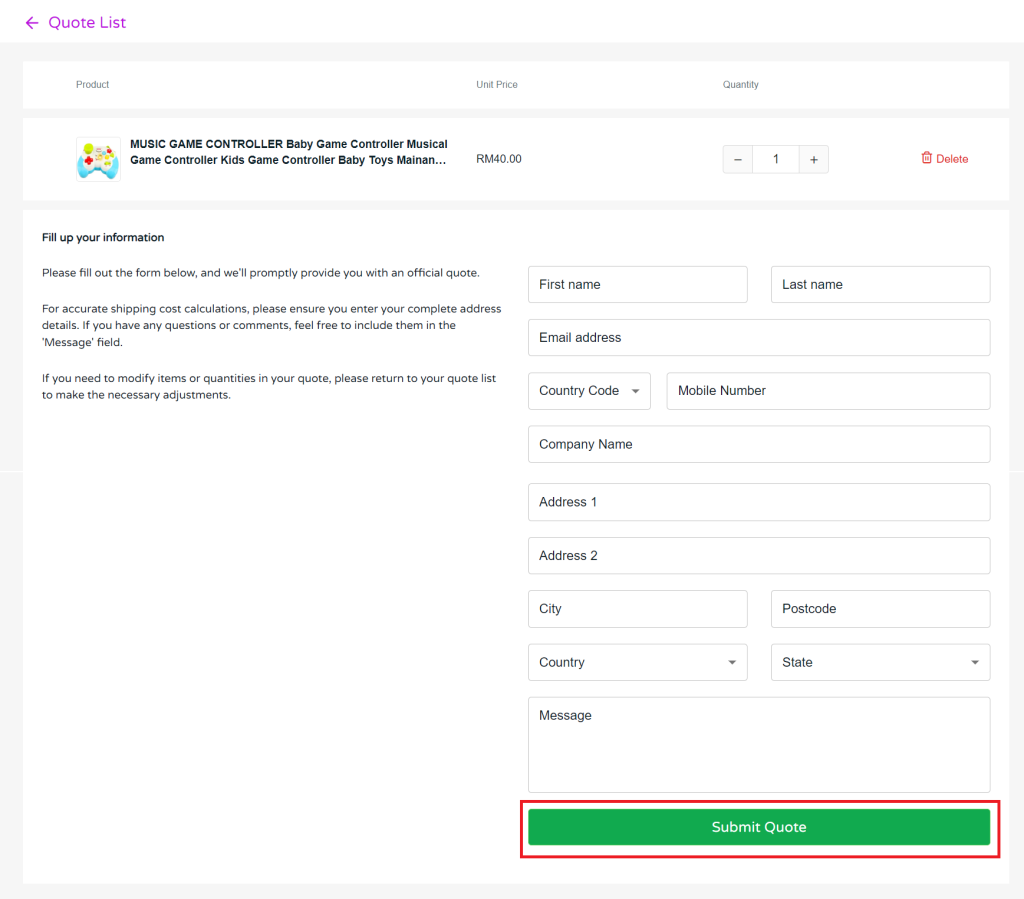
Step 2: Fill up the quote form information > click Submit Quote.
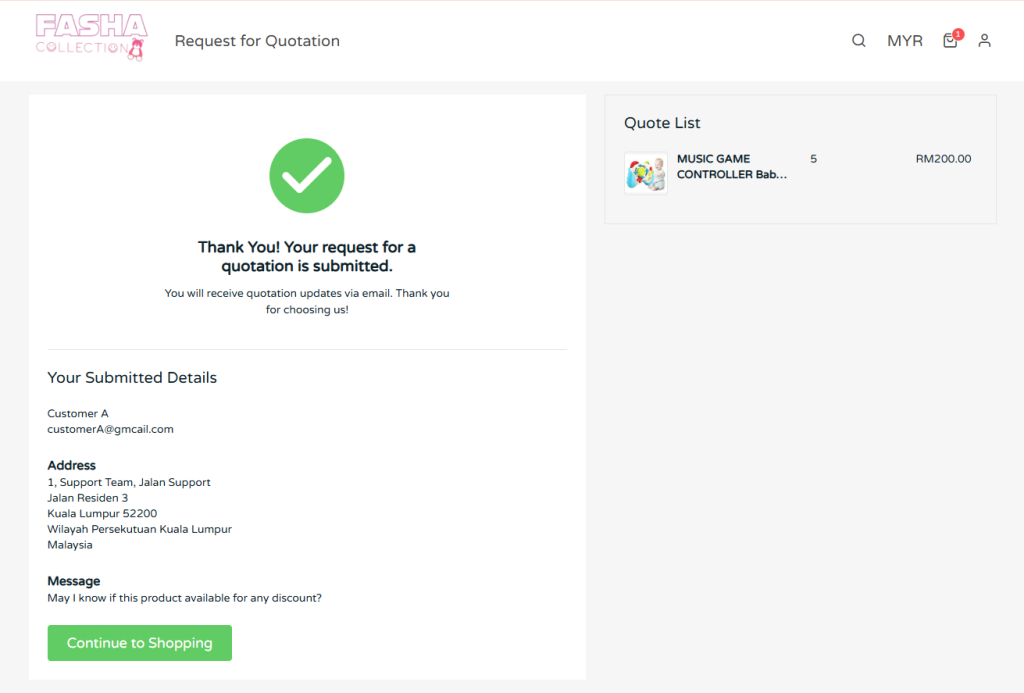
Step 3: The quotation has been submitted successfully.
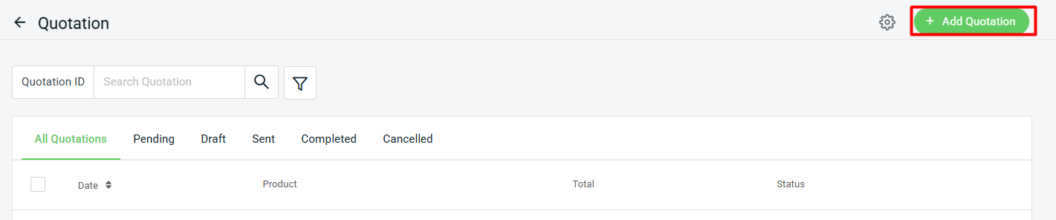
Method 2: Add From SiteGiant Seller Center
Step 1: Click on the + Add Quotation.
Step 2: Select the Currency for the quotation > update the Quotation Date > enter the Customer Info, either as a Guest or as a Registered Customer.
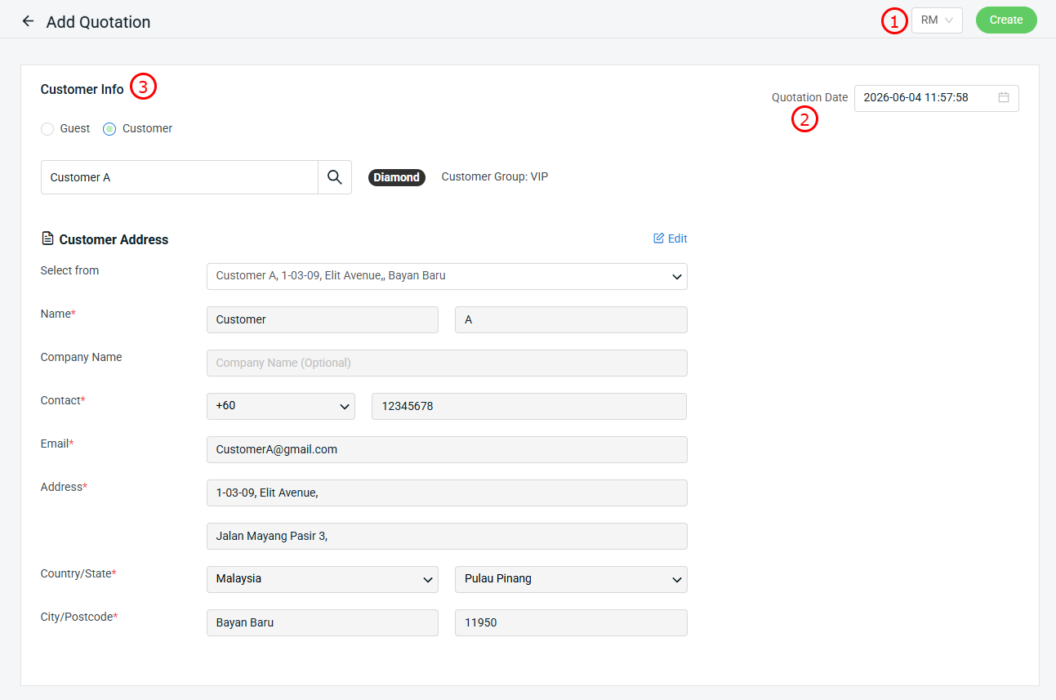
📌Note: If the Quotation Date is left empty, the system will use the current date when the quotation is created.
Step 2: Press + Add Product > tick Product > Add Product.
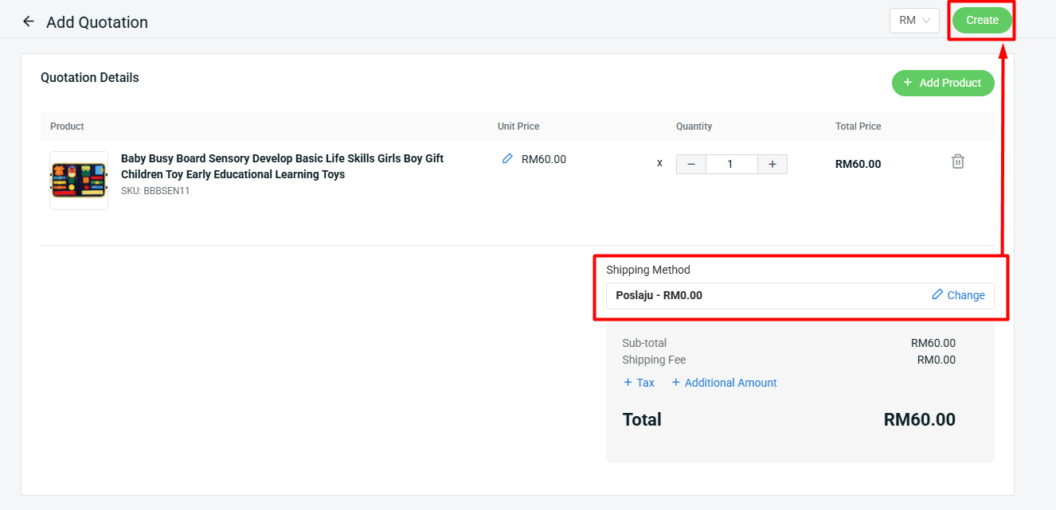
Step 3: Once the product has been added, select the Shipping Method > click Create.
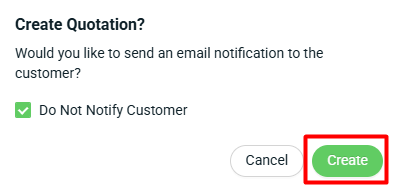
Step 4: Tick Do Not Notify Customer if you do not want to send an email notification to the customer > click Create.
4. Manage Quotation
Step 1: Back to Quotation App > click the Quotation ID.
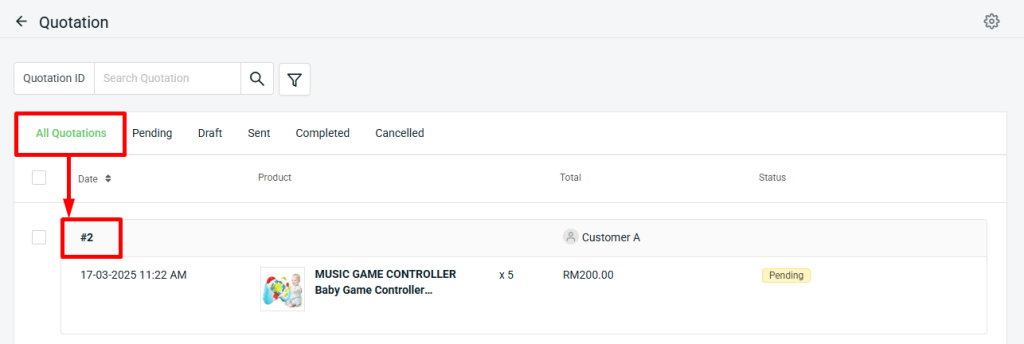
Step 2: You will be able to see the quotation details requested by the customer.
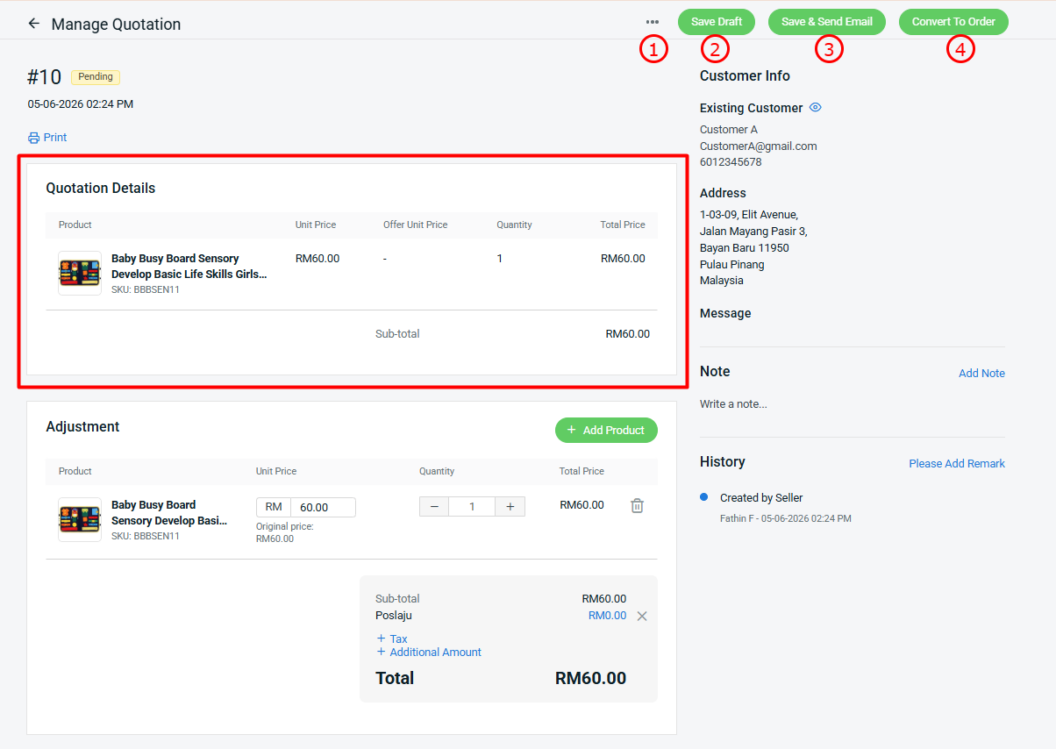
1. More(...): You can click the button if you want to cancel the quotation.

2. Save Draft: Save the current edited price and quantity.

3. Save & Send Email: Save the edits and send the adjusted price to the customer via email. Log in customer also can view the replied quotation under 'My Quotation' on the webstore.

4. Conver To Order: Convert the products with adjusted prices to a manual order.

💡Tips: Learn more on How To Add Order Manually.
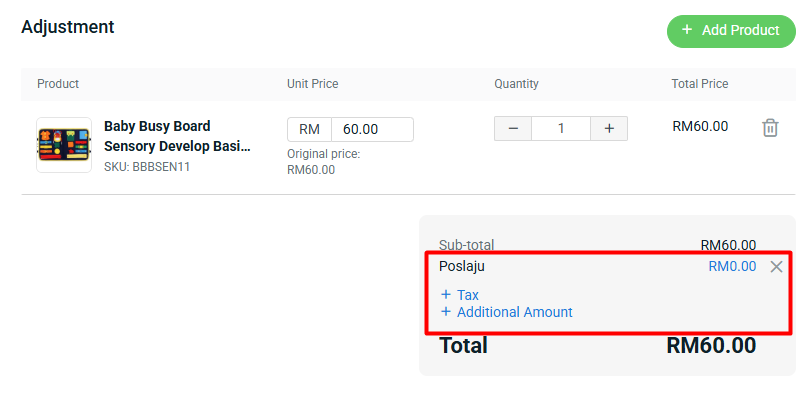
Step 3: Under Adjustment Details, you can modify the Unit Price and Quantity, + Add Product, or Delete Product.

Step 4: Select the Shipping Fee (if a quotation is requested from the webstore), Tax, and Additional Amount to update for your customer. (Optional)
📌Note: The optional details can still be updated after converting the quotation to an order. However, if you want your customer to see the updated details, it’s best to update them before sending the quotation.
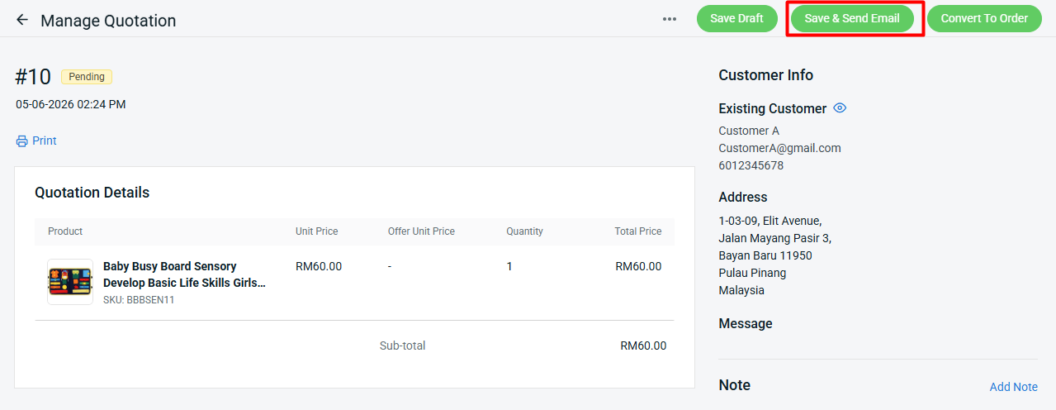
Step 5: Once all the details are updated, click Save & Send Email.
📌Note: The customer will receive the quotation response via email. Additionally, log in customers can also view the quotation directly on the webstore. Email:Webstore Login: You can go to My Account > My Quotation > Quotation Received > click Quotation ID to check the details.
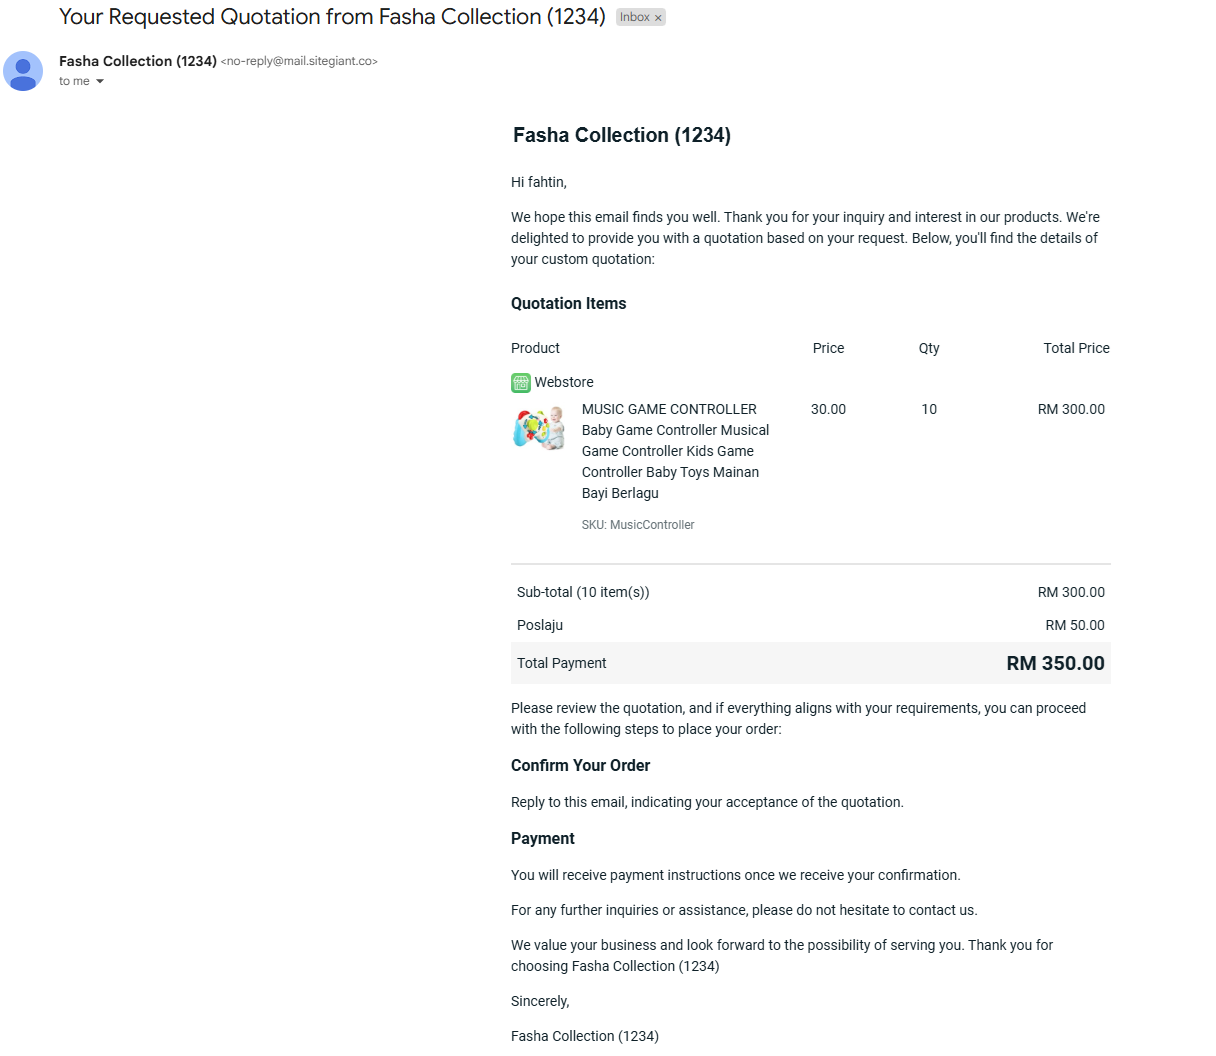 Webstore Login: You can go to My Account > My Quotation > Quotation Received > click Quotation ID to check the details.
Step 6: After the customer responds and accepts the quotation, you may proceed by clicking Convert to Order.
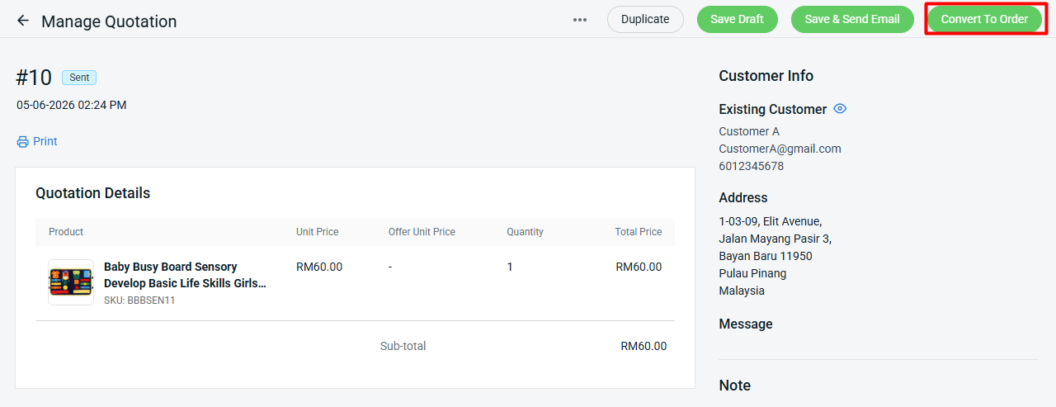
💡Tips: Learn more about How To Create an Order Manually.
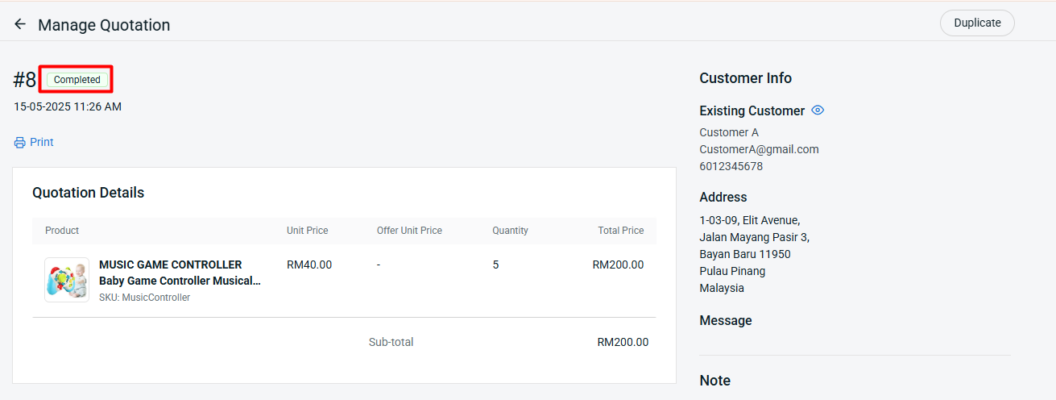
Step 7: The process is considered completed once you’ve converted the quotation to an order.
📝Additional Information
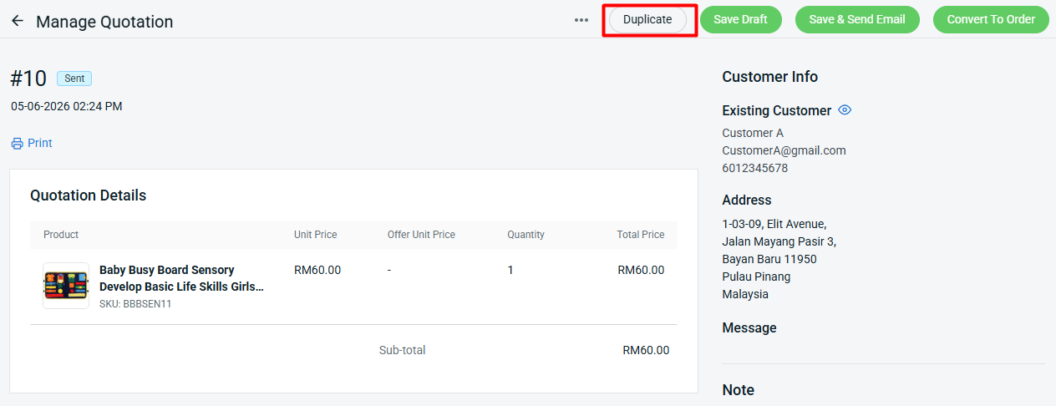
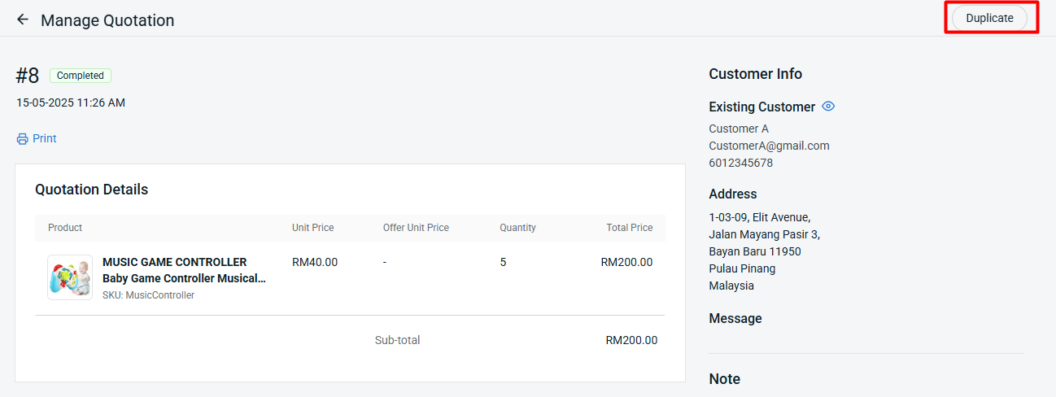
1. Duplicate Quotation
You will be able to duplicate the quotation if you want to create a new one.
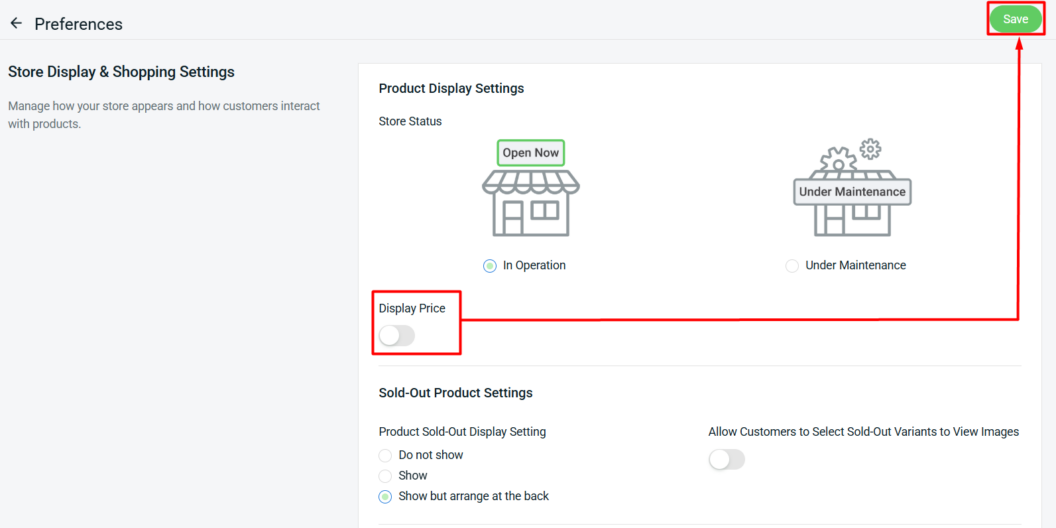
2. Disable Product Price
If you do not want to display the product price for quotation purposes, you can disable this feature.
Step 1: Navigate to Webstore on the sidebar menu > click Preferences.

Step 2: Scroll down to the Store Display & Shopping Settings section > disable Display Price > click Save.