Promoting and selling the product through Facebook Live is becoming a trend nowadays.
You can have direct interaction with your fans and viewers, thus gaining potential customers in real-time. In Facebook Live, you can share more information, demonstrate your products, answer questions from viewers and respond to their reactions. It’s highly interactive for you and your viewers. When viewers want to make a purchase, they can just place the order of the product directly with a checkout link sent to them.
Step 1: Connect Facebook Live Session
Step 2: Start Facebook Live Stream
Step 3: Sell and Promote on Facebook Live
Step 4: Checkout Shopping Cart (From Customer Perspective)
Additional Information
1. PM Settings
2. View Report
3. Duplicate and Rename
Step 1: Connect Facebook Live Session
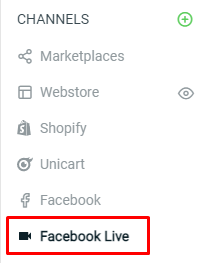
1. Go to Facebook Live from Channels.
Note: Please ensure that you have integrated your Facebook Page at Sales Channel – How to Integrate with Facebook for Facebook Live
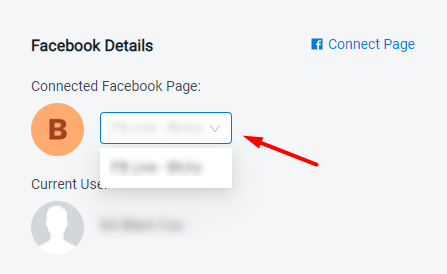
2. Select the Facebook Page that you want to link to.
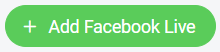
3. Click on the ‘Add Facebook Live‘ button to create a Facebook Live session.
4. Fill in the Name, Description and select the Product Source for the session and ‘Save‘.
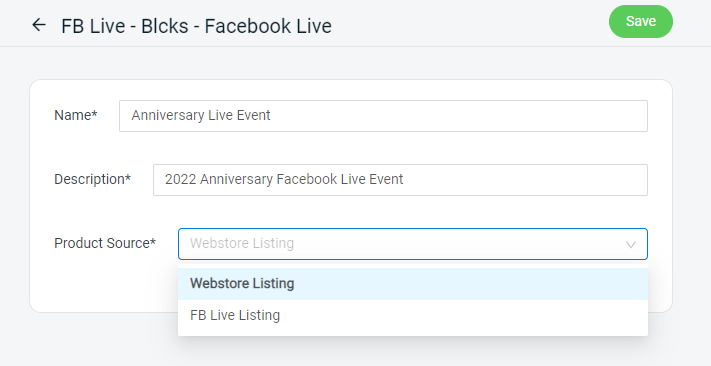
Webstore Listing allows you to select the products from your webstore for the Facebook Live (Deprecated soon)

FB Live Listing allows you to select the products you created from Facebook Listing for the Facebook Live (Recommended)
- How to Create New Facebook Listing (without Variant)
- How to Create New Facebook Listing (with Variant)
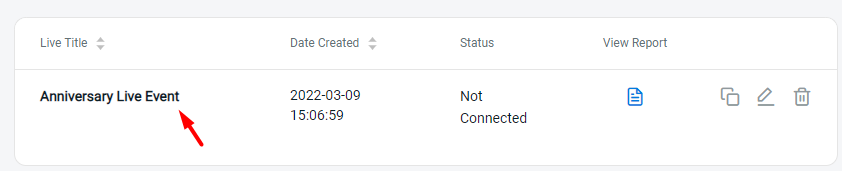
5. Click into the Live session.
6. Click on the ‘Add Product to Sell‘ at the bottom left of the page.

7. Select the Product(s) you wish to promote on Facebook Live and click on ‘Continue‘.
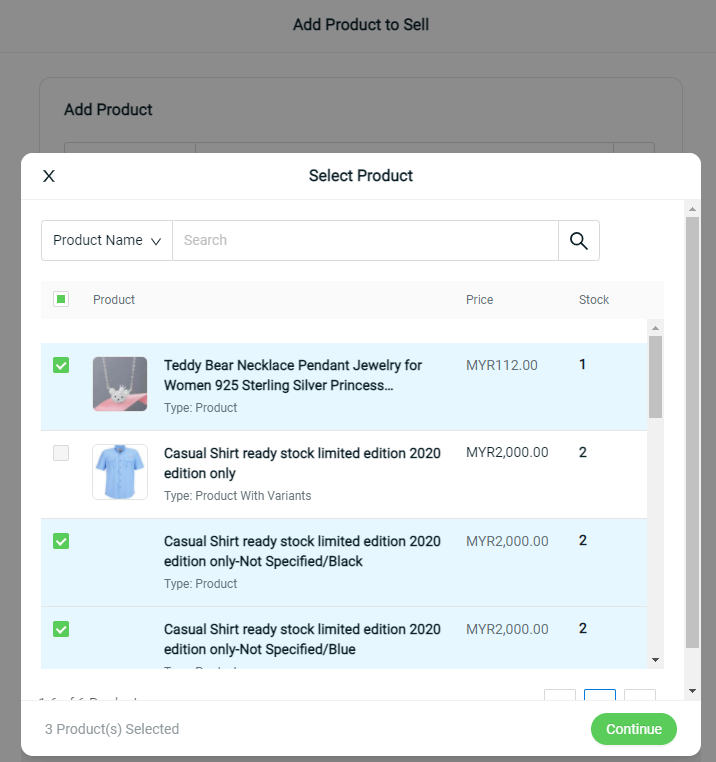
Note: You are now able to select a specific variant to be sold.
8. Set the Product Keyword used during your Facebook Live, and proceed to ‘Add Product‘.

Step 2: Start Facebook Live Stream
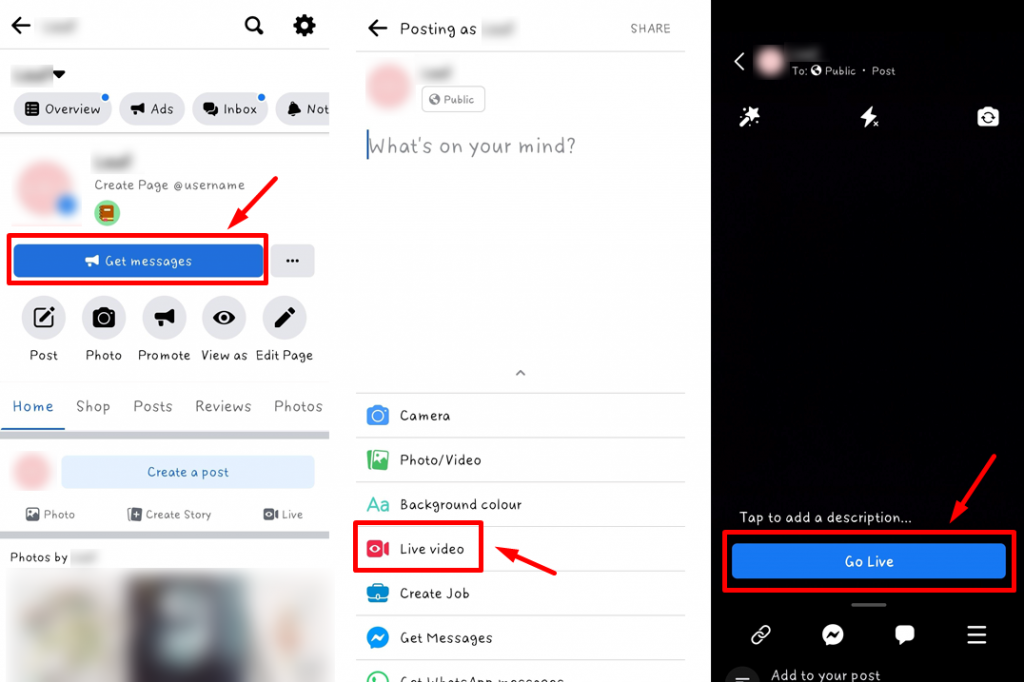
1. Go to your Facebook Page, then start a Live session.
2. Then, go to the SiteGiant Facebook Live page, and click on Connect Facebook Live.
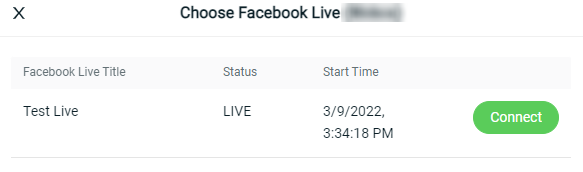
3. Click ‘Connect‘ to the Live session that has started.
Step 3: Sell and Promote on Facebook Live
1. When you are ready to promote the products during Facebook Live, click the ‘Add Products to Sell‘ button again.
2. Click on the ‘Start Selling‘ to put your product on sales in Facebook Live.
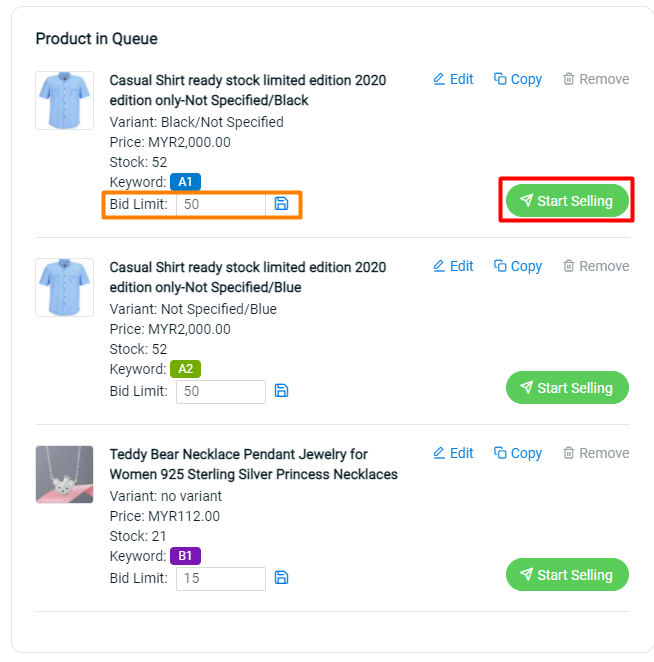
Bid Limit: Allows you to set a maximum bid limit for the product to prevent over bidding.
3. During the Facebook Live session, the viewer can just type the KEYWORD+NUMBER for the product that they are interested in. For example, A1+1.
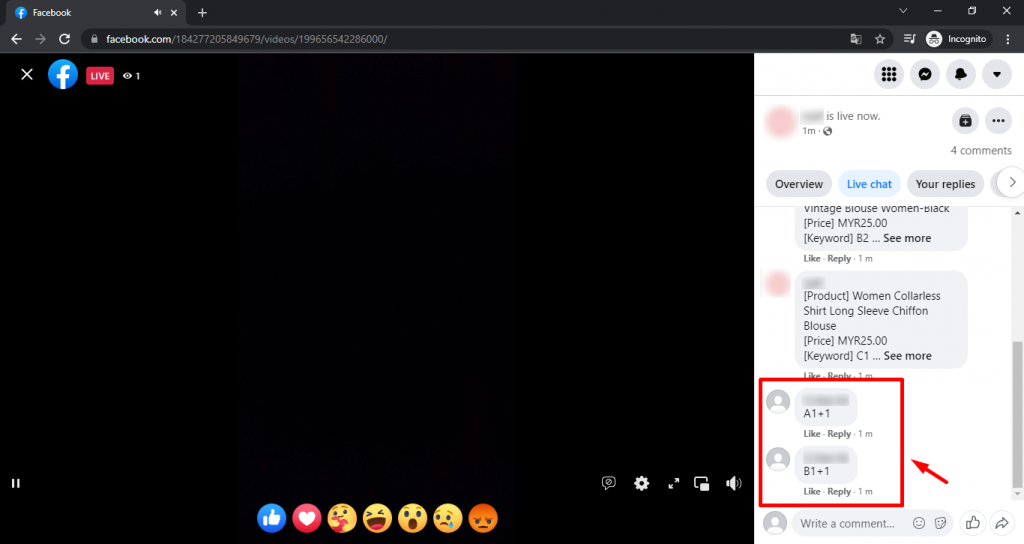
4. From the seller’s perspective, you may always monitor on the viewers’ chat who had bid on the products together with the quantity through the Comments and hence check on the result of the products from the Sales Engagements in SiteGiant Facebook Live.

5. You may click on Send Result button, to display the bid result to the viewer. (optional)
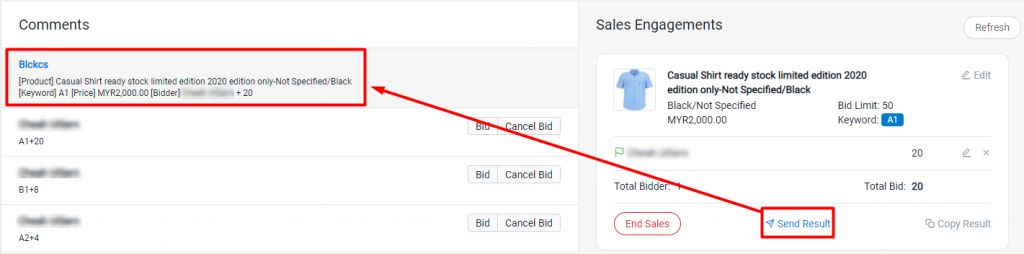
6. Or, you may edit or cancel the bid, if the quantity placed by the viewers is not valid. (optional)

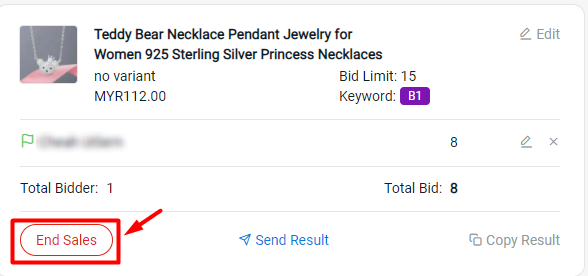
7. Just Ends Sales for the product when you want to stop promoting on Facebook Live.
8. Lastly, click on the End Live button at the right top, when your Facebook Live ended.
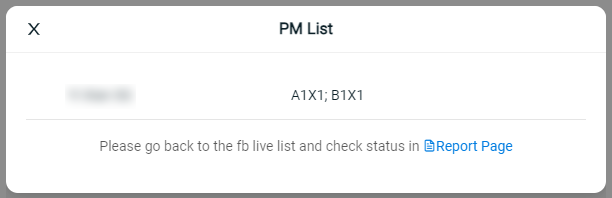
9. There will be a PM List pop-up to inform you that the checkout link has been sent to the viewers.
Step 4: Checkout Shopping Cart (From Customer Perspective)
1. The Facebook Live viewer who had bid for the product will receive a private message in Facebook Messenger to go to the Checkout page.
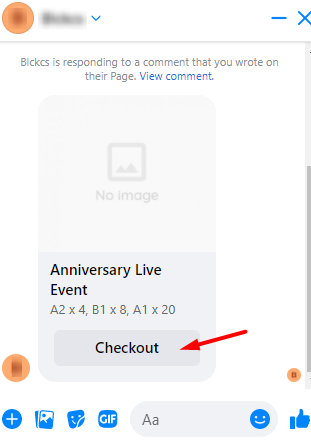
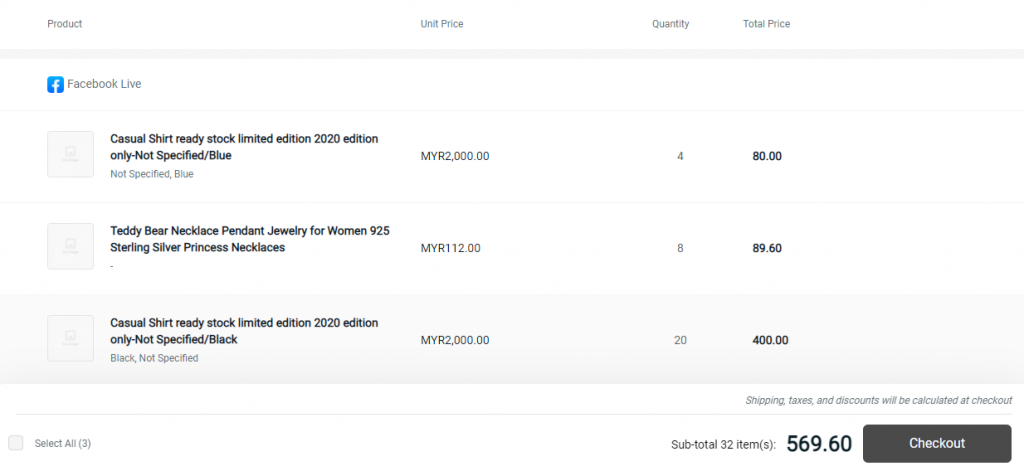
2. After that, the customer can directly checkout via the SiteGiant website checkout page.
Additional Information
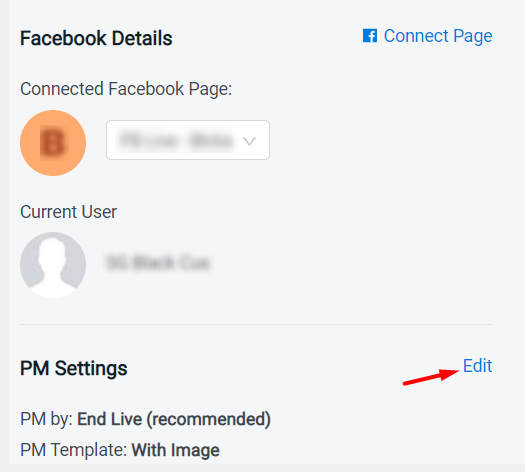
1. PM Settings
You can edit the Facebook Live Settings and set your own preferences.
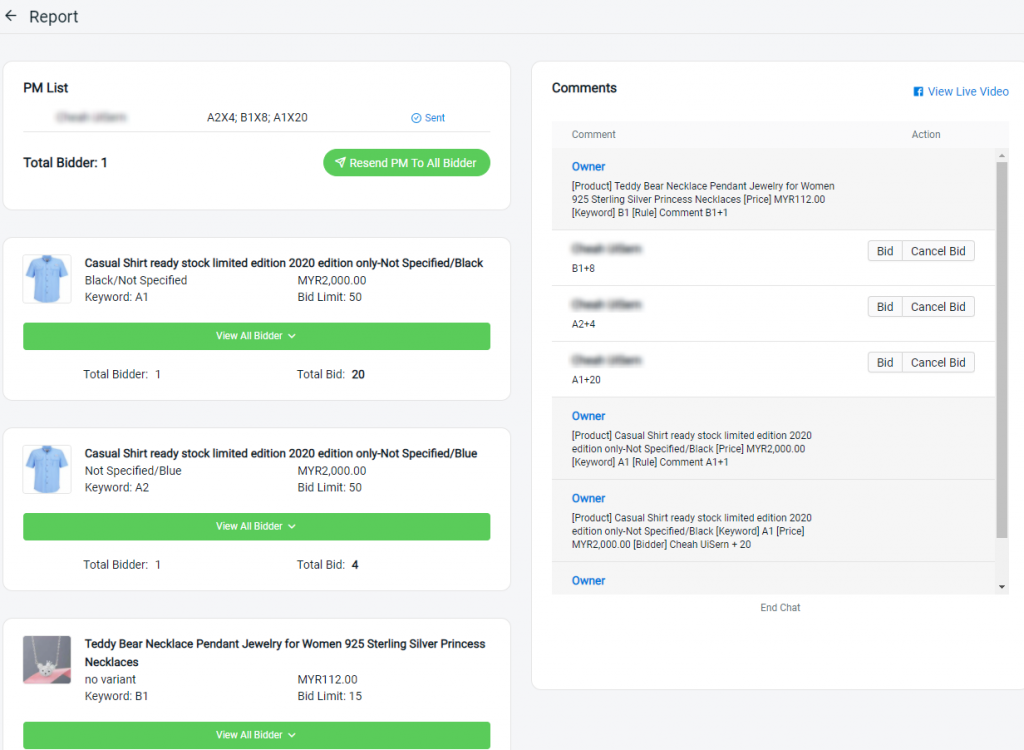
2. View Report
You can always view reports of the result on the Facebook Live session.
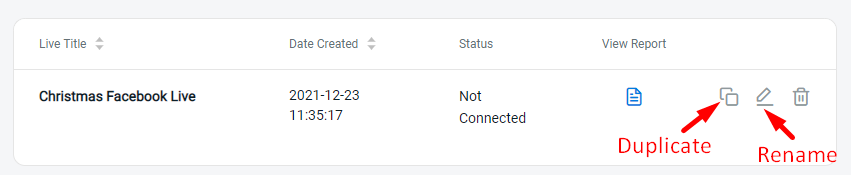
3. Duplicate and Rename
You can duplicate or rename the Live Session to start a new Facebook Live without re-inserting the same product and keyword.