1. Introduction
2. Manage Dashboard Builder
3. View Dashboard in SiteGiant POS
1. Introduction
SiteGiant POS Dashboard Builder is a powerful feature that lets you customize a quick menu for a seamless and efficient checkout experience. You can personalize your SiteGiant POS dashboard to match your business needs, making daily operations faster and more convenient for you and your staff.
2. Manage Dashboard Builder
Step 1: Navigate to SiteGiant POS channel on the sidebar menu > select the SiteGiant POS channel > Dashboard Builder.
Step 2: By default, the dashboard will display 5 default cards. If you want to add more, click Add Card and select your preferred settings > Next. You can add up to 12 cards in the dashboard builder.
1. Default: Select the default card function available in the system.

2. Specific Product: Add a selected product. (Only one product can be selected)

3. Custom Sales: Preset a custom sales amount.

4. Specific Voucher: Choose a voucher from the dropdown list.
📌 Note:
- The voucher must be created in the Marketing Center as a Normal Voucher, and set to Public and for Guest & Login customers.
- You can select specific vouchers such as Membership and Birthday vouchers to add into the Dashboard Builder. Note: This feature is only available in SiteGiant OMO Essential Plan and above.

5. Special Discount: Preset an order-level discount by a fixed amount or percentage.

6. Specific Collection: Choose a collection from the dropdown list.

7. Custom URL: Enter a URL for quick access.
Step 3: Upload an image and choose a card color for your customized card. You can preview the results in the Preview tab.
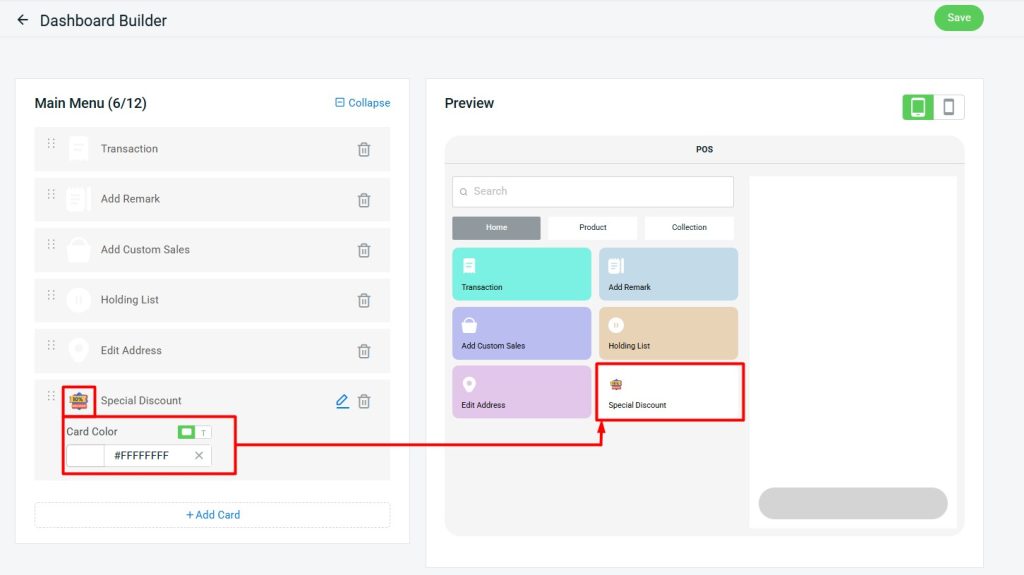
Step 4: Drag and drop to arrange the card sequence.
Step 5: Once done, click on the Save button on the top right to save changes.
3. View Dashboard in SiteGiant POS
Step 1: After logging into the SiteGiant POS system, the Dashboard Builder will appear under the Home tab.
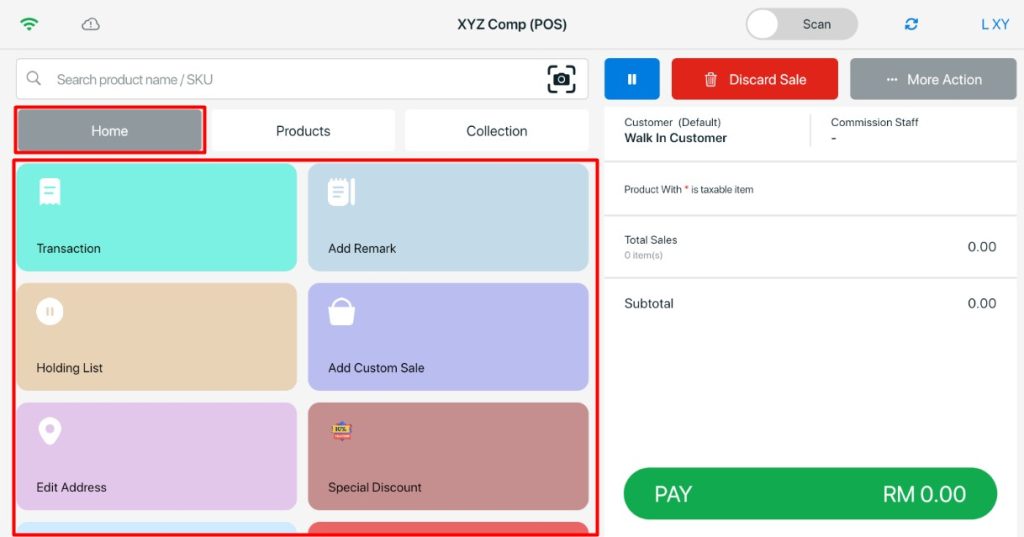
Step 2: Click on a card to easily manage your sales according to your preferences.
📝Additional Information
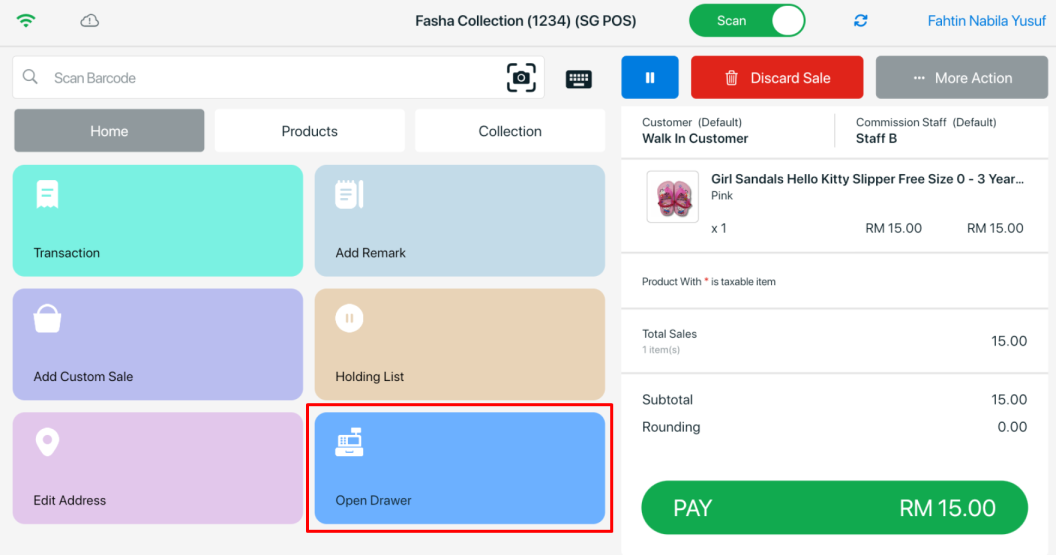
1. Add Open Drawer.
Previously, the cash drawer could only be opened after a transaction was completed. However, it is now possible to open the drawer without placing an order by adding the option directly in the Dashboard Builder.
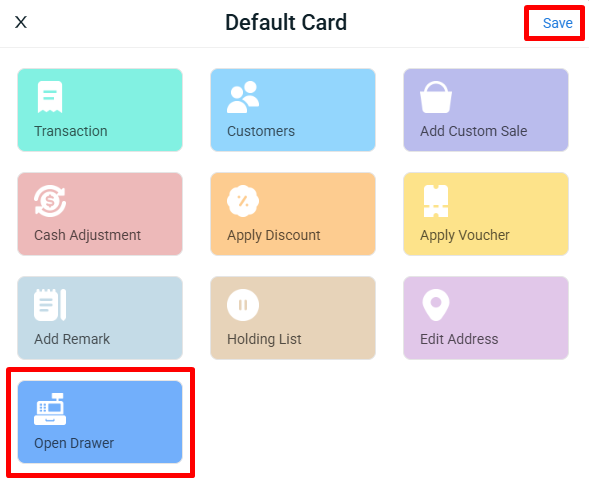
Step 1: Click +Add Card > select Default > Next.
Step 2: Select Open Drawer > click Save.
View Dashboard in SiteGiant POS
Step 1: From the SiteGiant POS Dashboard, you can now click Open Drawer without needing to place an order.