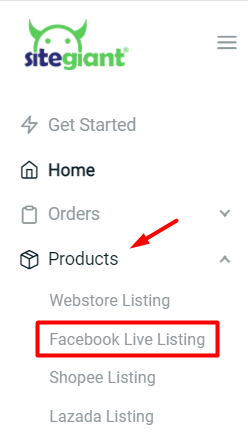
1. Go to the Products menu and click on Facebook Listing.

2. Click on the Add Product button.

3. Link the product to its Inventory Item.
4. Enter the Product Name.

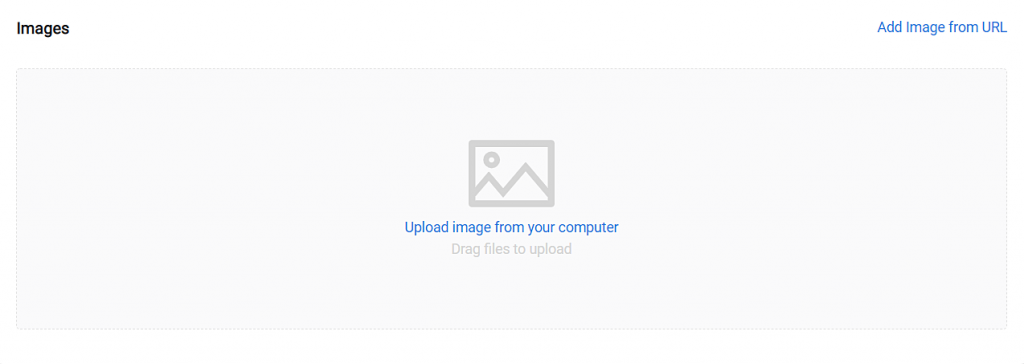
5. Upload product Images.

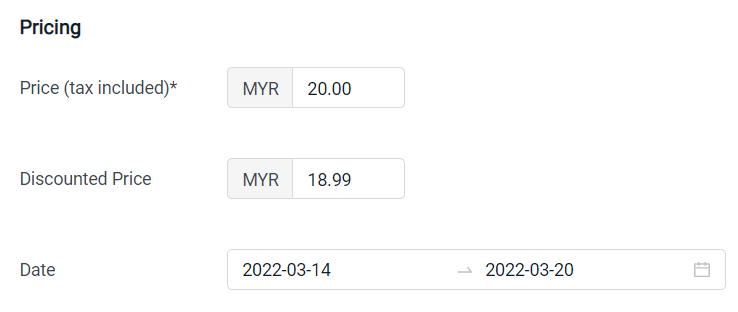
6. Enter the Price of the product to sell.
7. Enter Discounted Price if required.

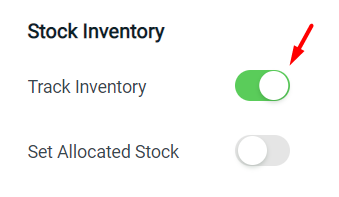
8. Enable Track Inventory.

Set Allocated Stock: To set aside a specific quantity to be used instead of using all the available stock for Facebook Live
9. Click on the Save button.

