1. Introduction
2. Create Product With Excel
1. Introduction
Creating products one by one can take a lot of time, especially when you have many POS items. SiteGiant’s Bulk Create feature allows you to create multiple SiteGiant POS listings at once. This saves time, reduces mistakes, and keeps prices, stock, and status consistent across your POS system.
2. Create Product With Excel
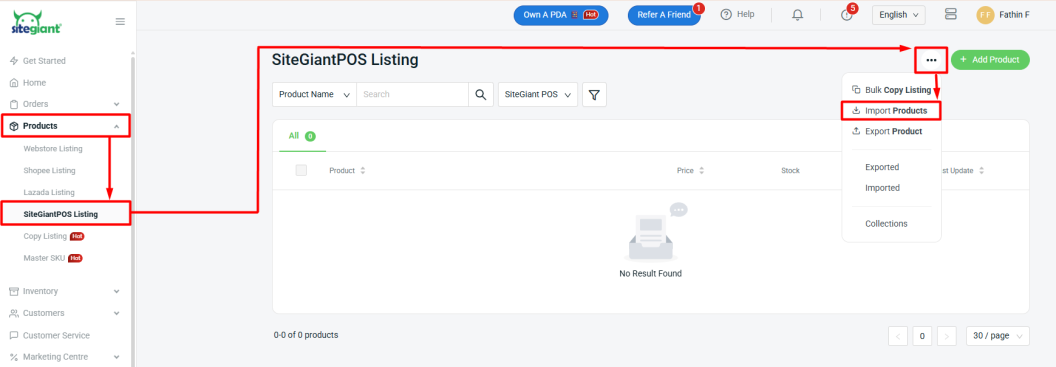
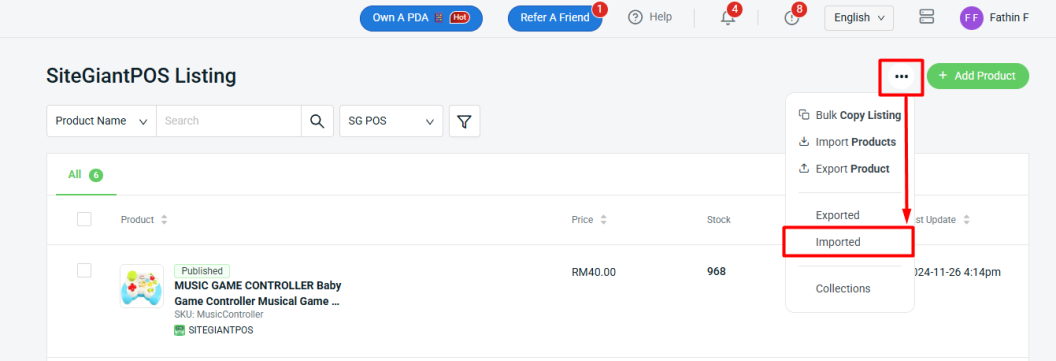
Step 1: Navigate to Products on the sidebar menu > SiteGiant POS Listing > More(…) > Import Products.
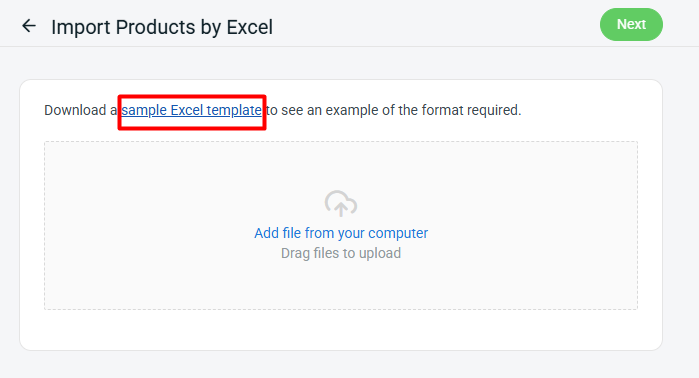
Step 2: Click the sample Excel template to download the Excel file for updates.
Step 3: Fill in the product details correctly.

📌Note: Column with * is required.
| Column | Description | Sample Data |
| parent_sku | Parent SKU for variant grouping | SH001 |
| type * | To indicate if it is a single or group product | product: single product group: with variants |
| name | Product name | Girl Sandals Hello Kitty Slipper |
| isku * | Linked inventory item SKU | SH001-Black |
| sku * | Product code | SH001-Black |
| collection | The collection or category of the product | Kids Shoes |
| option1 name | Name of the first product option | Color |
| option1 value | Conditions to publish the product | Black./White/Red |
| option2 name | Name of the second product option | Size |
| option2 value | Value for the second option | S/M/L/XL |
| cost | Cost price of the product | 60 |
| price | Selling price of the product | 100 |
| special_price | Discounted price | 85 |
| special_price_date_start | Discount start date (YYYY-MM-DD) | 2023-10-01 |
| special_price_date_end | Discount end date (YYYY-MM-DD) | 2025-12-31 |
| inventory | Quantity of product available. | 1000 |
| set_allocated_stock | Option to allocate stock | yes/no |
| allocated_stock | Quantity of stock allocated | 10 |
| description | Product specification content. Require HTML code to align the content. | <p>This is the description.</p> |
| publish_status | Conditions to publish the product | publish / private / unpublish |
| taxable | Whether the product is taxable. | yes/no |
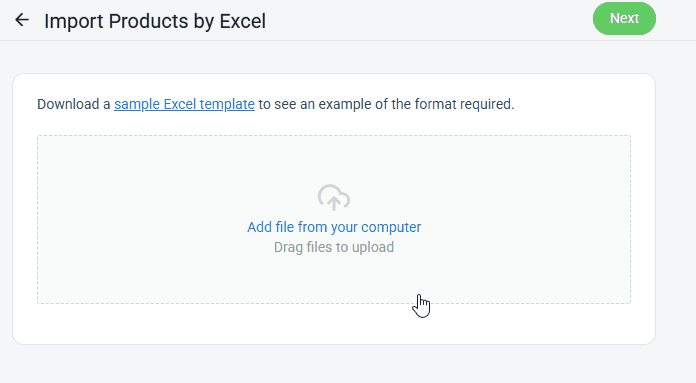
Step 4: Click Add file from your computer > Upload File > Next.
Step 5: If there are errors in the uploaded Excel file, the error message will appear under Errors and Warnings, and the error column will be shown in Data Preview. Please correct the errors and reupload the file. If there are no errors, click Proceed to continue.

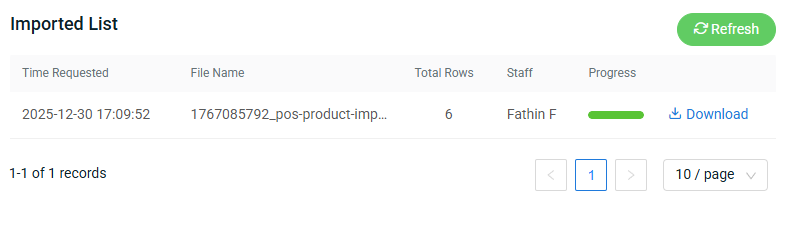
Step 6: If the file is successfully uploaded, the product listing will be displayed after refreshing the page. You can also check the status by clicking More(…) > Imported.
Step 7: When the Progress bar turns green, it indicates that the file has been successfully uploaded.