1. Introduction
2. Set Up Xilnex Integration
3. Update Xilnex Listing
4. Sync Purchase Order
5. Sync Transfer Note
6. Additional Information
1. Introduction

Xilnex is a cloud-based Point of Sale (POS) and retail management system designed to help businesses manage sales, inventory, customers, and overall operations more efficiently. When integrated with SiteGiant, it allows you to sync product listings, purchase orders, and transfer notes directly from Xilnex to the SiteGiant system.
📌Note: Please make sure you already registered an account with Xilnex for integration purposes. If you do not have an account yet, may proceed to register here.
2. Set Up Xilnex Integration
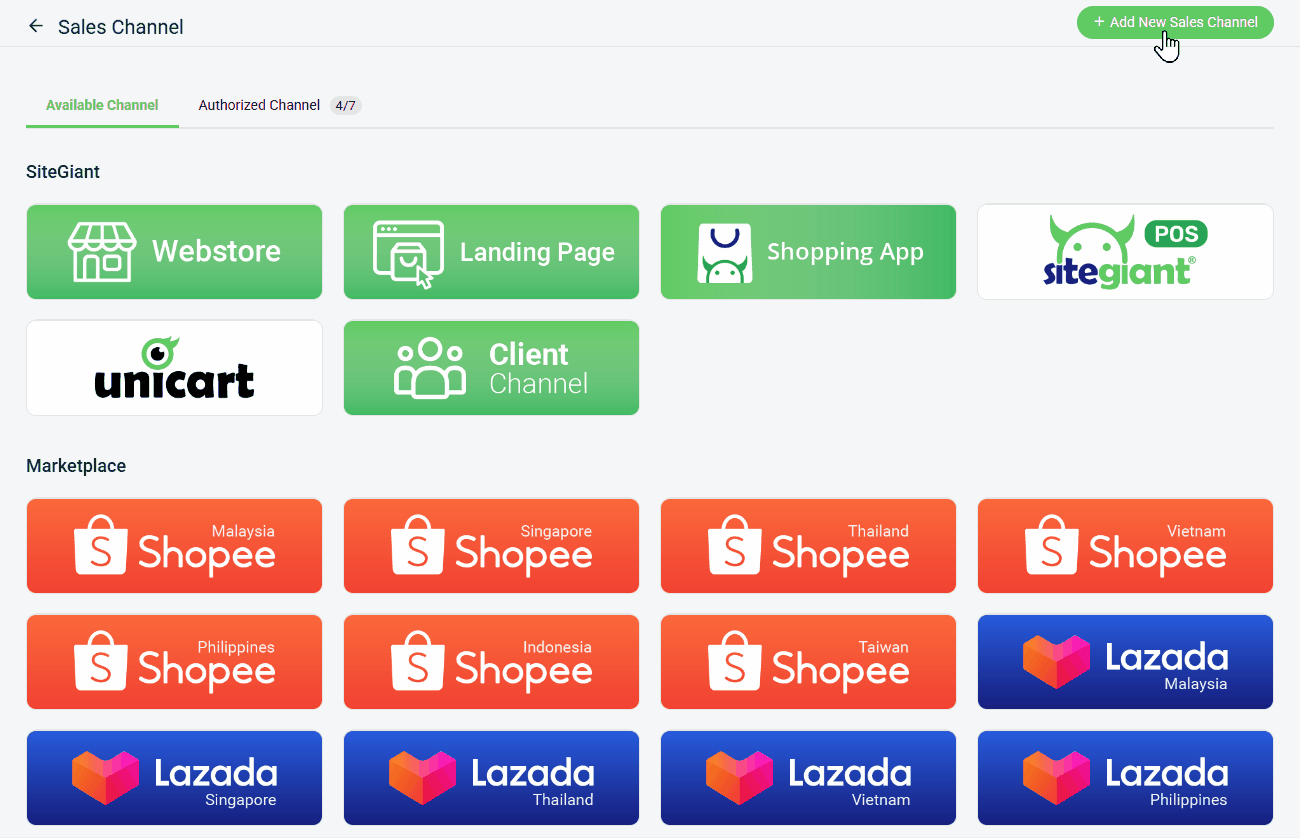
Step 1: Navigate to Settings at the sidebar menu > Sales Channels.

Step 2: Click + Add New Sales Channel > select Xilnex > click Continue.
Step 3: Enter APP ID and Access Token > click Authorize.

📌Note: Please contact the Xilnex representative to obtain the APP ID and Access Token.
Step 4: Select Outlet > select Default Warehouse > select Default Currency > enter Channel Name > click Connect.
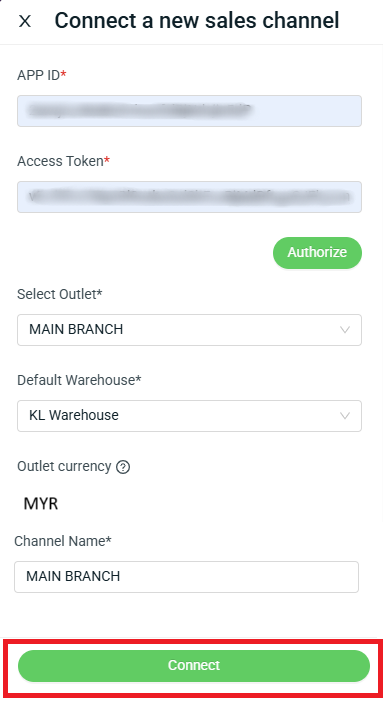
📌Note: Each Xilnex outlet can be linked to only one SiteGiant ERP channel.
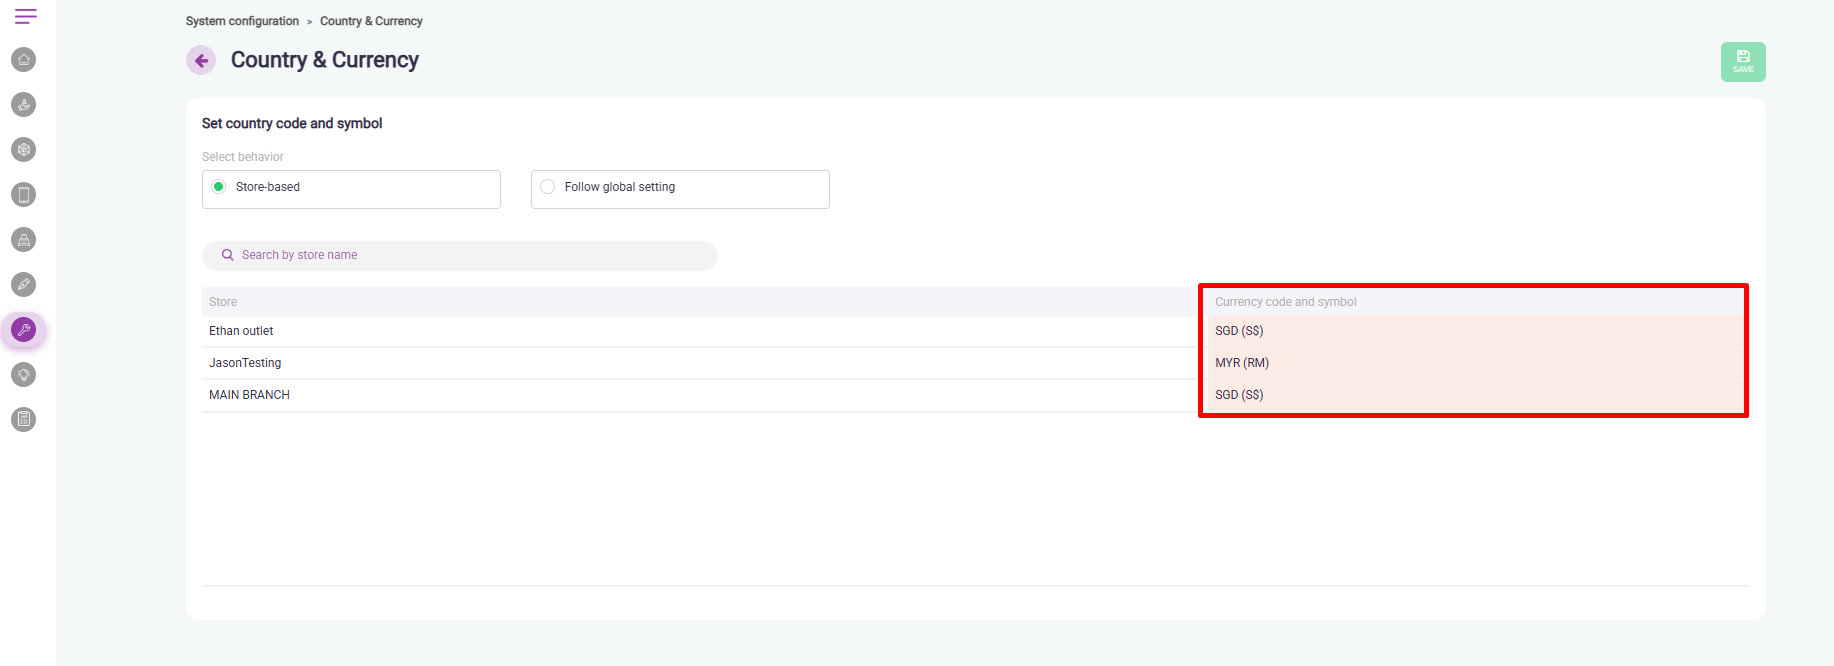
📌Note: The currency will automatically update based on your settings in Xilnex. However, please be informed that the currency setting can only be adjusted through the Xilnex Portal, instead of using the Xilnex POS. Step 1: Login Xilnex Portal > click Top Left Hamburger Icon > click Sytstem Configuration > Country & Currency.Step 2: The currency will automatically update during integration, based on the channel name you selected.
3. Update Xilnex Listing
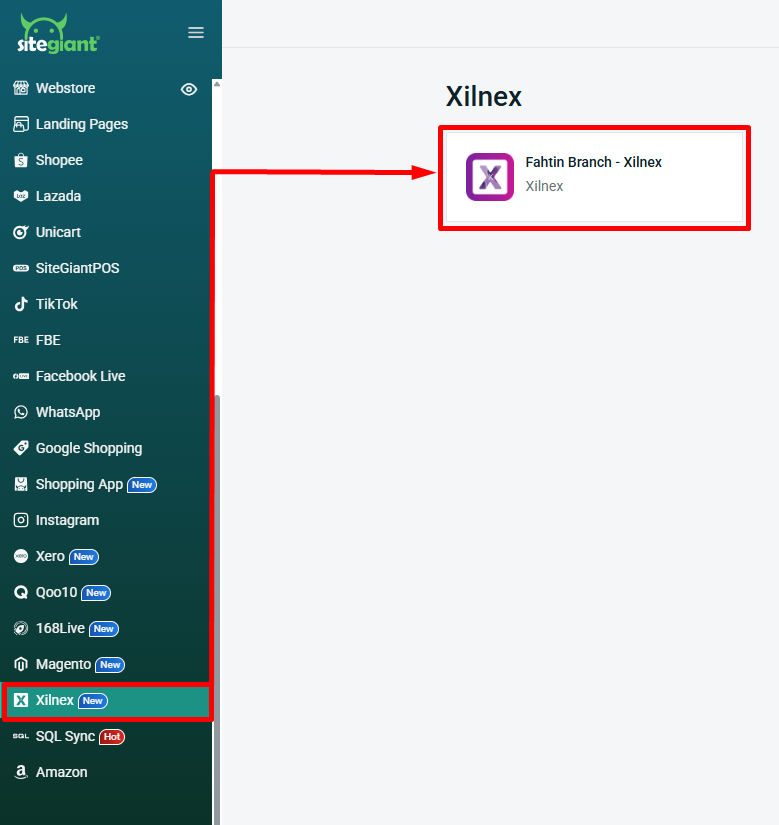
Step 1: Navigate to Xilnex > click Xilnex’s outlet.
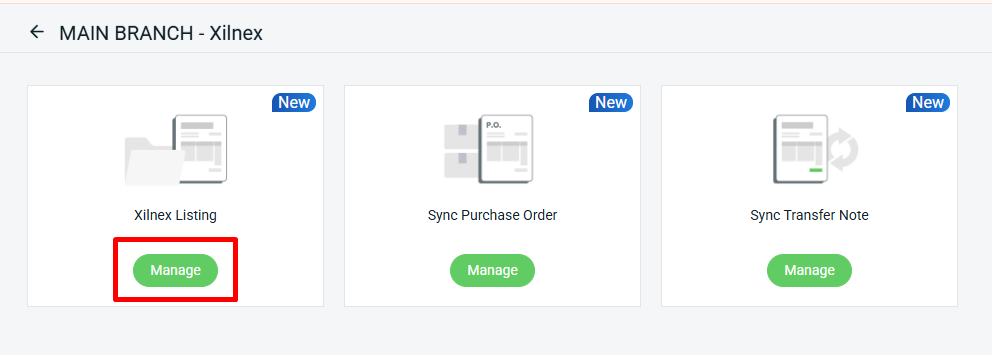
Step 2: Click Manage Xilnex Listing.
Step 3: During the first integration, products will automatically sync back to the Xilnex Listing in SiteGiant.
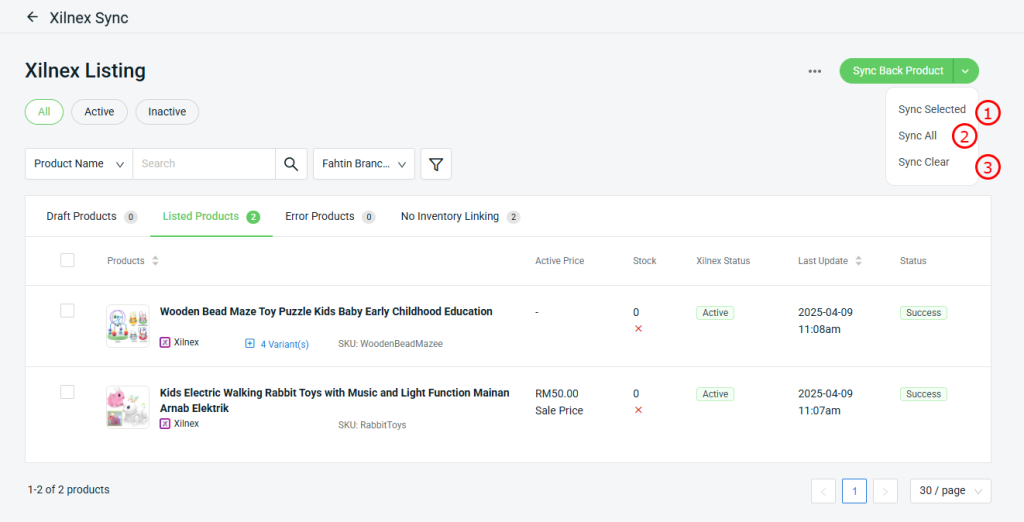
1. Sync Selected: Select any product(s)and sync back the information for the particular product(s)only.

2. Sync All: Any product(s)information which have made changes in seller center will be synced back.

3. Sync Clear: You are able to clear the stuck sync back progress. Once done, can procees to sync back again.

📌Note: Only products with Normal and Matrix stock types can be synced back to the SiteGiant's Xilnex listing.
Step 4: Proceed with inventory linking by clicking More(…) > Bulk Inventory Linking.

💡Tips: Learn more on How To Do Bulk Inventory Linking.
Step 5: Once the product is linked, the stock will follow the inventory item in SiteGiant.
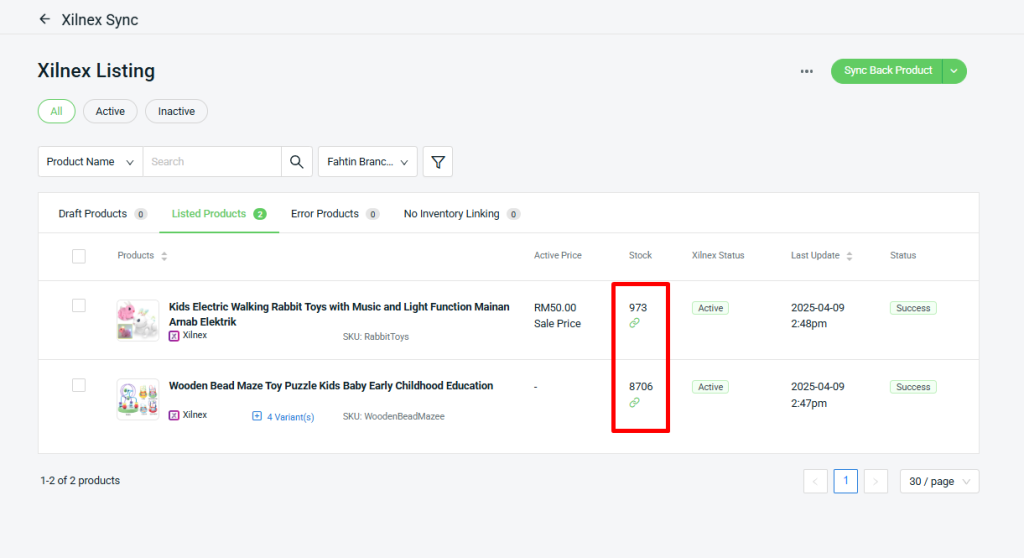
📌Note: Stock within SiteGiant and Xilnex will not be automatically synced. You must manually update the stock on both platforms.
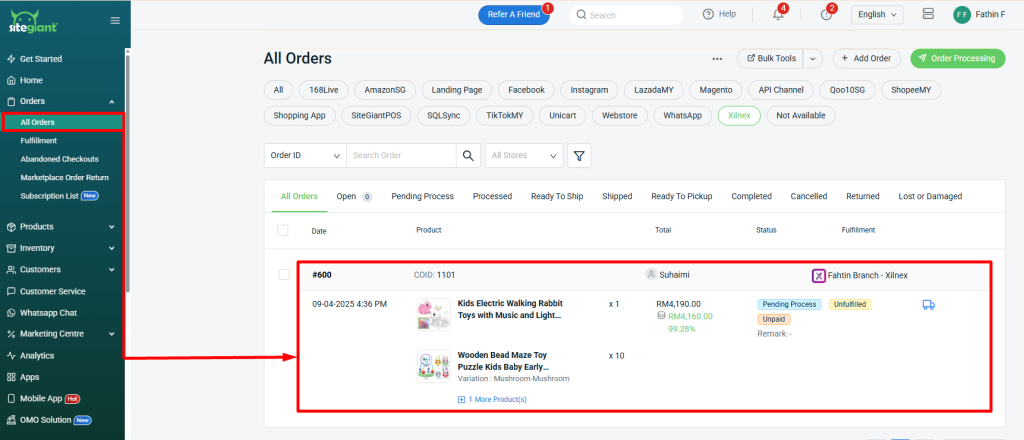
Step 6: Orders from Xilnex will sync back to SiteGiant under the All Orders page, and the stock will be deducted if the inventory linking is already done.
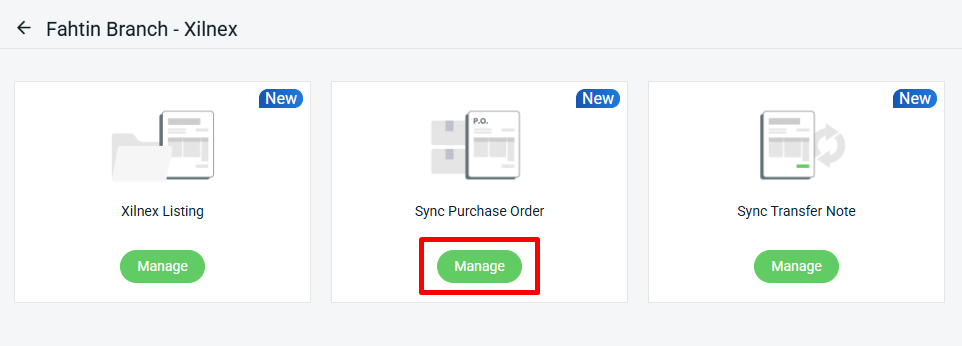
4. Sync Purchase Order
💡Tips: If you are wish to sync the Purchase Order along with Vendor Information, please ensure that the currency code is not filled in under your Additional Information Vendor settings (in Xilnex account), as shown below:You are only allowed to select the currency on the Additional Information II page.

Step 1: Navigate to Xilnex > click Xilnex’s outlet.
Step 2: Click Manage Sync Purchase Order.
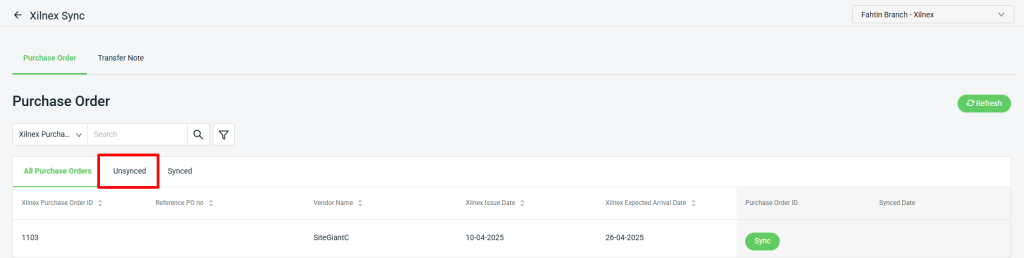
Step 3: The Purchase Order details updated in Xilnex will be visible under the Unsynced Tab.
Step 4: Click the Sync button to create the Purchase Order in SiteGiant.
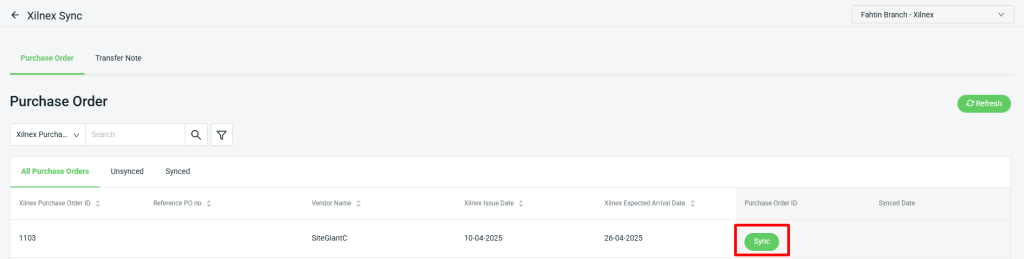
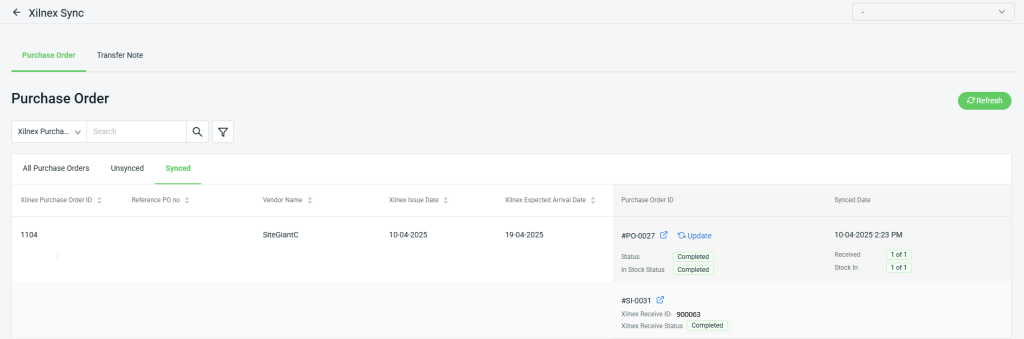
Step 5: The order will be moved to the Synced tab. Then, the Incomplete Purchase Order will be created on SiteGiant’s Purchase Order feature.
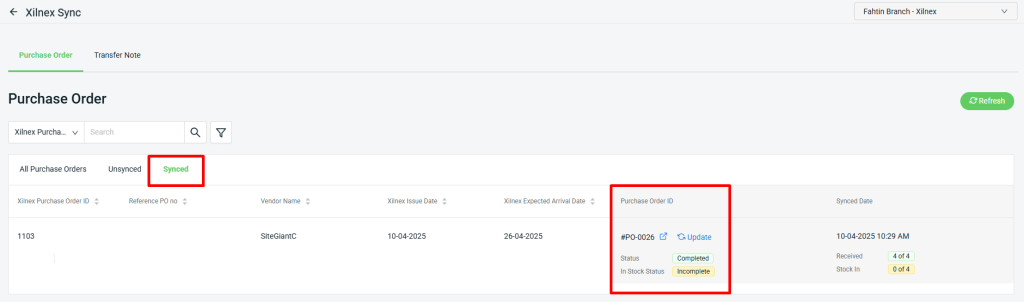
📌Note: When you create a Purchase Order in Xilnex and sync it to SiteGiant, it will be fully received by default.
Step 6: If the Purchase Order has not yet been created on SiteGiant’s Purchase Order feature, click the Update button.
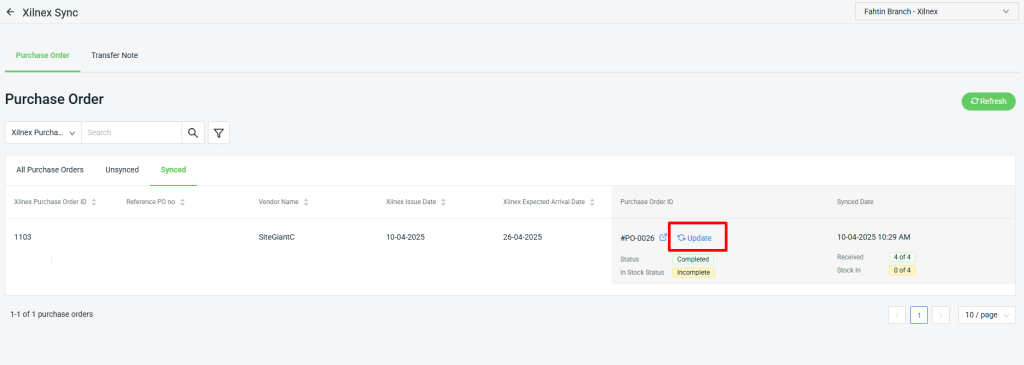
Step 7: When the Purchase Order status in SiteGiant is marked as Completed, the Xilnex Receive Status will also show as Completed.
💡Tips: Learn more on How To Update Purchase Order.
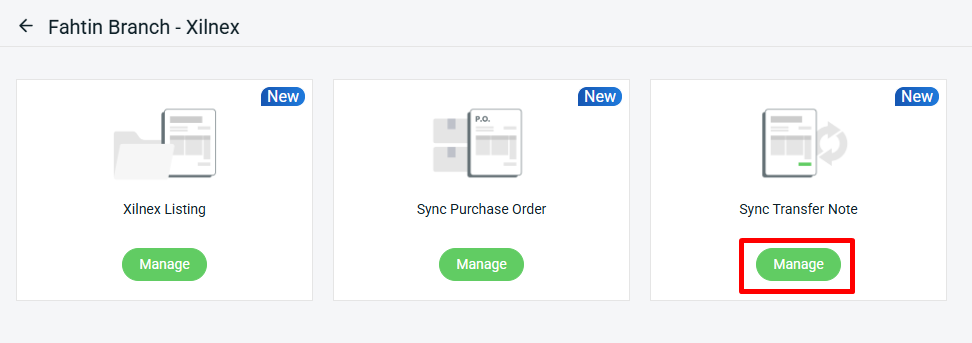
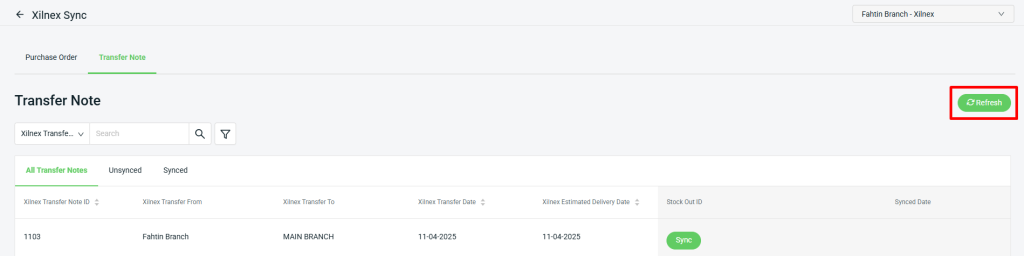
5. Sync Transfer Note
Step 1: Navigate to Xilnex > click Xilnex’s outlet.
Step 2: Click Manage Sync Transfer Note.
Step 3: Click Refresh to update and retrieve the latest Transfer Note from Xilnex.
Step 4: Click the Sync button to generate the Stock Out ID, then click Refresh to update the Transfer Note status to Completed. There’s no need to manually update the transferring stock in SiteGiant, as it will automatically follow the Transfer Note details from Xilnex.
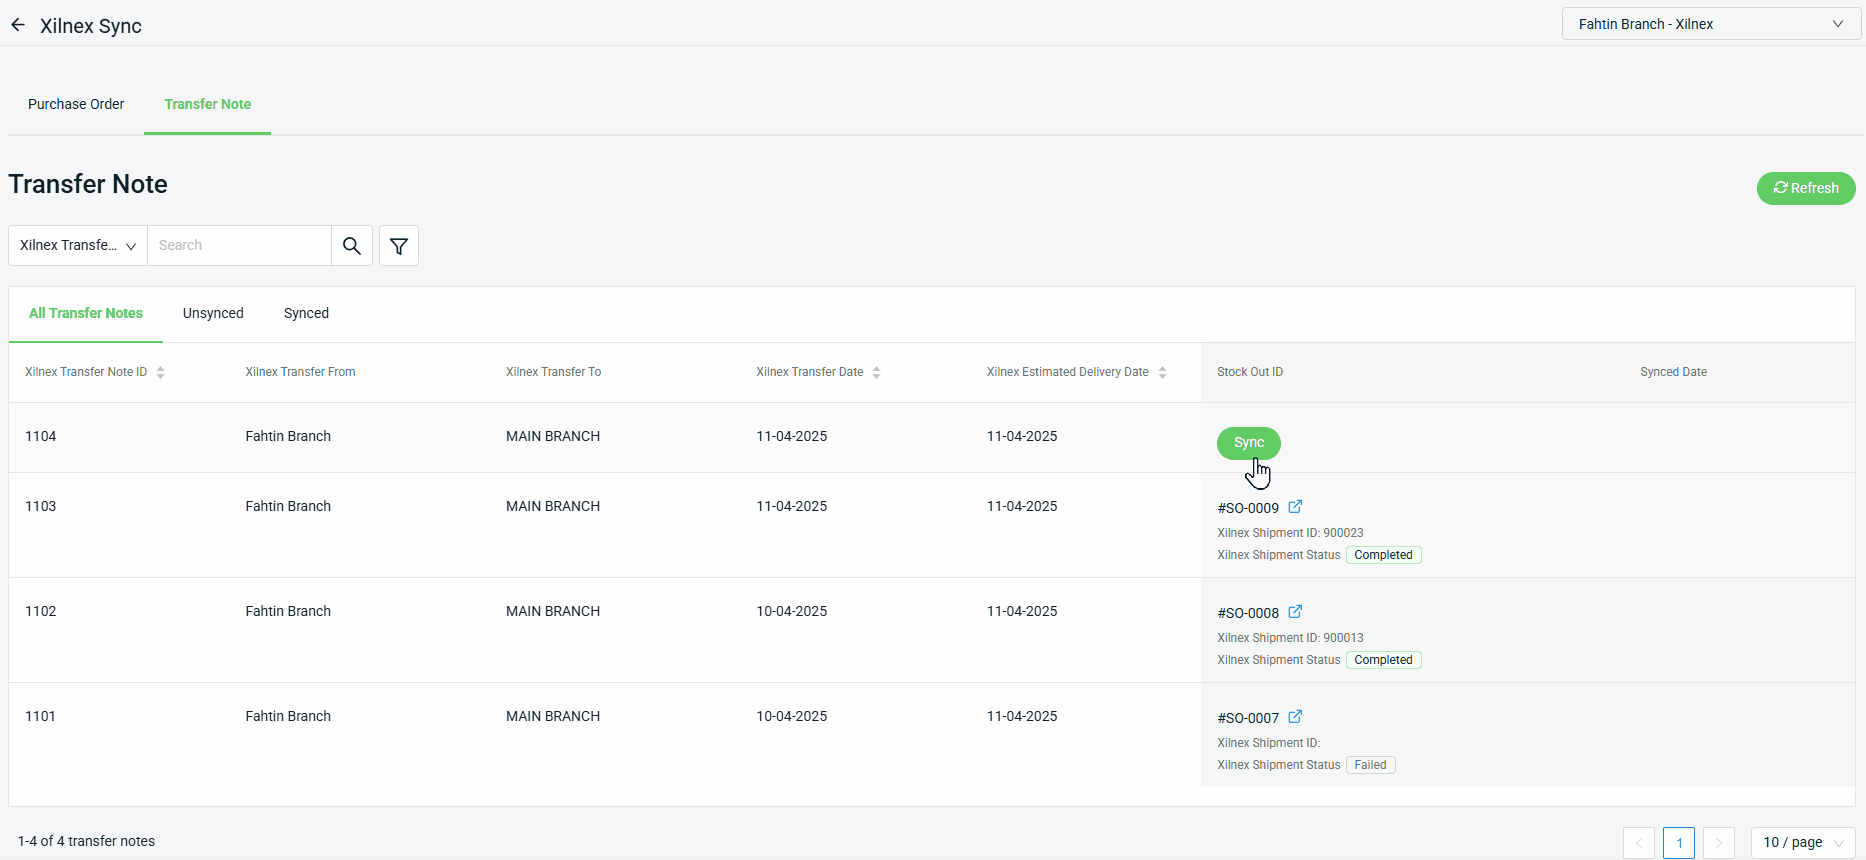
📌Note: Only Transfer Notes with a Confirmed status in Xilnex can successfully update their status in SiteGiant.
Step 5: Once the Transfer Note is completed, it will be updated under the Delivery Order section in the Xilnex system.

📝Additional Information
1. Analytic Report.
You can view the Xilnex order details under the Analytic Report section, including Marketplace Channel Report, Order Report, Item Performance Report, and Item Sold Report.
2. Sync Data (Xilnex Cloud).
Xilnex POS will continuously sync updates to the Xilnex cloud. So if you make any changes in the POS, please allow some time for the data to sync to the cloud before it can be synced to SiteGiant ERP. In some cases, a manual sync may be needed if the latest changes are not reflected.
You can Log in to your Xilnex account > click the Cloud button to manually sync.