
1. Introduction
2. Bulk Inventory Linking For The First Time
1. Introduction
Bulk Inventory Linking helps you to centralized inventory control for your products in various channels. It helps to auto-deduct your inventory when the customer places an order from various channels.
Things that you should take note before you get started:

1. If you had updated any new product information in the Marketplace Seller Center, please perform data sync back to update the latest product information back to your SiteGiant's Product Listing.

2. New iSKU will be auto-generated whenever the system detected that there is no SKU for the product from Seller Center. Thus, if you wish to have the Product SKU of your own, please fill up your SKU from the Seller Center and perform sync back again.
2. Bulk Inventory Linking For The First Time
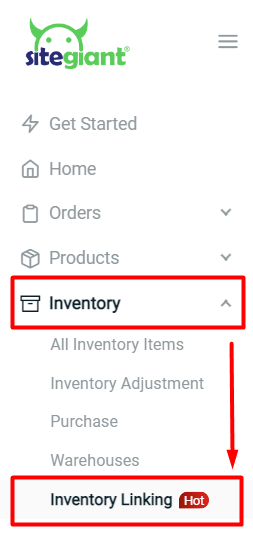
Step 1: Navigate to Inventory on the sidebar menu > Inventory Linking.
Step 2: If you don’t have any inventory product in SiteGiant, a pop-up will appear for you to select a default marketplace store > Save.
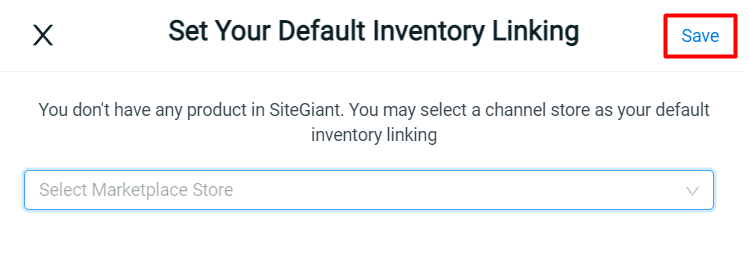
💡Tips: Select the store with the most completed product listing as the default marketplace store.
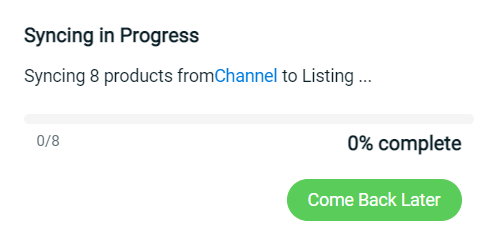
Step 3: Products from the seller center will be synced to SiteGiant, please be patient while syncing the data. You may click Come Back Later to let it sync at the backend so that you can perform other tasks.
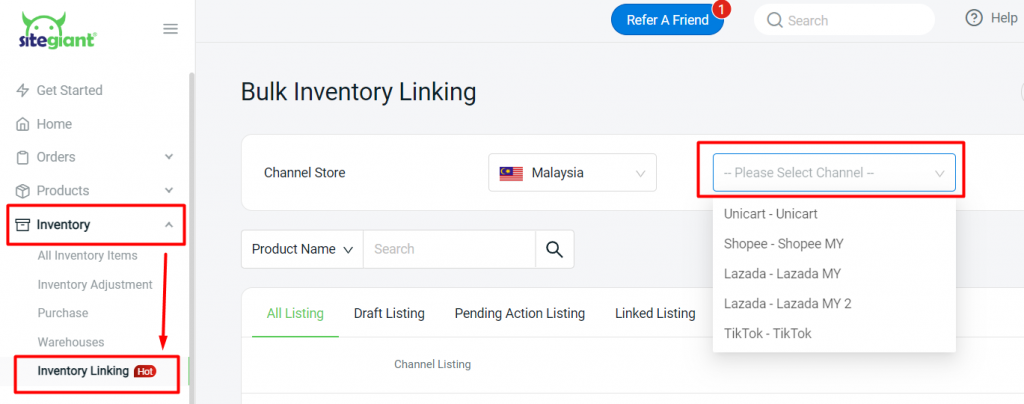
Step 4: Once it is done, go back to Inventory Linking > Select the default store that you selected in Step 2.
Step 5: All the products will be in Draft Linking with ISKU > remove the linking for bundle products by clicking Reset.
📌Note:
1. The ISKU will base on the product SKU. If the product SKU is empty, the system will auto-generate an ISKU for your inventory product.
2. Bundle products need to be handled separately by using Kits
Step 6: If you have multi-listing product, you will also need to Reset the linking and link it to the same ISKU as the main listing > Bulk Confirm > Done.
Step 7: Once done with draft listing, click on Review Draft Listing > review and check the linking > Confirm And Save Listing.
Step 8: Allow some time for the products to sync and link with SiteGiant > click OK to complete the process.
If you have more than one marketplace store to link the inventory, you can refer to How To Link Marketplace Product With Existing Inventory Item.