
1. Introduction
2. Set Up Xero Integration
3. Xero Settings
4. Xero Matching
5. Sync Invoice
6. Sync Purchase Order
7. Invoice Preview in Xero Account
1. Introduction
Xero is a cloud-based accounting software that assists small businesses with financial management. It is simple to use and includes a variety of features such as invoicing, expense tracking, financial reporting, inventory management, etc. So, with SiteGiant Xero Sync, you can easily sync your online order details from your store into Xero account.
📌Note: Please make sure you already registered an account with Xero for integration purposes. If you do not have an account yet, may proceed to register here.
2. Set Up Xero Integration
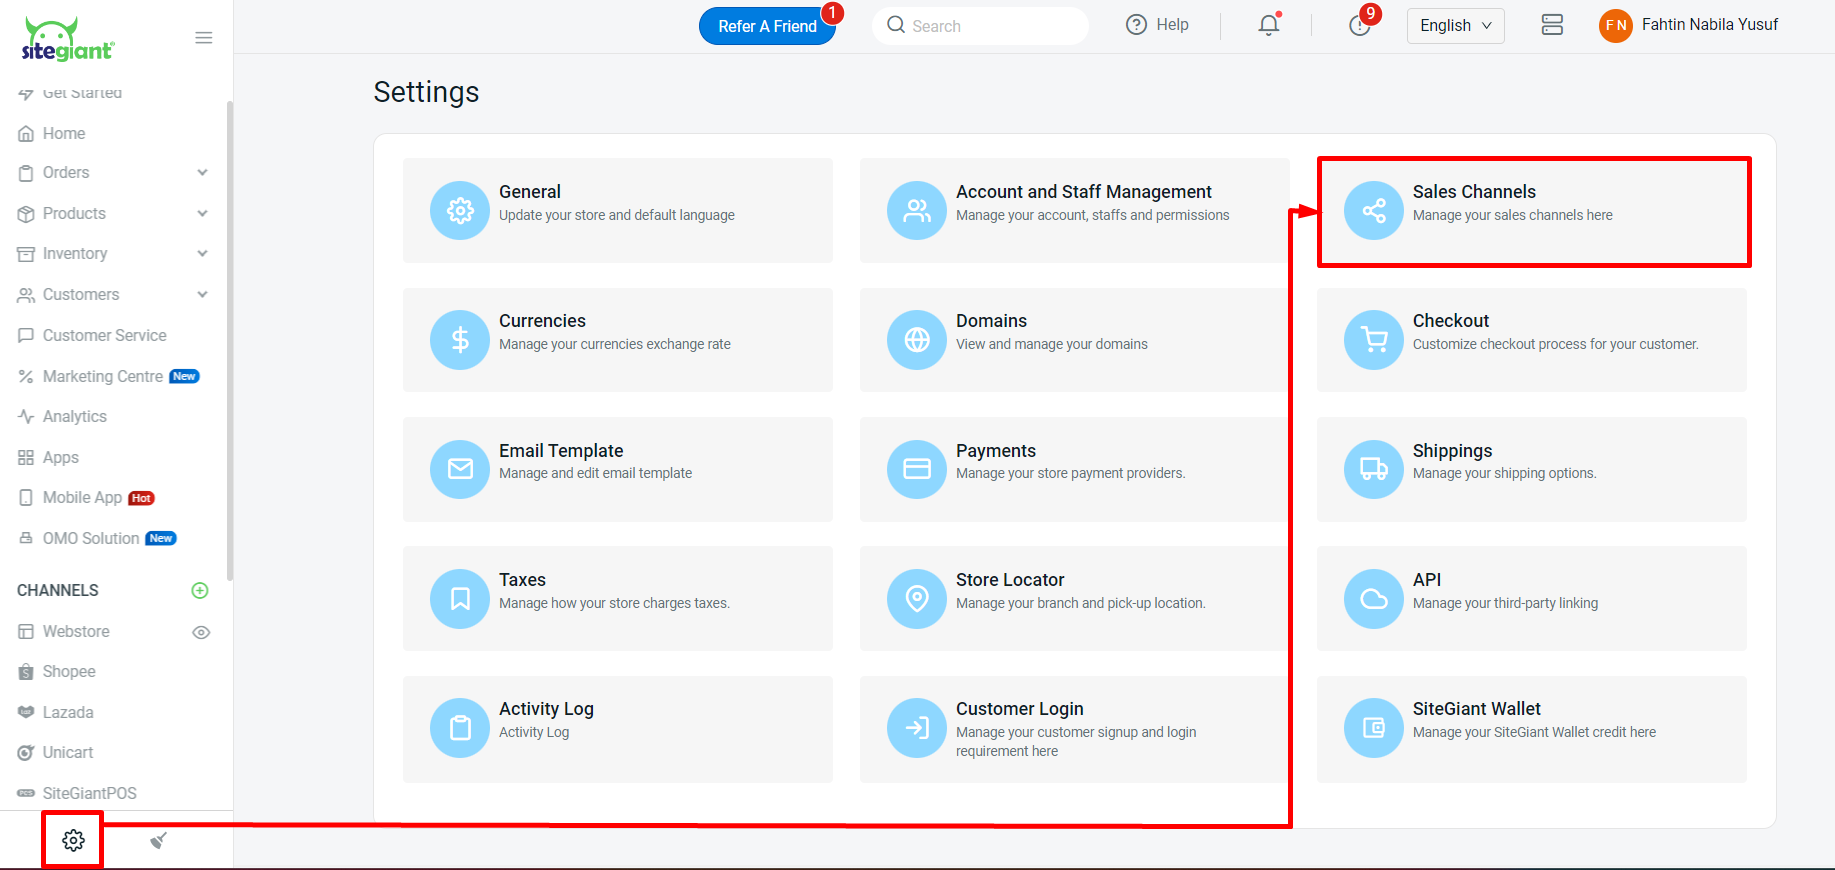
Step 1: Navigate to Settings at the sidebar menu > Sales Channels.
Step 2: Click + Add New Sales Channel > select XeroGlo > enter Channel Name > Connect.
📌Note: You can enter any Channel Name you want. This is because after the integration, you will still need to Select Tenant, and the Channel Name will change to match your Xero account.
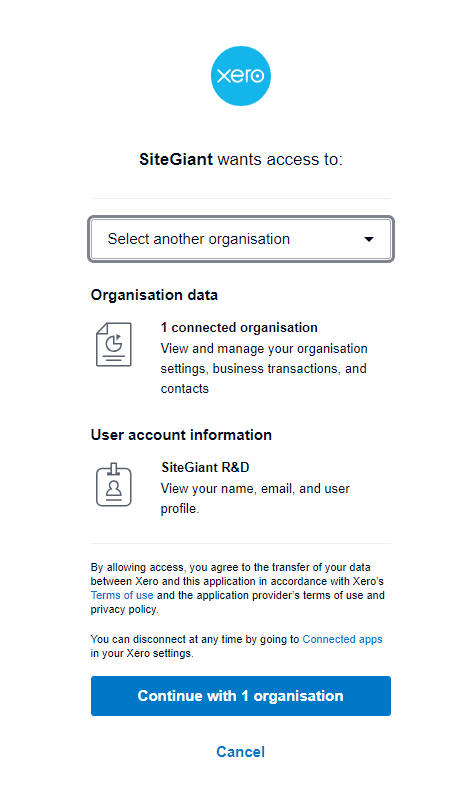
Step 2: Select Organisation (Xero Account) > click Continue.
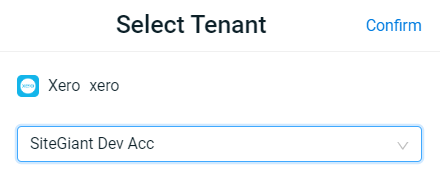
Step 3: You can Select Tenant > Confirm.
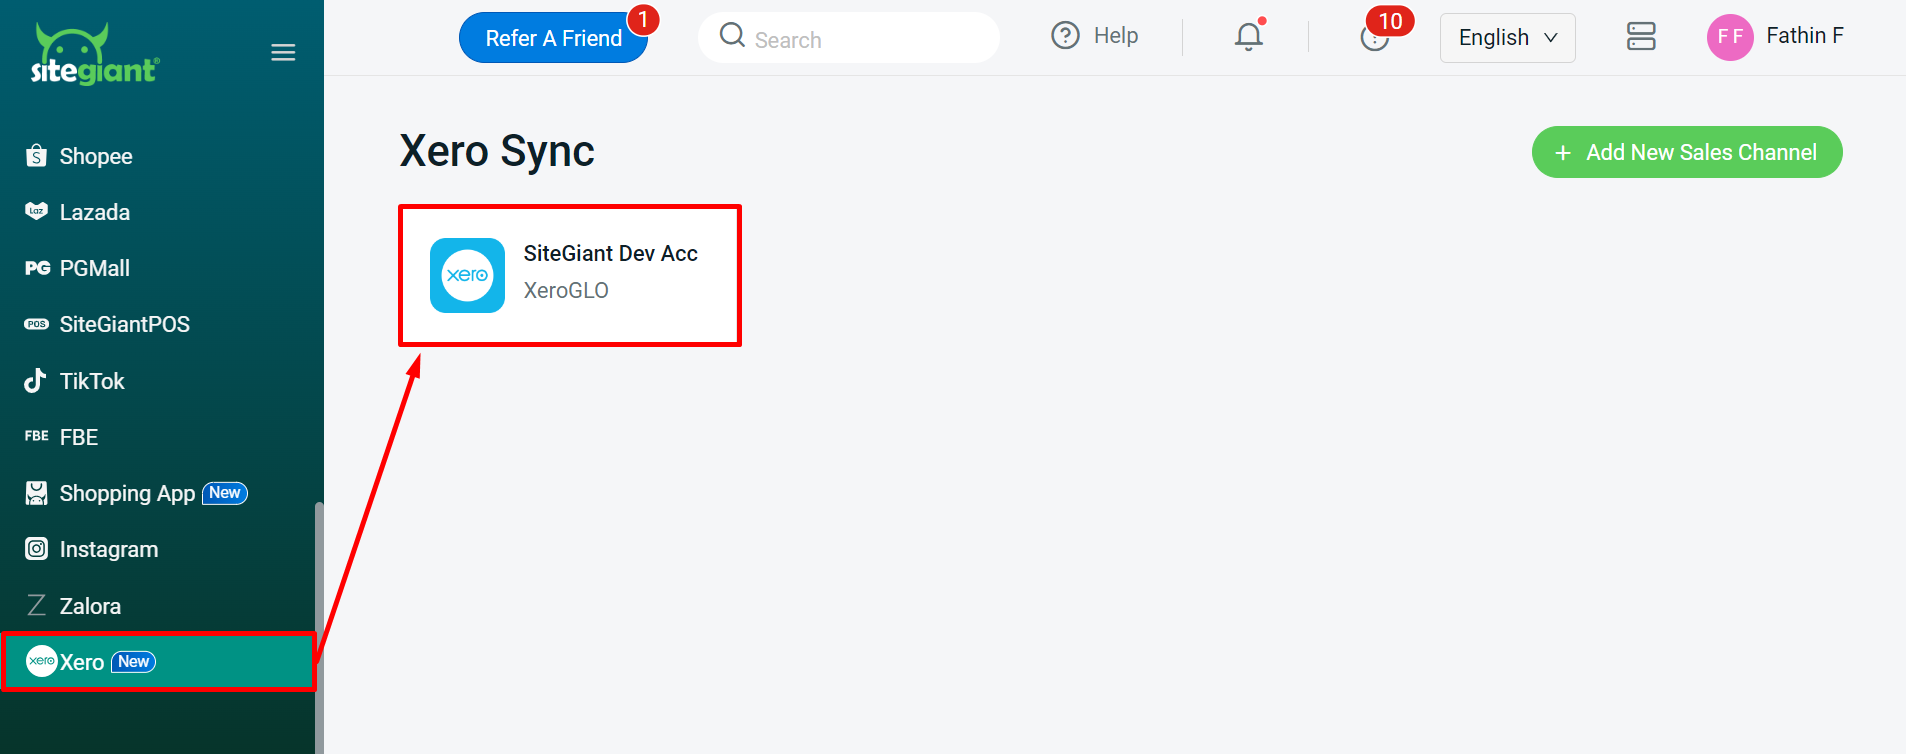
Step 4: When the integration is complete, the Xero channel will appear in the sidebar menu.
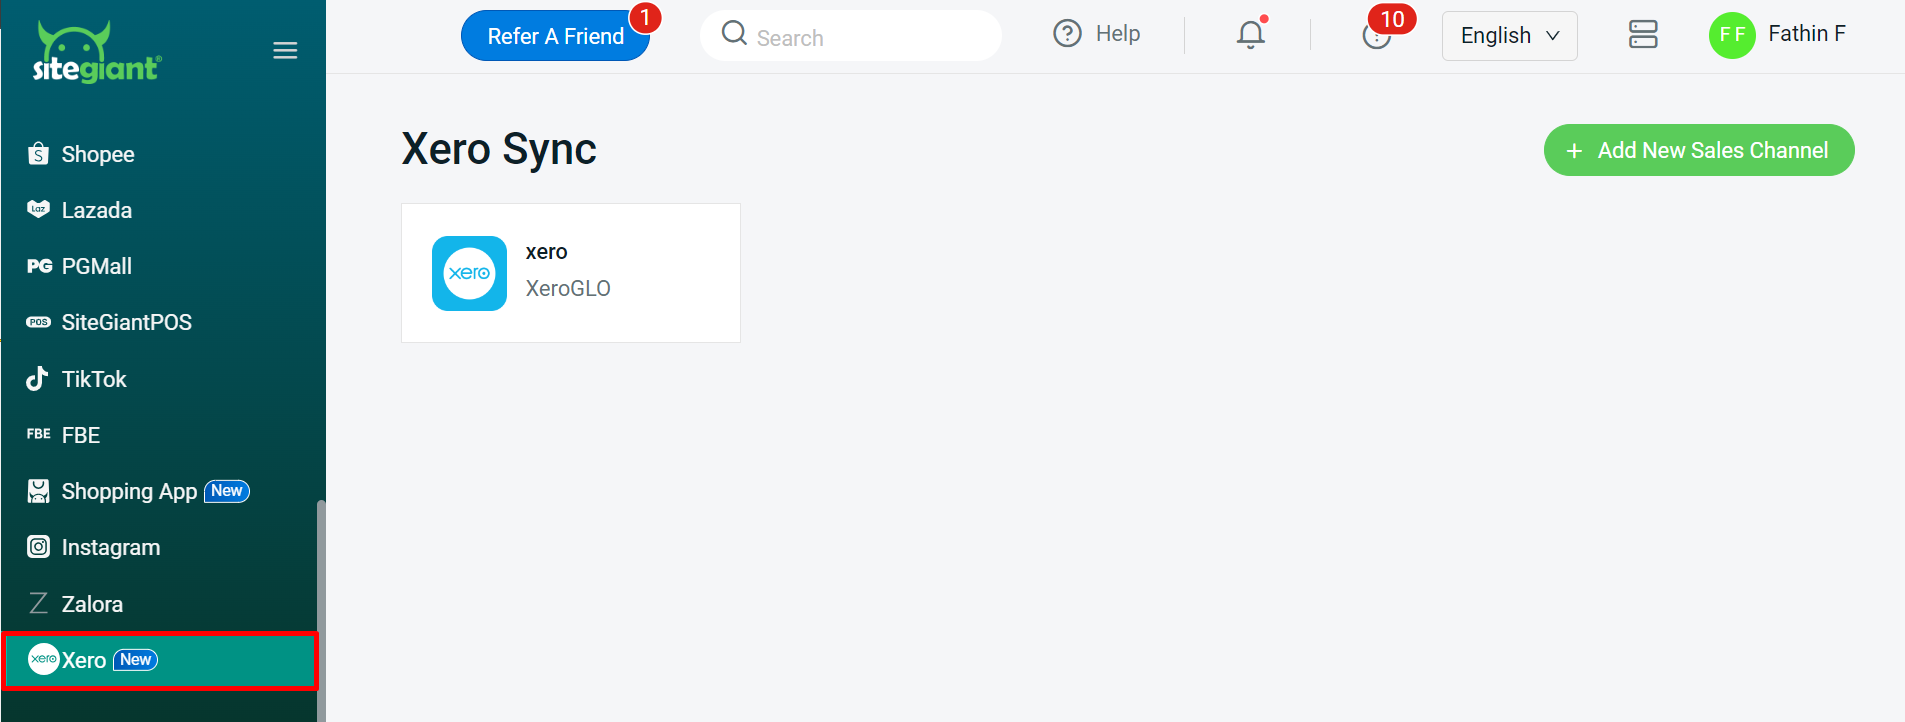
📌Note: If your Sales Channel quota in SiteGiant is sufficient, you can add more than one Xero account by clicking + Add New Sales Channel.
3. Xero Settings
Step 1: Navigate to Xero at the sidebar menu > click XeroGLO app.
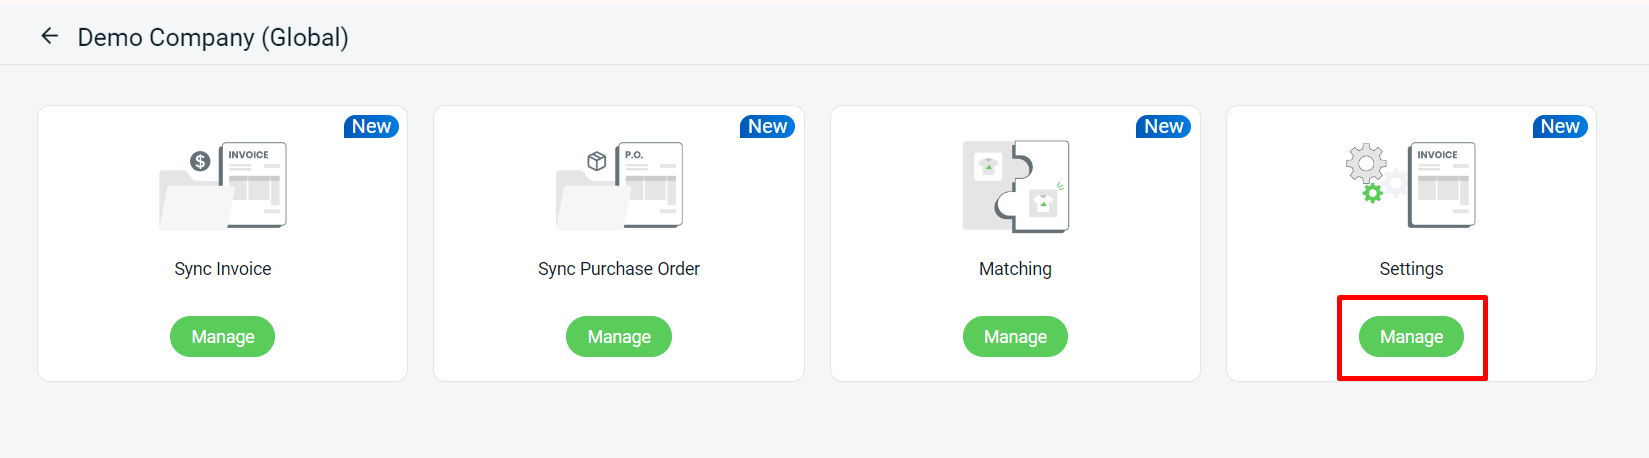
Step 2: Click Manage Settings.
Step 3: Select your Invoice Present details > Save.
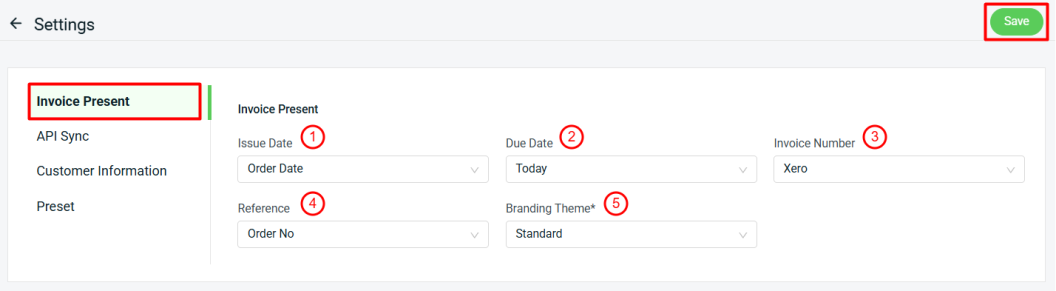
1. Issue Date: The date that the invoice was created.

2. Due Date: To determine when invoices are considered to be overdue.
Note: If you set the issued date as "Synced Date" and due date as "X days," the due date will be Synced Date + X days.
If you set the issued date as "Order Date" and due date as "X days," the due date will be Order Date + X days.

This setting only applies to new invoices. It won’t affect invoices that are already synced.

3. Invoice Number: The invoice number will displayed on the invoice itself. You can choose to use Invoice Number from Xero or SiteGiant.

4. Reference: The reference number in a Xero invoice is an optional field that can be used to add additional information to the invoice.

5. Branding Theme*: Branding theme is a customizable design template that you can apply to your invoices. You could have a more formal theme for invoices sent to corporate clients and a more casual theme for invoices sent to individual customers.
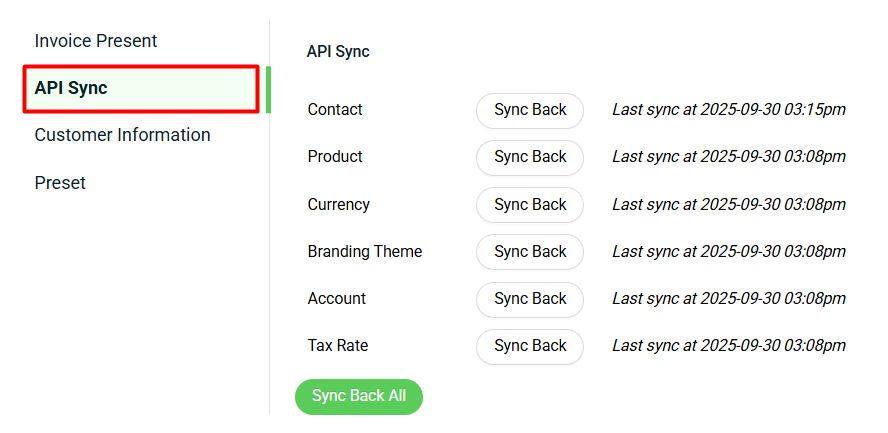
Step 4: You can sync back the recent data that you have updated in your Xero account by going to the API Sync Page. You can select Sync Back for selected details or Sync Back All to update all Xero details.
Step 5: In the Customer Information Page, you can control for each of your channel to either sync customer info based on Customer Matching or Order Billing Information.
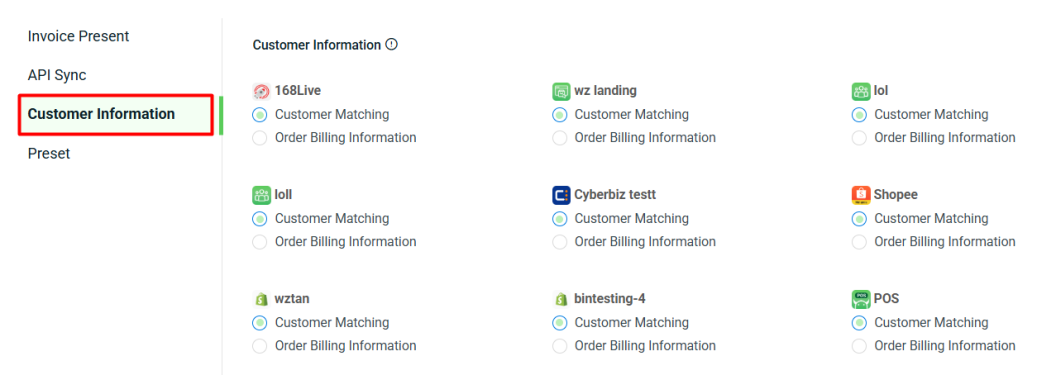
📌Note: If choose to sync based on Order Billing Information, a new customer will be created in Xero after the invoice is synced successfully, provided the customer name does not already exist in the system.
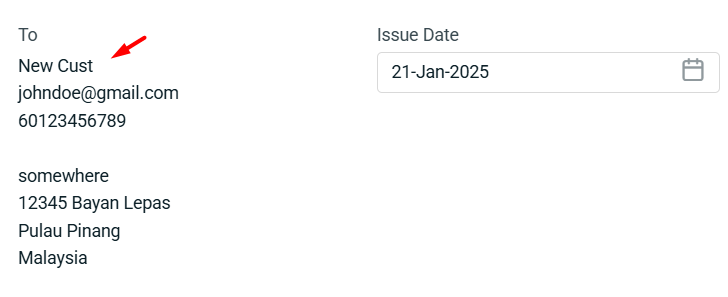
If the customer name already exists in Xero, their customer details — such as phone number, billing address, and email will be updated with the order’s billing information instead.
Step 6: In the Preset Page, you can match certain order subjects (e.g., order discount, voucher, bundle deal, etc.) with its corresponding product from Xero.

📌Note: All the preset subjects status will be enabled by default. You may choose to disable the status of any subject that you do not wish to sync over to Xero.
4. Xero Matching
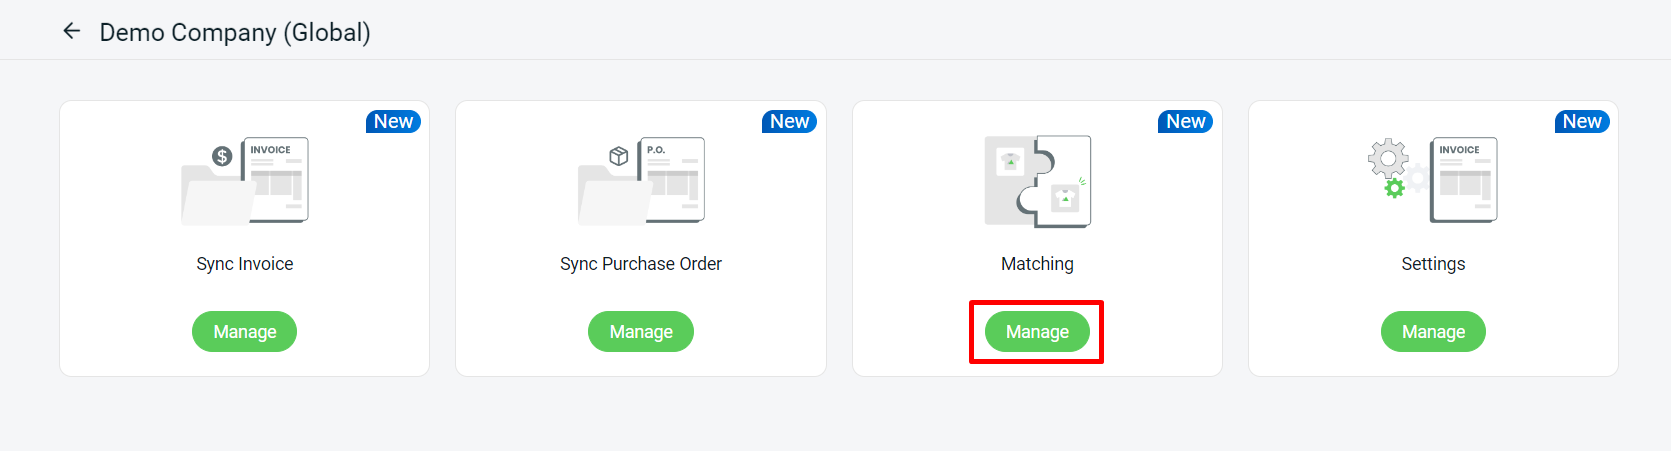
Step 1: Navigate to Xero at the sidebar menu > click XeroGLO app.
Step 2: Click Manage Matching.
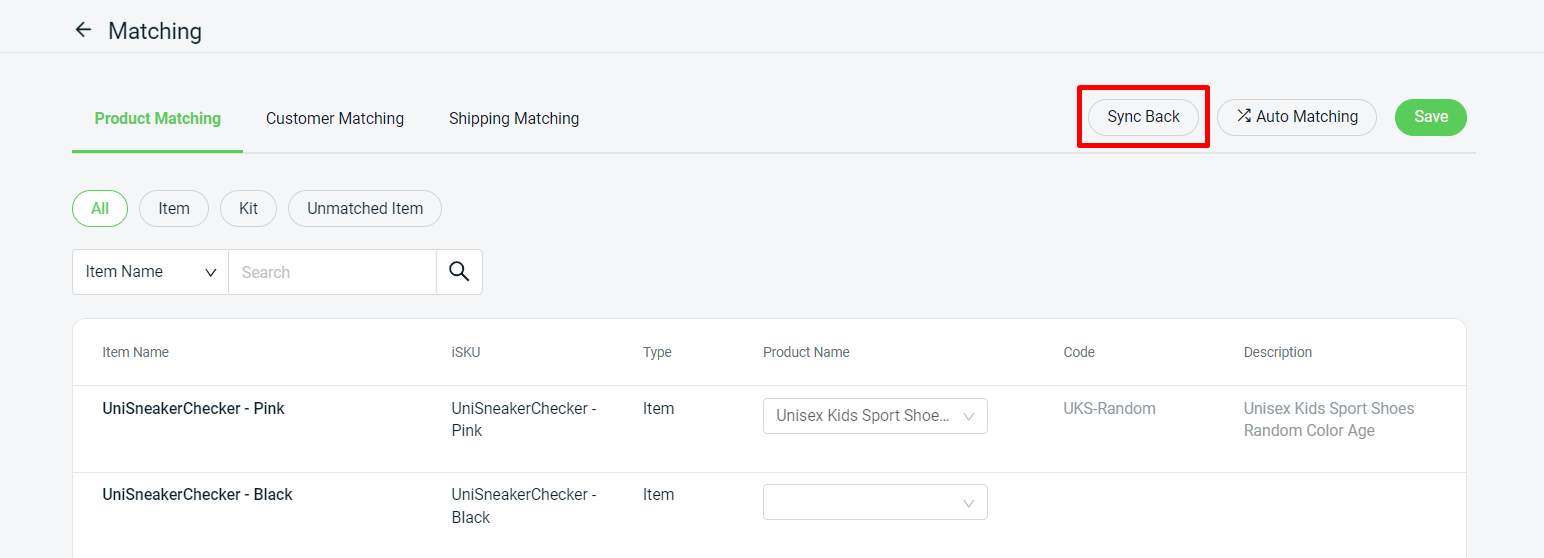
Part I: Product Matching
i) Manual Matching:
> Under Product Matching all your Inventory Items will be listed > select the relevant product from Xero to match with the Inventory Item in SiteGiant > Save.

> Click the Sync Back button to retrieve the latest product update from Xero accounting.
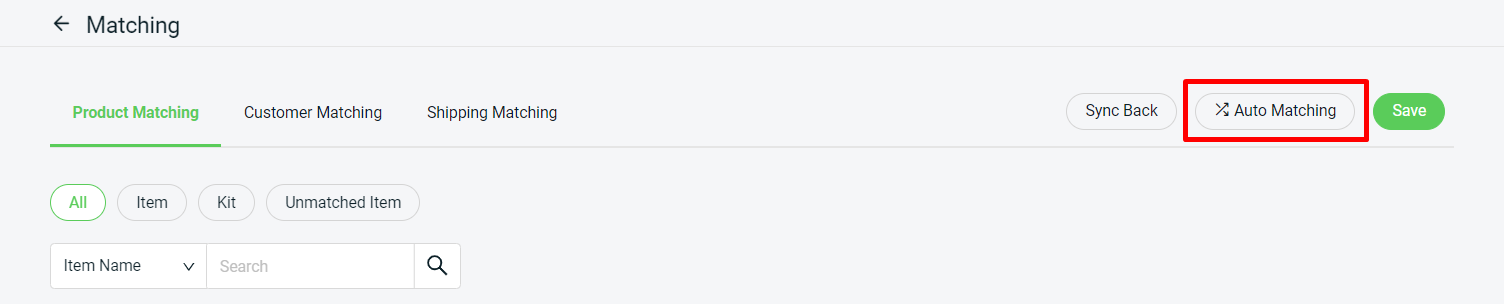
ii) Auto-Matching:
> Click on the Auto-Matching icon from the top.
> If the Product Code in Xero matches the iSKU from SiteGiant, the system will match the product for you automatically.
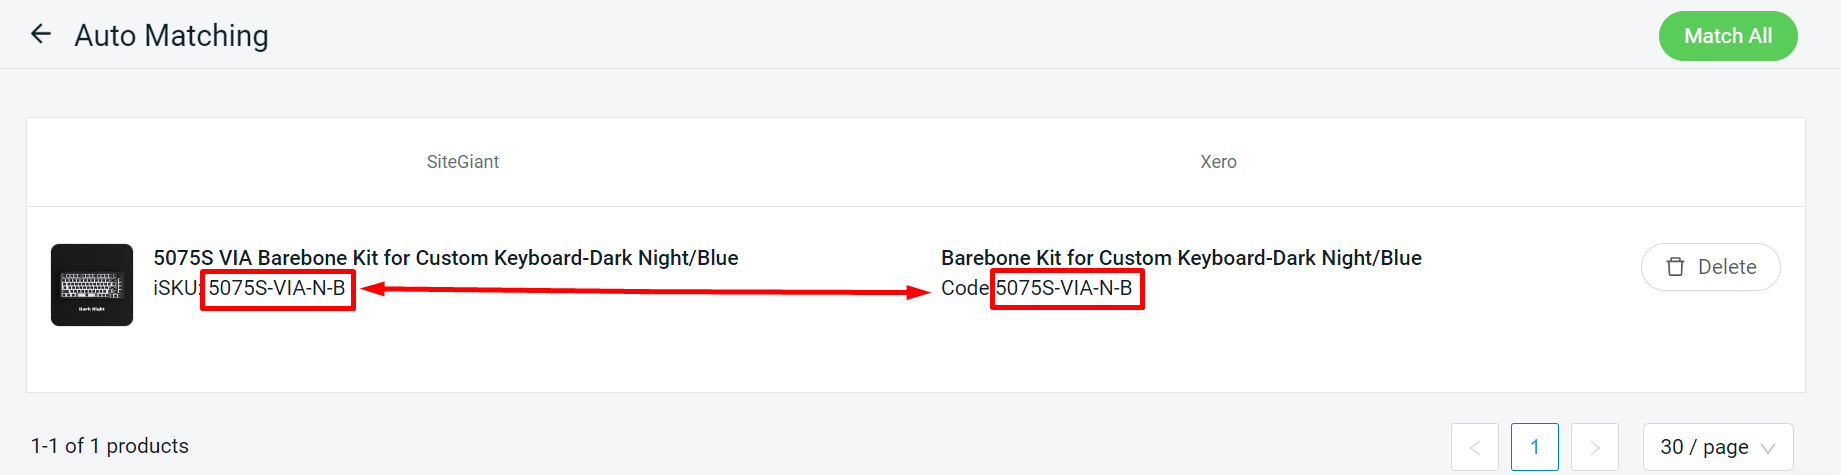
📌Note: If the auto-matching is correct, select Match All. However, if it is incorrect, you can cancel the auto-match for the item by clicking the Delete button, and then clicking the Match All button.
Part II: Customer Matching
Under Customer Matching, select the correct Xero Contact Name to match with the Sales Channel in SiteGiant.
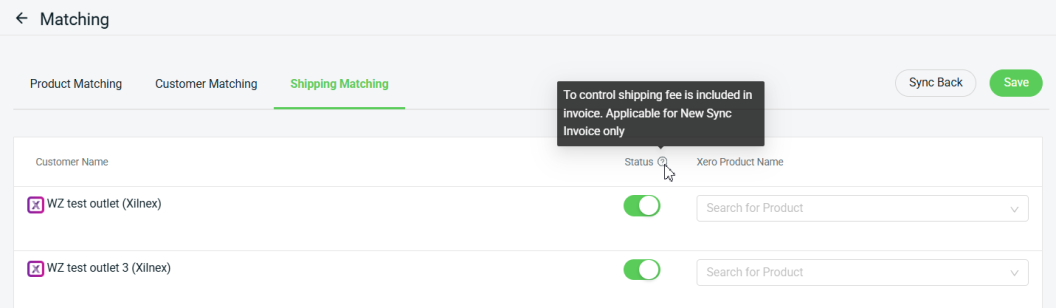
Part III: Shipping Matching
Under Shipping Matching, select the relevant Xero Product Name to match the Shipping code for each sales channel.
📌Note: All the Shipping status will be enabled by default. You may choose to disable the status for any sales channel shipping fee that you do not wish to sync over to Xero.
5. Sync Invoice
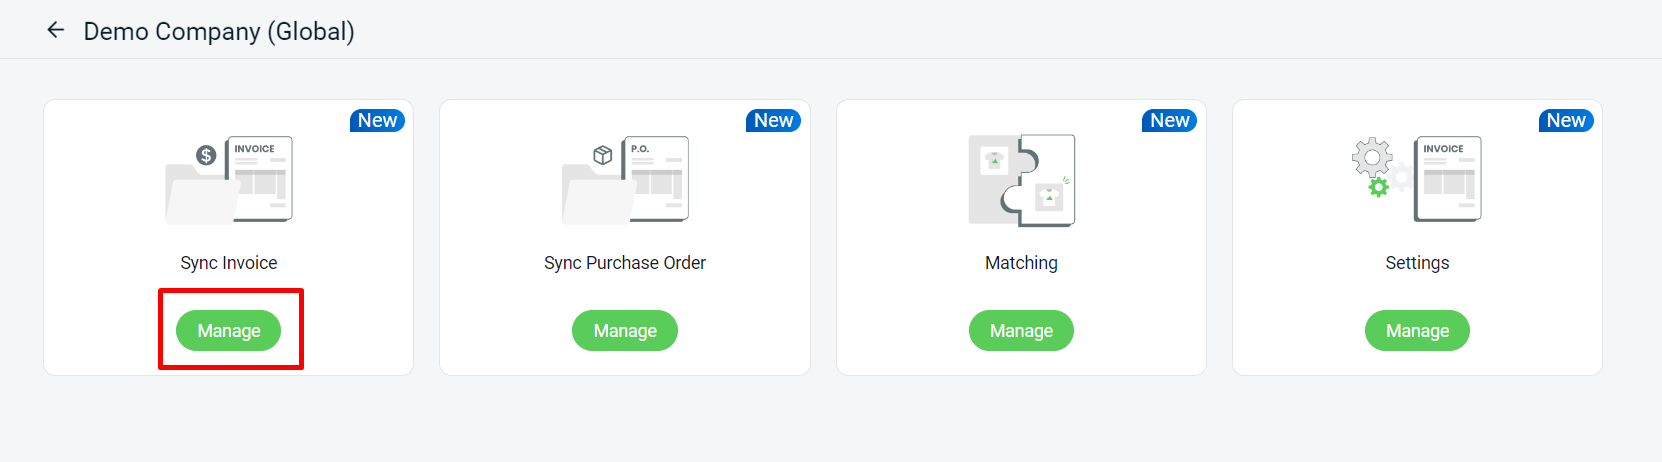
Step 1: Navigate to Xero at the sidebar menu > click XeroGLO app.

Step 2: Click Manage Sync Invoice.
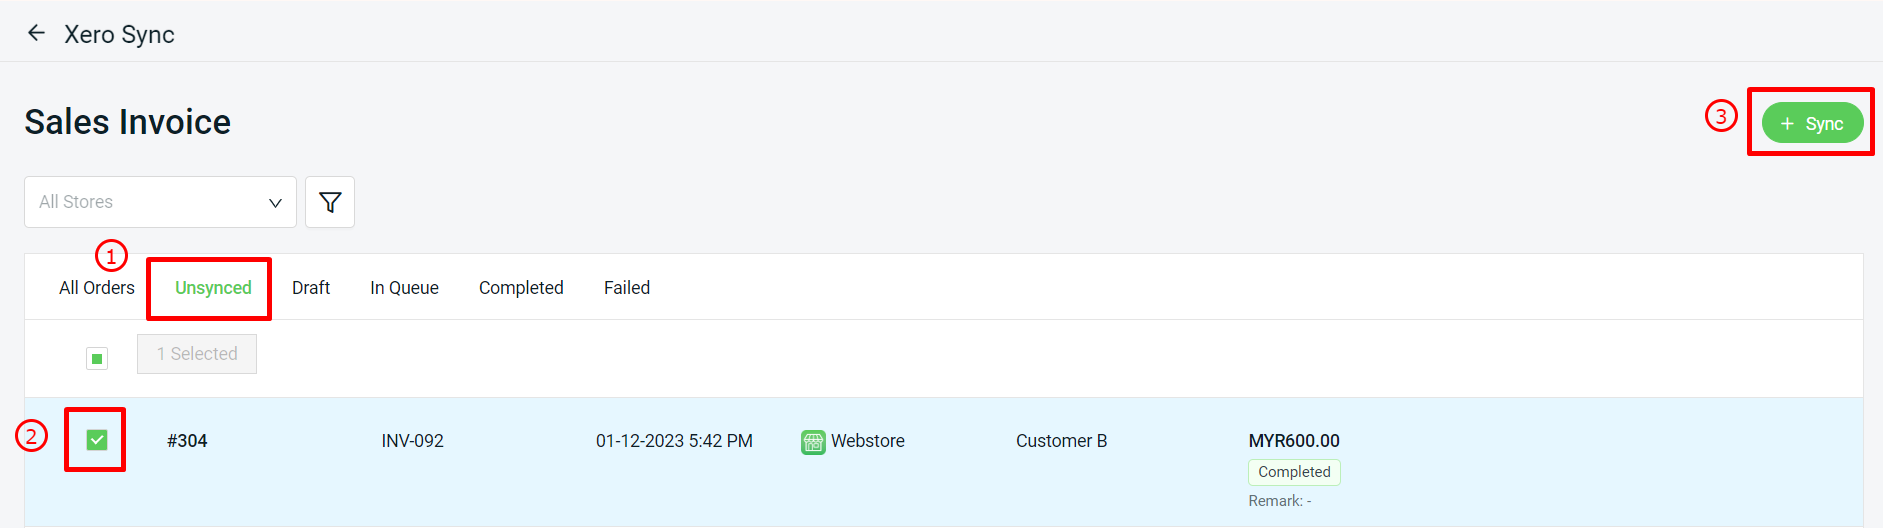
Step 3: Under the Unsynced tab > tick the order that you want to sync > click +Sync.
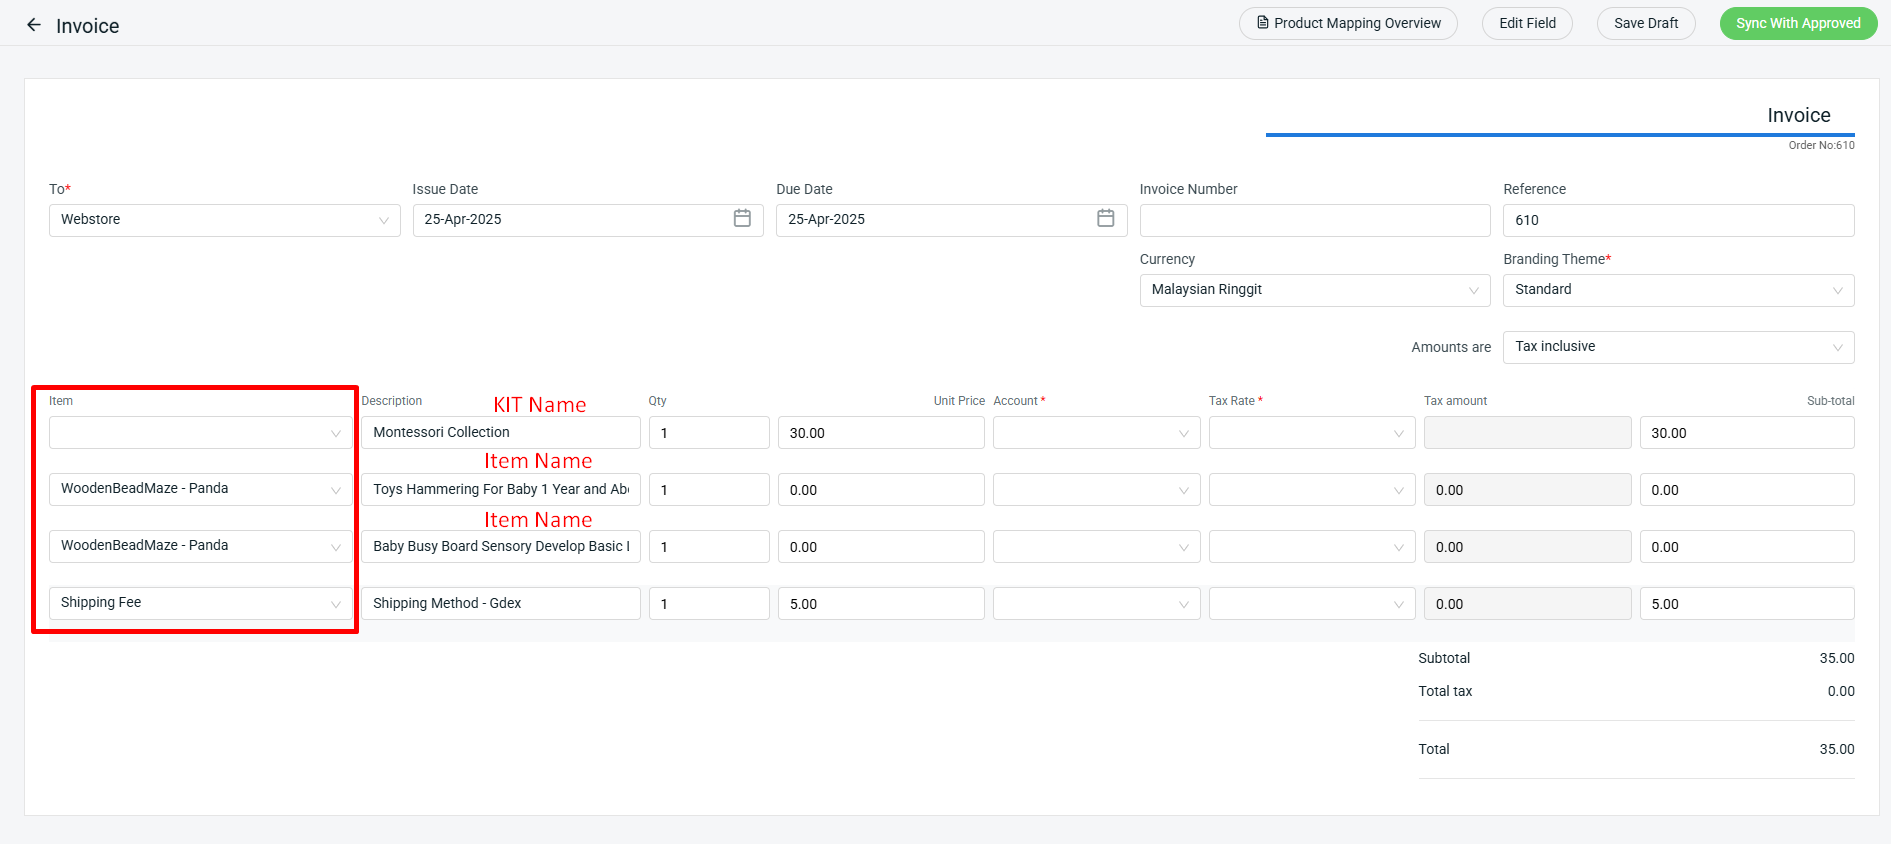
Step 4: Under the Sync Page, you can view/change the order details > then click Sync With Approved.
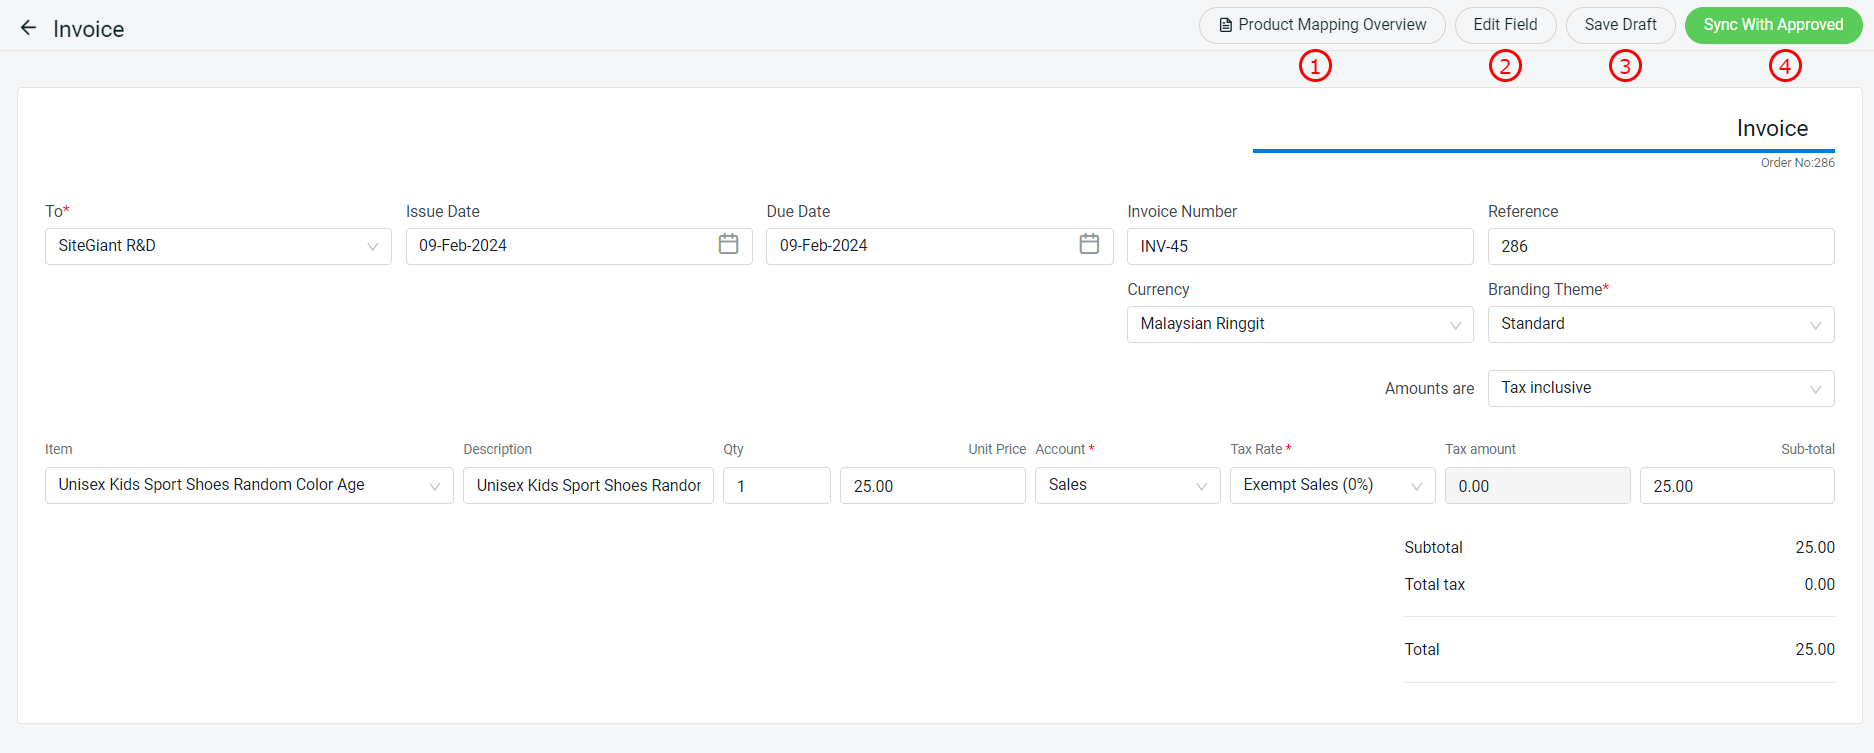
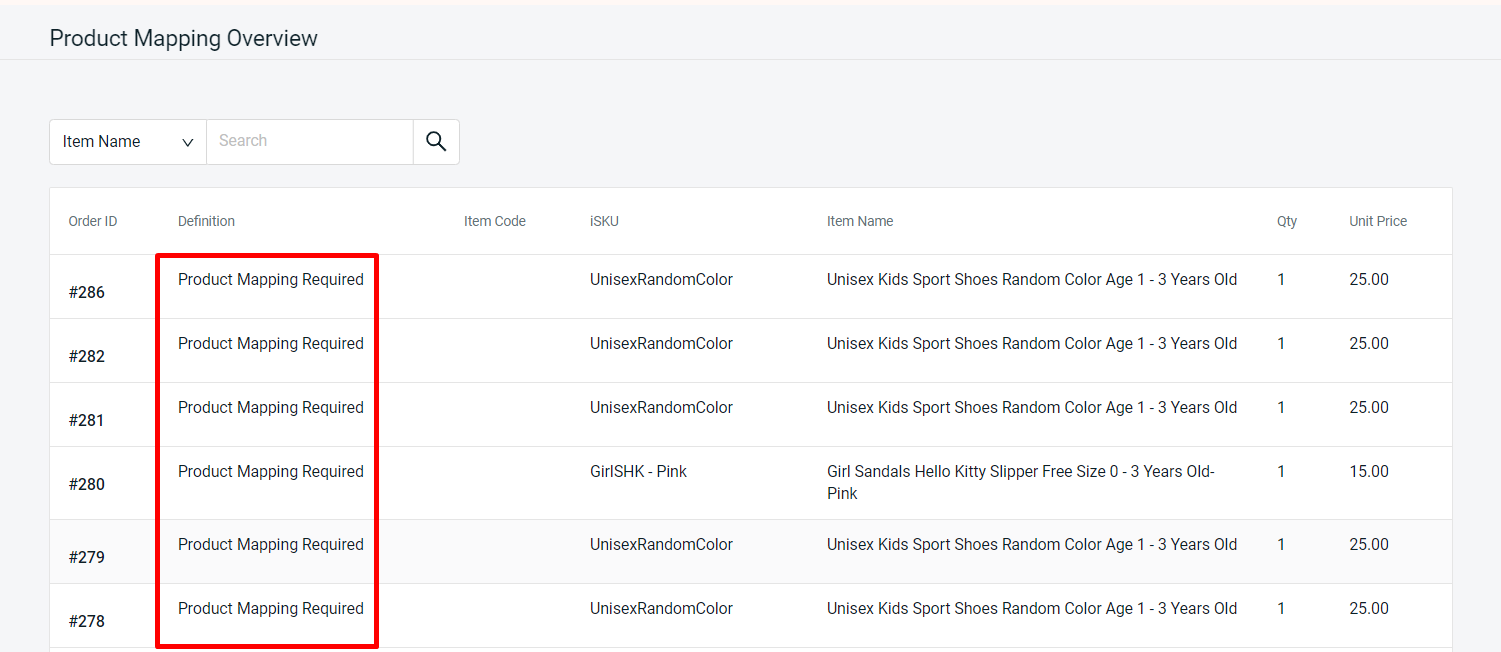
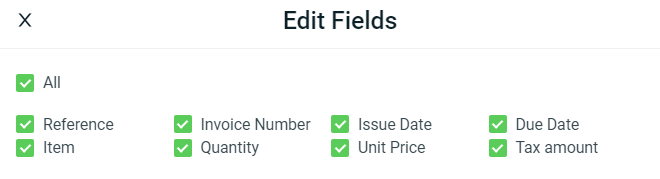
1. Product Mapping Overview: It will display the order ID and product that are still unmatched.2. Edit Field: This field applies only to ERP systems. To hide in the sync page, simply untick the box. However, the hide information still be updated in the Xero account during syncing.
3. Save Draft: It is a temporary placeholder that allows you to work on the invoice and make changes before it is officially issued. 4. Sync With Approved: Once you are satisfied with the invoice, you can click Sync With Approved to update invoice in Xero.
 2. Edit Field: This field applies only to ERP systems. To hide in the sync page, simply untick the box. However, the hide information still be updated in the Xero account during syncing.
 3. Save Draft: It is a temporary placeholder that allows you to work on the invoice and make changes before it is officially issued.
4. Sync With Approved: Once you are satisfied with the invoice, you can click Sync With Approved to update invoice in Xero.
3. Save Draft: It is a temporary placeholder that allows you to work on the invoice and make changes before it is officially issued.
4. Sync With Approved: Once you are satisfied with the invoice, you can click Sync With Approved to update invoice in Xero.📌Note: If you have a KIT order, the items in the KIT will automatically appear on the invoice and will be matched with the items you have mapped.
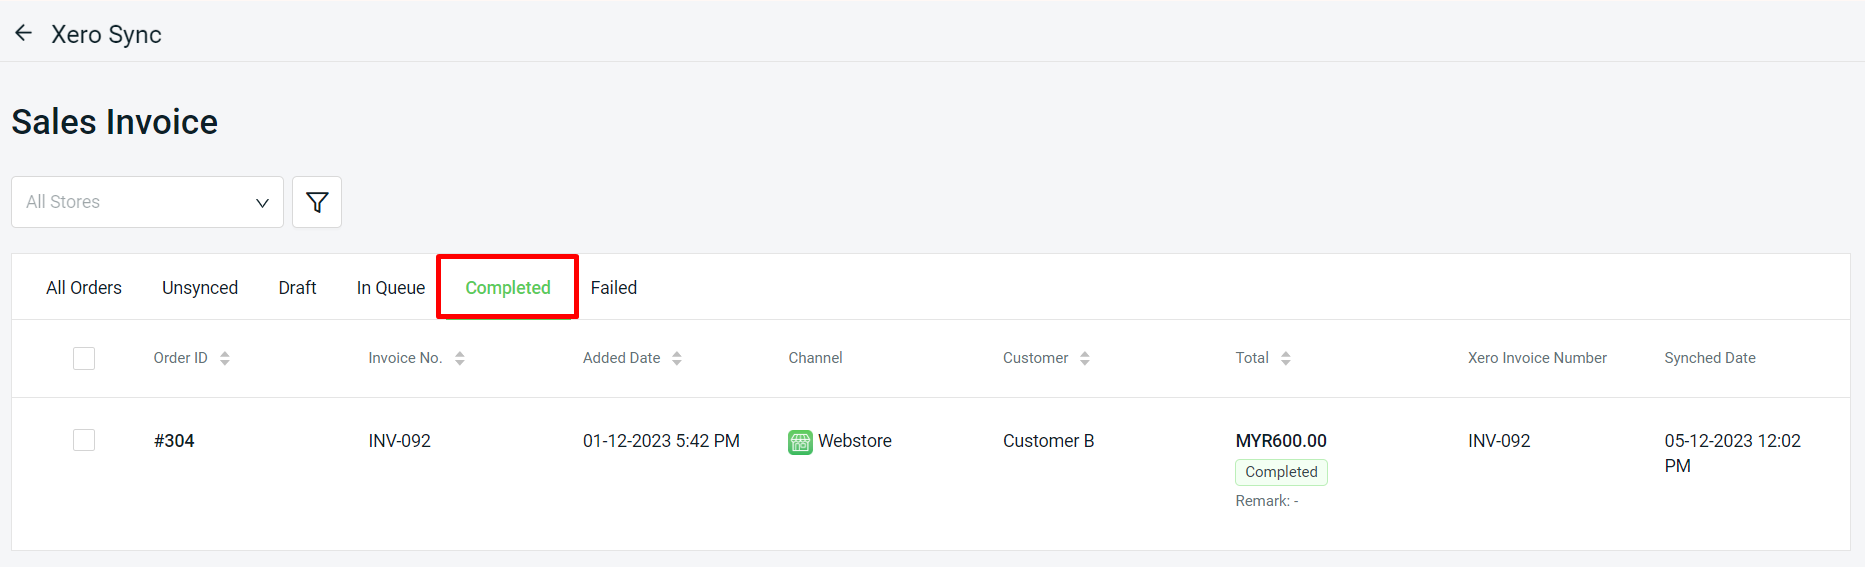
Step 5: Once the order is synced to Xero, it will be moved to the Completed tab.
6. Sync Purchase Order
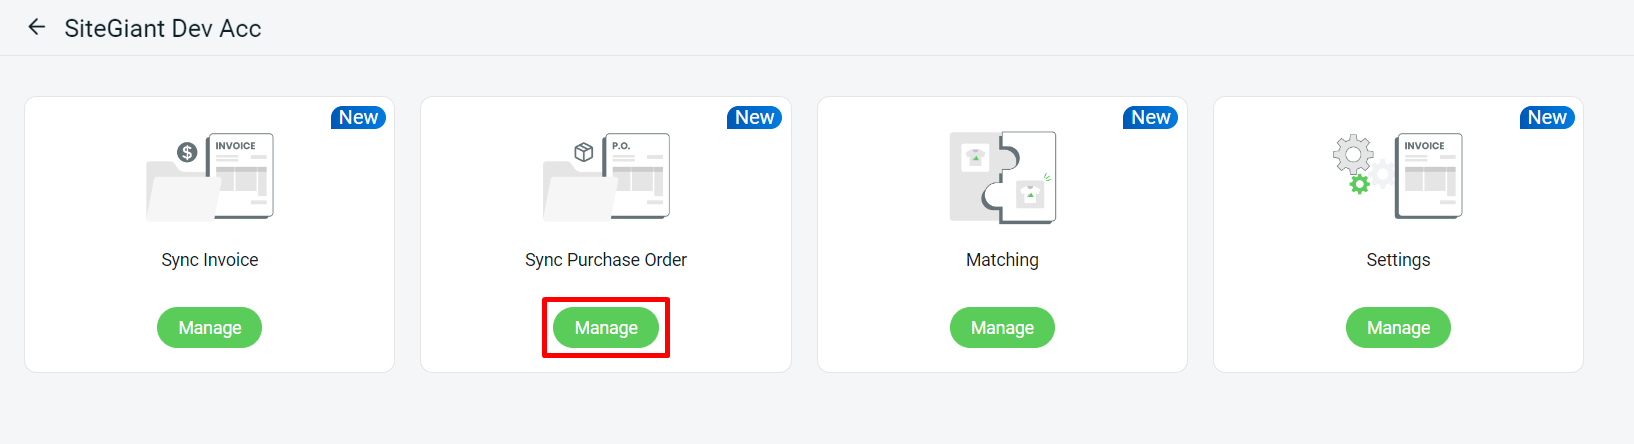
Step 1: Navigate to Xero at the sidebar menu > click XeroGLO app.
Step 2: Click Manage Sync Purchase Order.
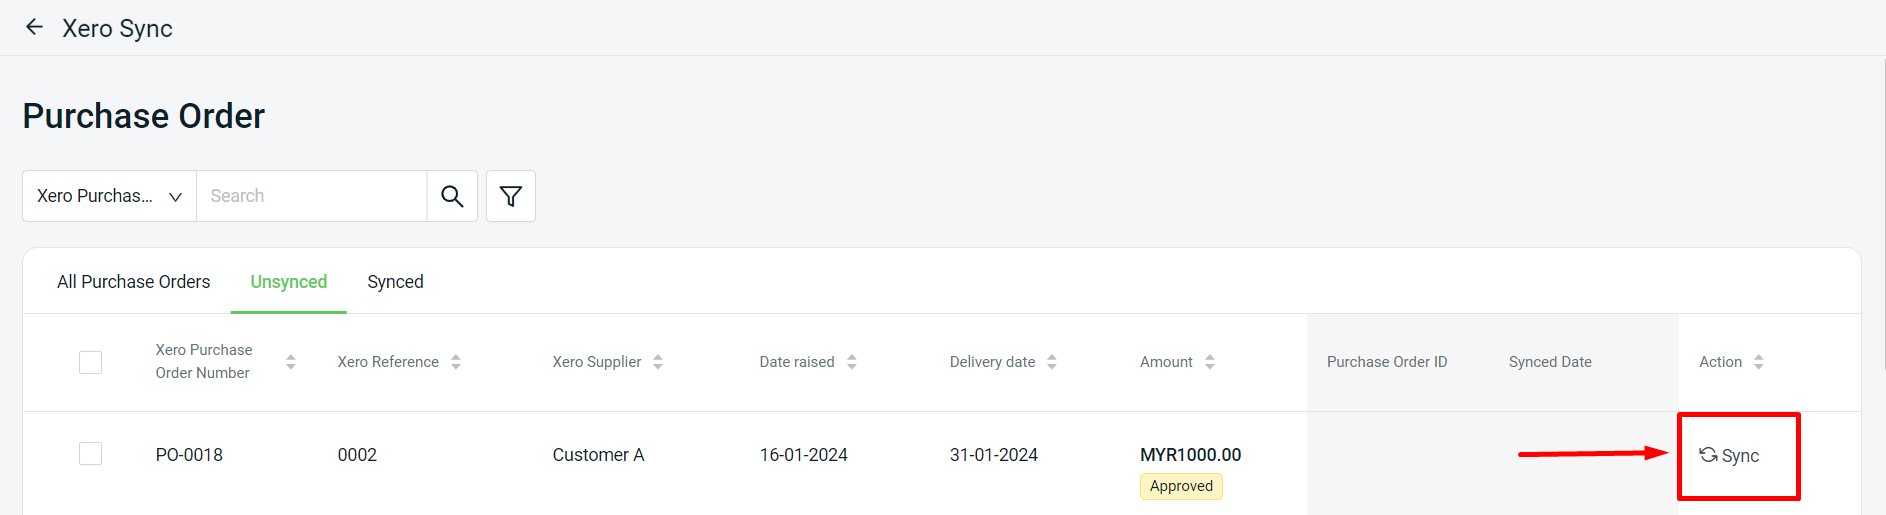
Step 3: The Purchase Order details that were updated in Xero will be visible under the Unsynced Tab.
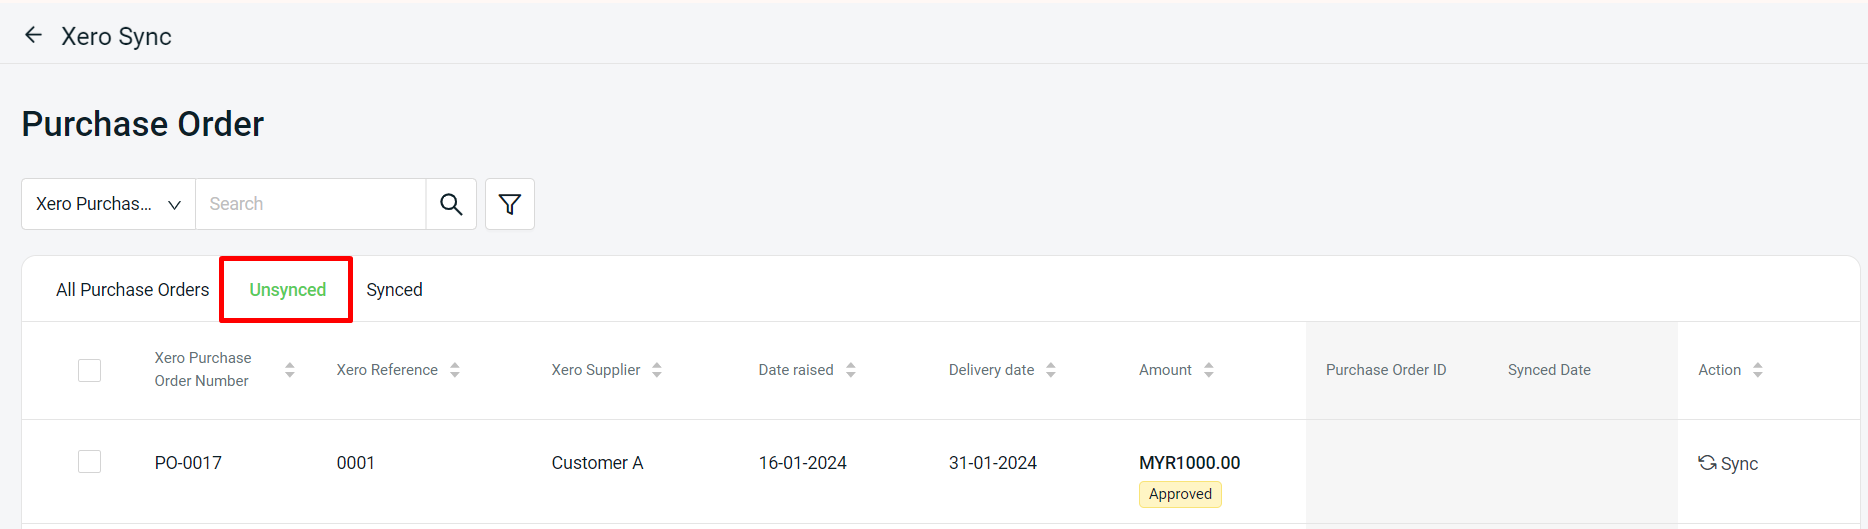
Step 4: Click the Sync button to create the Purchase Order in SiteGiant.
Step 5: The order will be moved to the Synced tab. Then, the Incomplete Purchase Order will be created on SiteGiant’s Purchase Order app.
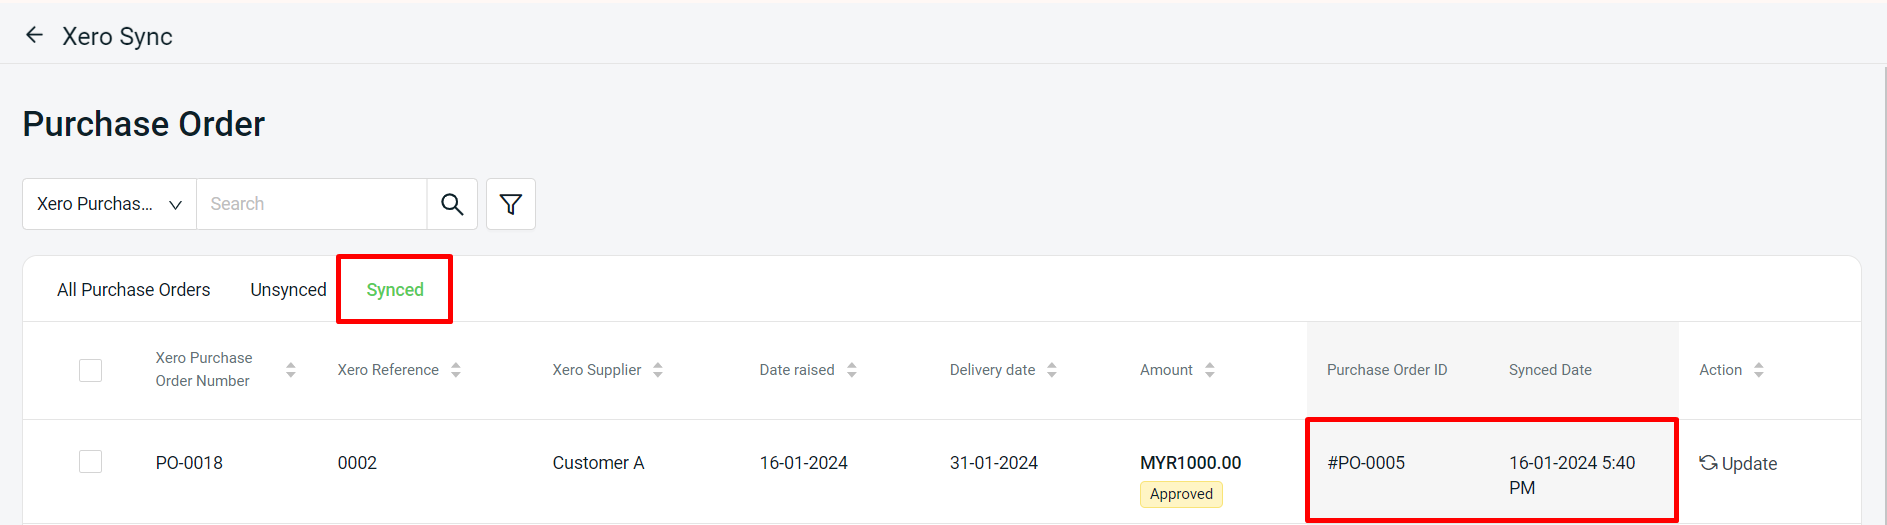
Step 6: If the Purchase Order has not yet been created on SiteGiant’s Purchase Order app, click the Update button.

Step 7: When the Purchase Order status in SiteGiant is completed, the Update status under Action disappears.
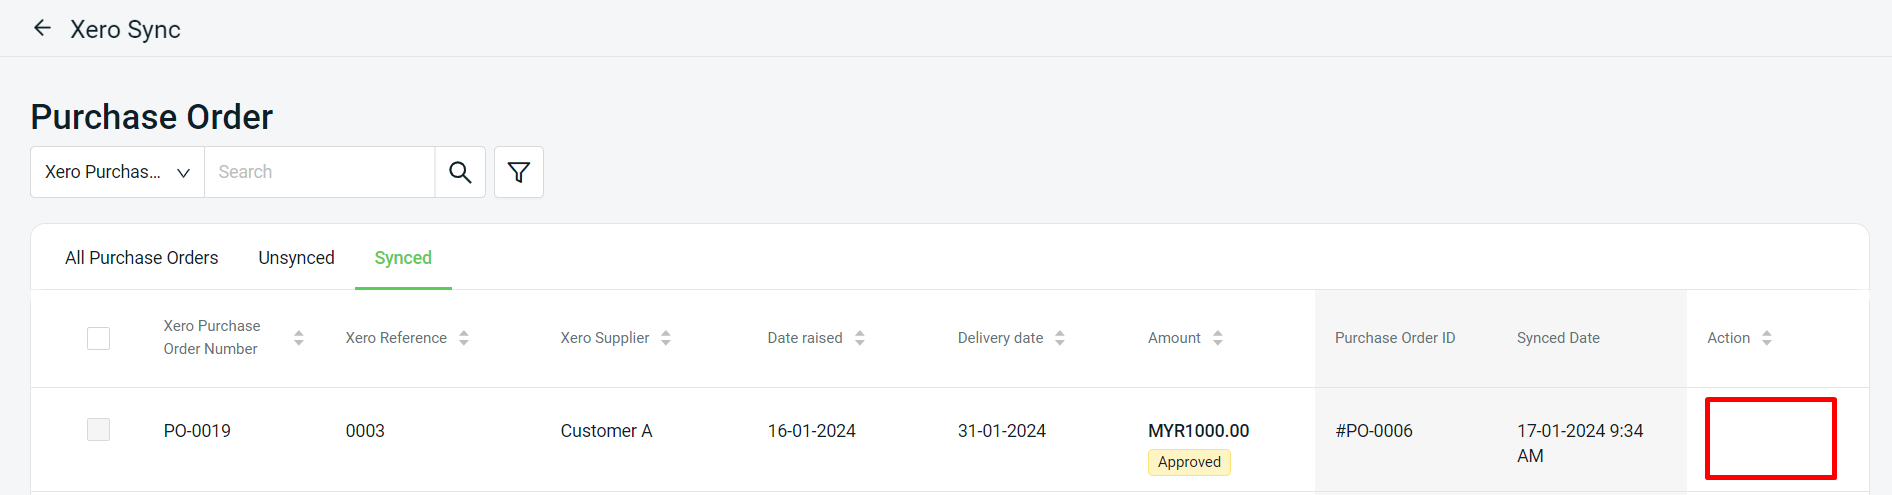
💡Tips: Learn more on How To Update Purchase Order.
7. Invoice Preview in Xero Account
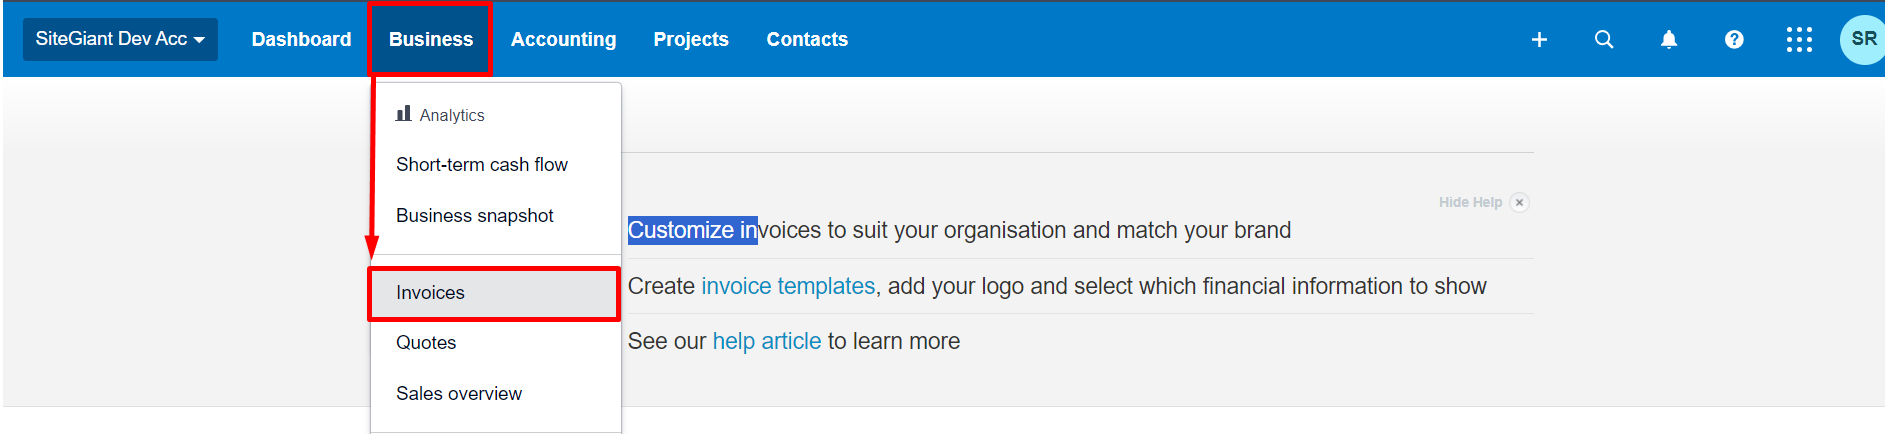
Step 1: Log in to the Xero account > check the invoice under Business > Invoices.
Step 2: Click the Invoice Number to view your Invoice details.
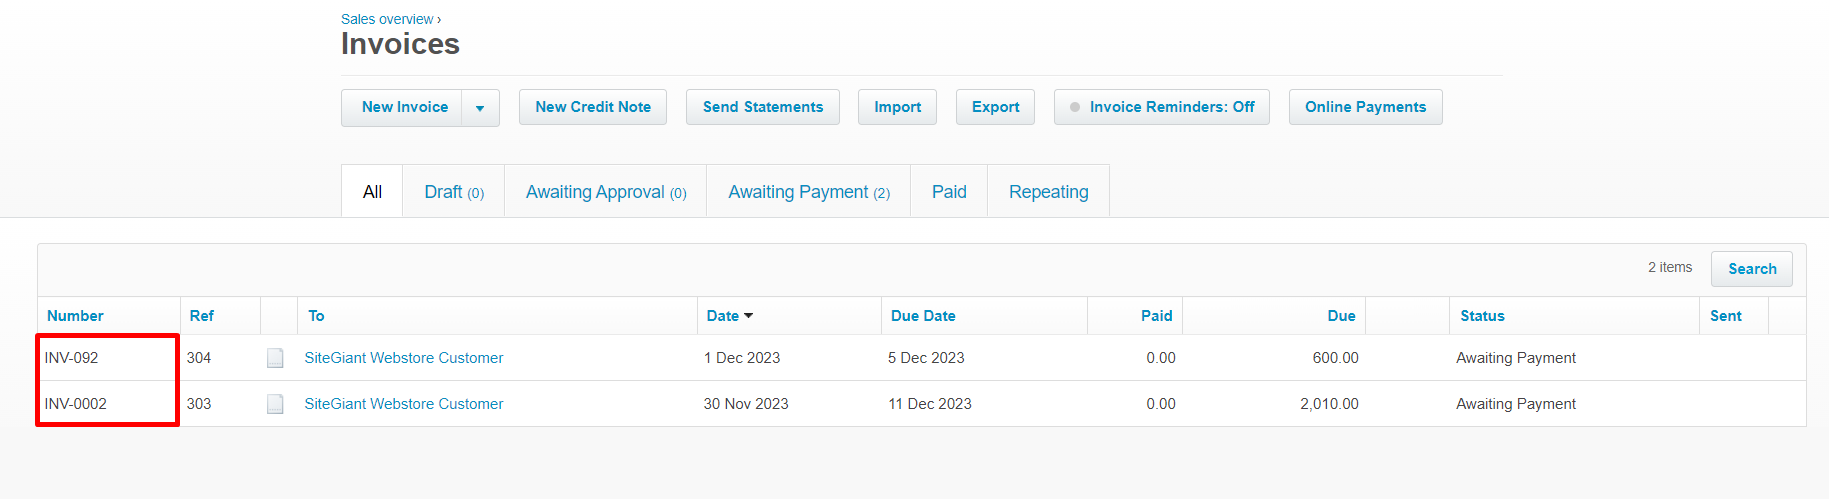
Step 3: You will see the Invoice details you synced from SiteGiant.
