
1. Introduction
2. Retrieve Stripe Global API Keys
3. Retrieve Payment Method Config ID
4. Set Up Stripe Global Payment Gateway
5. Update URL Callback In Stripe Global Account
6. Test Checkout Via Stripe Global Payment (From Customer Perspective)
1. Introduction

Stripe Global Payment is a robust and adaptable platform that enables businesses of all sizes to accept payments from customers worldwide. It provides a wide range of features to simplify international payment processing. So, this payment gateway will allow you to manage all your international transactions from a single platform.
📌Note: Please make sure you already registered an account with Stripe Global Payment for integration purposes. If you do not have an account yet, may proceed to register here.
2. Retrieve Stripe Global API Keys
Step 1: Log in to your Stripe Global Payment account > navigate to Developers on the bottom left > click API Keys.
Step 2: Click the API Keys tab > copy the Publishable key and Secret key for later use.

3. Retrieve Payment Method Config ID
Step 1: Click on the Settings button > Payments.

Step 2: Navigate to the Payment methods tab > + Create Configuration.

Step 3: Select For your platfrom account > click Next.

Step 4: Enter Name your configuration > Create configuration.

Step 5: Turn on your Payment Method listing, which will display under Stripe Global Payment.

📌Note: Payment Methods Listing that displays under Stripe Global Payment will depend on your setting Configuration ID selection.
Step 6: Copy the Default Config ID that will be used later.

4. Set Up Stripe Global Payment Gateway
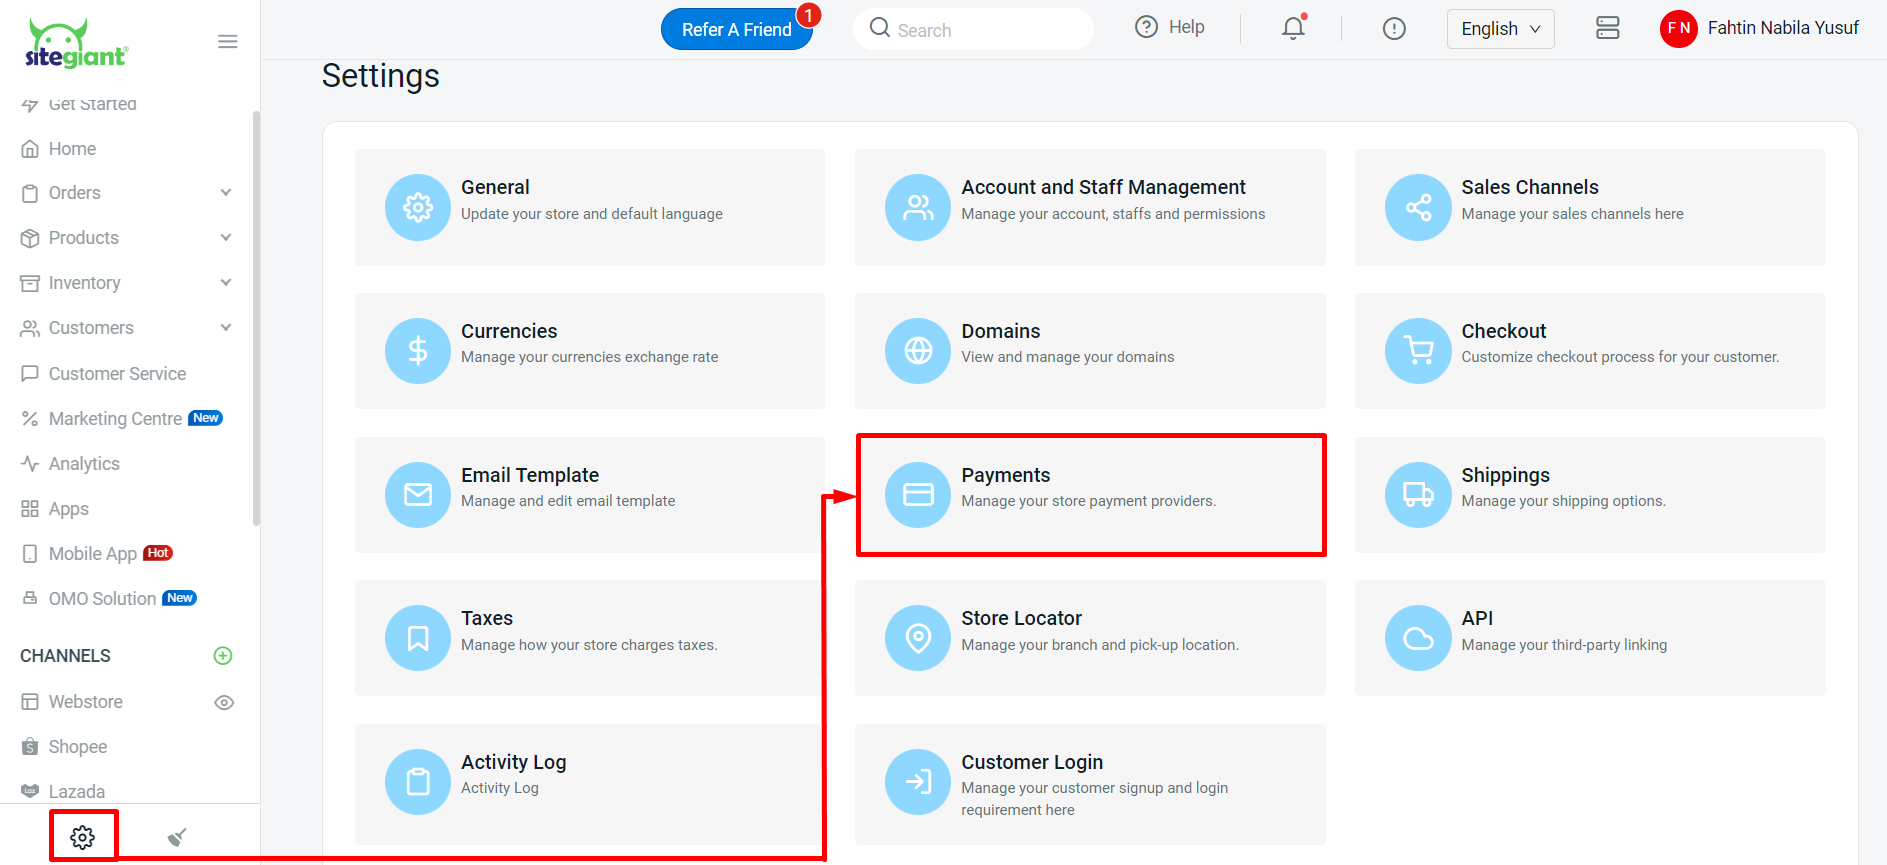
Step 1: Navigate to Settings on the sidebar menu > Payments.
Step 2: Click on + Add Payment Method button > select Stripe Payment Global > Add Payment Method.
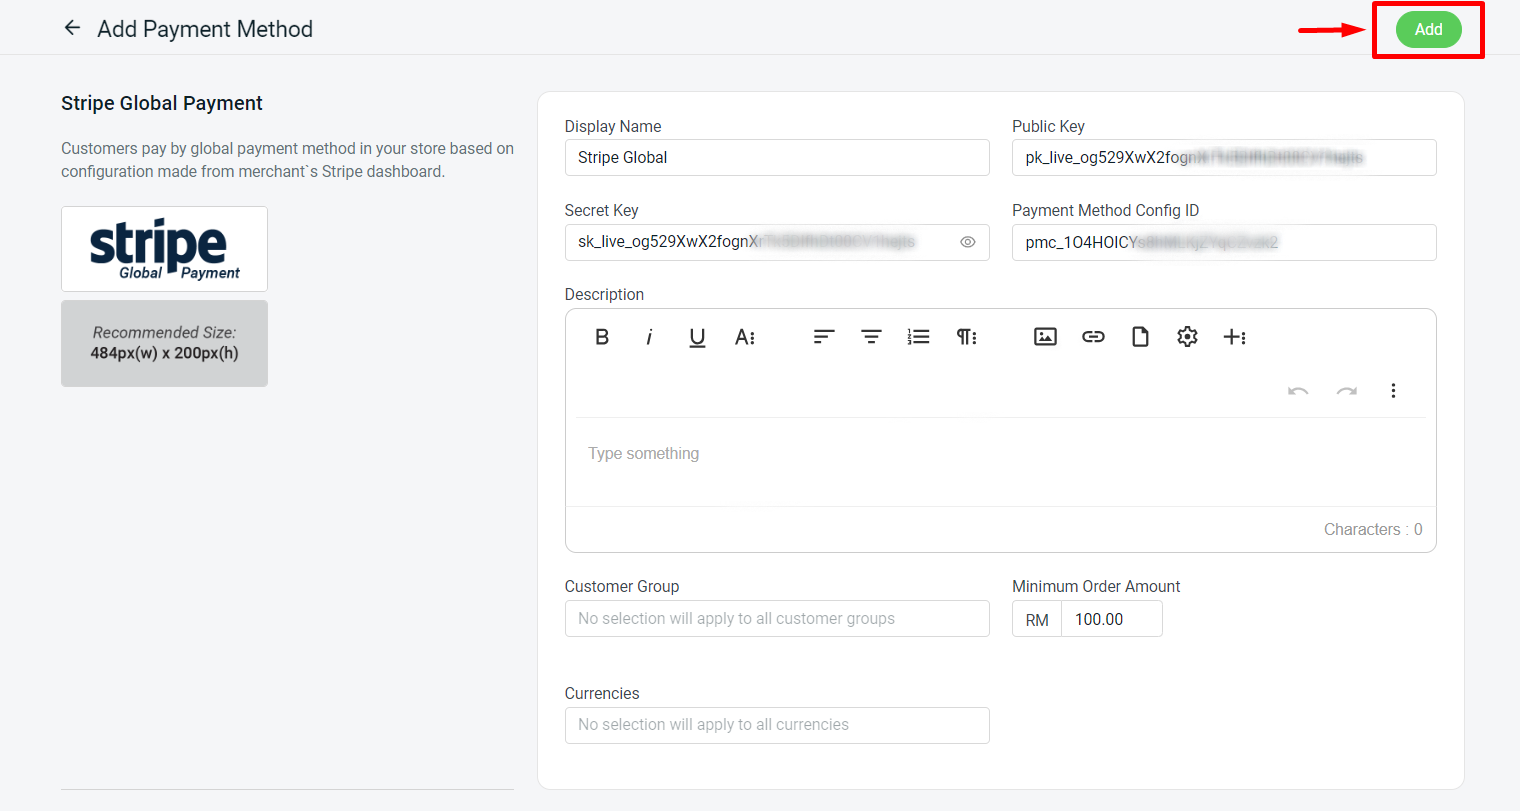
Step 3: Fill in the Display Name > paste the Public Key, Secret Key, and Payment Method Config ID copied from Stripe Global.

📌Note: If the Payment Method Config ID field is blank, the Stripe Global payment listing will follow the default Config ID setting.
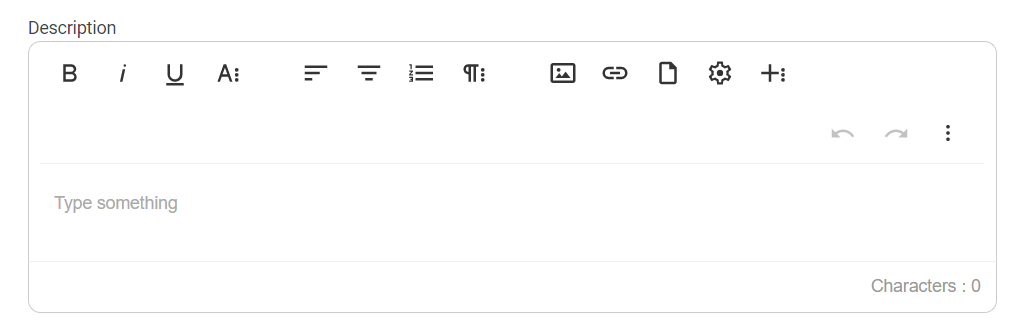
Step 4: In the Description section, you can add additional remarks or notes to be displayed to the customer during the checkout process.
Step 5: Select the Customer Group > fill in the Minimum Order Amount required to use this payment method > select Currencies.
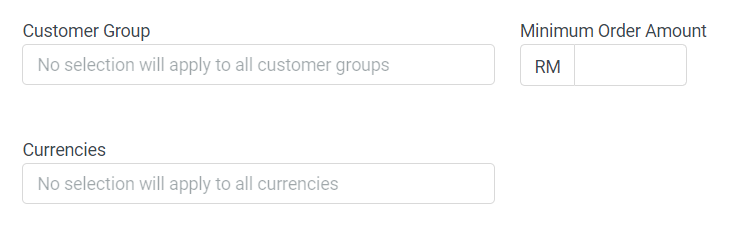
📌Note: This payment method will apply to all Customer Groups and Currencies if no Customer Groups or Currencies are selected.
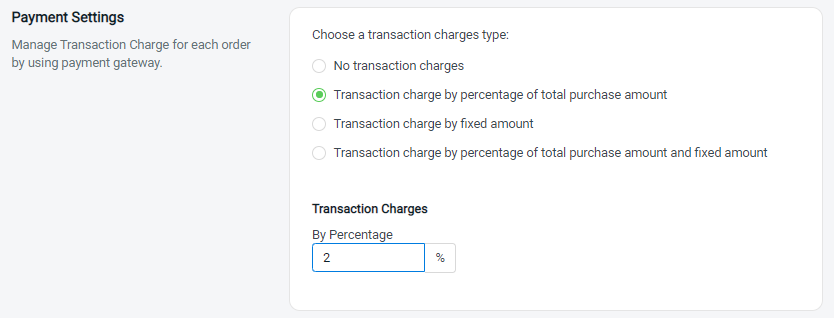
Step 7: You can set extra transaction charges applied to the customer at the Payment Settings. (optional)
Step 8: Once all the settings are done, click Add.
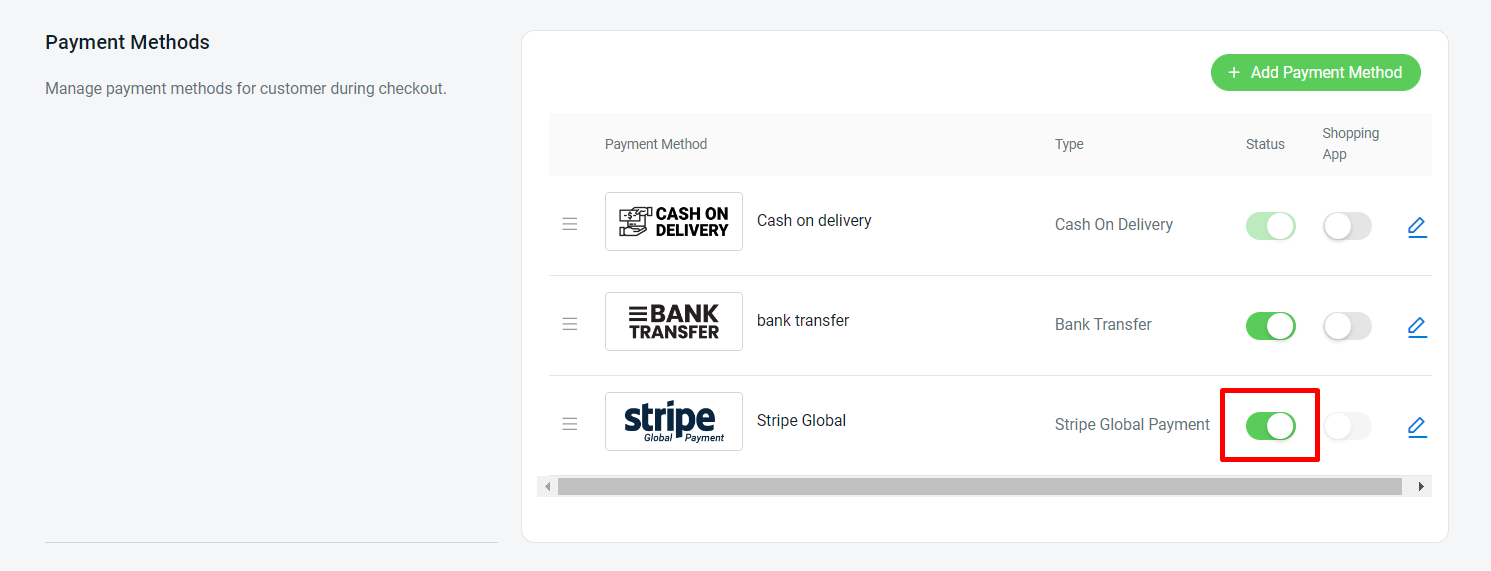
Step 9: Make sure the Stripe Global Payment status is enabled for it to appear on your checkout page.
Step 10: Back to dashboard and Clear Cache to see the changes on your Webstore.
5. Update URL Callback In Stripe Global Account
Step 1: Log in to Stripe Dashboard > navigate to Developers on the bottom left > click Webhooks.

Step 2: Click the Webhooks tab > click on the + Add destination button.

Step 3: Choose Your account > Select all events > Continue.

Step 4: Choose Webhook endpoint as the destination type > Continue.

Step 5: Click Continue.

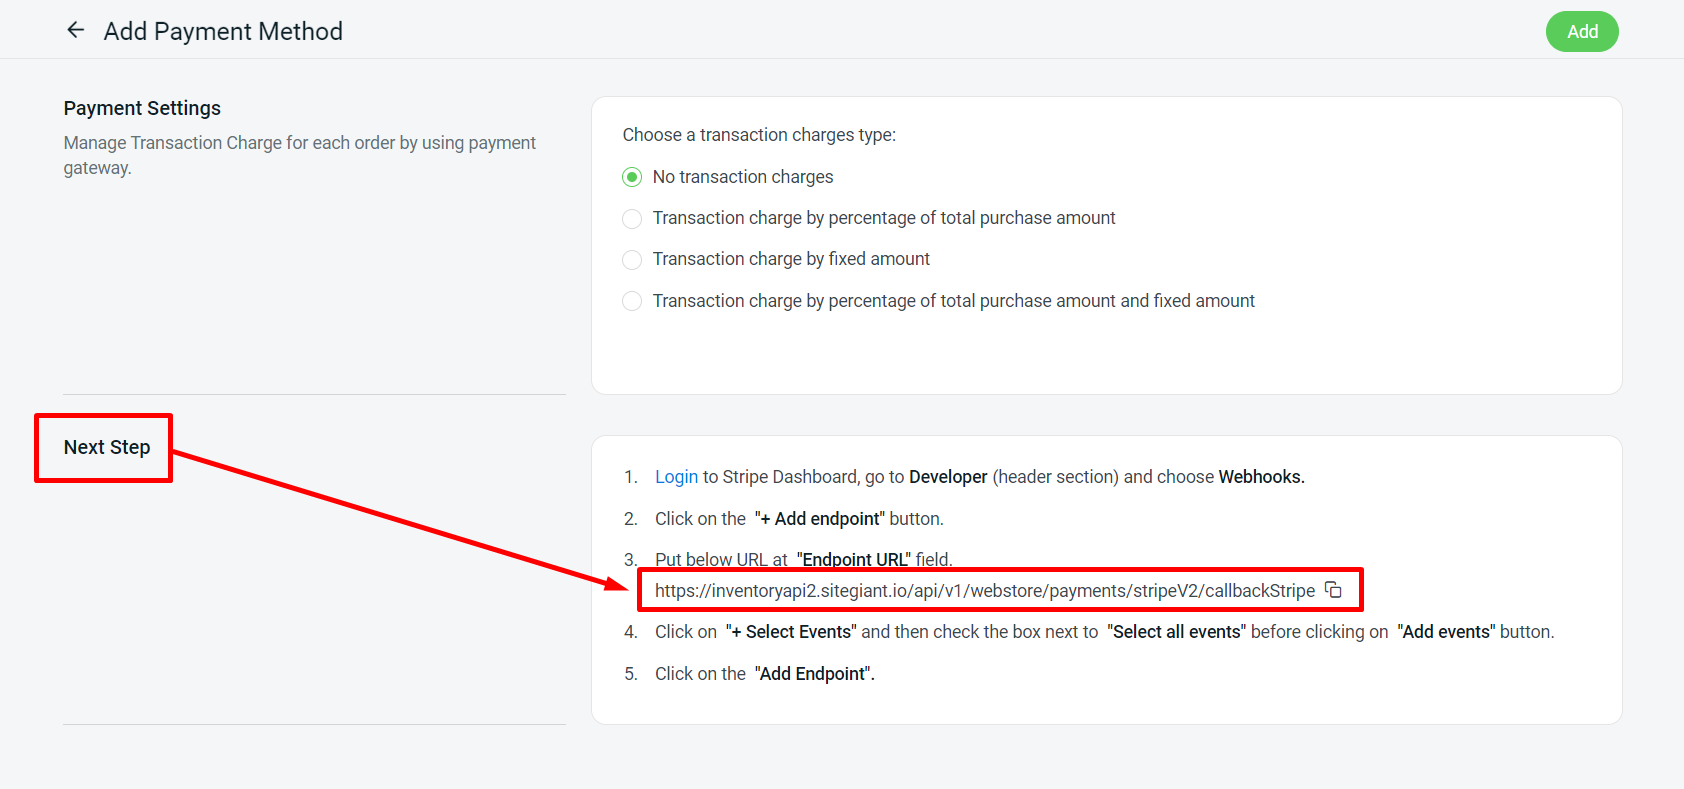
Step 6: Copy the URL (see📌Note) from SiteGiant in the Endpoint URL field under Snapshot payload > click Continue.

Step 7: Copy the URL (see📌Note) from SiteGiant in the Endpoint URL field under Thin payload > click Continue.

📌Note:
The URL link will be provided in the Next Step section of the Stripe Global payment settings.
Step 8: Click Add destination and Done.

6. Test Checkout Via Stripe Global Payment (From Customer Perspective)
Step 1: It is highly recommended that you test checkout on your Webstore to ensure that the payment method is working as expected.
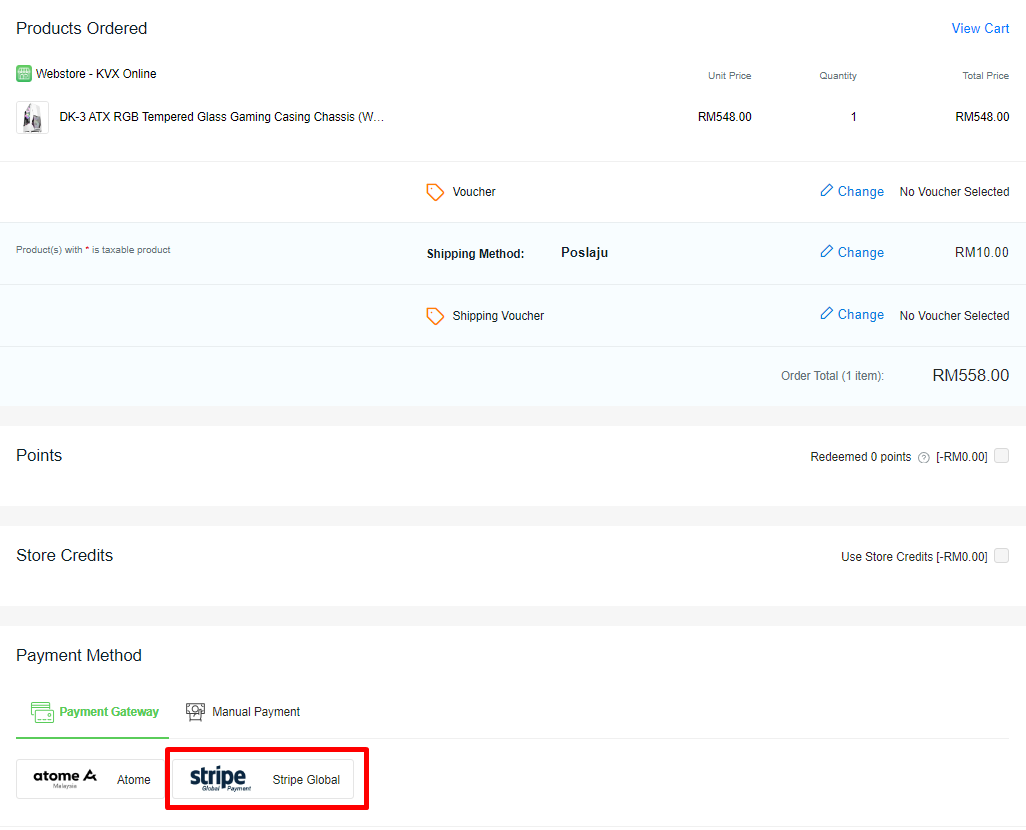
Step 2: If the page redirects to the Stripe Global Payment page, your integration with Stripe is successful.
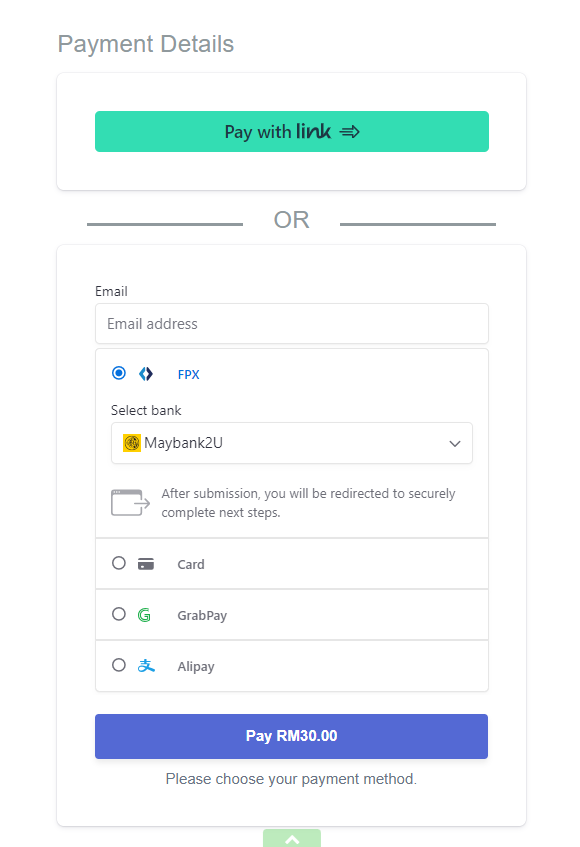
📌Note: Payment Listing will appear based on the payment option you select in the Config ID setting.