
1. Introduction
2. Manage Sales Channel Settings
1. Introduction
Once you integrated with sales channels, you might want to change the settings of the sync details such as Sync Order or Update Inventory for your sales channels. Furthermore, you are able to switch or delete the sales channels when sales channels are not in use.
2. Manage Sales Channel Settings
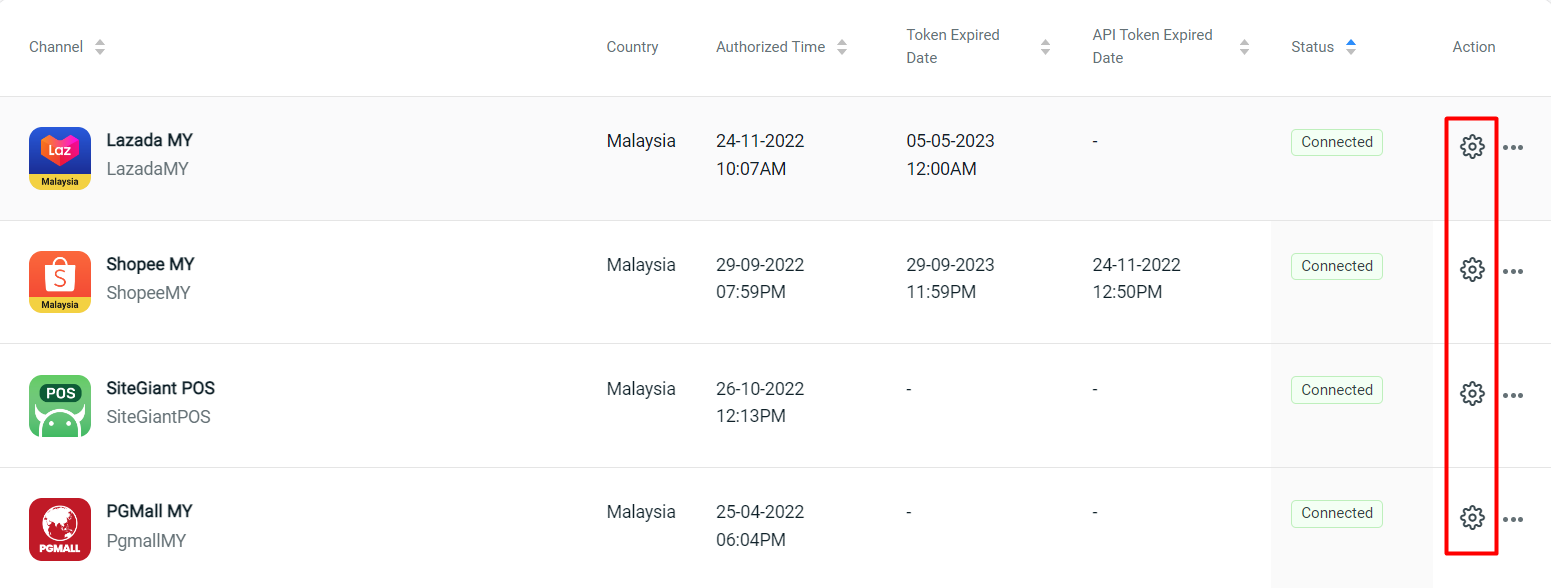
Step 1: Click on [+] channels on the dashboard menu > go to the Authorized Channel tab to view the integrated sales channels.
Step 2: Click on the Settings button to set Channel Name, Warehouse and the sync details.
Step 3: These are the settings for Shopee > configure and click on Save once done.
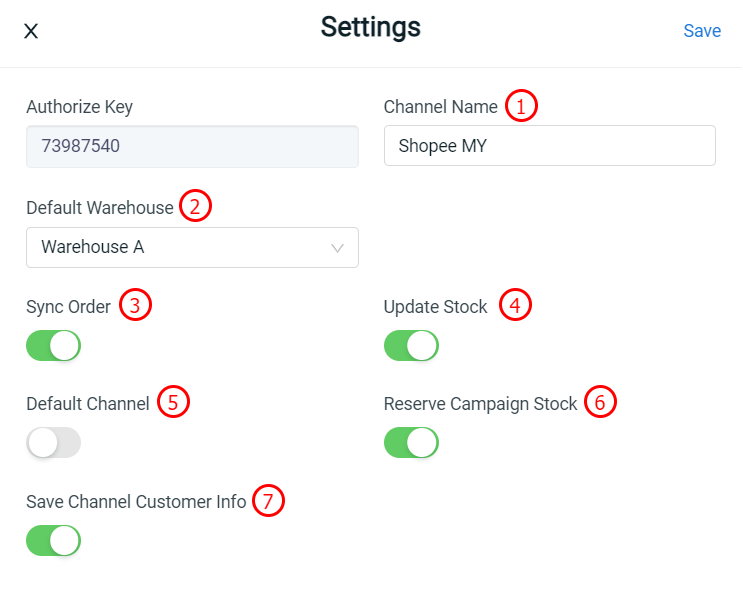
1. Channel Name: Your marketplace store name
2. Default Warehouse: Your marketplace store will follow the quantity set in this warehouse
3. Sync Order: The orders from this store will sync back SiteGiant ERP if the status is ON
4. Update Stock: Any stock updates in SiteGiant ERP will sync over to your marketplace store if the status is ON
5. Default Channel: If enabled, the product listing of this channel will be shown first by default. Only one default channel can be set for each channel type.
6. Reserve Campaign Stock: Allow campaign reserve stock to sync back to SiteGiant ERP to control the inventory and sync the remaining sellable stock to other marketplaces (Shopee Only)
7. Save Channel Customer Info: Allow to keep a record of your customer information from this store when they placed order
Step 4: You may also manage your Sales Channel by clicking on More (…) button.
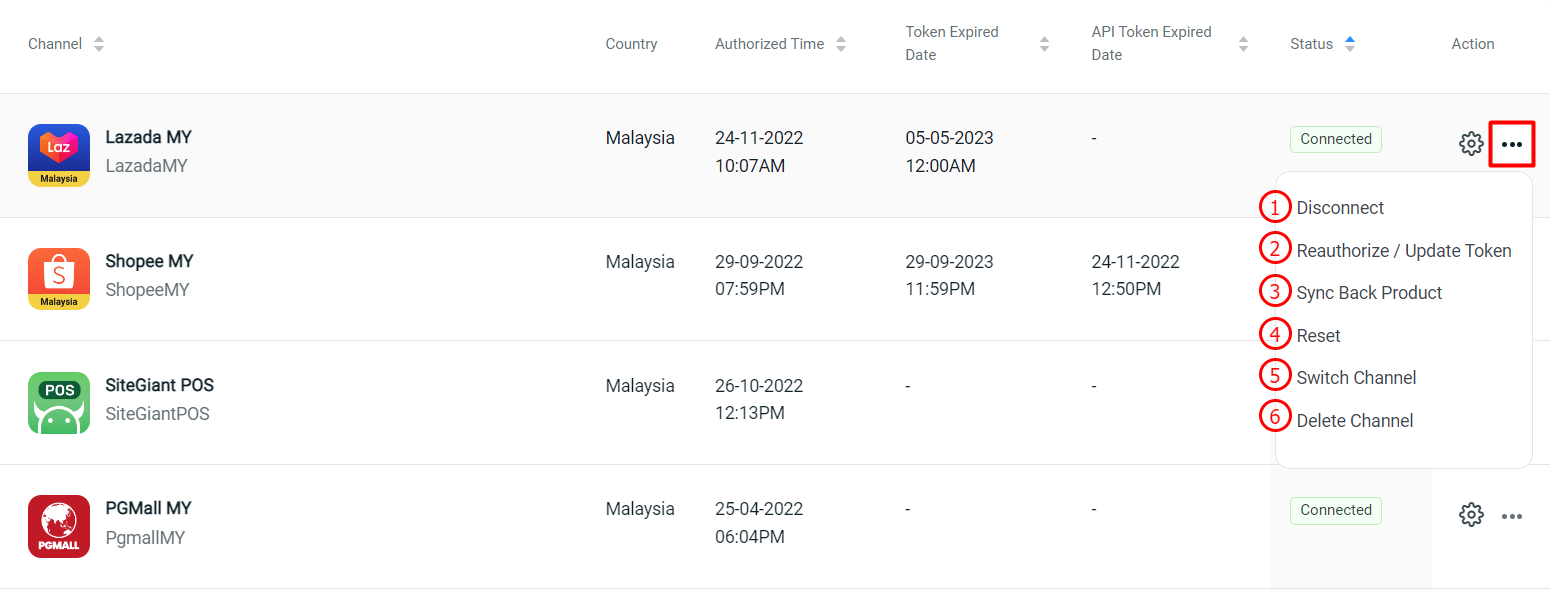
1. Disconnect: Deactivate your Sales Channel and stop any syncing process
2. Reauthorize/Update Token: Update the API token when it is expired
3. Sync Back Product: Sync all the latest information from marketplace seller center into SiteGiant ERP
4. Reset: Clear all data of the Sales Channel including listed products and inventory control
5. Switch Channel: Change the marketplace channel type (e.g. Change from Shopee channel to Lazada channel)
6. Delete Channel: Remove the selected Sales Channel
7. Unsubscribe: If you have bought additional Sales Channel slot, you may unsubscribe here (Note: It will take effect at the end of billing date)