
1. Introduction
2. Manage Rack Group
3. Manage Rack
1. Introduction
Are you finding a way to improve order picking productivity by reducing travel time? Rack management is the solution where you can have quick access to the storage of items and increase warehouse picking efficiency.
2. Manage Rack Group
A rack group is to group multiple racks together whether it is a specific shelf, zone, or floor.
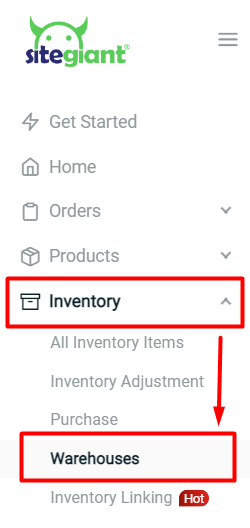
Step 1: Navigate to Inventory > Warehouses
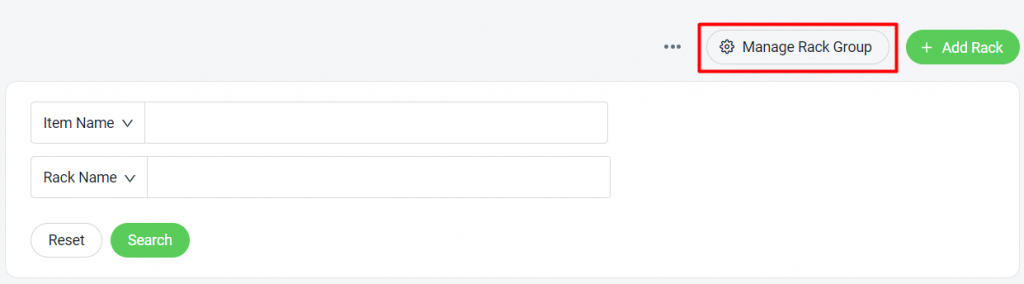
Step 2: Click on Manage Rack Group
Step 3: Click on + Add to add rack group > fill in the rack group name and assign rack list if have rack created before > save

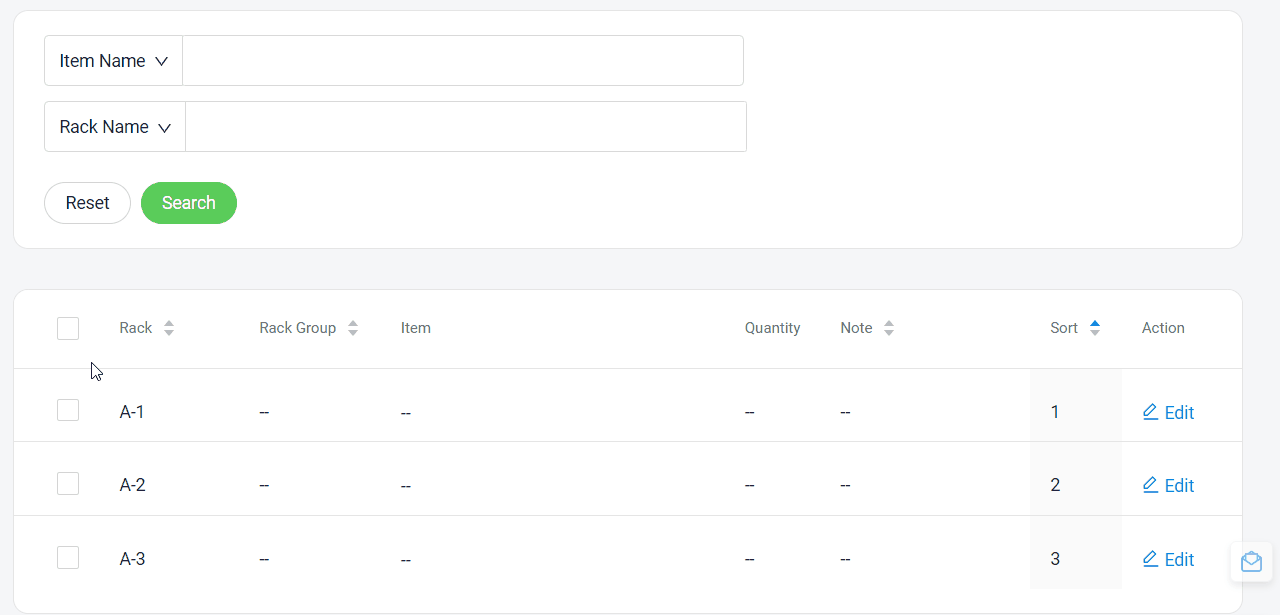
3. Manage Rack
A rack is the storage location of an item that will be listed on the pick list for pickers to retrieve.
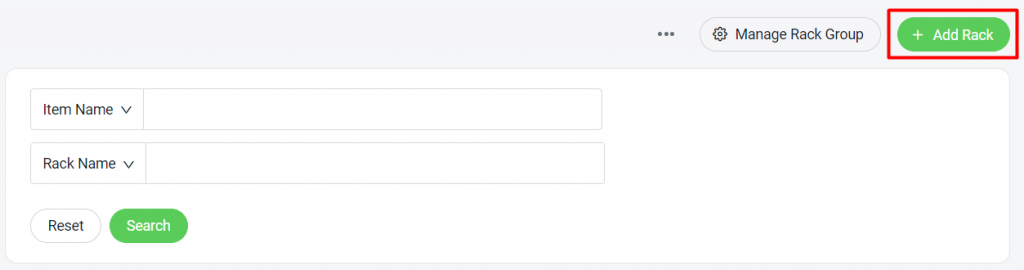
Step 1: Click on + Add Rack to create a rack
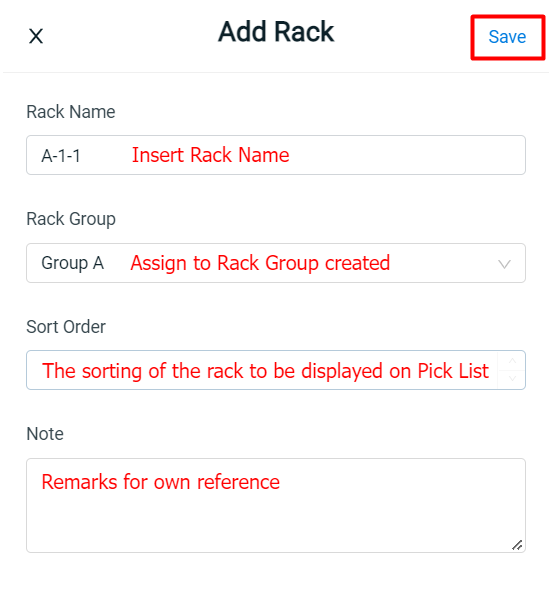
Step 2: Fill in rack name, rack group, sort order eg. 1,2,3,… and note for own reference > Save
Step 3: If you have not yet assigned Rack Group when creating racks, you are able to bulk assign rack group
You may also create and manage the racks in bulk. Learn more