1. Introduction
2. Import Rack
3. Export Rack
1. Introduction
Rack management allows you to have quick access to the storage of items and increase warehouse picking efficiency. You can manage your racks in bulk by exporting and importing the spreadsheet.
2. Import Rack
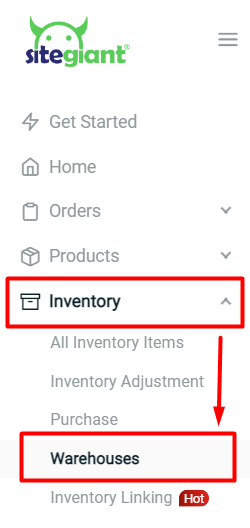
Step 1: Navigate to Inventory > Warehouses
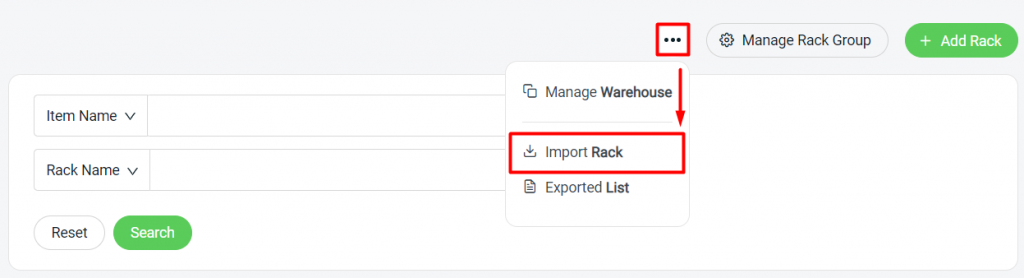
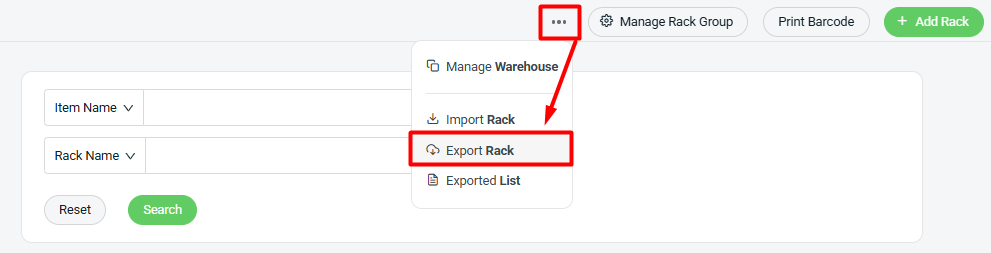
Step 2: Click on the More (…) button > Import Rack
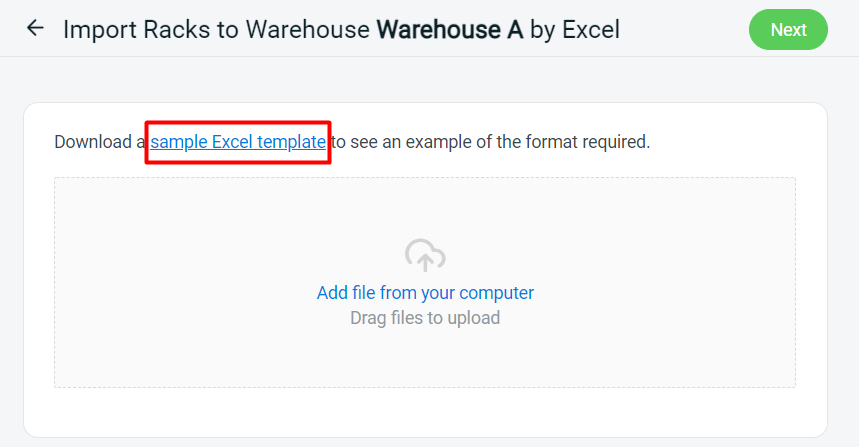
Step 3: Download a sample Excel template
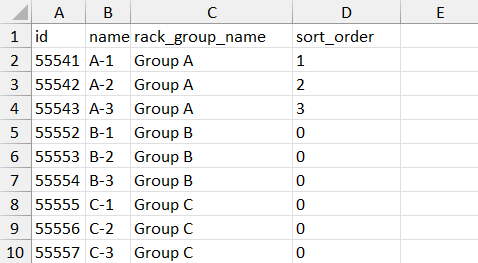
Step 4: Fill in the column in the Excel template > save the Excel file
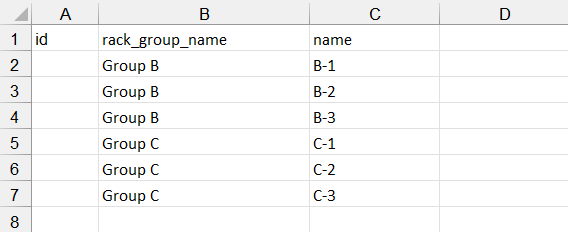
📌Note:
1. Please leave the ‘id’ blank if you are creating a new rack
2. You are required to create Rack Group in Warehouses first before filling in the ‘rack_group_name’ column
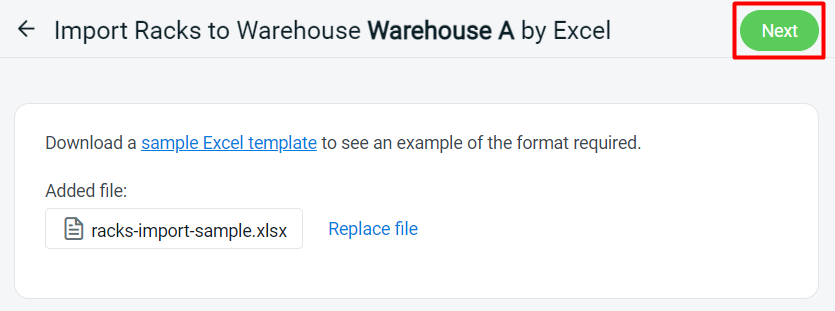
Step 5: Back to SiteGiant Import Rack page > upload the Excel file > Next
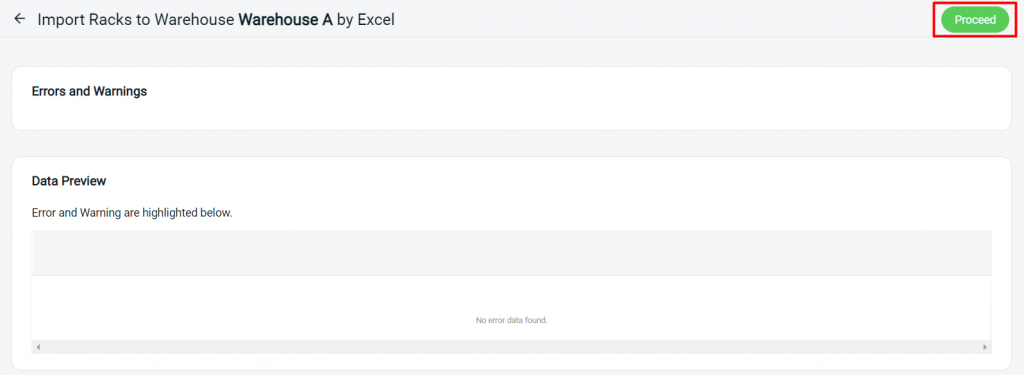
Step 6: If there are any errors in the Excel uploaded, you will see the error message in Errors and Warnings and it will show the error column in the Data Preview. Amend the error column and reupload the file. Click on Proceed if the file uploaded does not have errors.
Step 7: Click Done to view the Warehouses page once the file is successfully imported

3. Export Rack
Step 1: Click on the More (…) button > Export Rack.
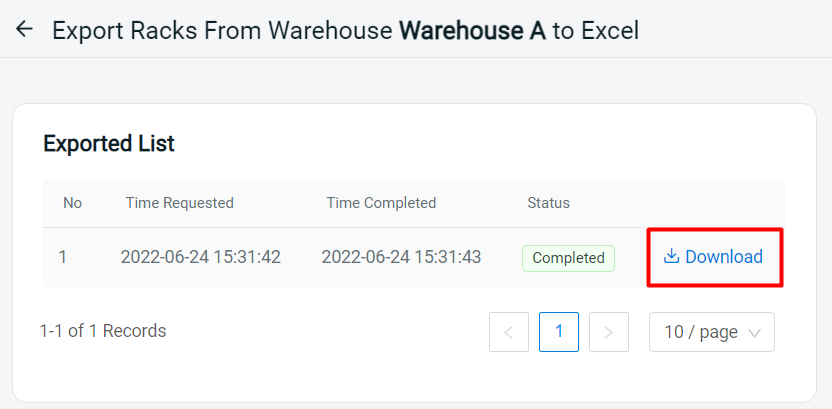
Step 2: Download the Excel from Exported List
Step 3: You can view the rack details in the exported file > you can edit the details and import the file again