
1. Introduction
2. Update Rack Capacity & Item Volume
3. Bulk Edit Rack Capacity
4. Assign Recommended Rack
1. Introduction
Efficient warehouse management starts with understanding rack capacity. Knowing how much volume (CBM) each rack can accommodate and how to organize items efficiently is crucial to prevent overloading, optimize storage space, and ensure smooth operations. Proper use of rack capacity helps maintain accuracy while maximizing available storage.
2. Update Rack Capacity & Item Volume
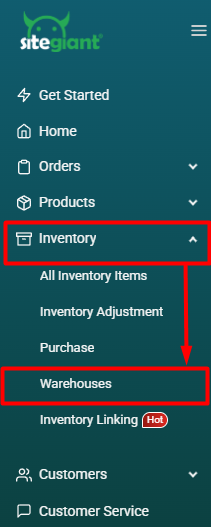
Step 1: Navigate to Inventory on the sidebar menu > click Warehouses.
Step 2: Update Rack Capacity (CBM) and Item Volume (CBM).
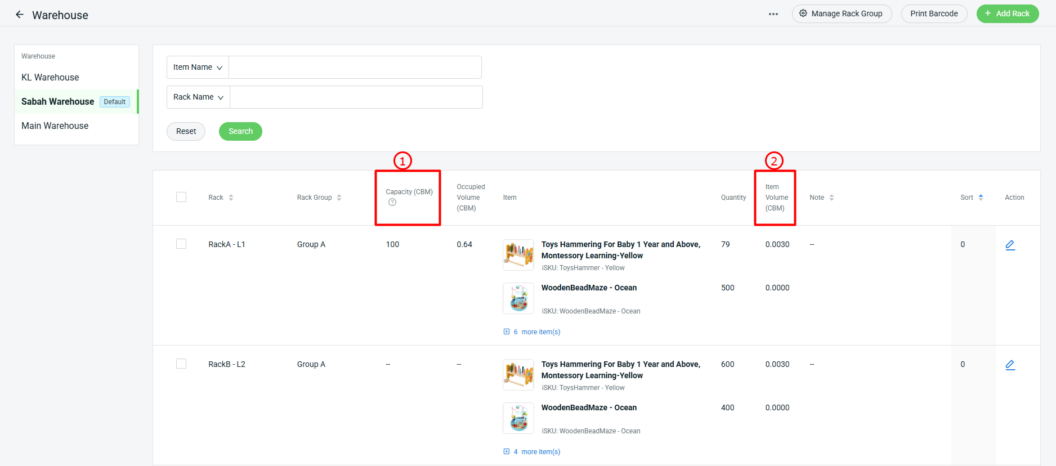
1. Capacity (CBM): Shows the maximum volume a rack can hold.
Step 1: Click the Pencil icon in the Action column.
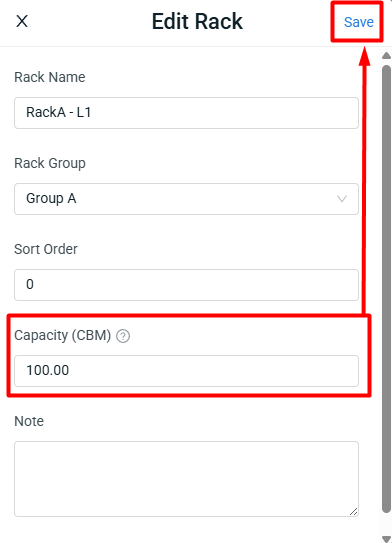
Step 2: Update the Rack Capacity (CBM) > click Save.
📌Note: Click the tooltip to view the calculation formula.
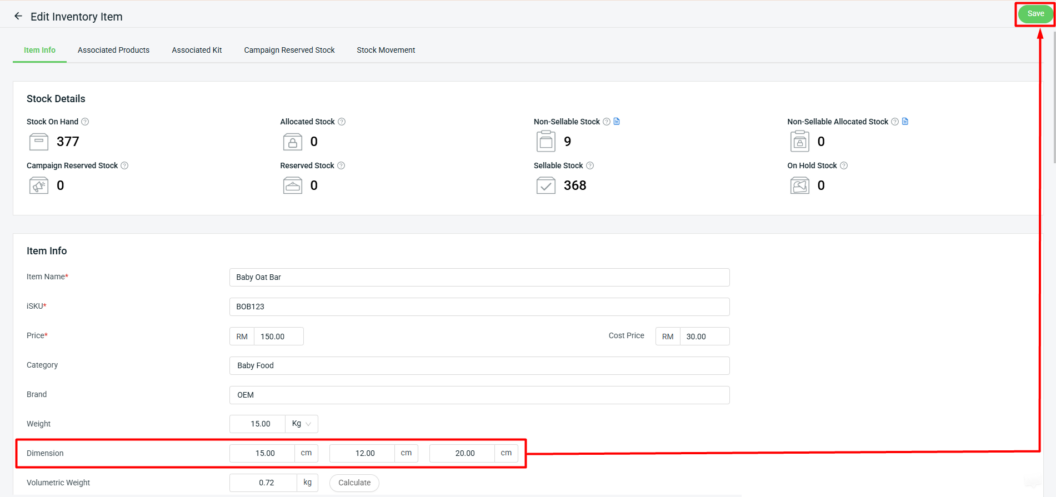
2. Item Volume (CBM): Refers to the volume of a single item (or product).
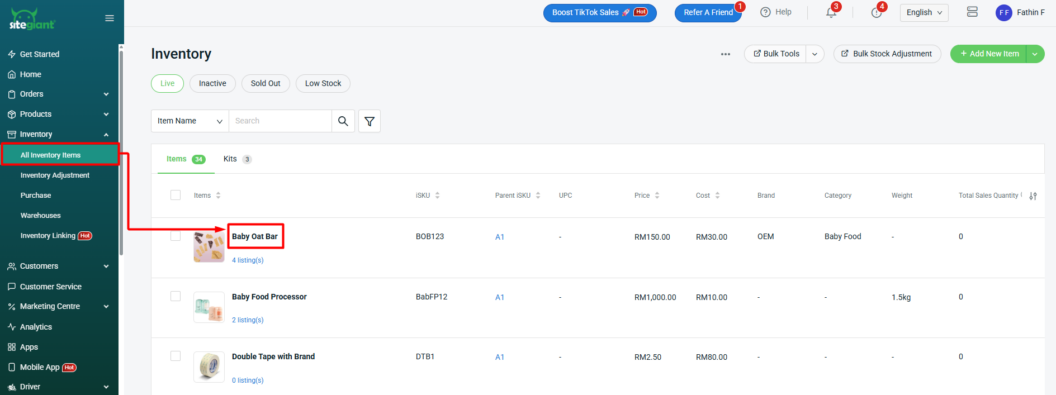
Step 1: Navigate to Inventory on the sidebar menu > select All Inventory Items > click inside the Item.
Step 2: Update the Item's Dimension > click Save.
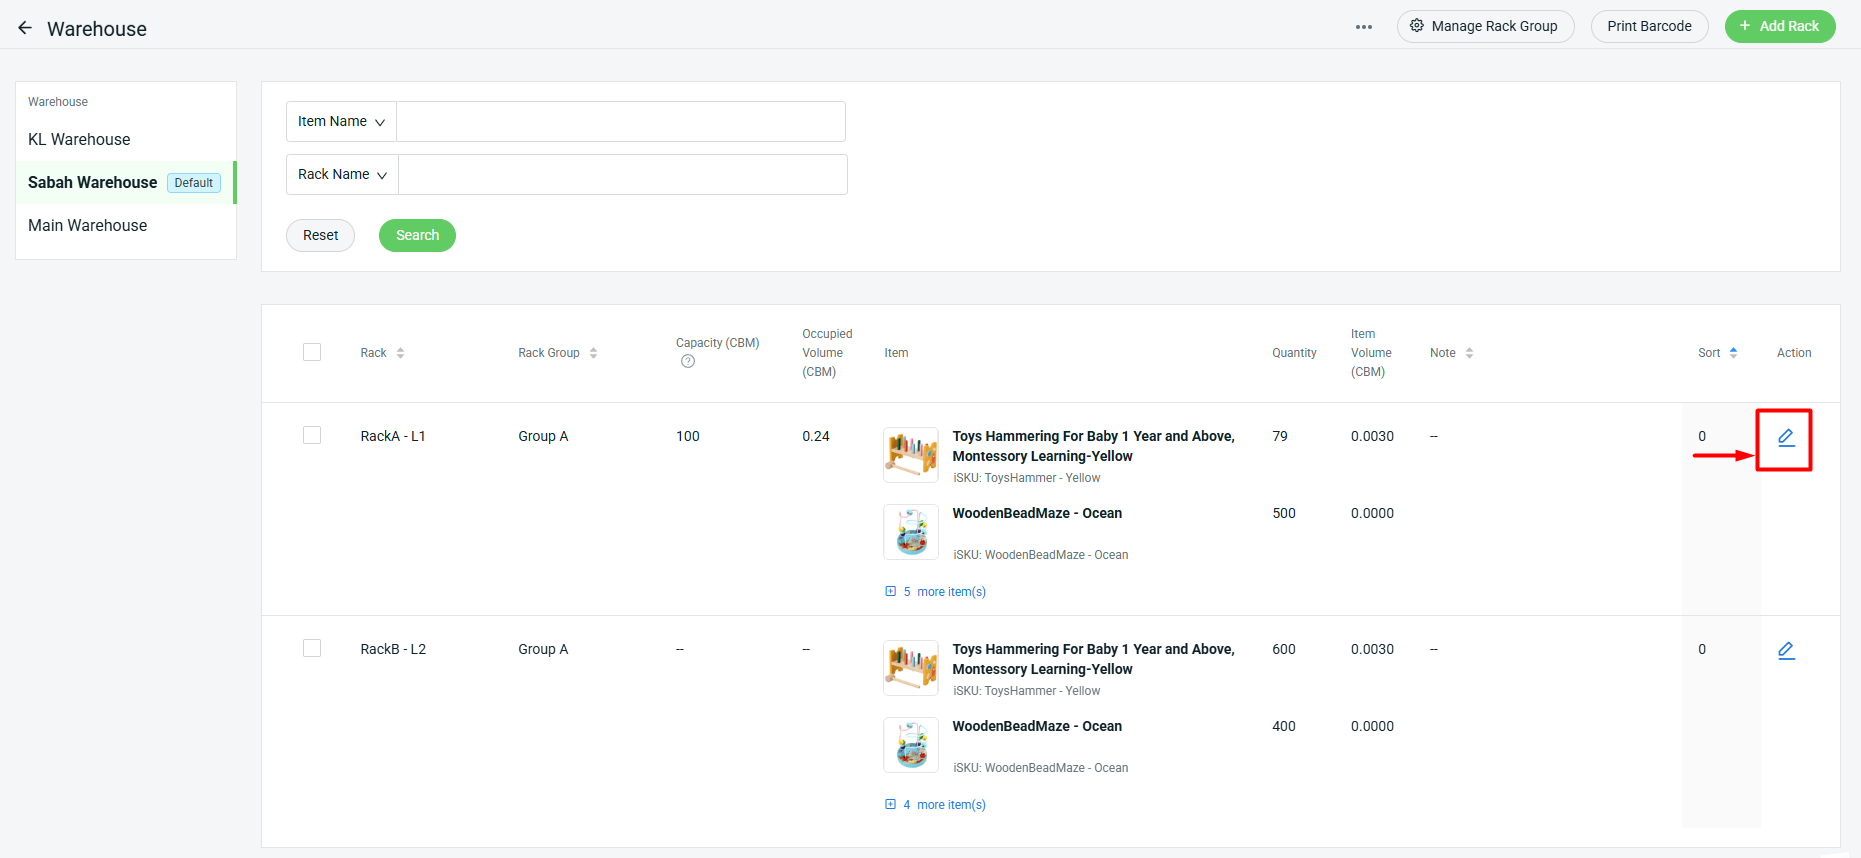
Step 3: Once the Rack Capacity (CBM) and Item Volume (CBM) are updated, the Occupied Volume will be displayed.
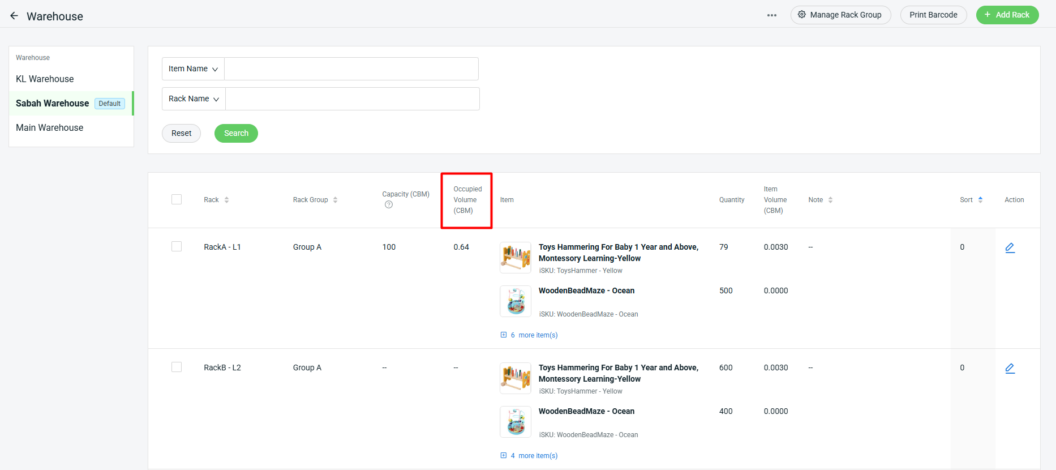
Calculation of Occupied Volume:
Item Volume (CBM) × Quantity = Occupied Volume (CBM)

Example(as shown in the image):
0.0030 CBM × 79 = 0.24 CBM

📌Note: If you have a Kit, the system will calculate the Occupied Volume based on the Item Volume (CBM) of each individual item. The dimensions of the Kit are not considered in this calculation.
3. Bulk Edit Rack Capacity
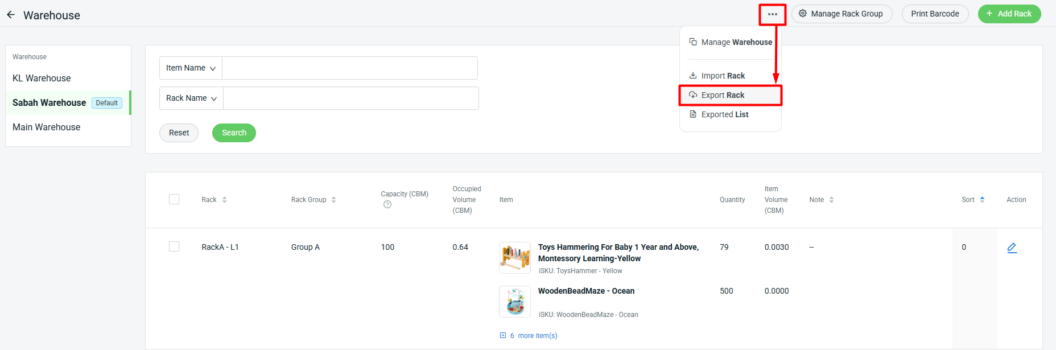
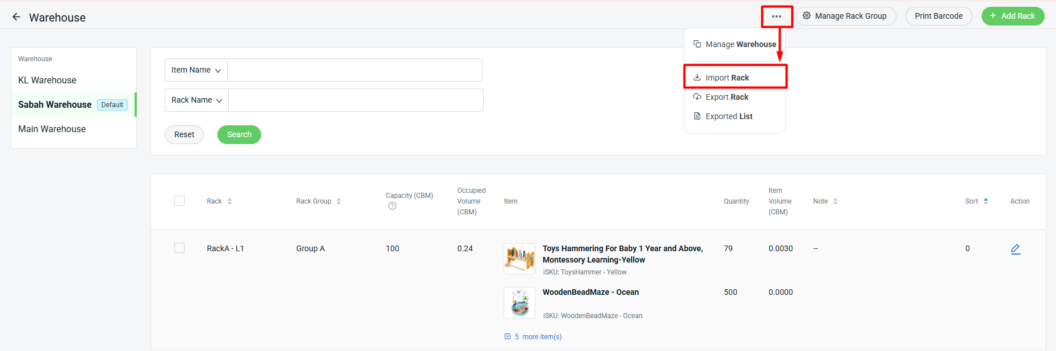
Step 1: Click More (…) > Export Rack.
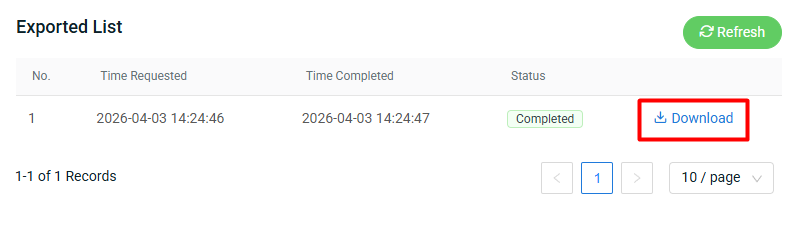
Step 2: Download the generated Excel file.
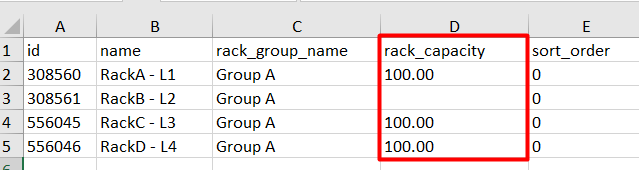
Step 3: Edit or update the rack _capacity column in CBM > Save.
Step 4: Back to the Warehouse page, click More (…) > Import Rack.
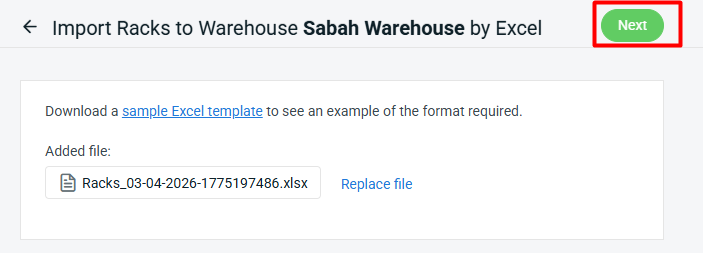
Step 5: Upload the Excel file > click Next.
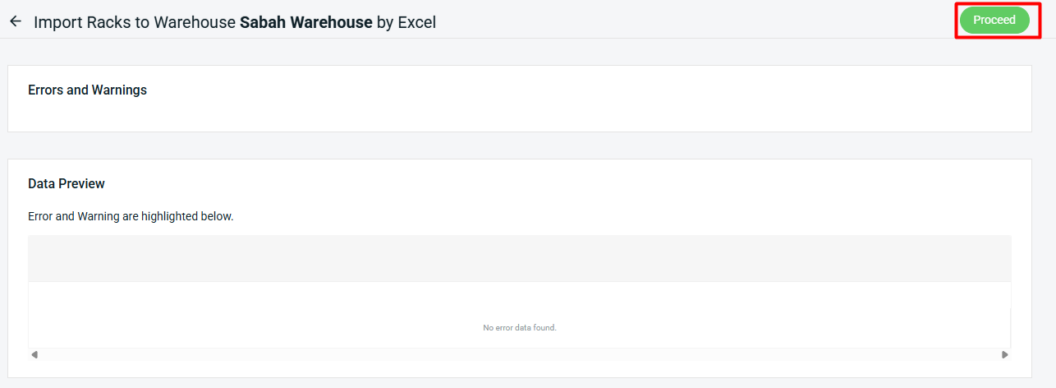
Step 6: If errors are found in the uploaded Excel file, they will appear under Errors and Warnings, with the affected column shown in the Data Preview. Amend the errors and reupload the file. Click Proceed if no errors are found.
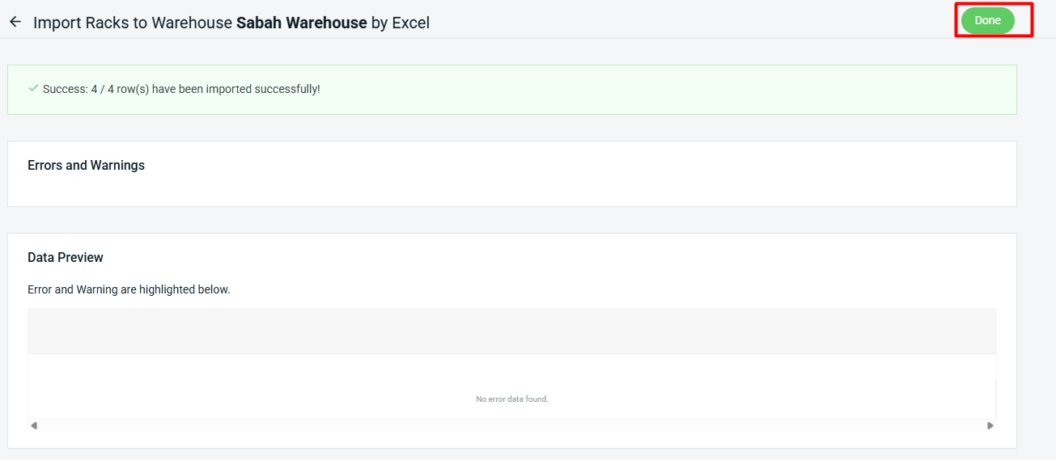
Step 7: Click Done to view the Warehouses page once the file is successfully imported.
4. Assign Recommended Rack
I. Inventory Items Details Page
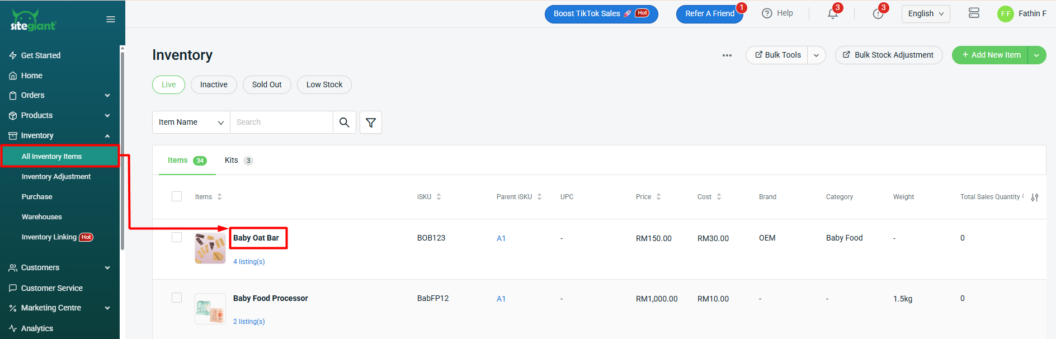
Step 1: Navigate to Inventory on the sidebar menu > select All Inventory Items > click inside the Item.
Step 2: Under the Warehouse Info section, click + Add Rack > Select Racks.
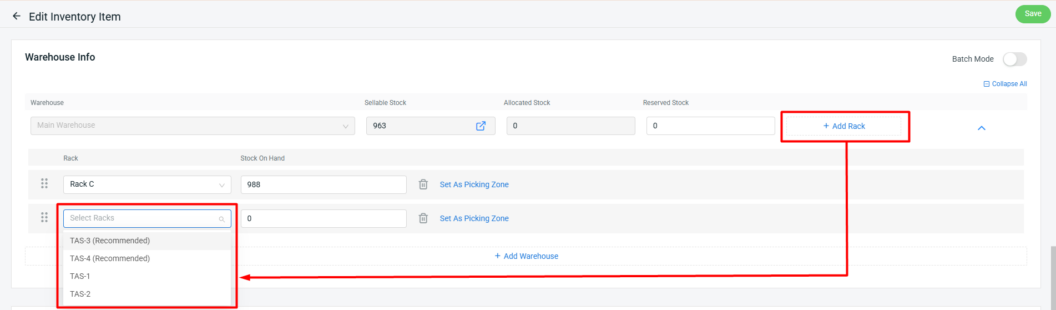
📌Note: Recommended racks will be displayed if the rack is currently empty (no occupied volume). However, you may still assign a non-recommended rack to the item if needed. Learn more about How To Assign Rack.
II. Stock Adjustment
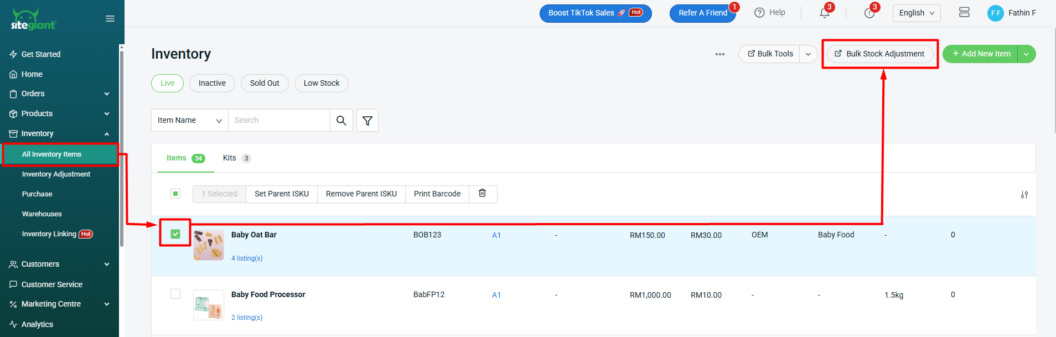
Step 1: Navigate to Inventory on the sidebar menu > select All Inventory Items > tick the Items > click Bulk Stock Adjustment.
Step 2: Fill in Stock In Details such as Warehouse*, Reason*, Remark, and Notes.

Step 3: Edit Sellable (After), On Hand (After), or Quantity Change. Changes in one field will automatically update the others.

Step 4: Under the Item List section, click Edit.

Step 5: Once the quantity is added, the current rack will be marked as Recommended if there is available capacity, to optimize storage and efficiency.
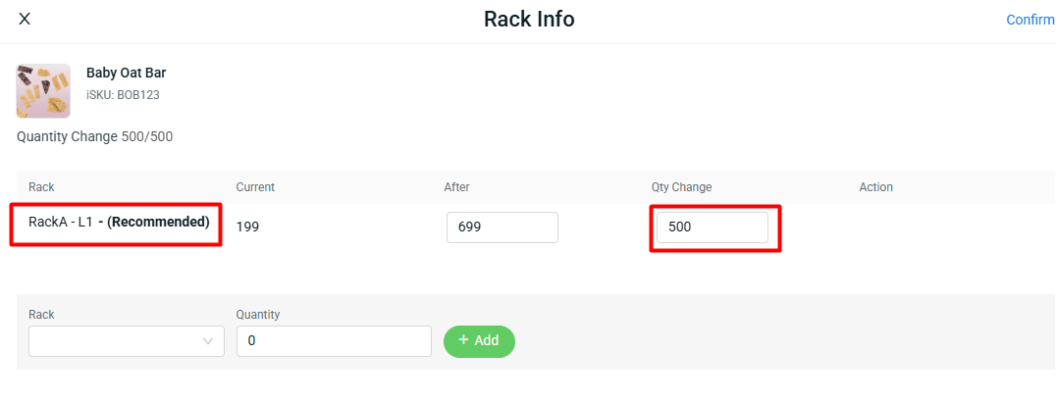
Step 6: To add a rack from this page (Optional), select Rack > click +Add > Confirm.

📌Note: Recommended racks will be displayed if the rack is currently empty (no occupied volume). However, you may still assign a non-recommended rack to the item if needed