1. Introduction
2. Set Up Facebook Business Extension 2.0
3. Additional Information
1. Introduction
Introducing Facebook Business Extension 2.0, you can now connect Facebook Business Manager, Facebook Messenger, Facebook Pixel and Facebook Dynamic Ads with just a few clicks!
📌Things to take note of before setup:

1. Beginning 10th August 2023, for businesses with a shop located in APAC (except for Autralia, India, Indonesia, Japan, South Korea, Taiwan and Thailand), businesses will no longer be able to host a shop on Facebook Page. Learn More

2. The Facebook user account has to be the Admin Roles of the Facebook Page to be connected.

3. Any matter on the Facebook Commerce policy violation and issue regarding account, shop, products, ads approval and rejection will have to be resolved by reaching out to Facebook Help Center.
2. Set Up Facebook Business Extension 2.0
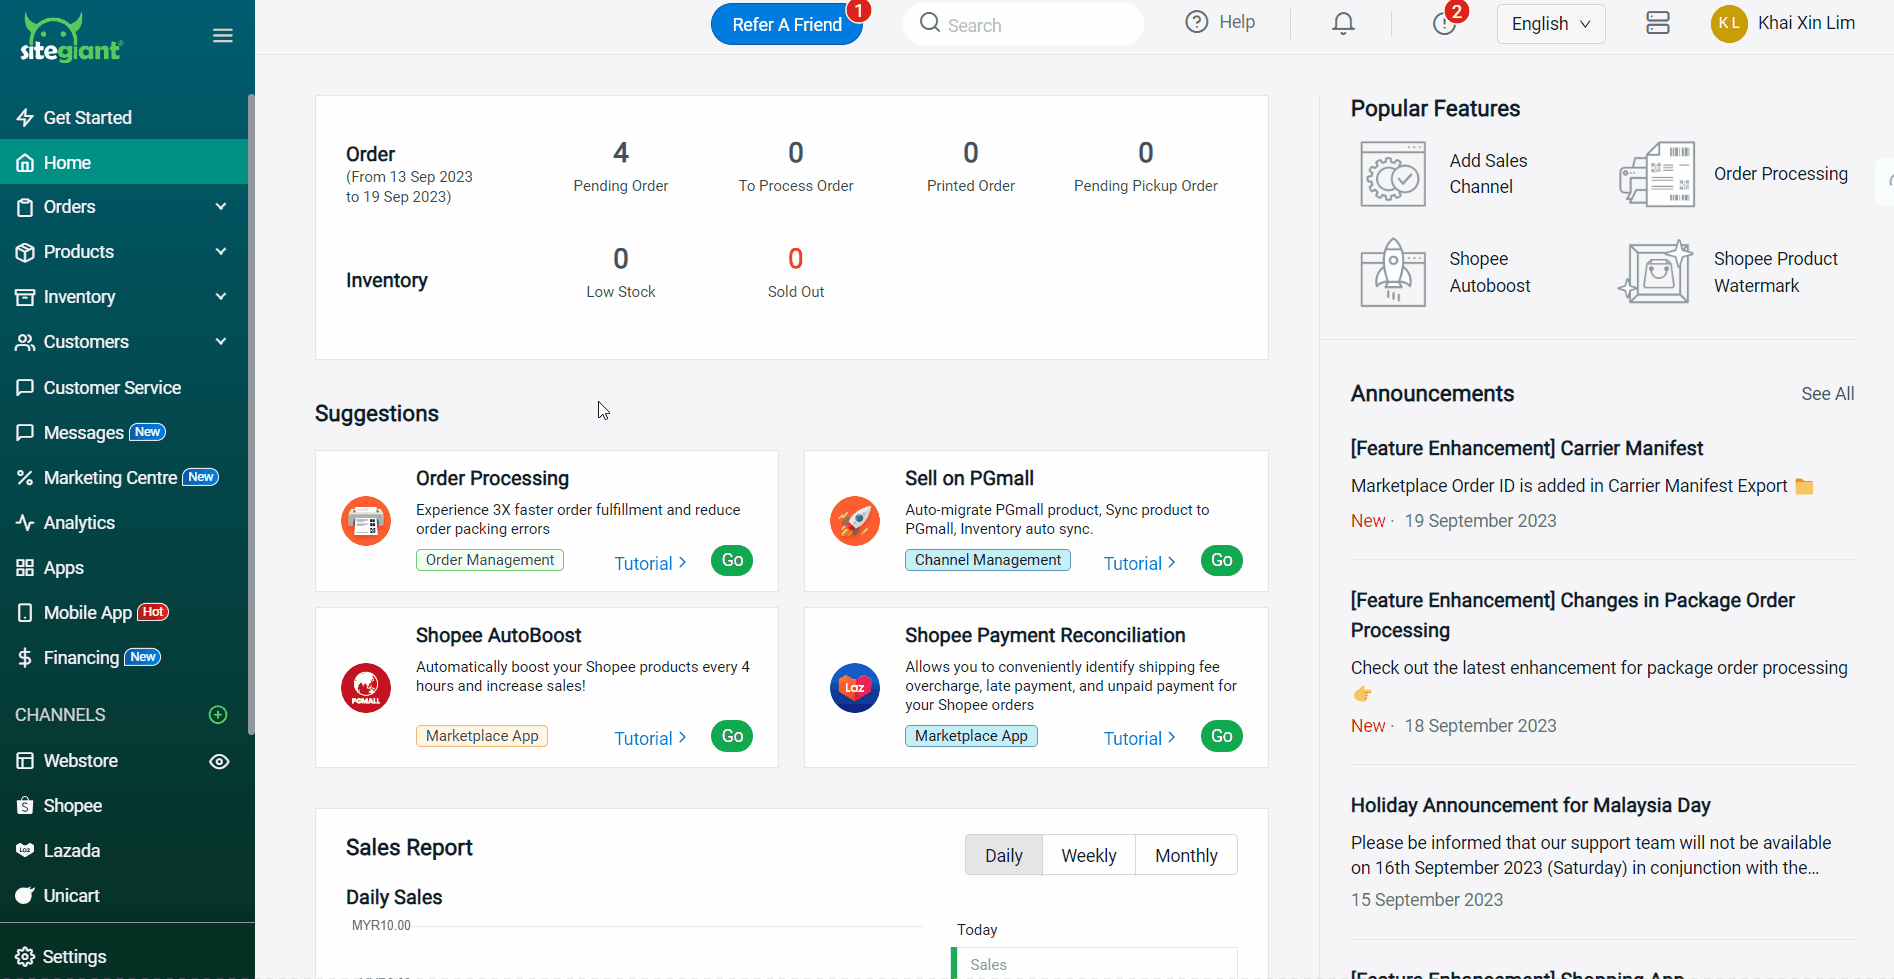
Step 1: Log in to your SiteGiant Seller Center > add [+] channels > choose Facebook Business Extension > Connect To A New Sales Channel.
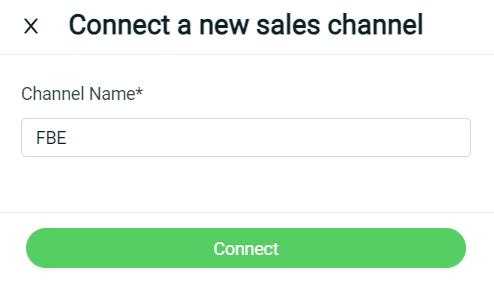
Step 2: Fill in the Channel Name > Connect.
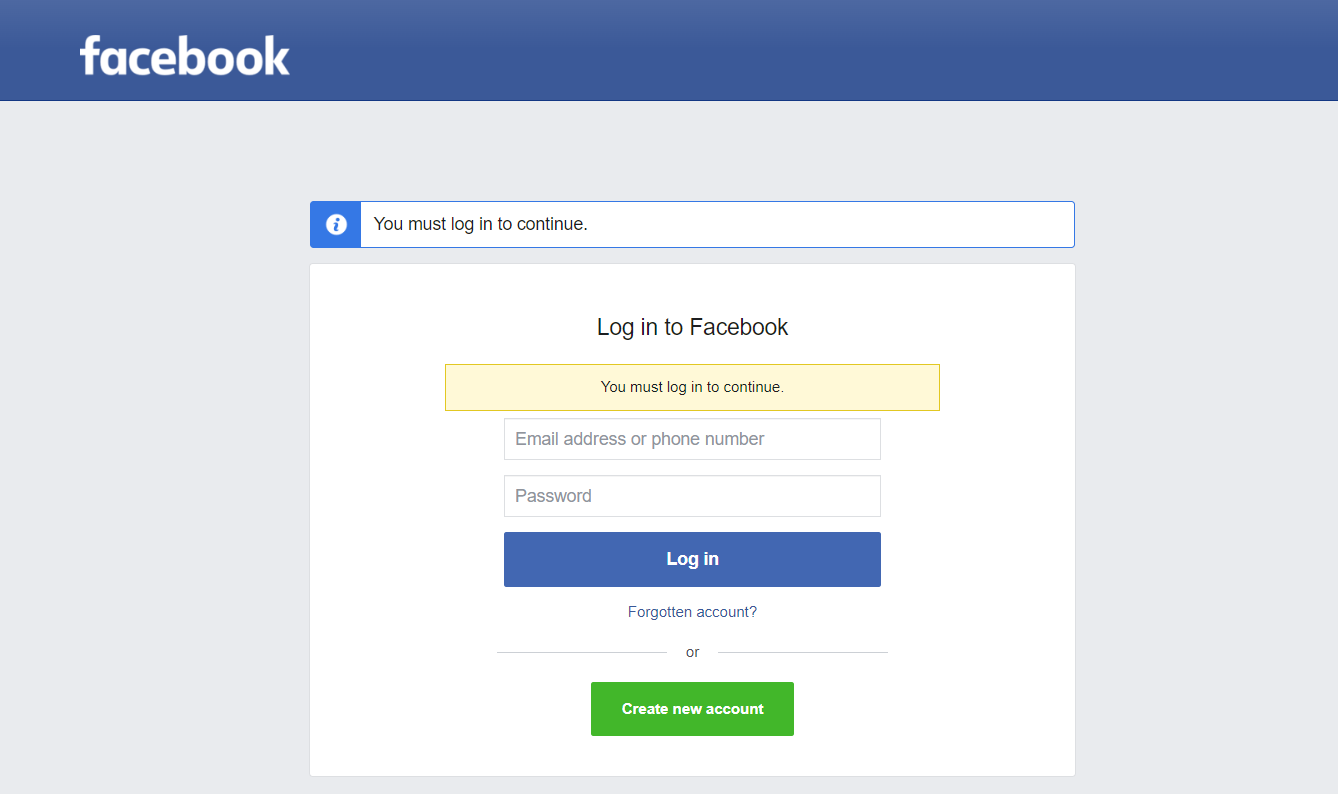
Step 3: Log in to your Facebook account > Continue.
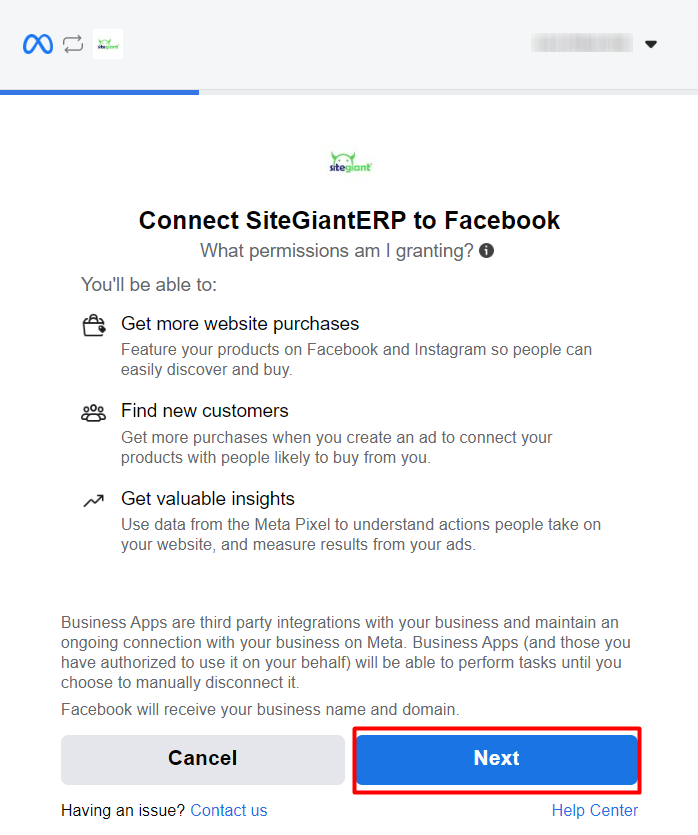
Step 4: Click on Next to grant the permissions for SiteGiant ERP to connect to Facebook.
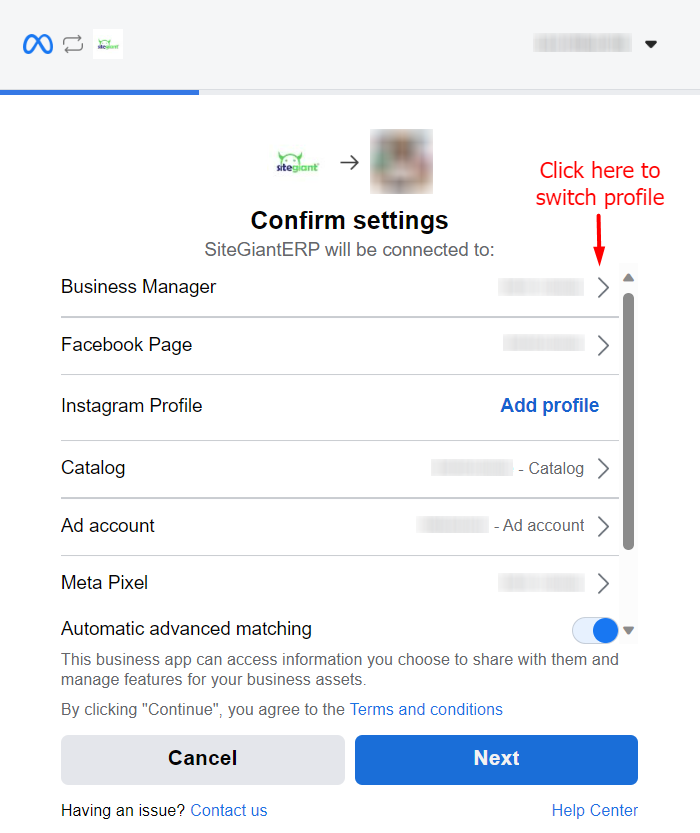
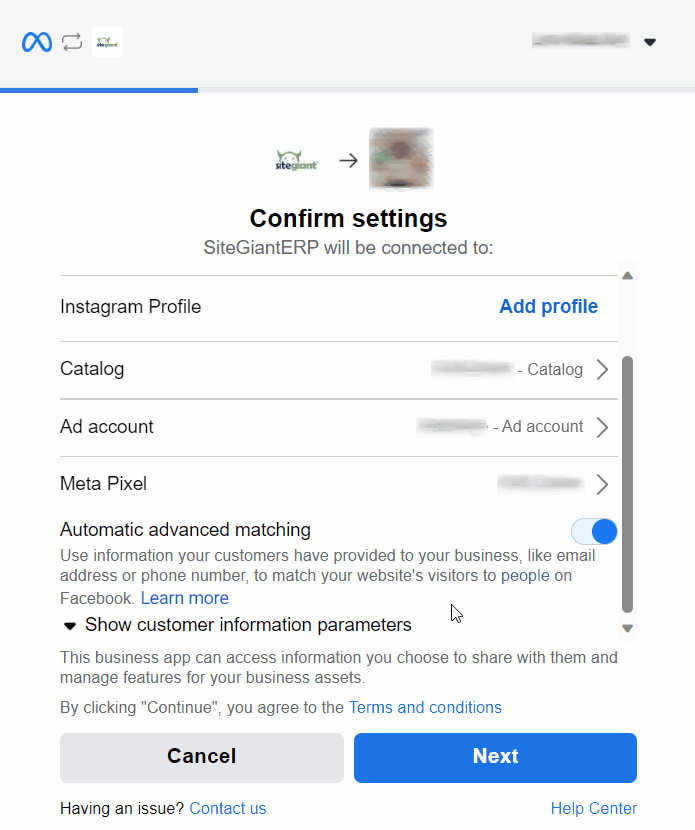
Step 5: Select your existing Business Manager account, Facebook Page, Catalog, Ad Account and Meta Pixel if you have any.
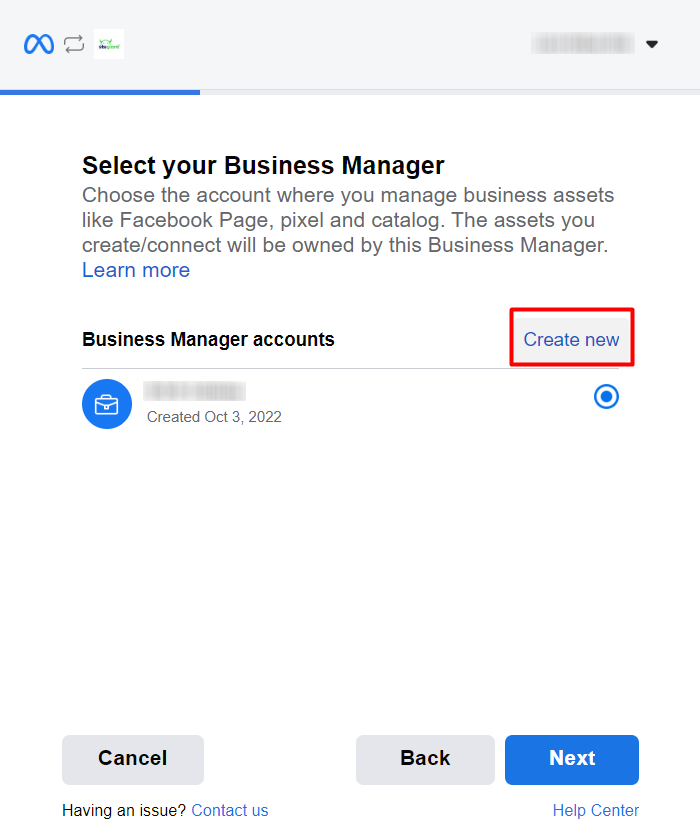
Step 6: You may click on Create new if you do not have an account or the account is not available to connect.
Step 7: Once done, click on the Next button to proceed to the next pages. Finally, click on Done to complete the setup process.
Step 8: You may navigate to FBE Channels on the sidebar menu to start managing your Facebook Business Extension 2.0.

📝Additional Information
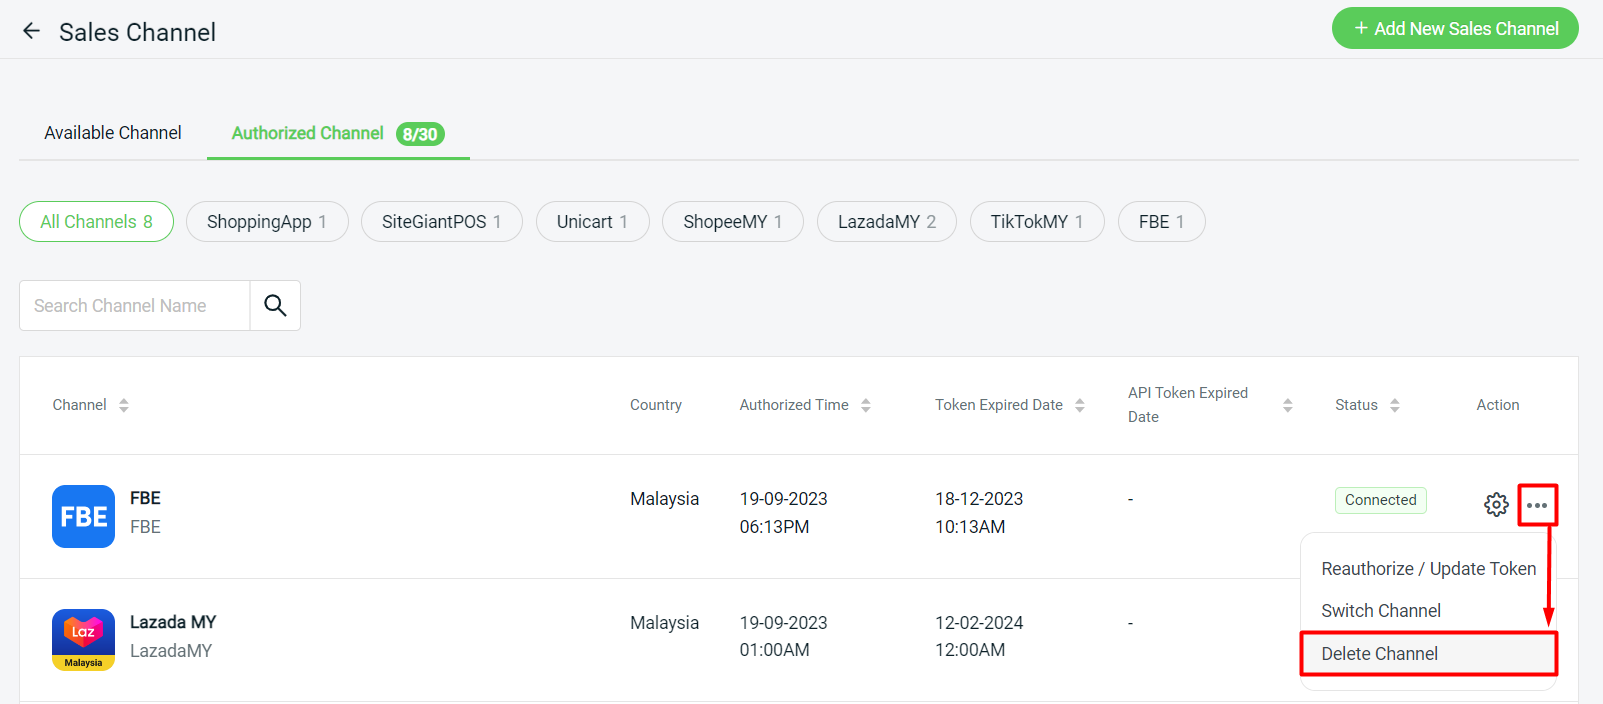
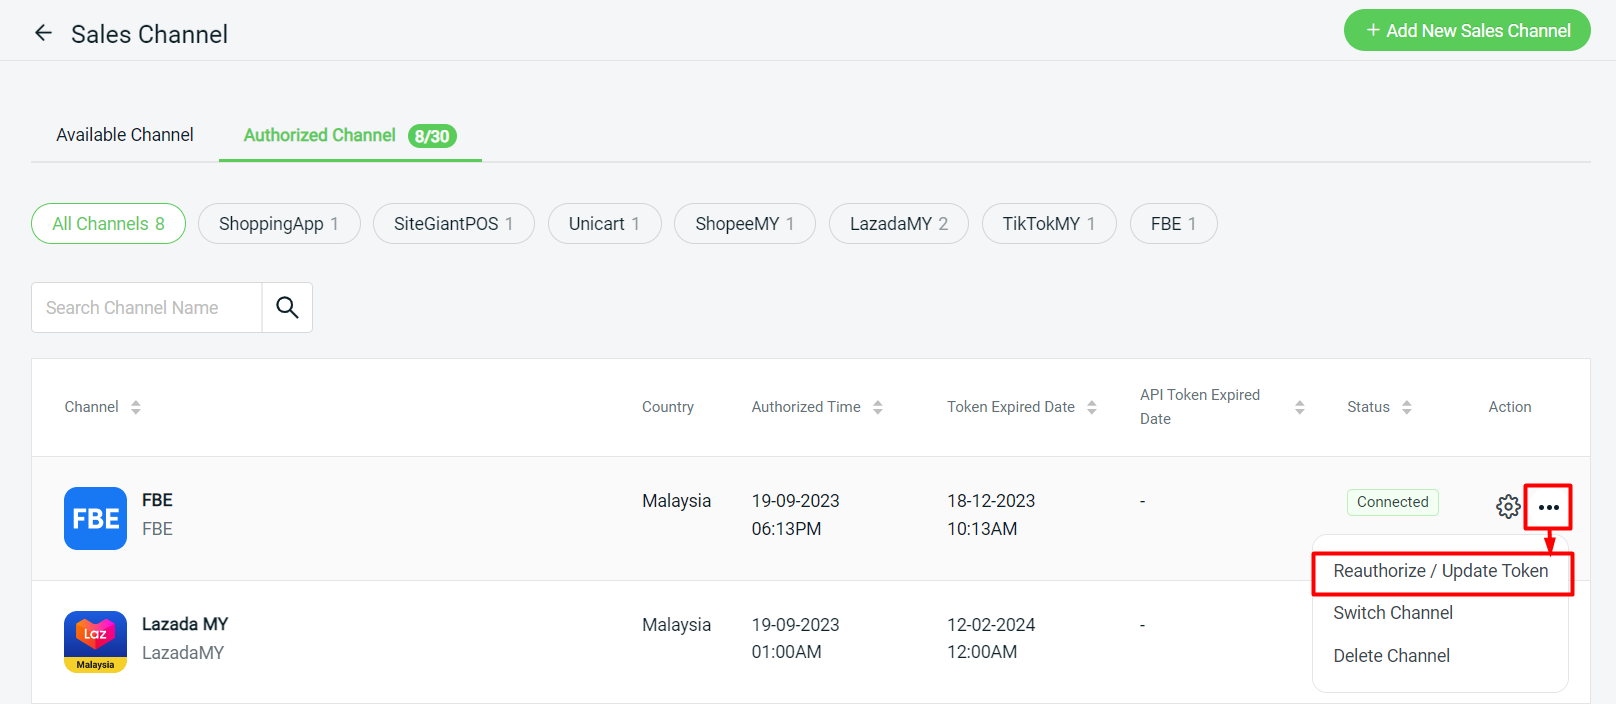
1. Reauthorize/ Update Token
Once integrated, the Facebook token will expire in 3 months. You will need to perform reauthorization to refresh the token.
Step 1: Go to Settings > Sales Channel > Authorized Channel tab > More(…) > Reauthorize / Update Token.
2. Uninstall Facebook Business Extension 2.0
If you wish to change any Facebook asset, you will have to uninstall Facebook Business Extension 2.0 and reintegrate again.
Step 1: Go to Settings > Sales Channel > Authorized Channel tab > More(…) > Delete Channel.