1. Introduction
2. Connect ChatDaddy Whatsapp Account
3. Set Up Channel
4. Add Contact List
5. Additional Information
1. Introduction
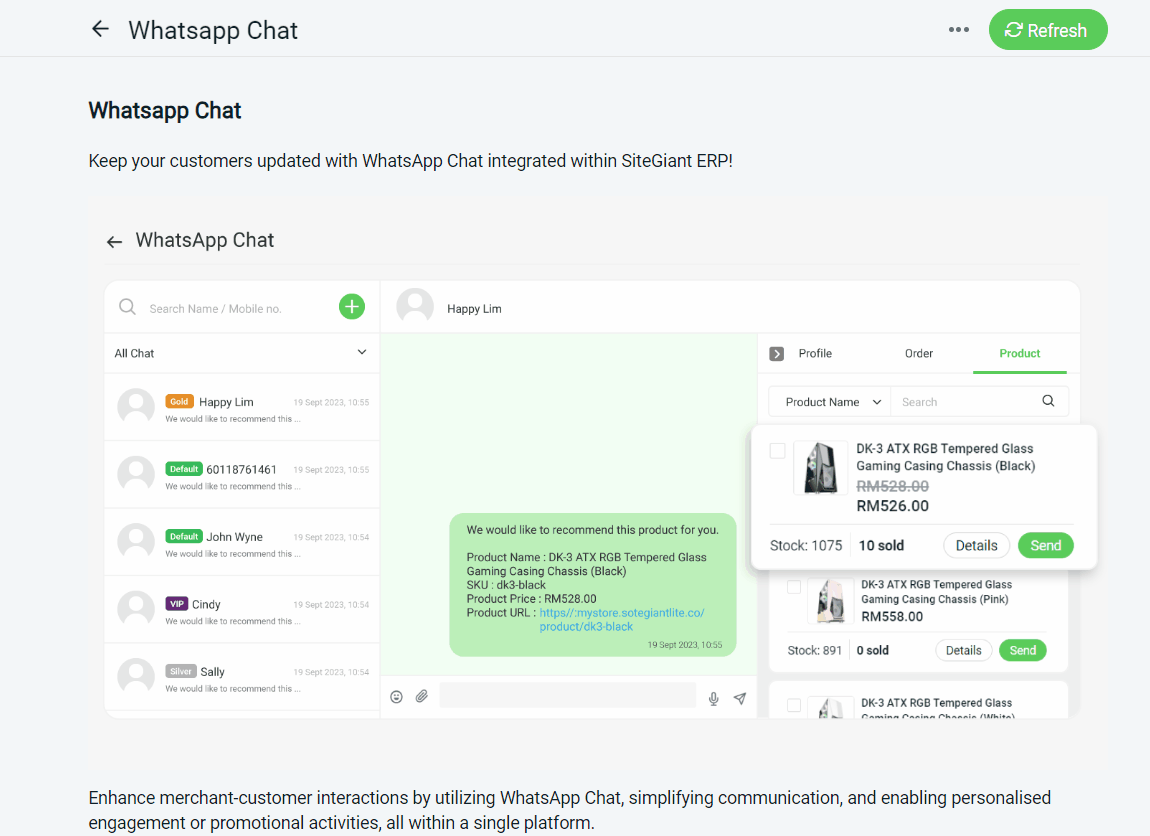
ChatDaddy x SiteGiant service provides the capability to manage multiple Whatsapp numbers at the same time or manage one WhatsApp with a team. With this, you are able to communicate with your clients on just ONE webpage. You are able to keep track of your clients’ order activities based on phone numbers. Not just that, you are able to send the order details or even promote products of your choice to your clients with just simple clicks.
More functions such as automation messages, and message notifications will be available in future.
📌Note: Please make sure you already registered an account with ChatDaddy for integration purposes. If you do not have an account yet, may proceed to register here.
2. Connect ChatDaddy Whatsapp Account
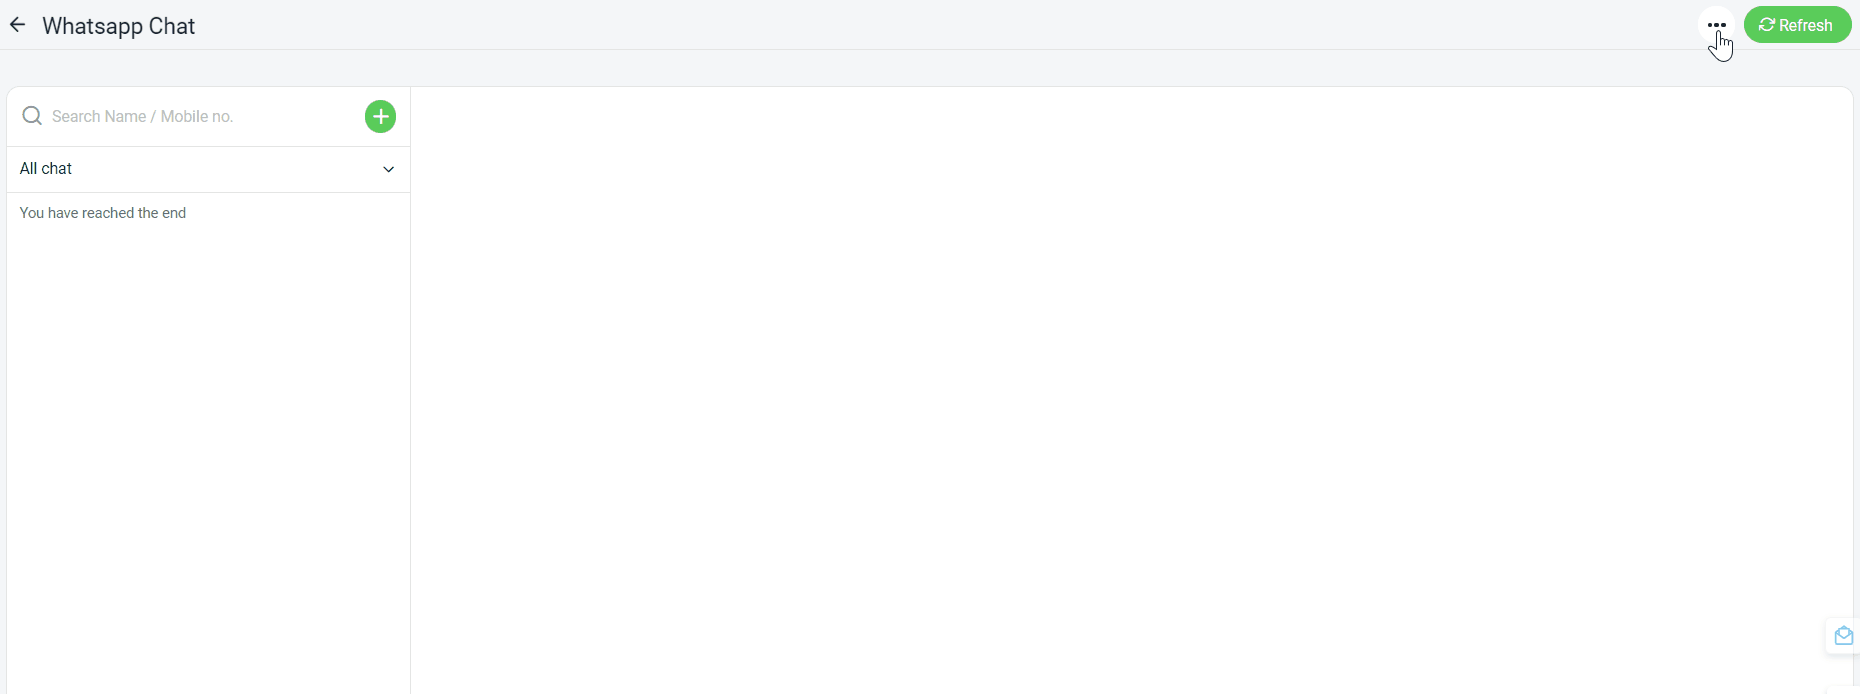
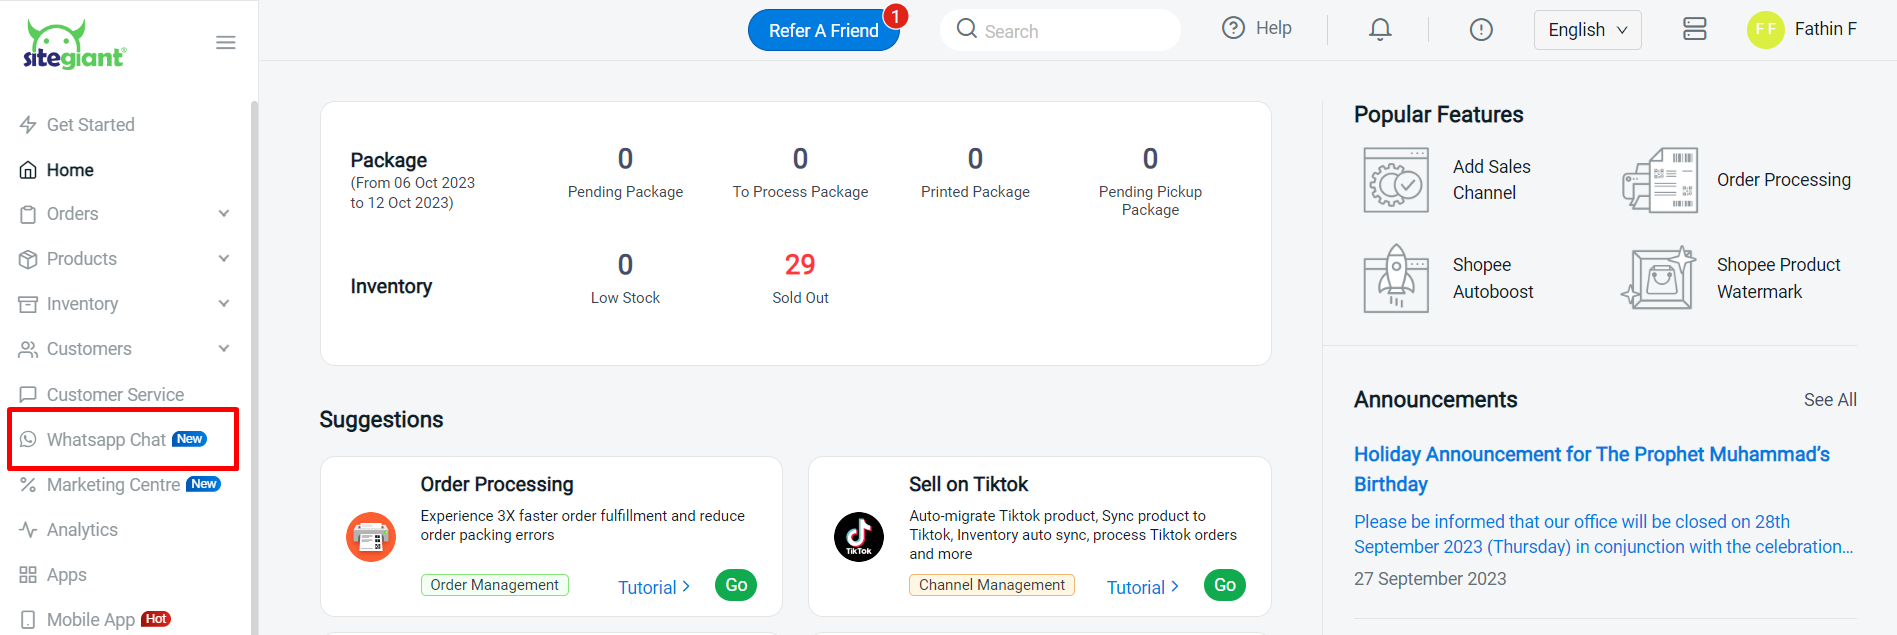
Step 1: Navigate to Whatsapp Chat on the sidebar menu.
Step 2: Click on Get Started > enter your Registered Phone Number in ChatDaddy > enter Password > Connect.
📌Note: Please enter the phone number with Country Code (e.g 60123456789).
3. Set Up Channel
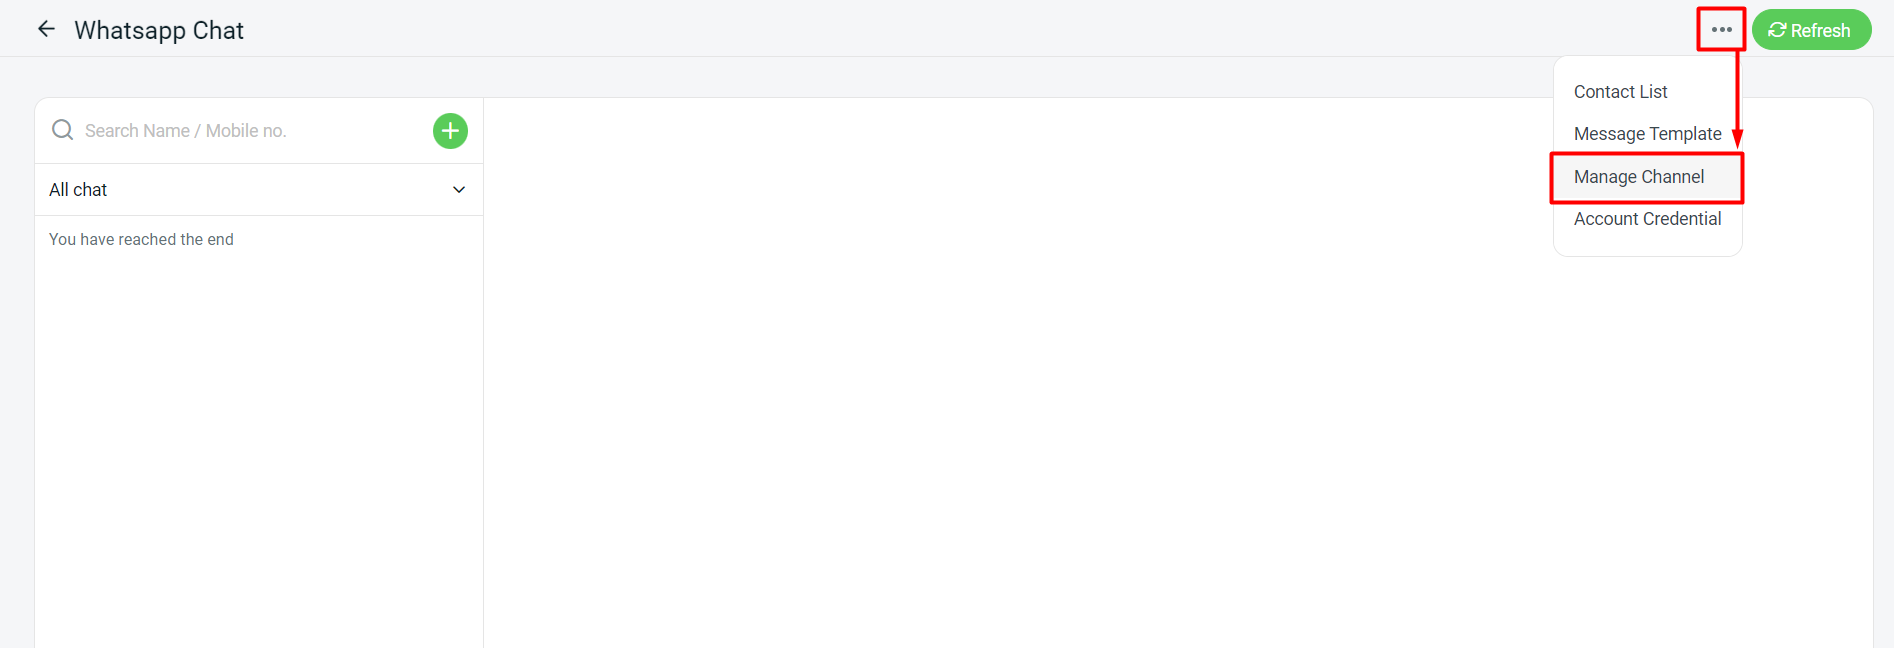
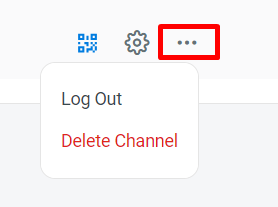
Step 1: After connecting to ChatDaddy, click on More(…) > Manage Channel.
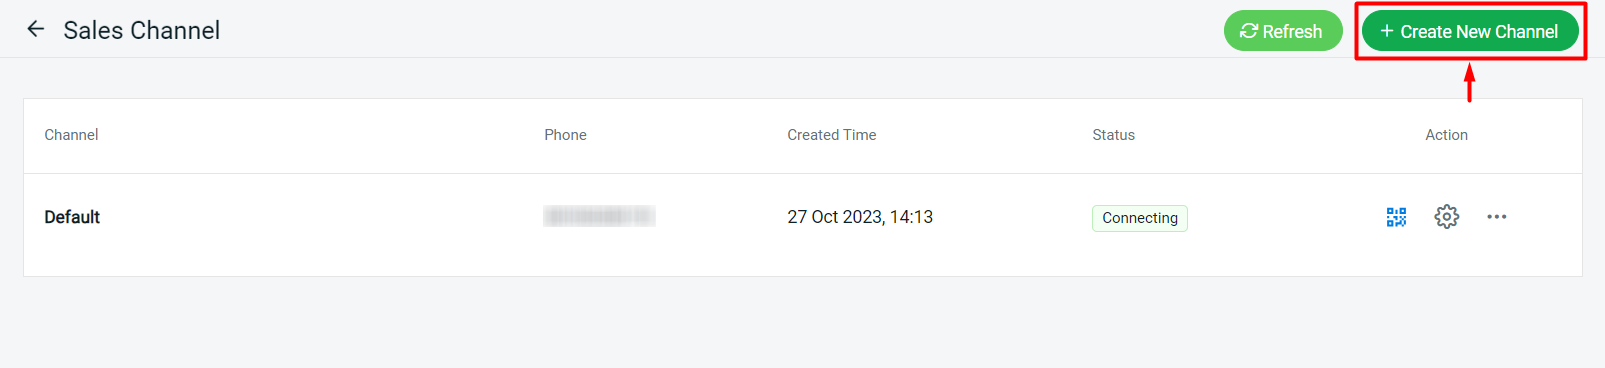
Step 2: Manage your Sales Channel by clicking on the button below.

1. QR code: Scan the QR code to connect with your WhatsApp.2. Settings: The Channel Name can be changed anytime following the name that you wish.
3. More(...): You can press Log Out if you do not want to remain in your Sales Channel account in Whatsapp Chat. Besides, you also can Delete Channel from the Sales Channel page if you do not want to use it anymore.(NOTE: If you are creating a new channel using the same number, then the chat details will become overlaid with the old content)
Step 3: If you wish to handle more WhatsApp numbers at the same time, you may add more Sales Channel by clicking on + Create New Channel.
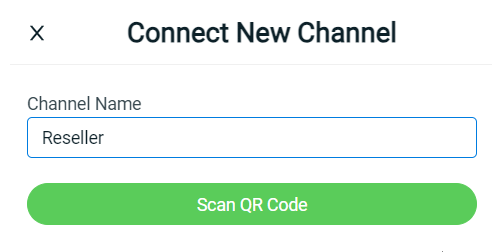
Step 4: Fill in the Channel Name into the column > click Scan QR Code to connect with your Whatsapp Number.
📌Note: If your Sales Channel Status is closed, then you will not receive any updates from ChatDaddy. Please make sure the status is open for it to receive an update. Other than that, if your phone is Off or Runs Out of Battery, then the system will Auto Log Out of your ChatDaddy account from SiteGiant.
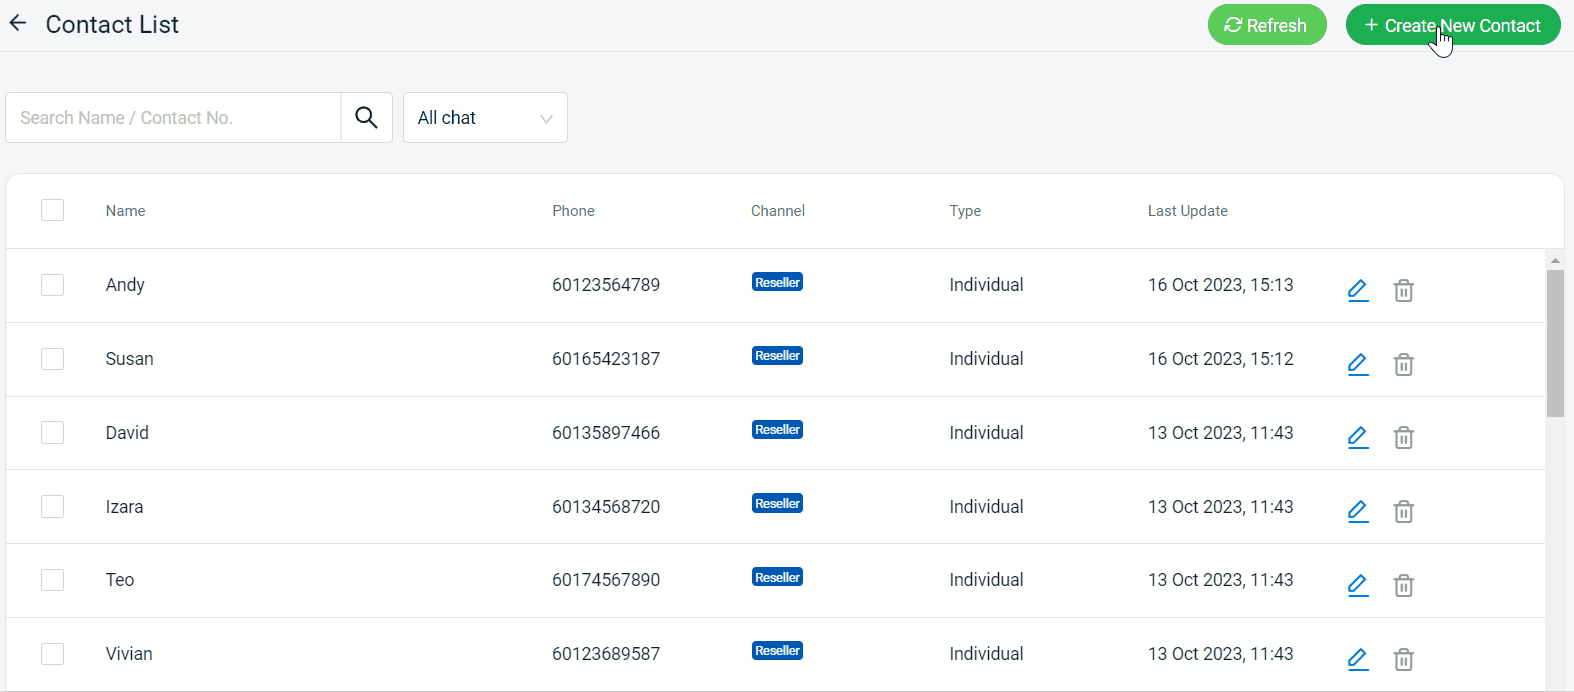
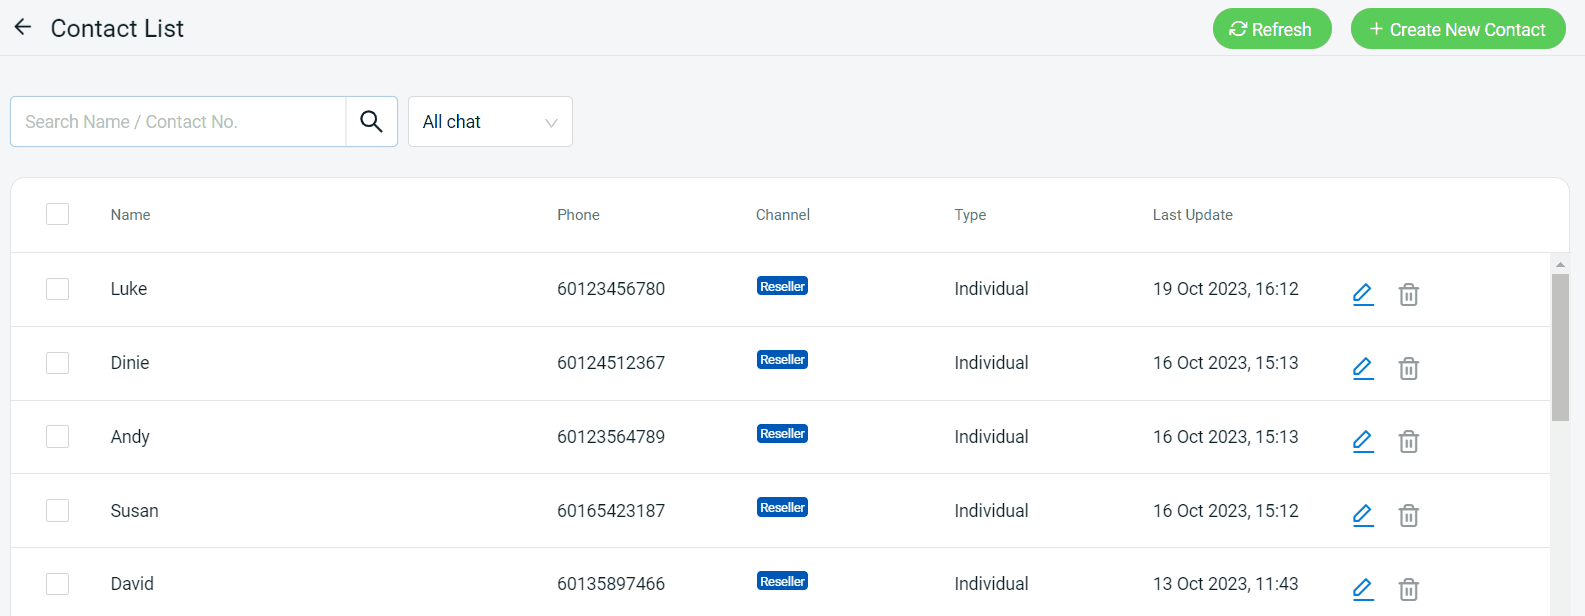
4. Add Contact List
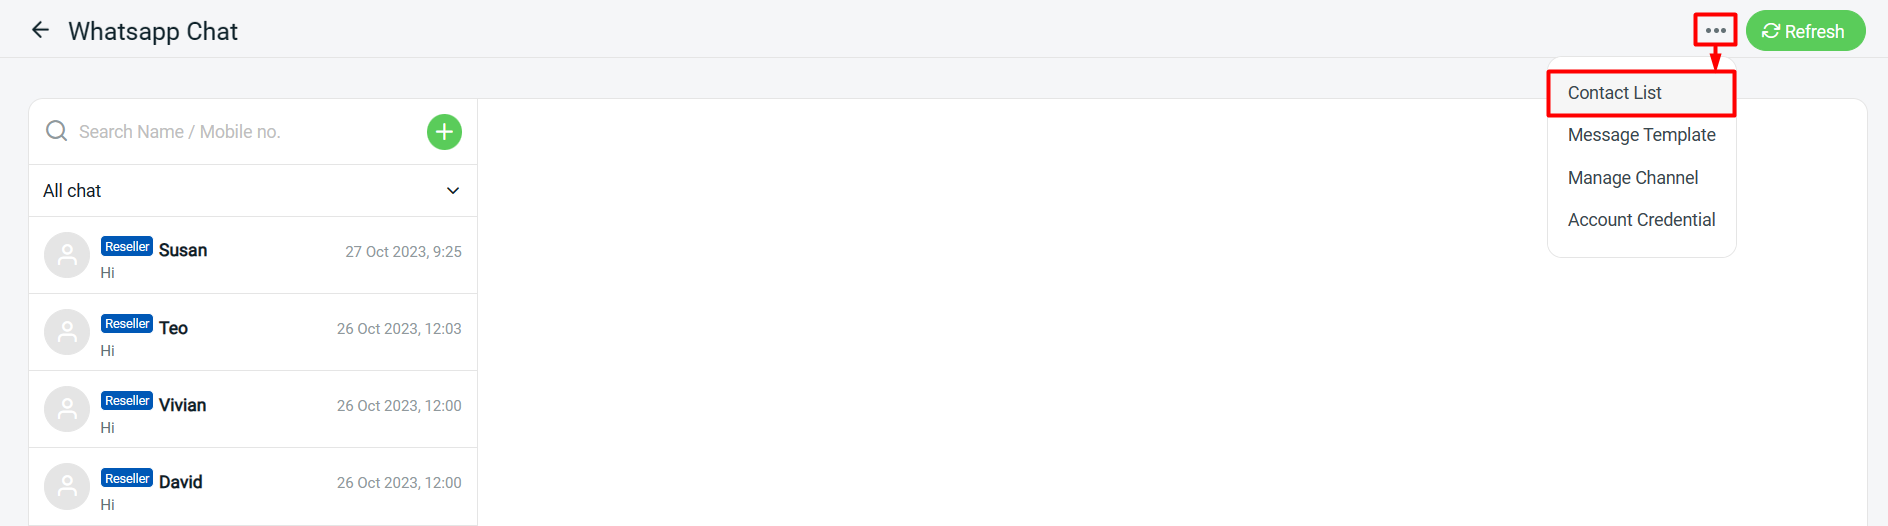
Step 1: Navigate to More(…) button > Contact List.
Step 2: May proceed to add contact by clicking + Create New Contact > type the Contact Name > type the Phone Number > select Channel > then click Save.
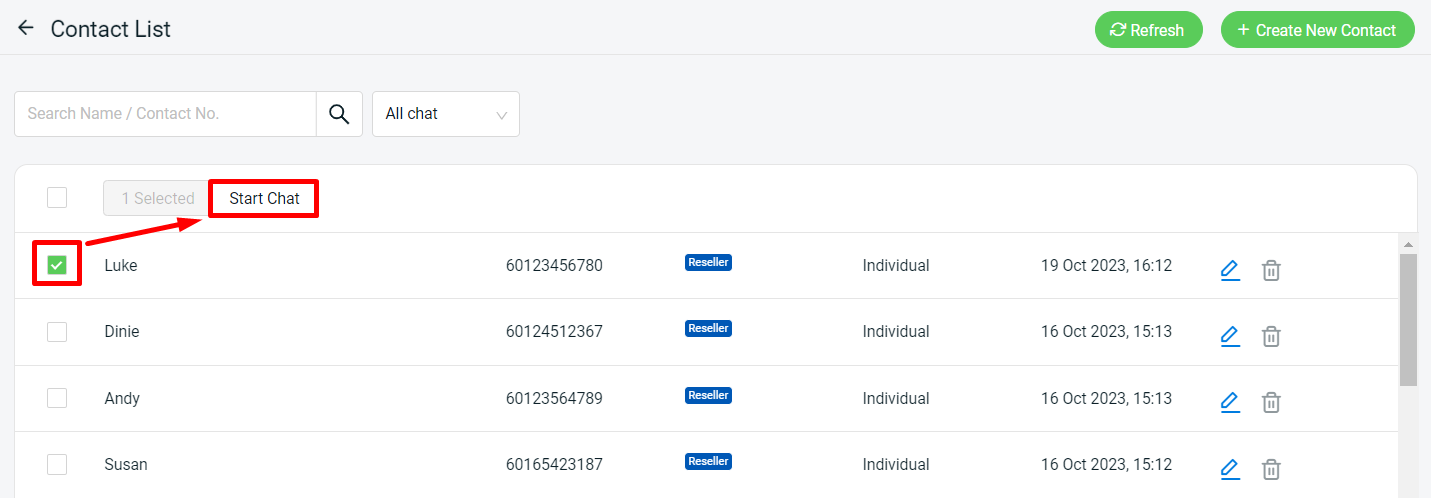
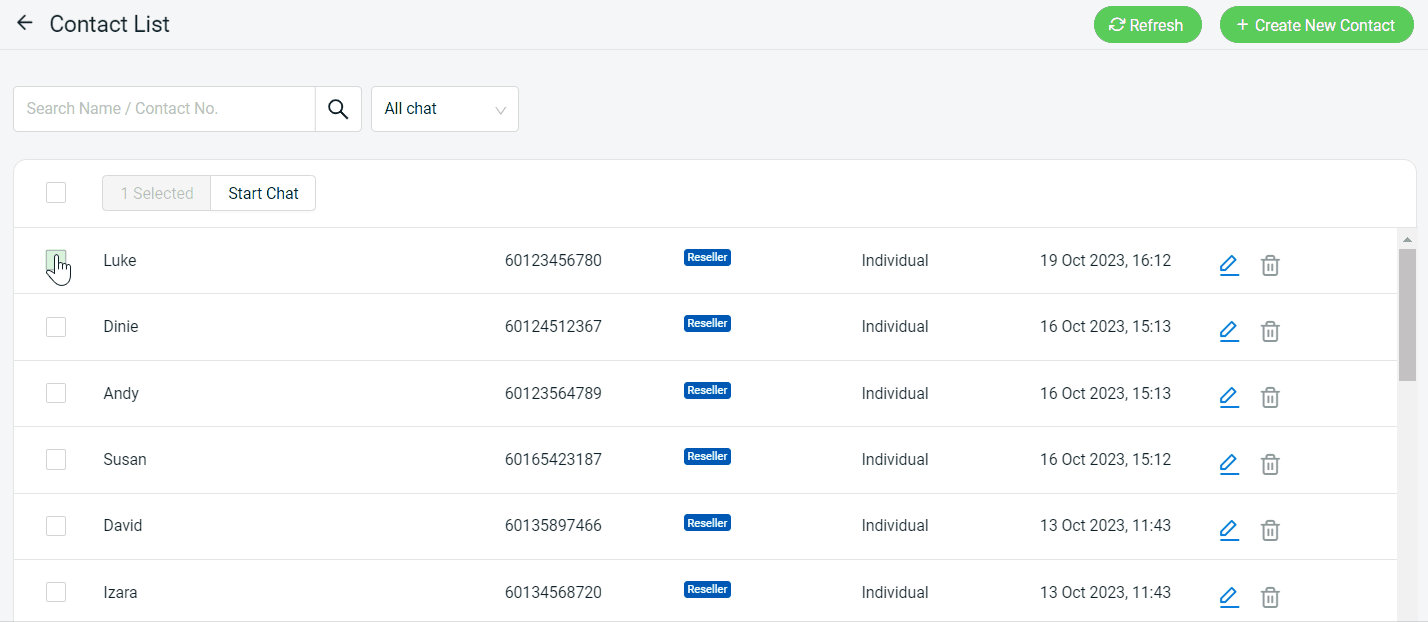
Step 3: If you want to start chatting with a customer, you can Tick contact > click Start Chat.
Step 4: However, you will create a Group if you click more than 1 contact. You can proceed to Tick Contacts > Create New Group > type your Group Name > Assign To Channel > Save.
Step 5: You are able to filter your Contact List by using Name, Number and Channel Name.
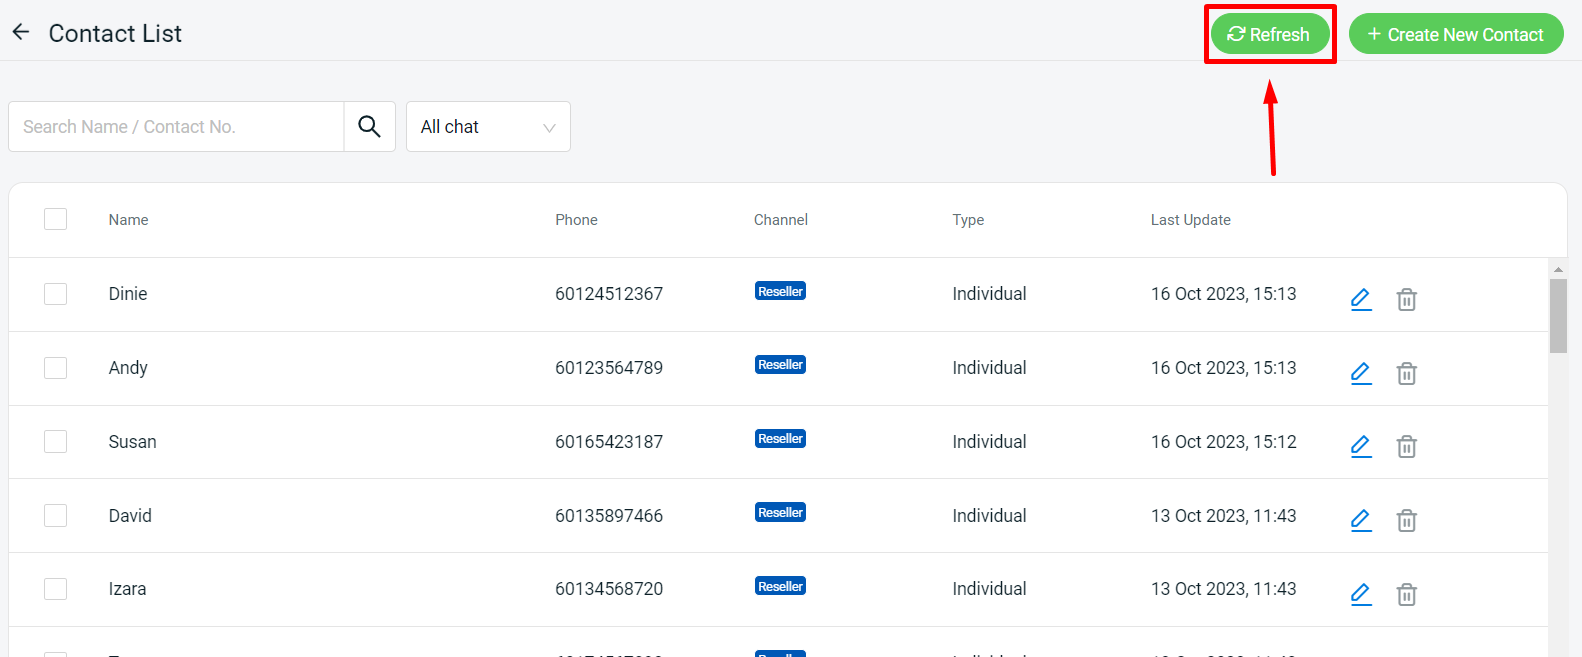
Step 6: Click the Refresh button if you want to get an update on the latest contact listing from ChatDaddy.
📌Note: Kindly inform that ChatDaddy will auto-update your contact list randomly daily.
📝Additional Information
1. Account Credential
For your information, ChatDaddy Integration can only use 1 account. However, if you want to change to another account, then you can proceed by clicking More(…) > Account Credential > update the New Login Credential > Connect.