1. Introduction
2. Retrieve Shopify Admin API Access Token
3. Set Up Shopify Store Integration
4. Additional Information
1. Introduction
Are you a seller on Shopify looking for a way to manage and expand your e-commerce sales?
We are introducing to you the Shopify Sync tool! It is the perfect tool that you’ll need to conveniently migrate all your Shopify orders, products and inventories into SiteGiant. Plus, quickly list them in other marketplaces such as Shopee, Lazada and TikTok to boost sales.
📌Note: Before the integration, please make sure that you have at least one product listed in your Shopify Store.
2. Retrieve Shopify Admin API Access Token
Step 1: Log in to your Shopify Store.
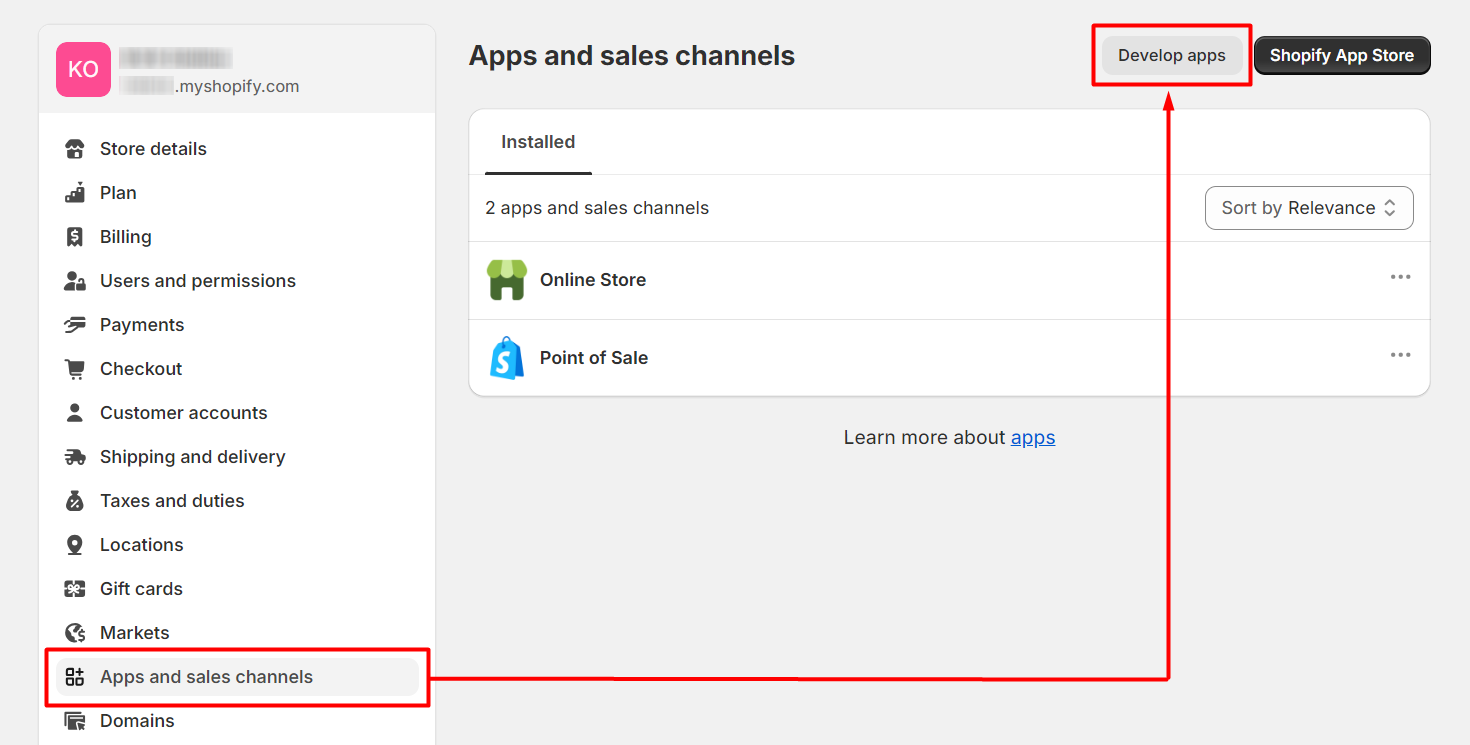
Step 2: Navigate to Settings on the sidebar menu.

Step 3: Go to Apps and sales channels > Develop apps.
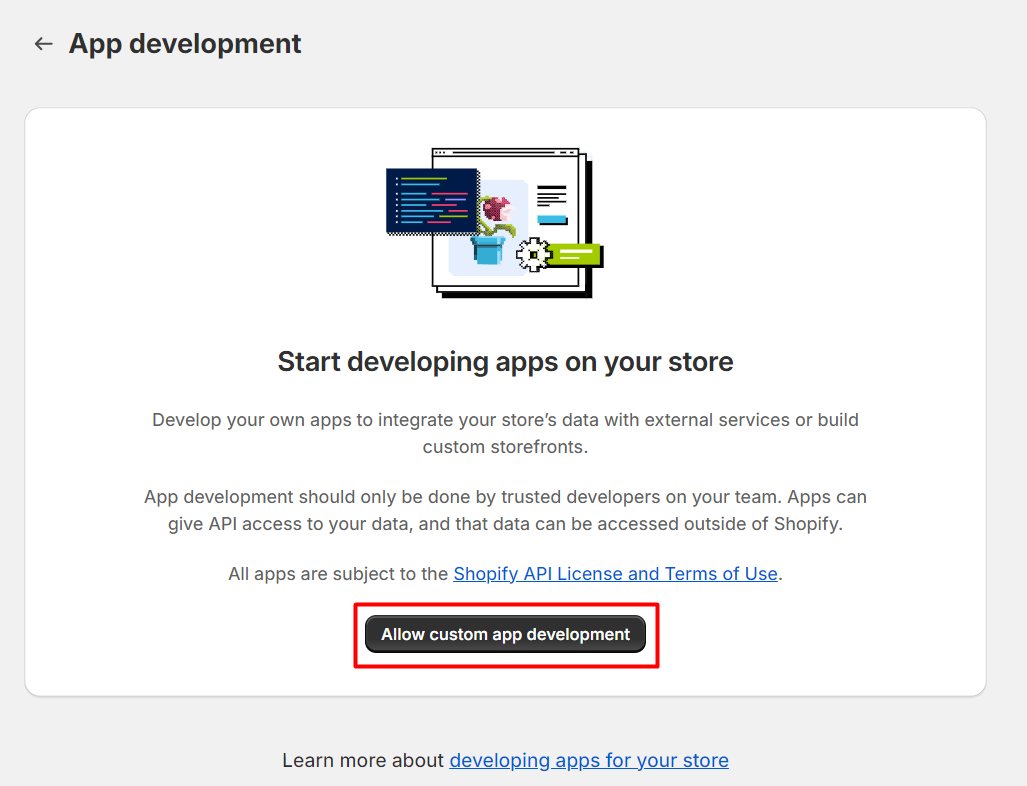
Step 4: Click Allow custom app development.
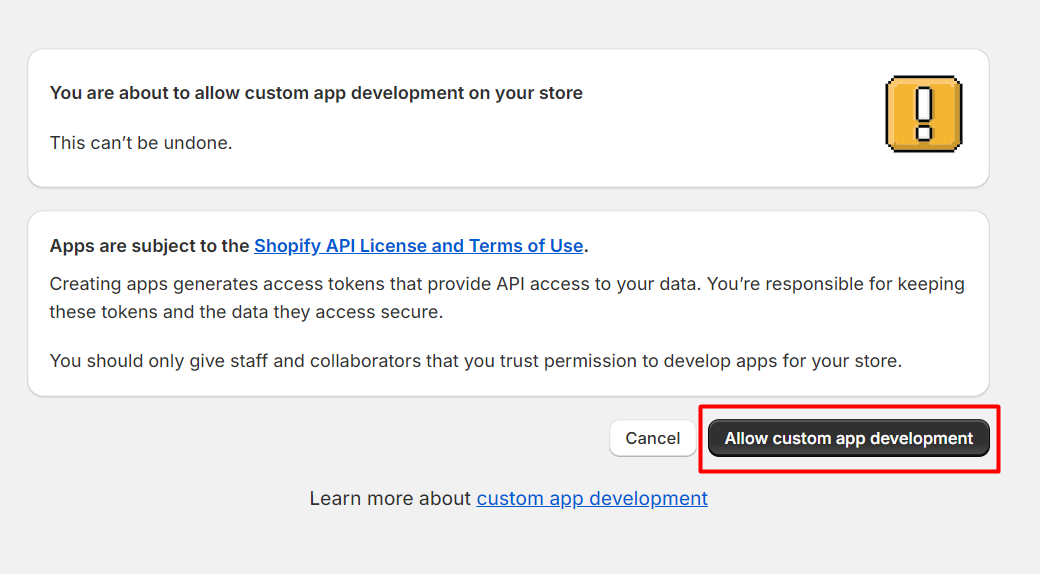
Step 5: Read the warning and information provided and click Allow custom app development.
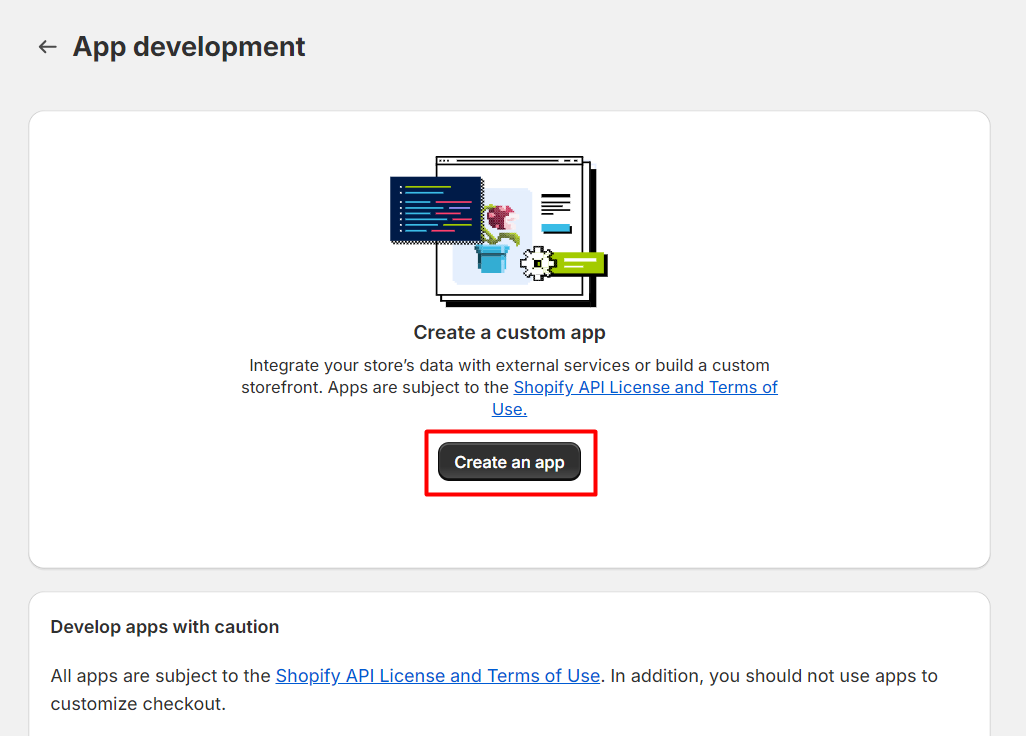
Step 6: Click Create an app.
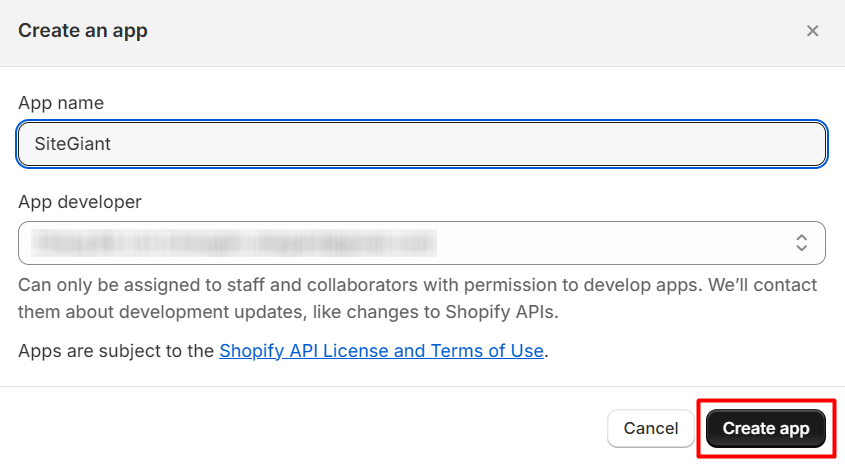
Step 7: In the modal window, enter the App name and select an App developer > Create app.
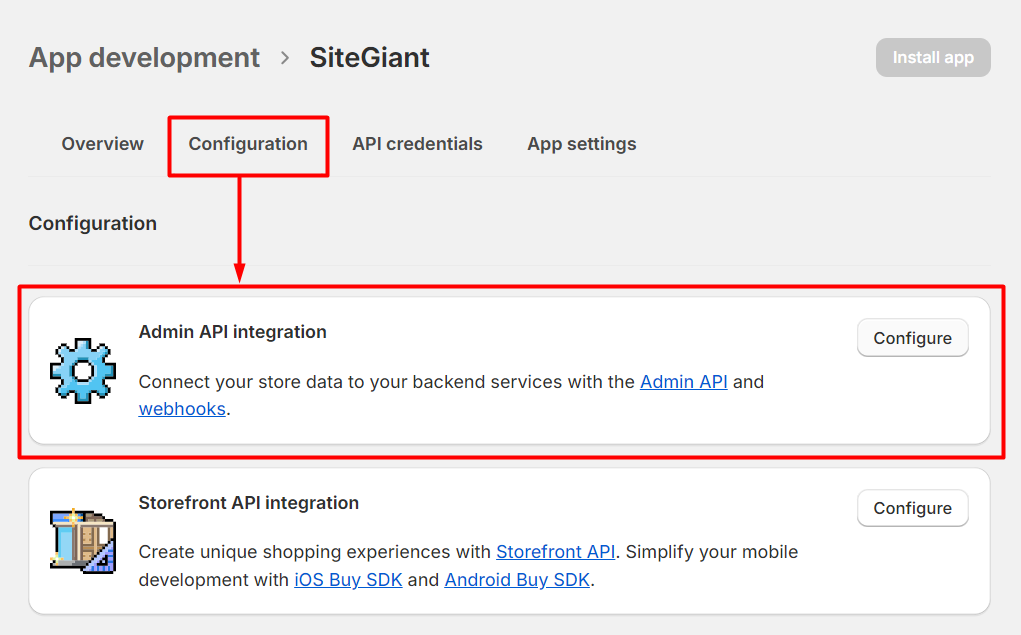
Step 8: Go to the Configuration tab > Configure the Admin API integration.
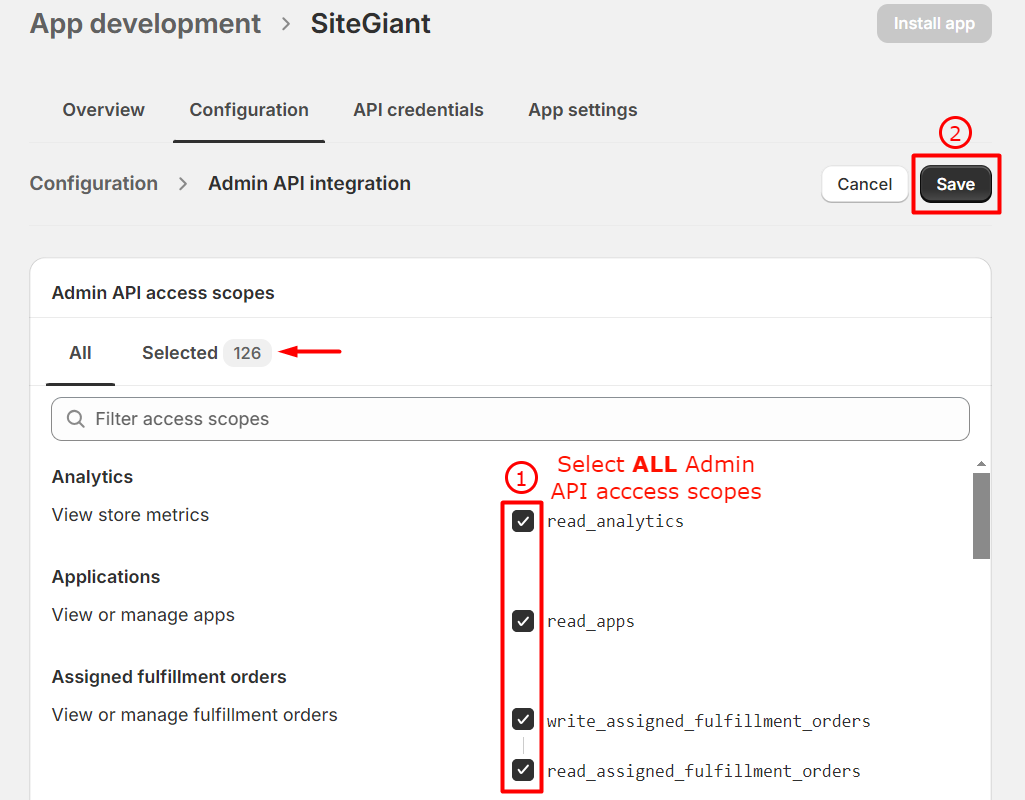
Step 9: Select ALL the Admin API access scopes by ticking all the checkboxes on the page > Save.
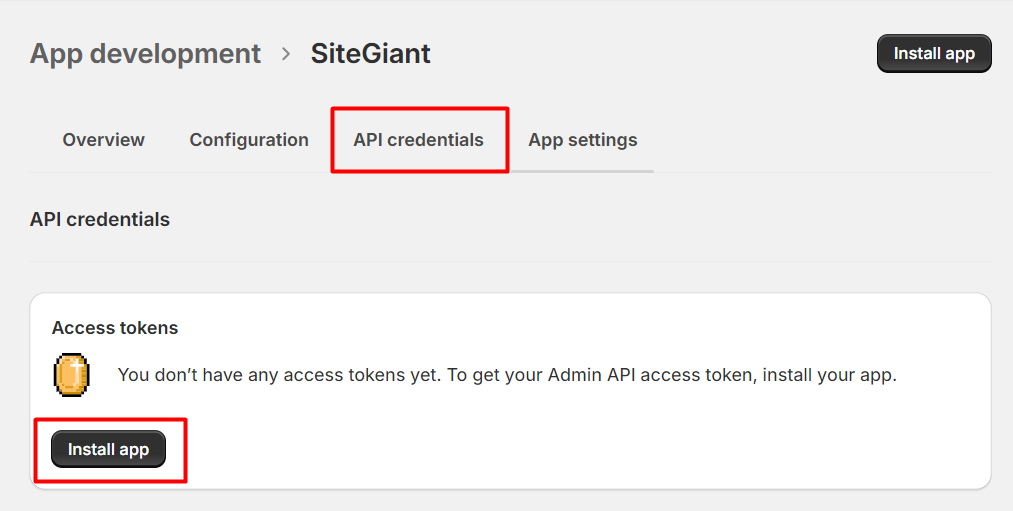
Step 10: Go to the API credentials tab > click Install app.
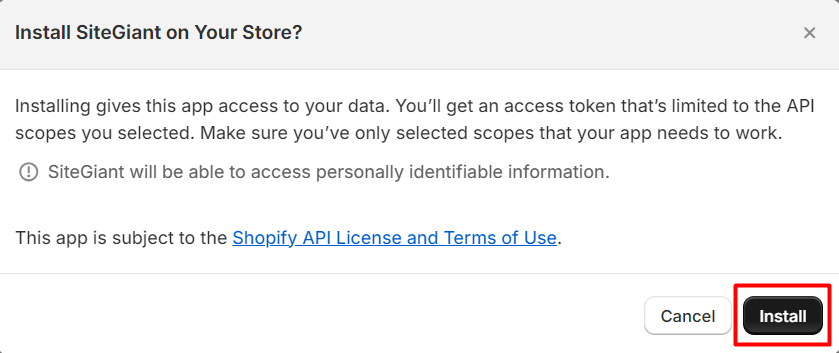
Step 11: In the modal window, click Install.
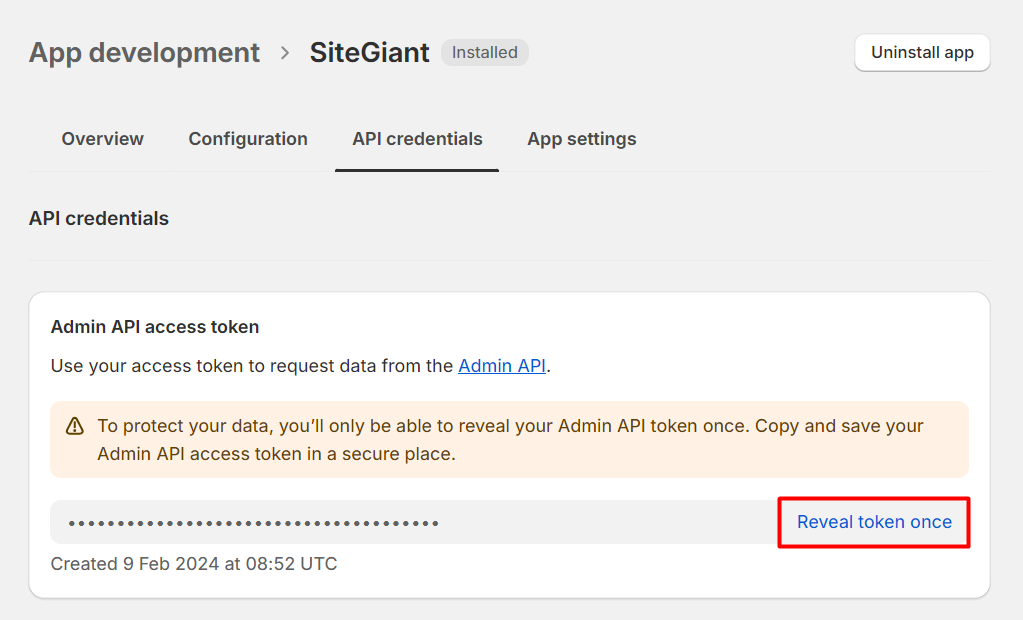
Step 12: Go to the Admin API access token section and click Reveal token once > copy and save your access token in a secure place.
3. Set Up Shopify Store Integration
Step 1: Log in to your SiteGiant Seller Center > add [+] channels > choose Shopify > click Connect To A New Sales Channel.
Step 2: Enter the Channel Name or Shop Name as your Shopify Store URL > paste the Admin API access token that is copied earlier > click Connect.

📌Note: You can retrieve your Shopify Store URL in Shopify Store > Settings.
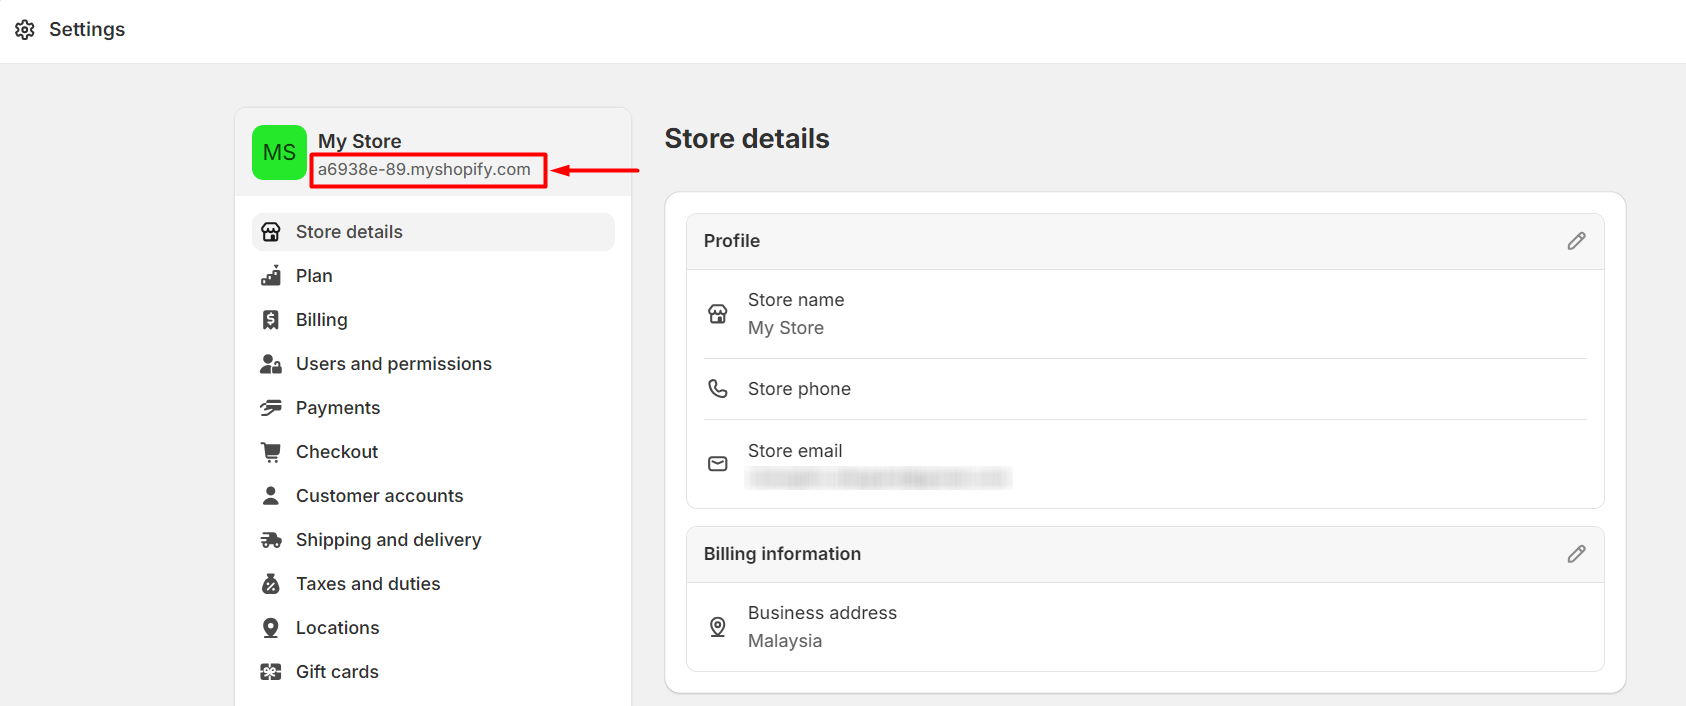
You have now successfully integrated your Shopify Store with SiteGiant!
📝Additional Information
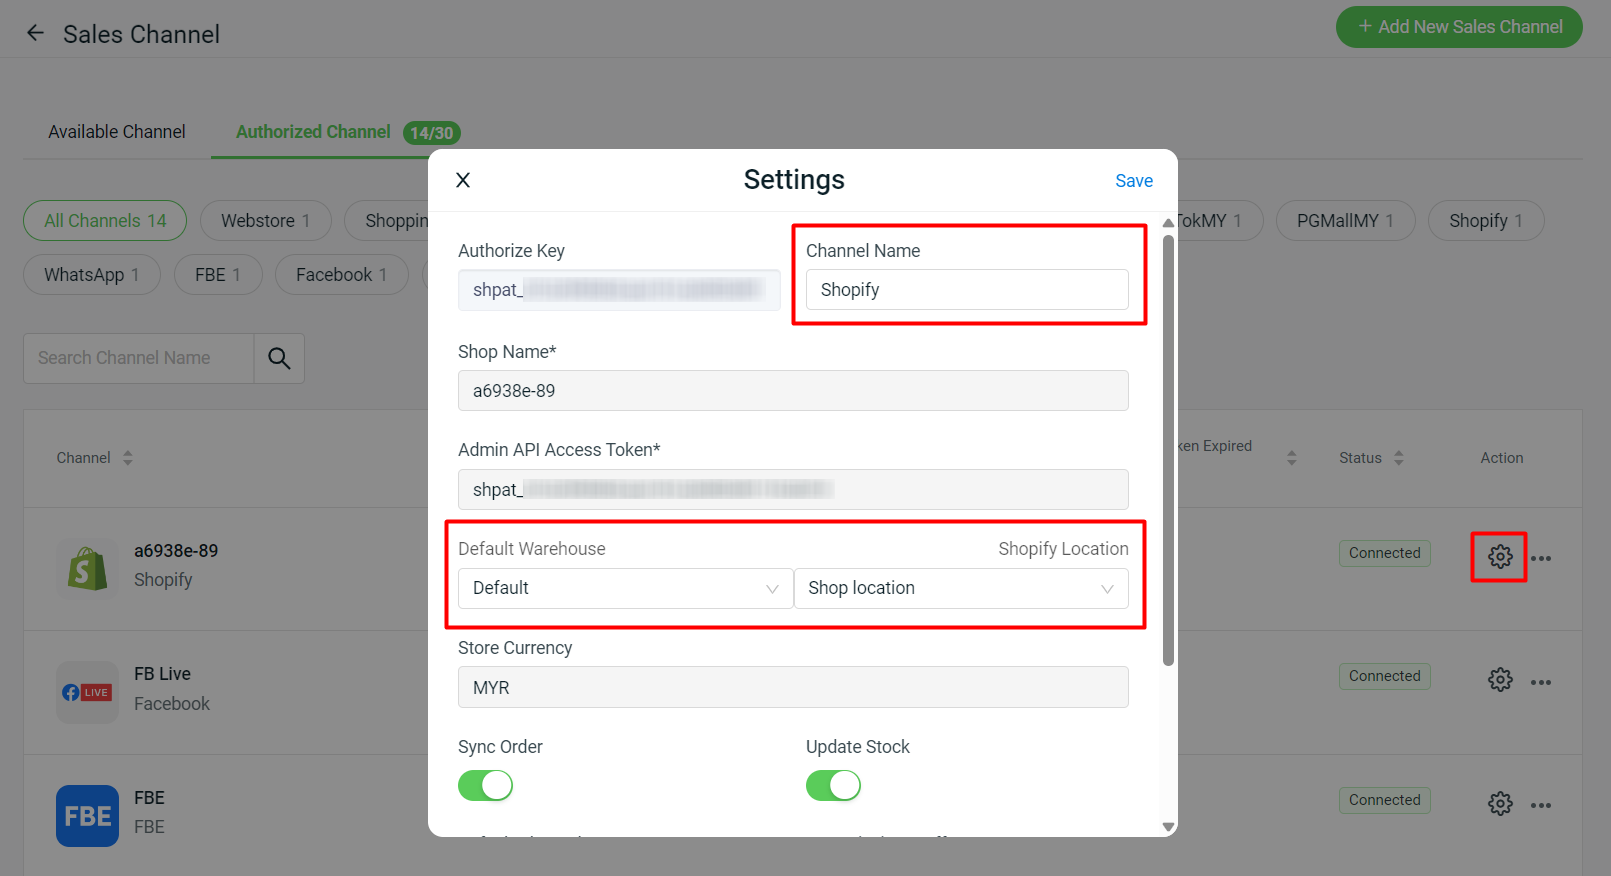
1. Sales Channel Settings
After successfully integrating the Shopify Store, if you wish to rename the Channel Name and set the Shopify Location to map with Default Warehouse in SiteGiant, you can click on the Settings icon on the Authorized Channel page to make changes > Save.
2. Shopify Listing
Your existing products in the Shopify Store will be synced back to Products > Shopify Listing automatically. You may add or edit products, perform Bulk Inventory Linking to centralize the product stock quantities with SiteGiant Inventory or perform Bulk Copy Listing to copy the products to list in other marketplaces.
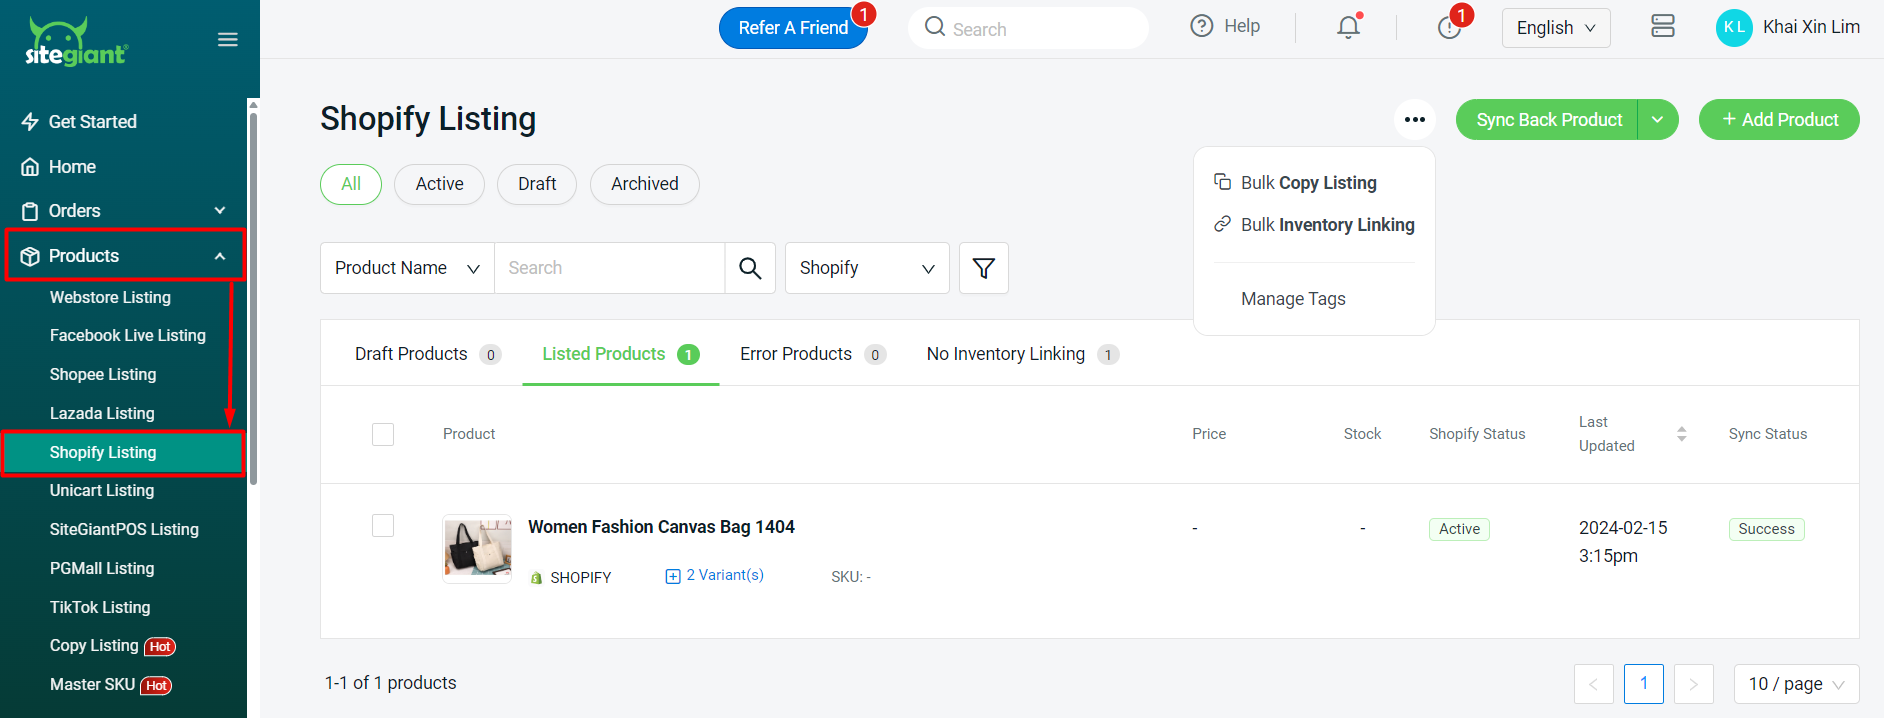
📌Note: If you wish to copy Shopify products to marketplaces such as Lazada, Shopee and TikTok, you will need to copy to Webstore Listing first, then copy again from Webstore to these marketplaces.
