1. Introduction
2. Create New Product
1. Introduction
Creating new products in the Shopify Store is essential to expanding your online store’s offerings, attracting a wider audience, and driving sales growth. Once you have integrated your Shopify Store with SiteGiant, you can create new product listings in SiteGiant and publish them to the Shopify Store.
2. Create New Product
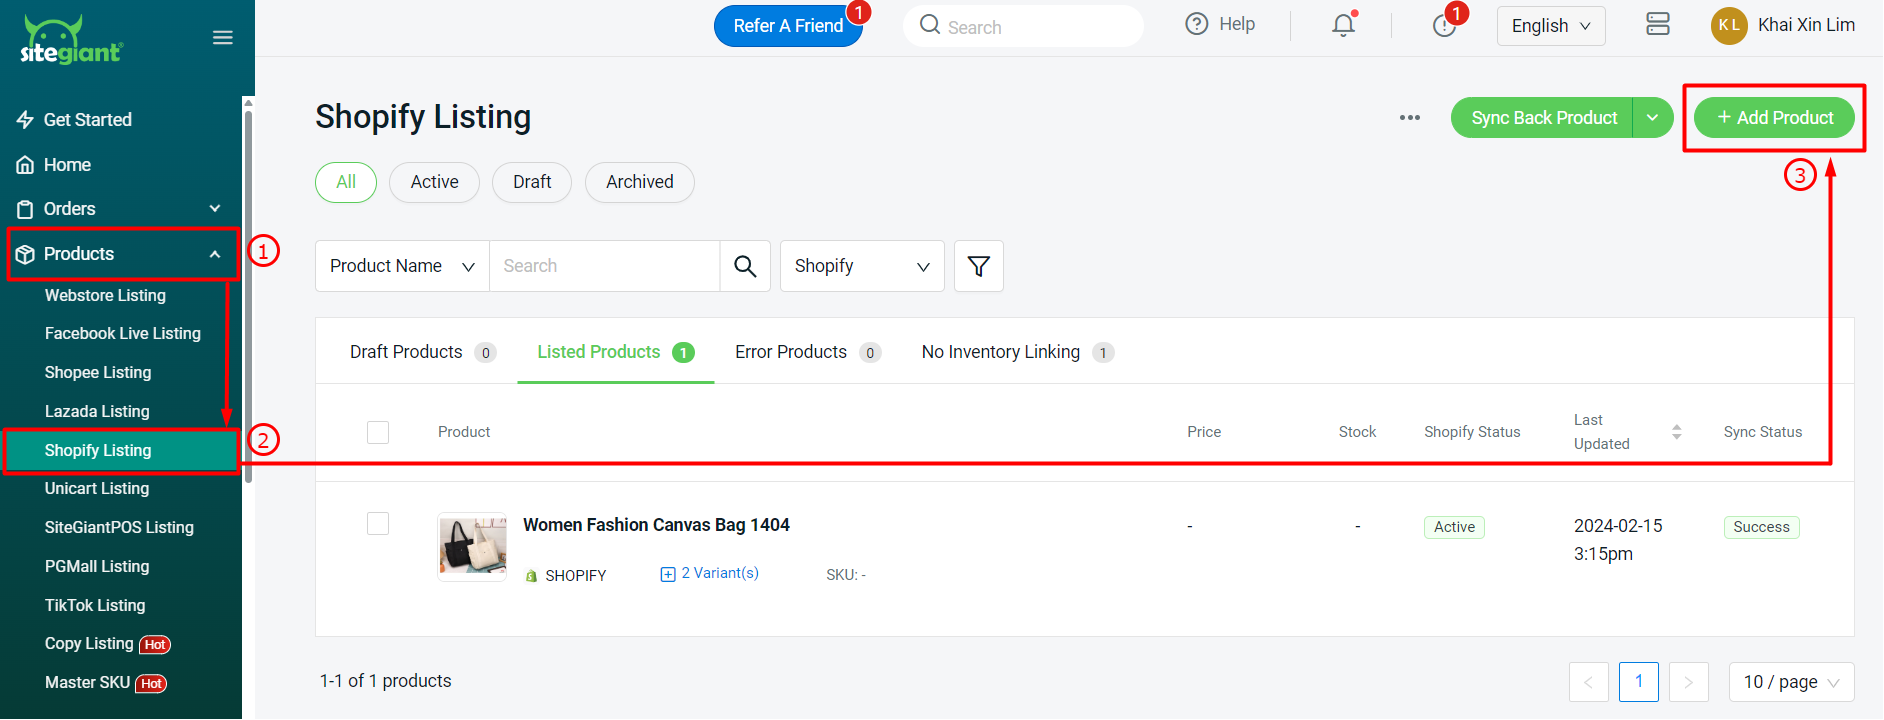
Step 1: Navigate to Products on the sidebar menu > Shopify Listing > + Add Product.
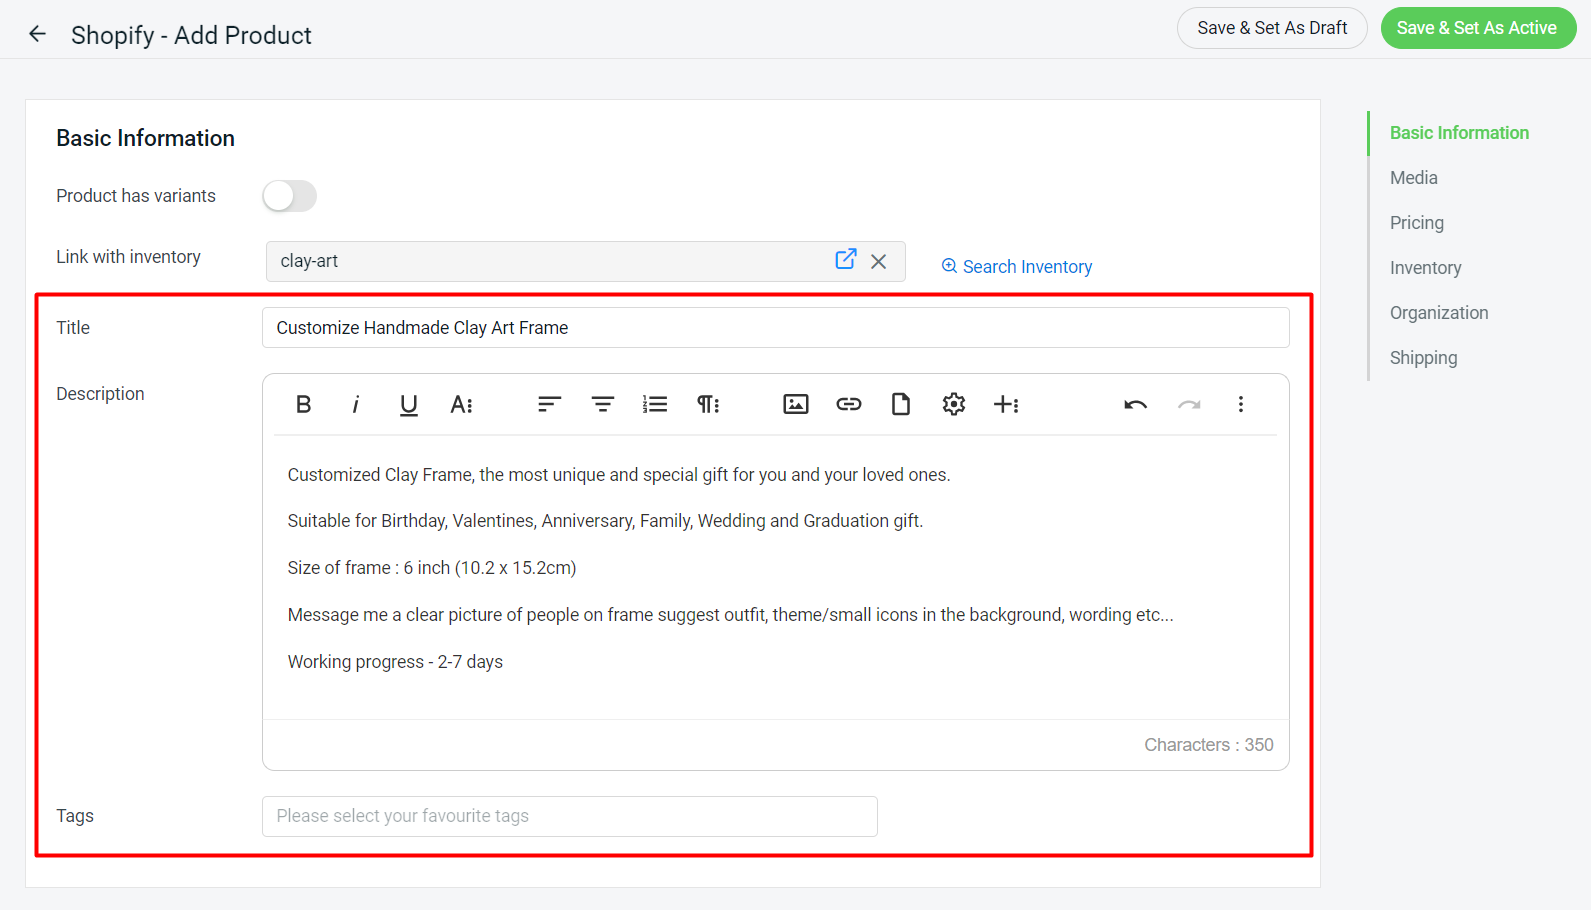
Step 2: If your product has variations, you may enable the Product has variants status.
Step 3: If the product has no variant, you may click on Search Inventory to link with the inventory item. Click on Add Item to fast create a new item, or you may click Link to link with the existing inventory item.
📌Note: You may also link with inventory using the Bulk Inventory Linking feature after creating the product.
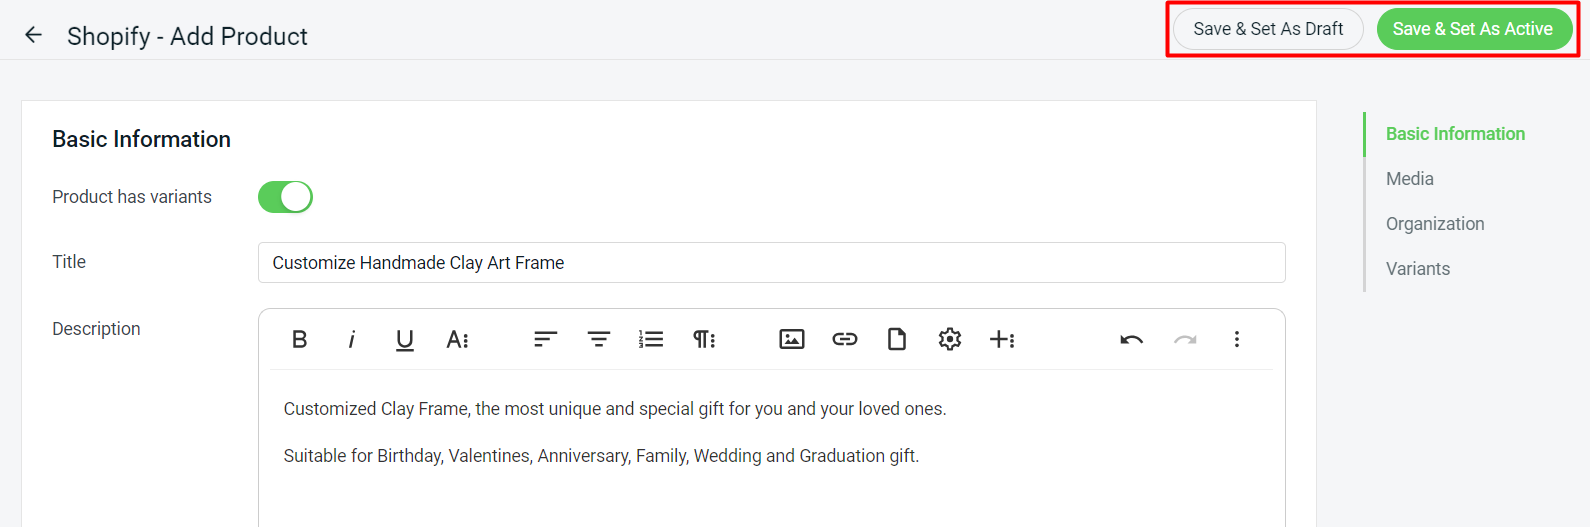
Step 4: Fill in the product Title and Description. You may assign Tags for the product if have any.
Step 5: Upload the product images in the Media section.

📌Note: Image size must not exceed 2MB.
Step 6: Fill in the Pricing details.
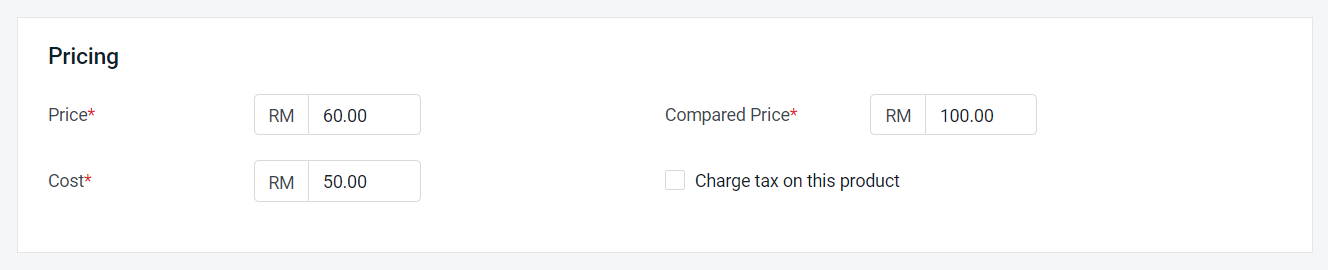
📌Note: The Compared Price is to display a markdown, you may enter a value higher than your Price. Often shown in a strikethrough. The Cost is just for your reference, it will not show to the customers.
Step 7: Fill in the Inventory details.
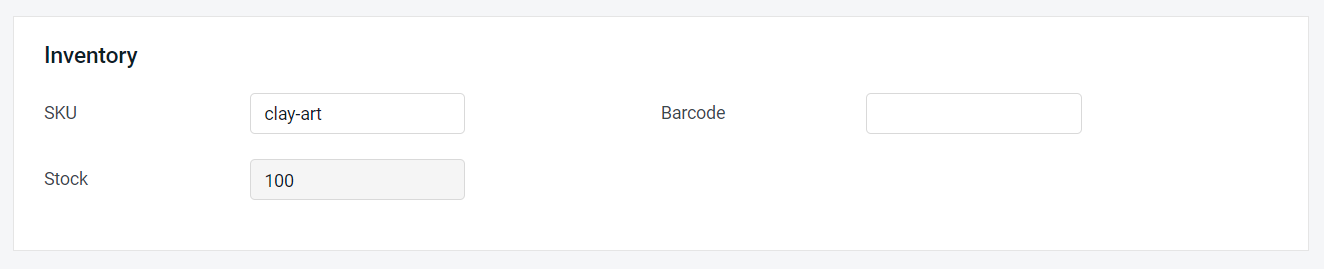
📌Note: The SKU and Stock will be auto-inserted according to the SiteGiant Inventory if you performed Link with Inventory as Step 3. You may also insert a Barcode if available (such as ISBN, UPC, GTIN, etc.)
Step 8: Under the Organization section, you can fill in a custom category for the product as the Product Type.

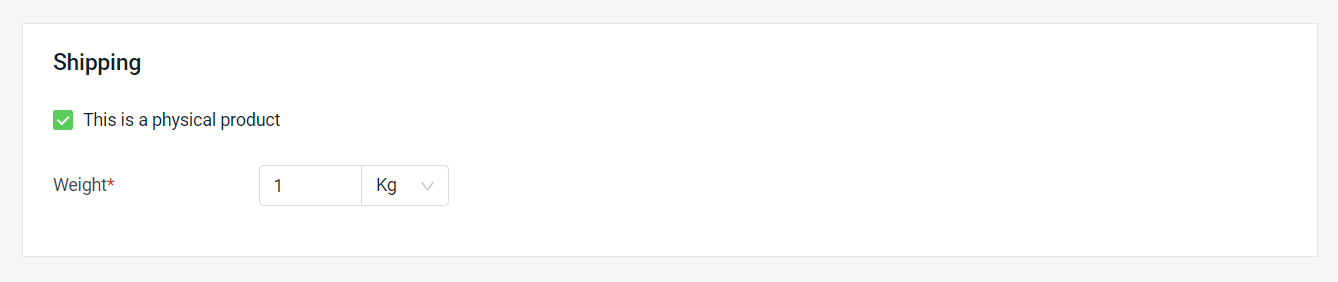
Step 9: Under the Shipping section, if your product is a physical product and requires shipping, you may tick This is a physical product checkbox > fill in the weight of the product.
Step 10: If your product has variants, under the Variants section, click + Add Option and fill in Option Name and Option Value.
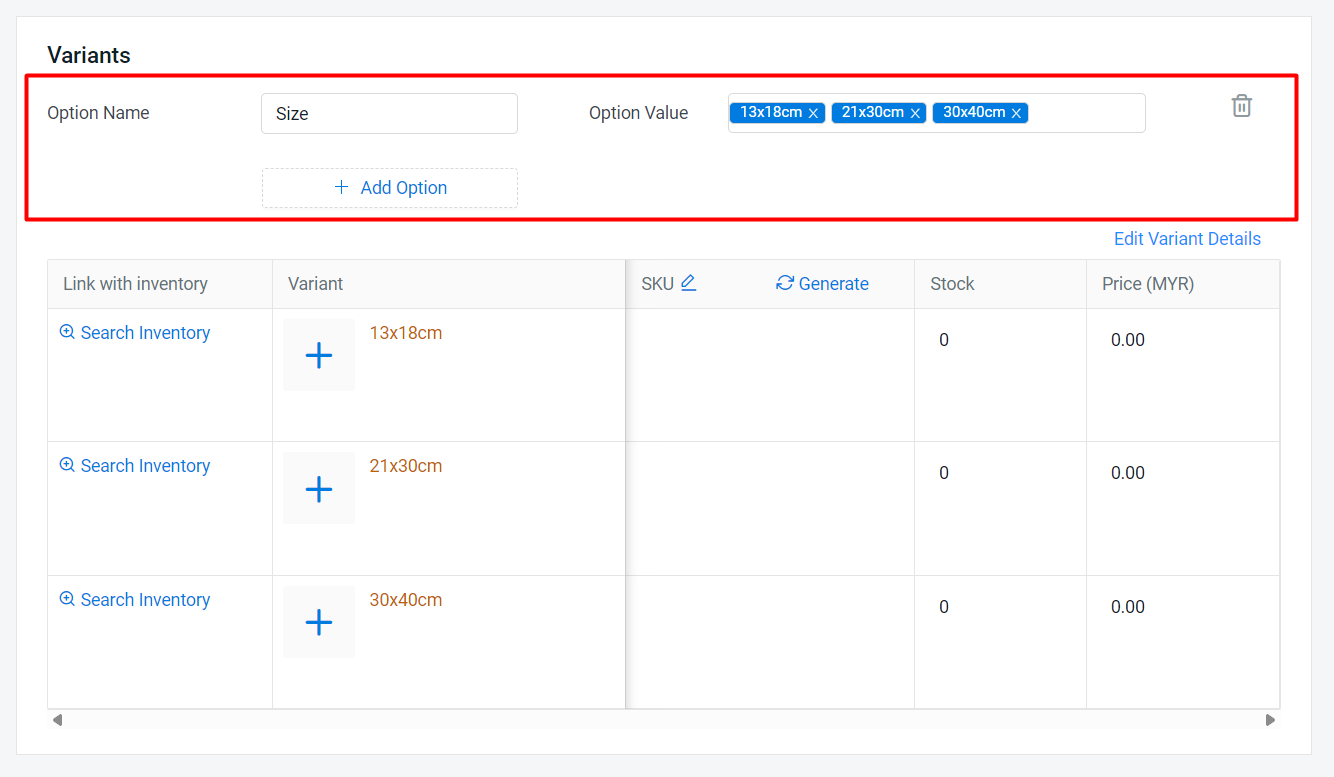
Step 11: Click on Search Inventory to link with the inventory item for each variation.
Step 12: Fill in the variant details accordingly > click Edit Variant Details to expand the Variant Details table.
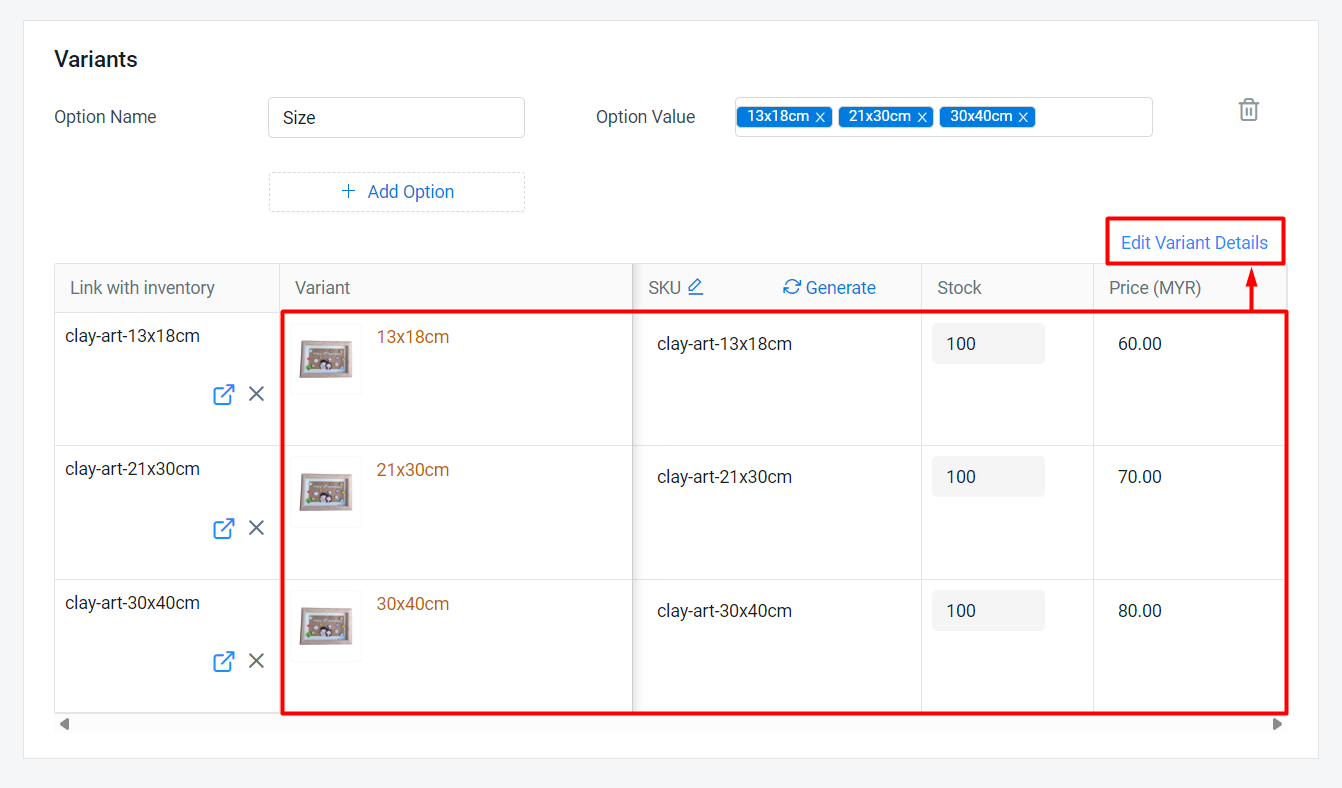
Step 13: Continue to fill in more variant details > Save.

Step 14: Once the product is completed, you may proceed to choose Save & Set As Draft or Save & Set As Active.
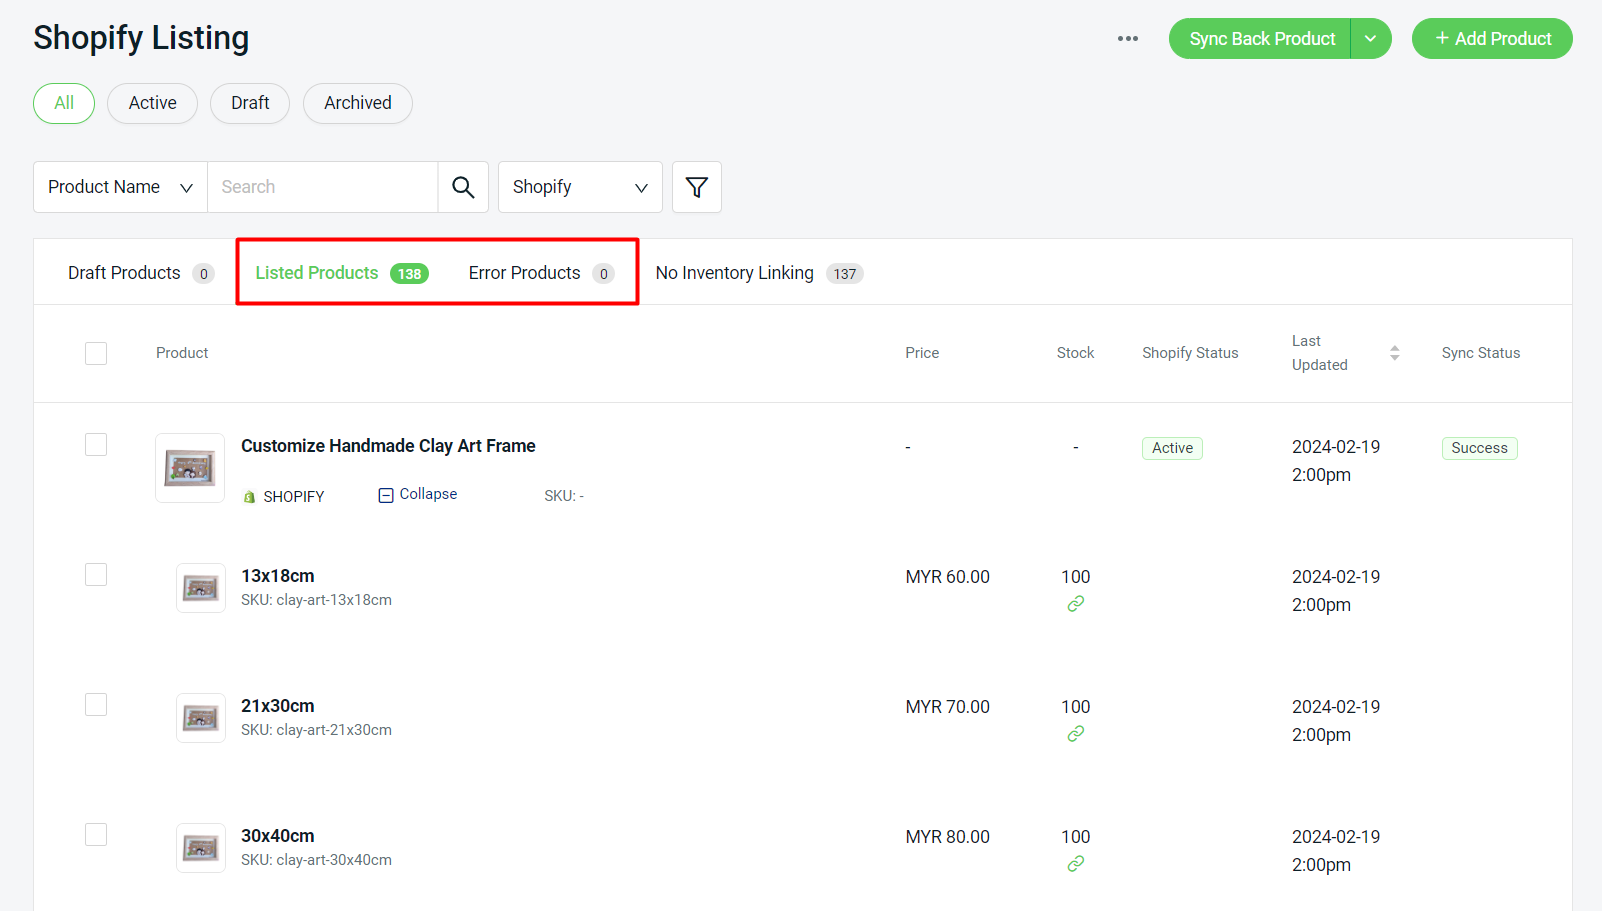
Step 15: If the product is successfully synced, it will appear in Listed Products. Otherwise, if it has any error in the syncing process, it will move to the Error Products tab. You may check the error message, amend the product and sync it again.