1. Introduction
2. Add Vendors to Item
3. Batch Assign Item Vendor via Excel
4. Apply Vendor In Purchase Order
1. Introduction
The Multiple Vendor feature allows users to assign more than one vendor to an item. This feature is primarily used for Purchase Orders, allowing users to select the preferred vendor when creating a purchase order. In addition, the vendor cost can be applied to the item during the purchase order process to ensure the correct purchase cost is used.
2. Add Vendors to Item
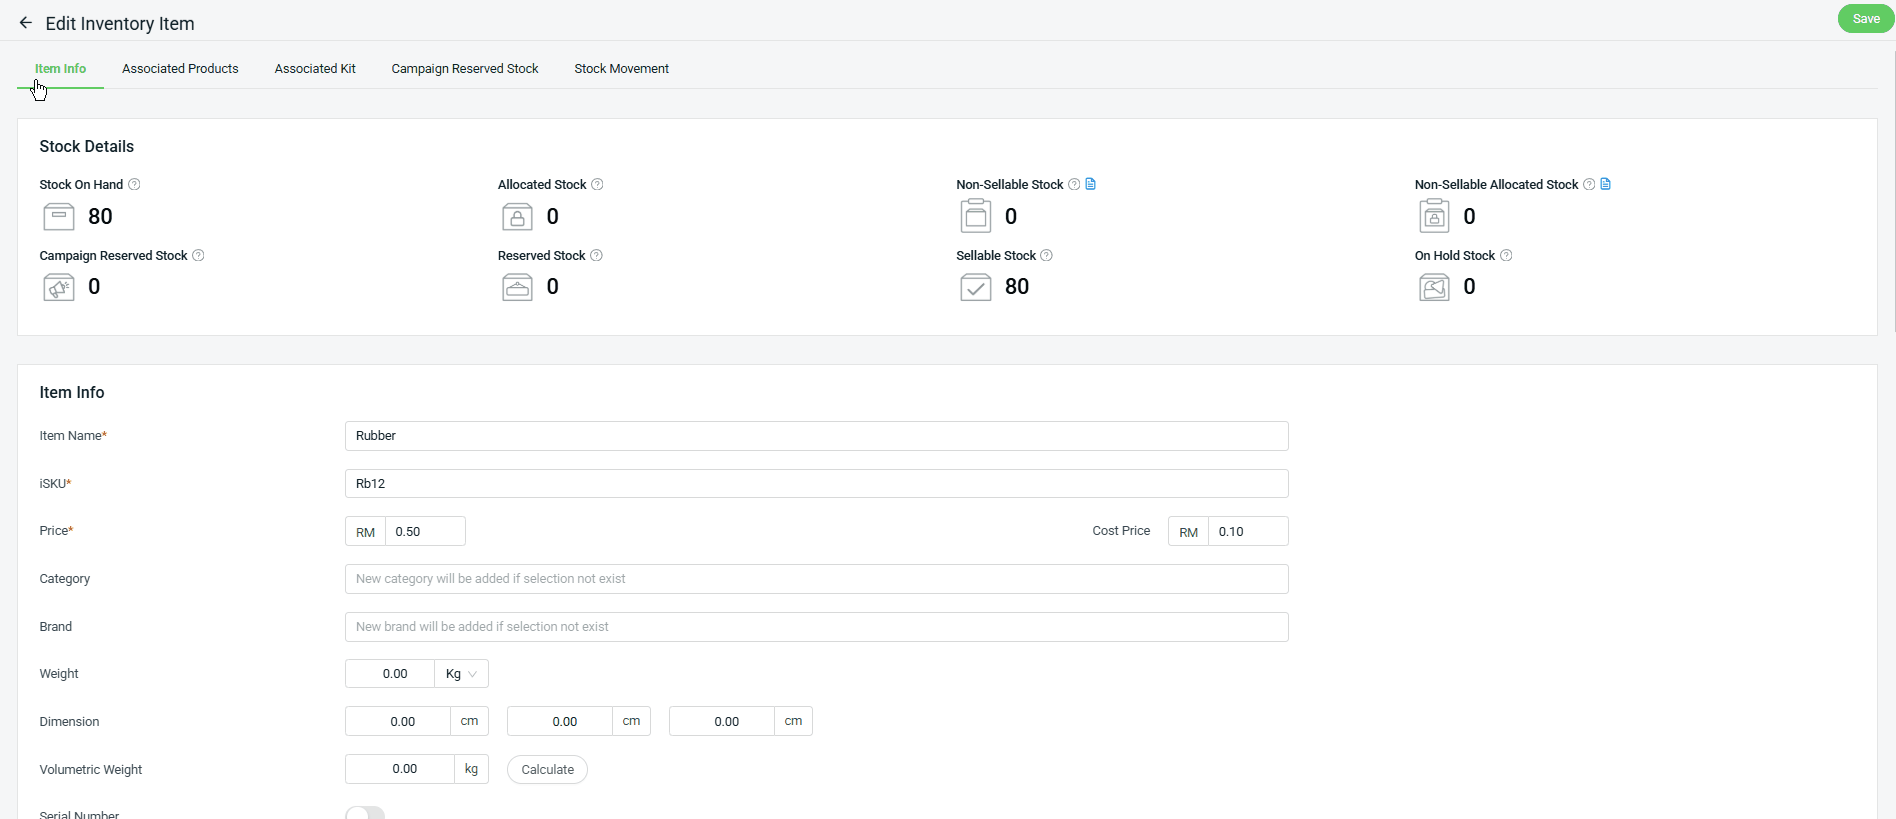
Step 1: Navigate to Inventory on the sidebar menu > select All Inventory Items > click on the Item List Name.

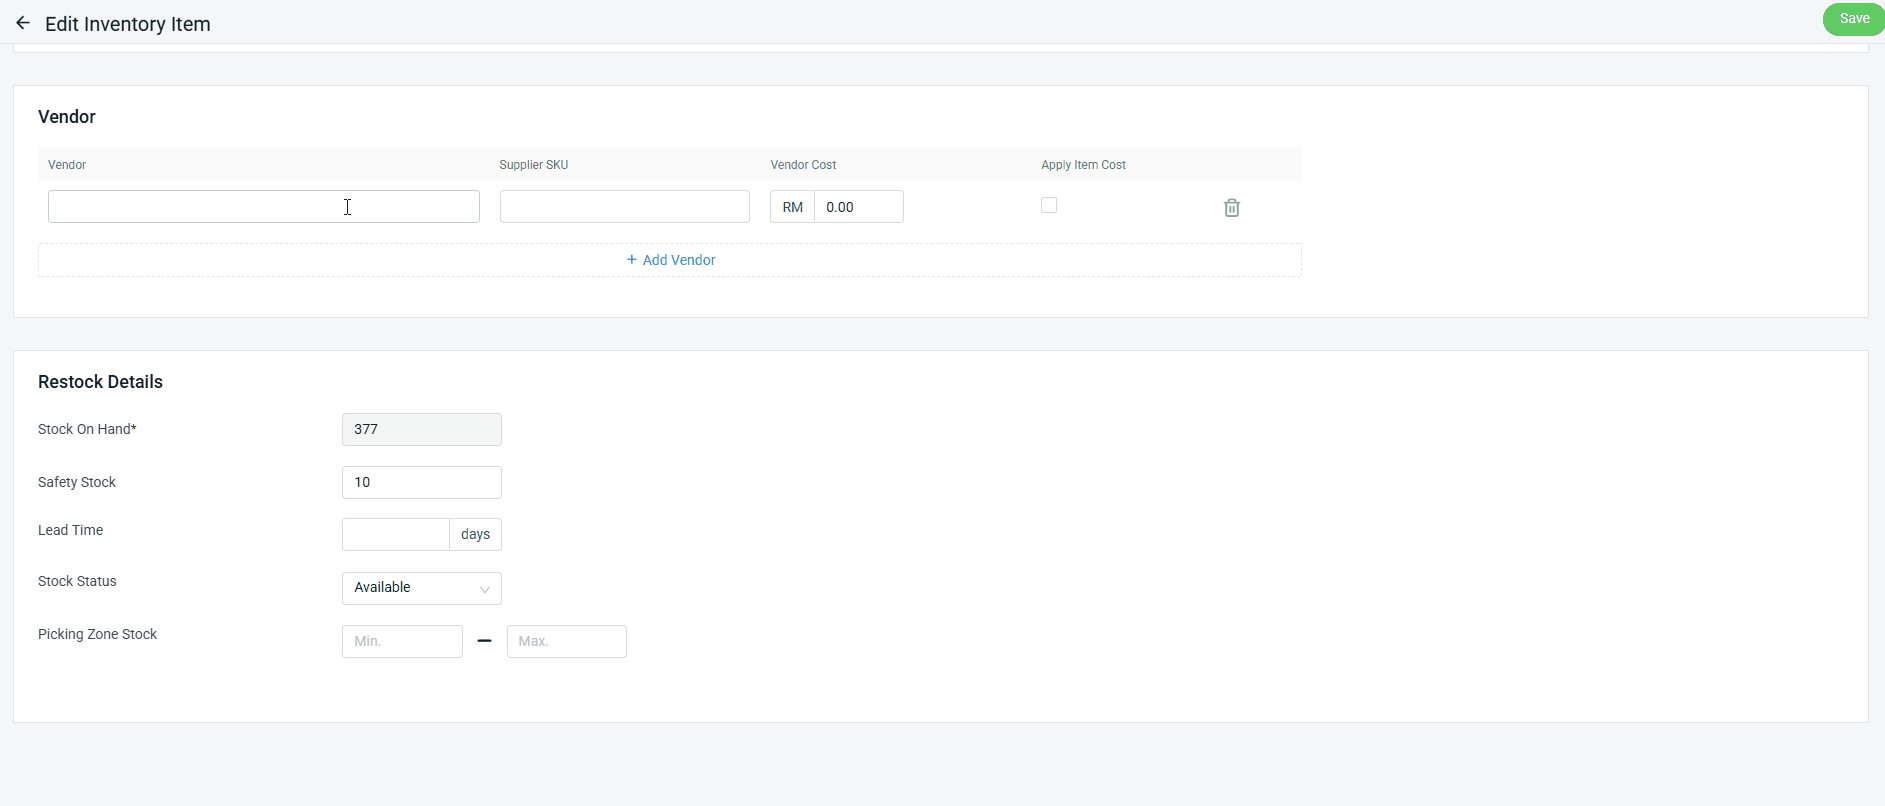
Step 2: Under Item Info, scroll down to the Vendor section > click + Add Vendor.
Step 3: Click Vendor column > Select an existing vendor listing.
📌Note: You can also add new vendor directly. Learn more about How To Add Vendor Profile.
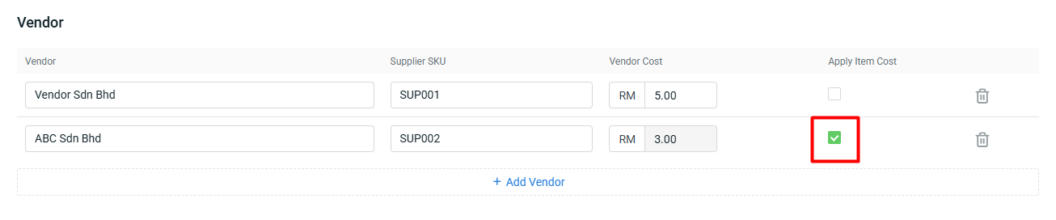
Step 4: Update Supplier SKU and Vendor Cost.

Step 5: Click + Add Vendor if there are multiple vendors for the item. (optional)

Step 6: Tick Apply Item Cost if the vendor cost should not be used in the Purchase Order. When updating the item in the Purchase Order under the selected vendor, the system will apply the item cost instead.
3. Batch Assign Item Vendor via Excel
Step 1: Navigate to Inventory on the sidebar menu > click All Inventory Items > Bulk Tools > select Batch Edit.

Step 2: Under download, select info type as Item Vendor Assignment > choose Filter By > Generate.
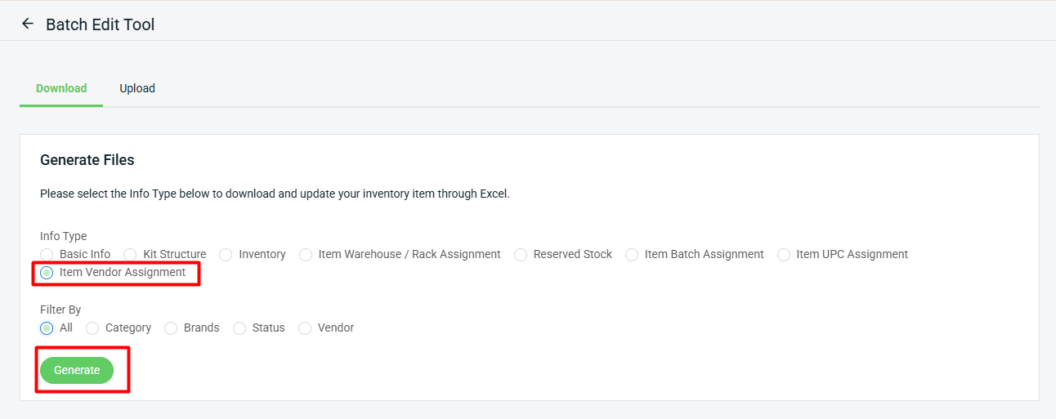
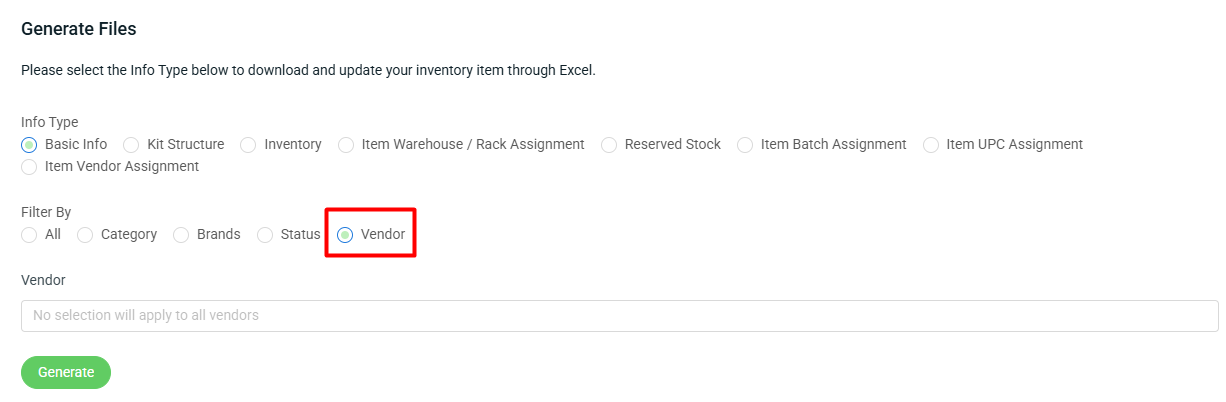
📌Note: Filtering by Vendor is also available for each Info Type to be downloaded.
Step 3: Download the generated Excel file (zipped).

Step 4: Update the details in the Excel file > Save.

📌Note: Column with * is required.
| Column | Description | Sample Data |
| iSKU* | The unique item code that identifies the product in the system. | BOB123 |
| vendor* | The name of the vendor or supplier that provides the item. | Vendor Sdn Bhd |
| supplier_sku | The product code used by the vendor or supplier to identify the item. | SUP001 |
| vendor_cost* | The cost price of the item provided by the vendor. | 5 |
| apply_item_cost* | Determines whether the system should use the item cost instead of the vendor cost when creating a purchase order. | Yes/No |
| need_delete | Indicates whether the vendor information should be removed from the item. | delete |
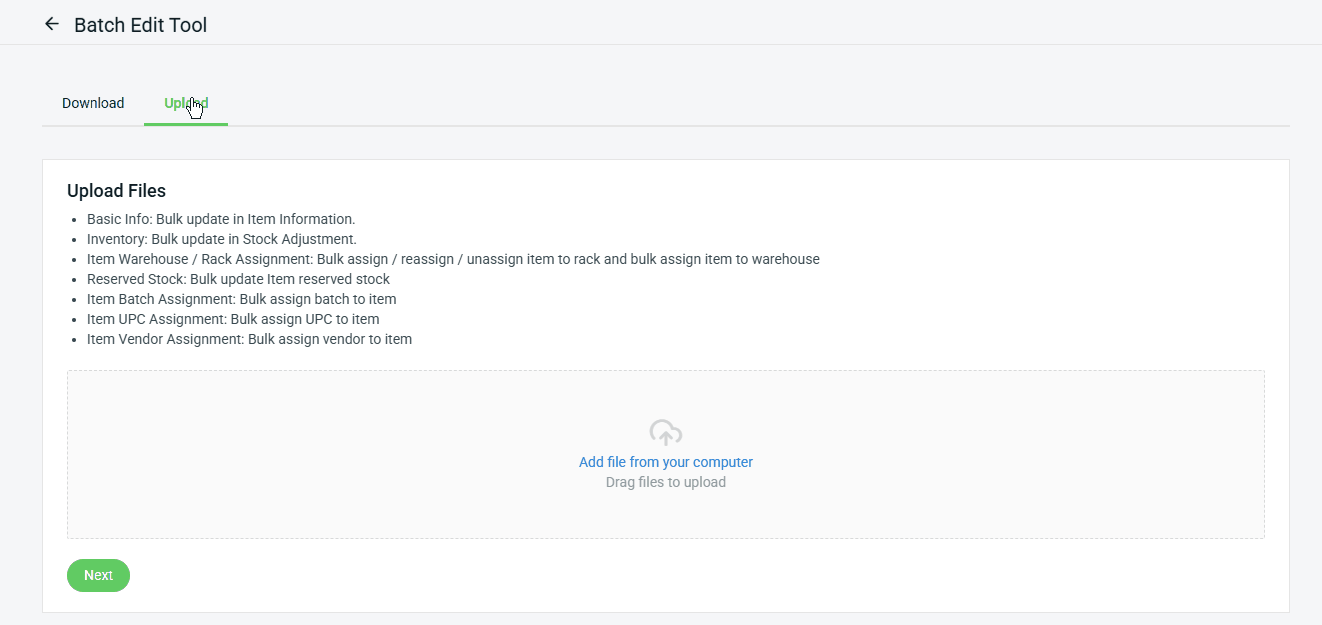
Step 5: Back to the Batch Edit Tool page > click Upload > Add file from your computer > Next.
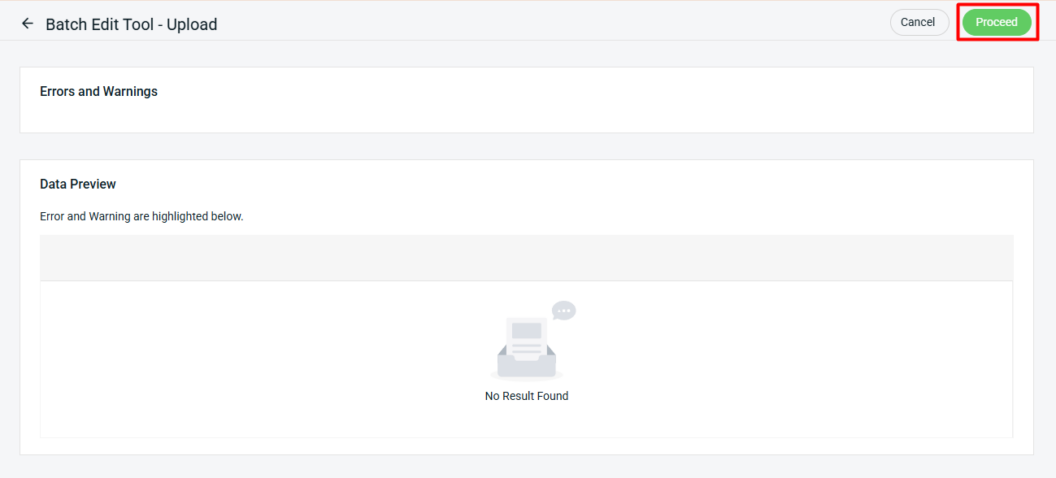
Step 6: If the uploaded Excel has errors, they will appear in Errors and Warnings and highlight the error column in Data Preview. Correct the errors and reupload the file. Click Proceed if there are no errors.
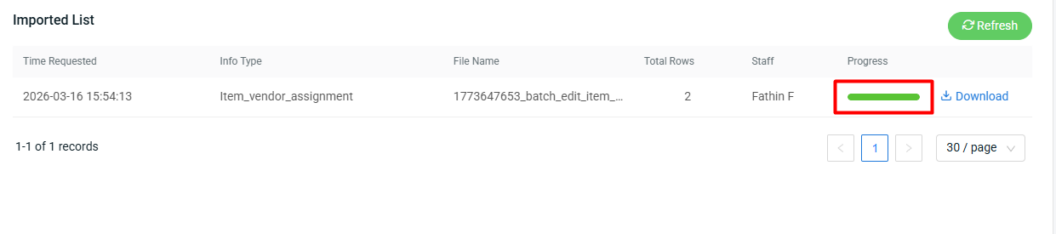
Step 7: When the Progress status turns green, the data has been fully updated.
4. Apply Vendor In Purchase Order
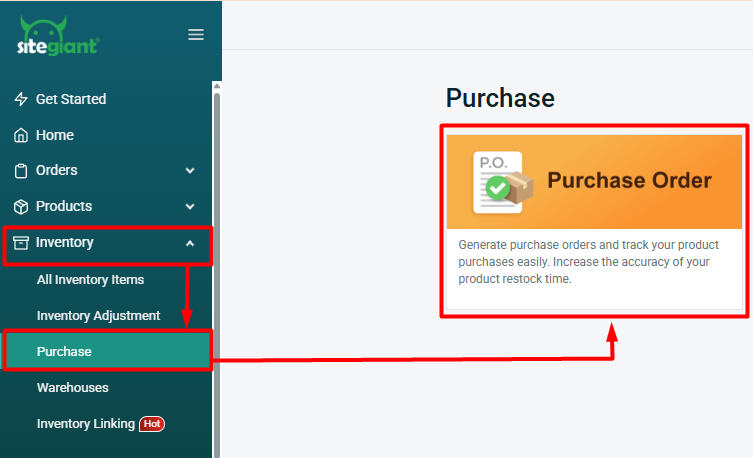
Step 1: Go to Inventory > Purchase > Purchase Order.
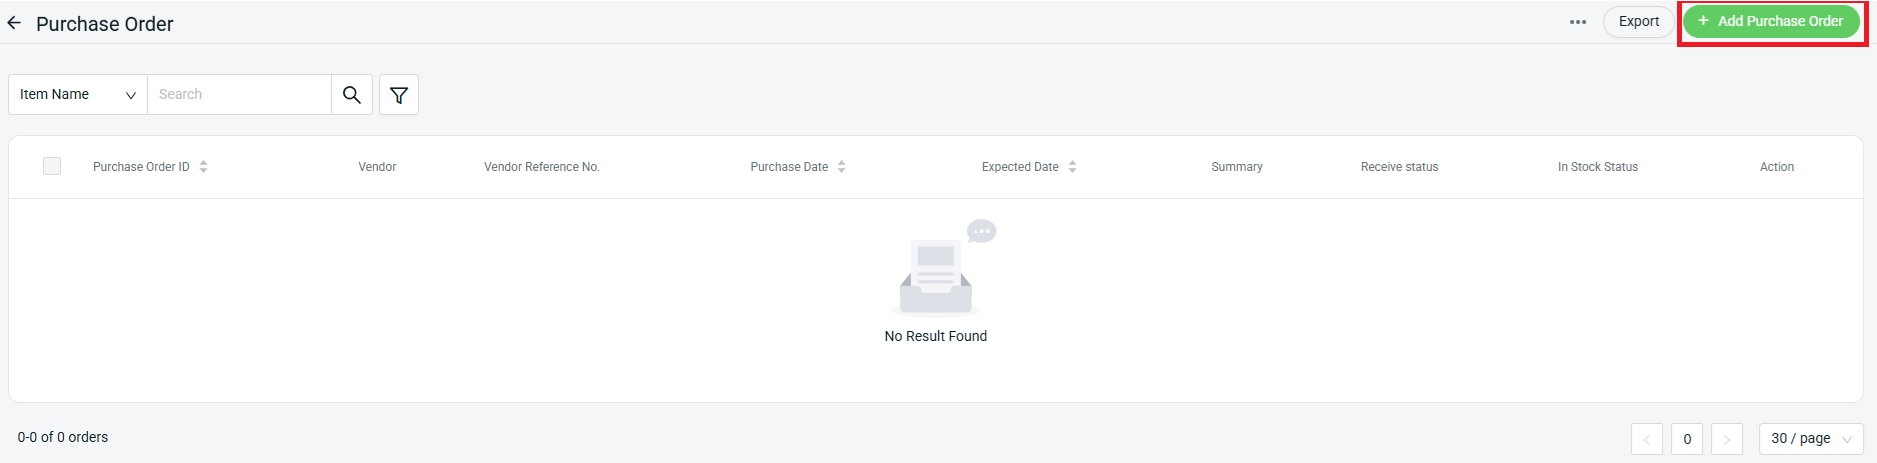
Step 2: Click on + Add Purchase Order.
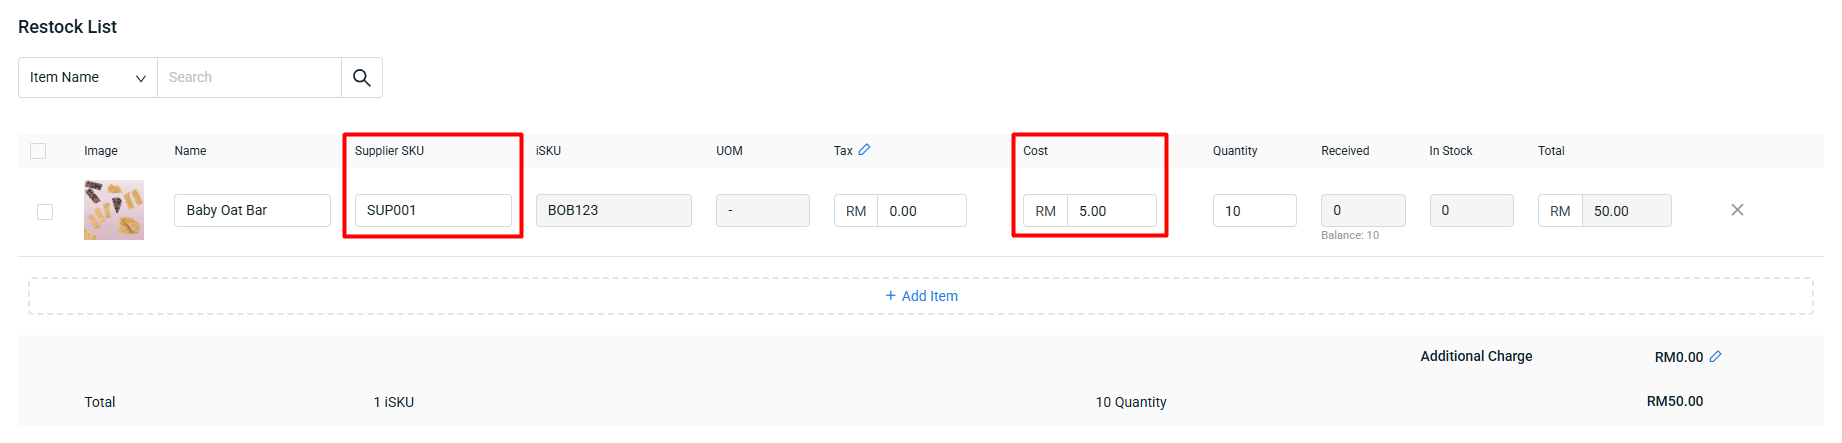
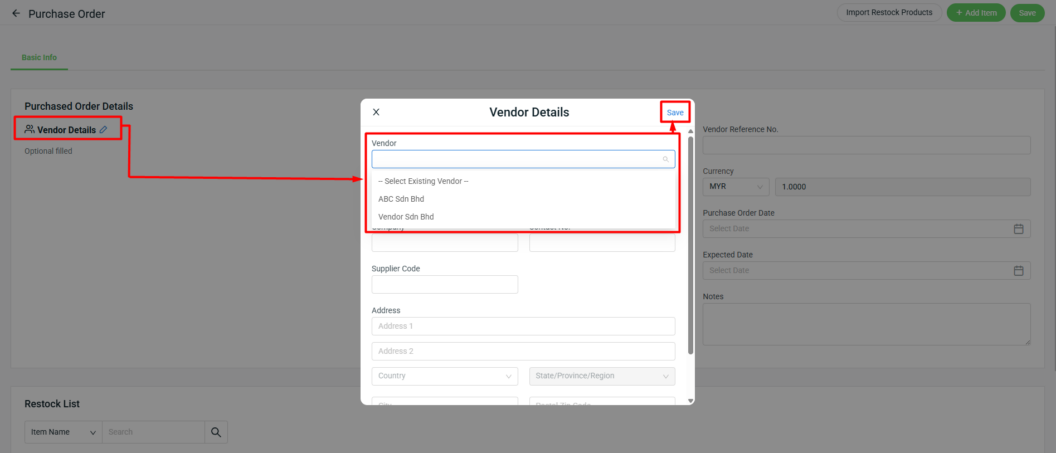
Step 3: Click the pencil button at Vendor Details > select Vendor > Save. The Supplier SKU and Cost will apply automatically based on vendor info set in item details.
Step 4: If you edit and save Vendor Details after selecting the restock list, a confirmation alert will appear asking whether to update only Vendor or to update Supplier SKU and Cost as well.
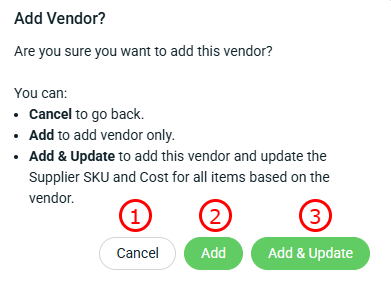
1. Cancel: It will go back to the Vendor Details option.

2. Add: It will only add the vendor to the Purchase Order Details section. It will not affect existing Supplier SKU or Cost in the restock list.

3. Add & Update: It will add the vendor to the Purchase Order Details section, and also update Supplier SKU and Cost in the restock list according to the vendor info set in item details.