1. Introduction
2. Add Vendor Profile
3. Create Vendor With Excel
1. Introduction
A Vendor Profile contains supplier information, including the company name, contact details, and address. This main reference allows sellers to easily identify, access, and manage their suppliers within the system.
2. Add Vendor Profile
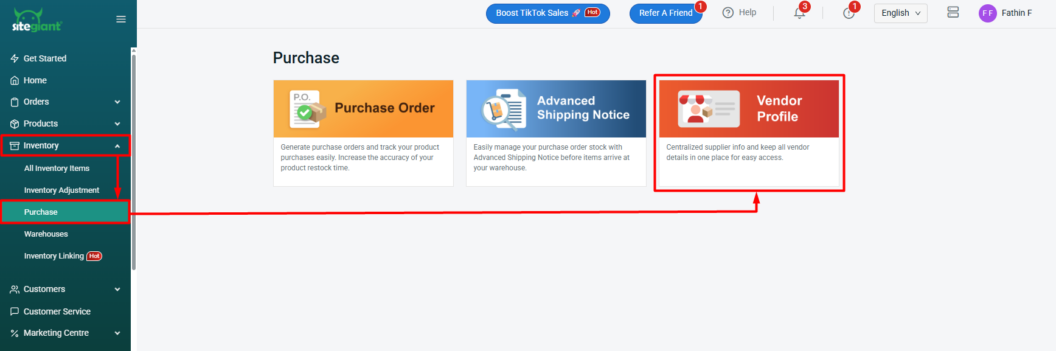
Step 1: Go to Inventory > Purchase > Vendor Profile.
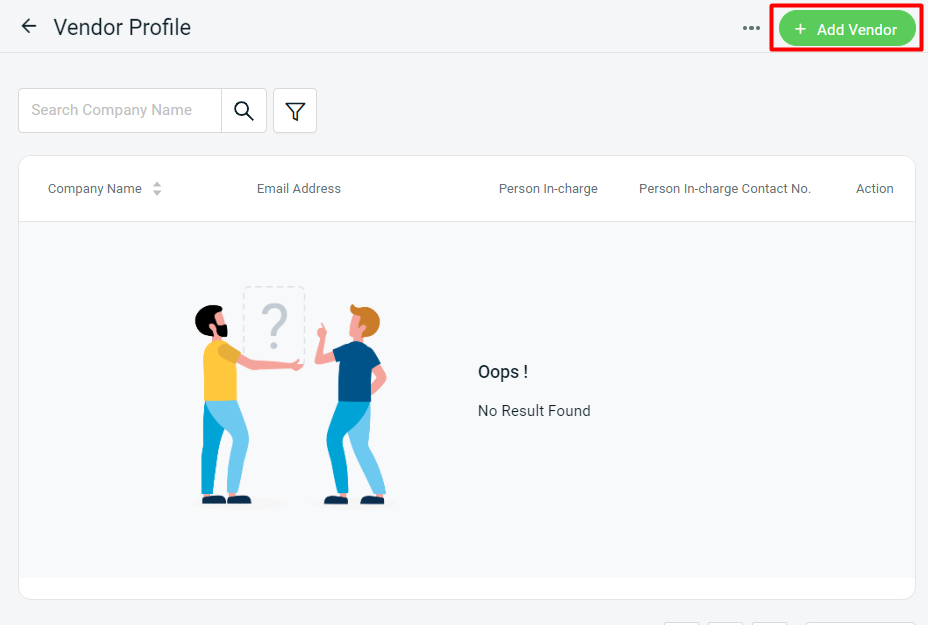
Step 2: Click + Add Vendor.
Step 3: Fill in the Vendor Details > Save.

3. Create Vendor With Excel
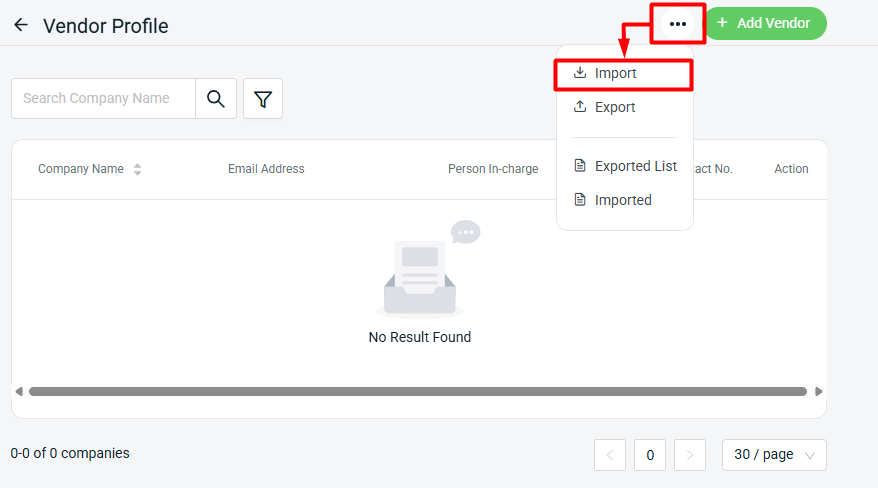
Step 1: Click More (…) > Import.
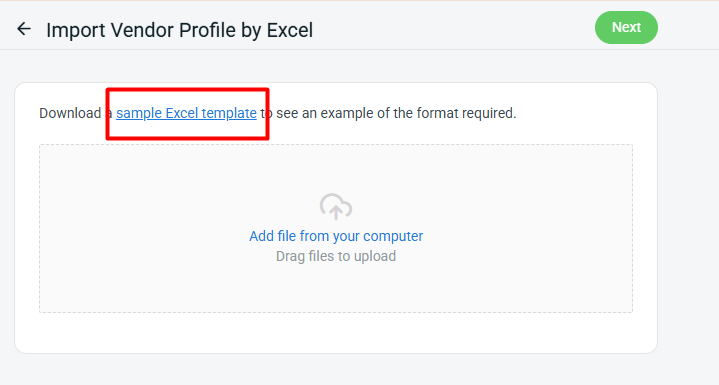
Step 2: Click the Download a sample Excel template to obtain the Excel file template for updates.
Step 3: Fill in the vendor’s details field correctly.

📌Note: Column with * is required.
| Column | Description | Sample Data |
| Company Name* | The name of the supplier’s company | Company ABC |
| The supplier’s email address for communication | [email protected] | |
| Phone | The company’s contact number | 042356897 |
| Person In-charge | The name of the person responsible | James |
| Person In-charge No. | Contact number of the person in charge | 0123456789 |
| Address 1 | The supplier’s primary address line | No 1, Menara ABC |
| Address 2 | Additional address details | Jalan ABC |
| Town | The town area of the address | Penang |
| City | The city name | Bayan Baru |
| Postal Code | The postal/zip code | 11950 |
| Country | The country name | Malaysia |
| State | The state name | Pulau Pinang |
| Supplier Code | Unique code to identify the supplier | supplier_0001 |
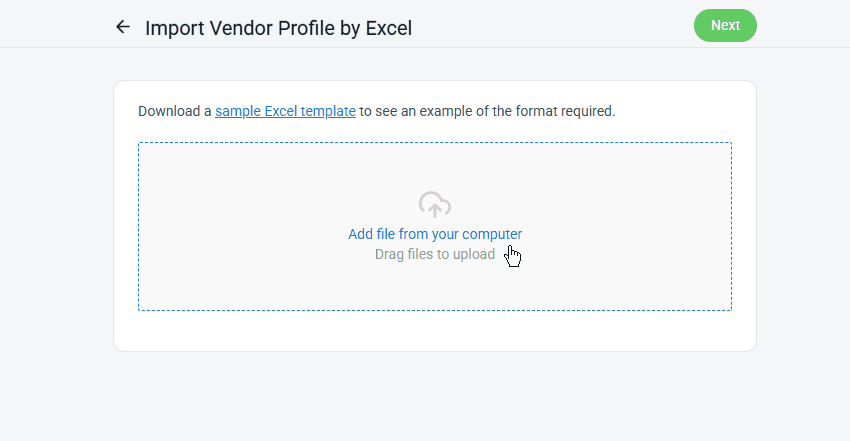
Step 4: Back to the Import Vendor Profile by Excel page > click Add file from your computer > Next.
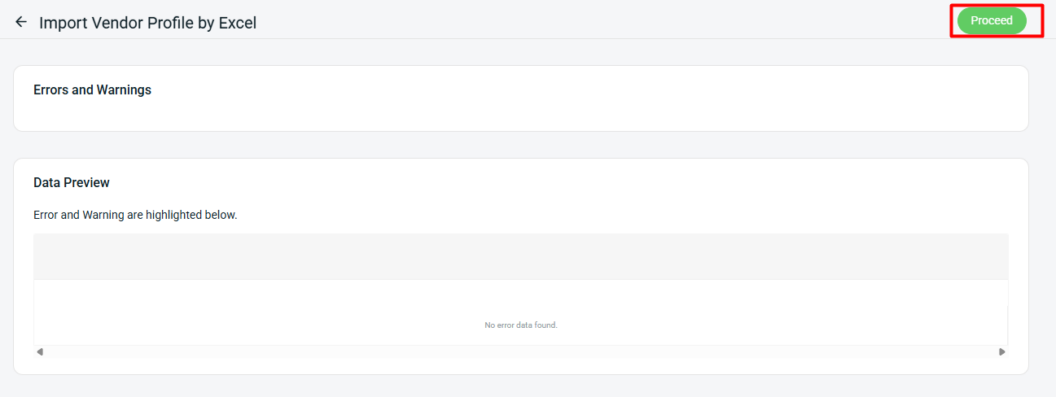
Step 5: If there are any errors in the uploaded Excel file, they will be shown in the Errors and Warnings section, and the affected columns will be highlighted in the Data Preview. Please correct the errors in your file and reupload it. If there are no errors, click Proceed to continue.
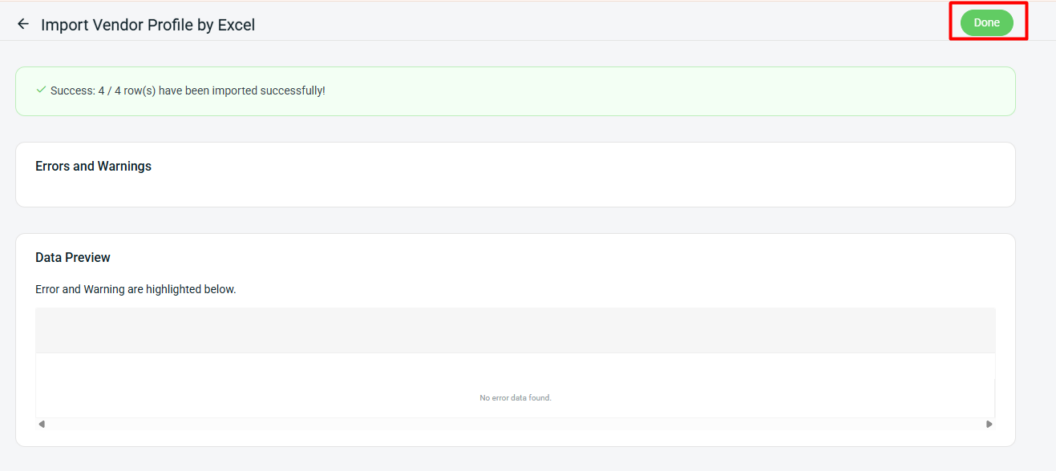
Step 6: Once the upload is successful, click Done.
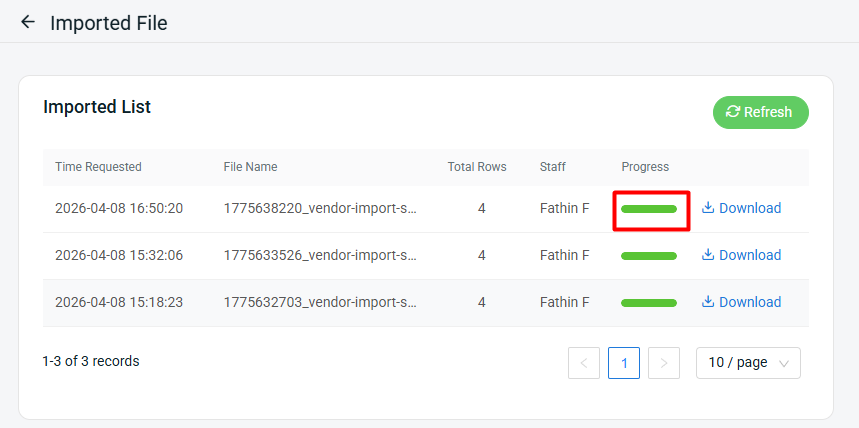
Step 7: When the Progress status turns green, it indicates that the data has been completely updated.