1. Introduction
2. Get API Key
3. QNE Integration
4. QNE Settings
5. QNE Matching
6. Sync Invoice (SiteGiant to QNE)
7. Sync Customer Payment (SiteGiant To QNE)
8. Additional Information
1. Introduction
QNE Accounting is a comprehensive business and accounting software solution designed to help companies manage their daily operations more efficiently and accurately. The integration between QNE Accounting and SiteGiant enables seamless data synchronization between eCommerce operations and accounting records. This integration helps businesses streamline their workflow by syncing order and customer payment from SiteGiant into QNE Accounting, reducing manual data entry and minimizing errors. As a result, it improves operational efficiency, ensures more accurate financial reporting, and provides better visibility of business performance in real time.
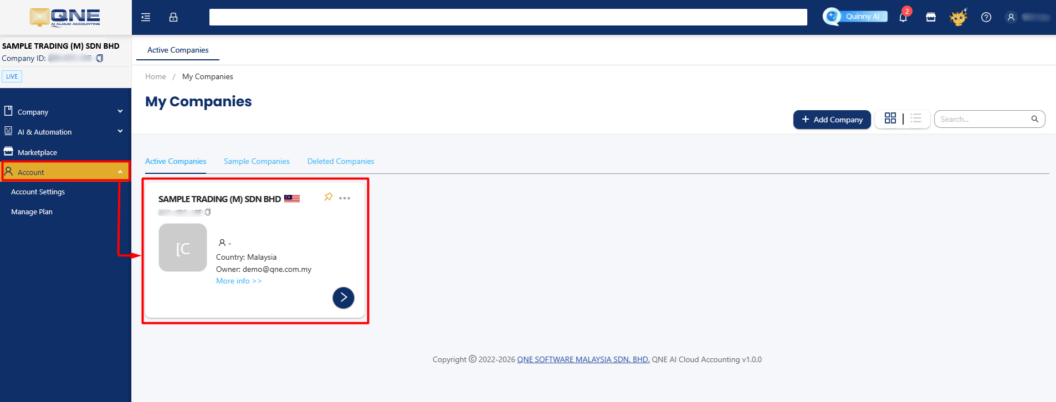
2. Get API Key
Step 1: Log in to your QNE account > navigate to Account > click your Active Companies.
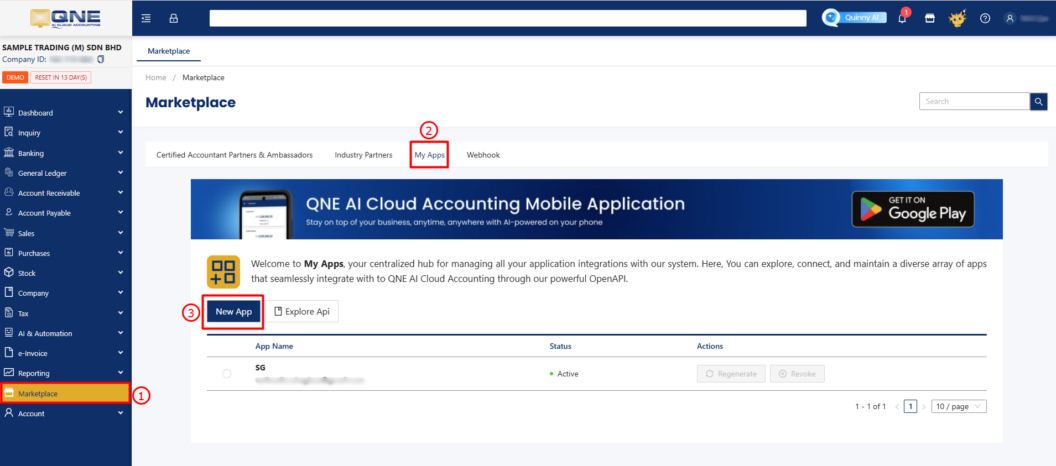
Step 2: Click Marketplace on the sidebar menu > My Apps > New App.
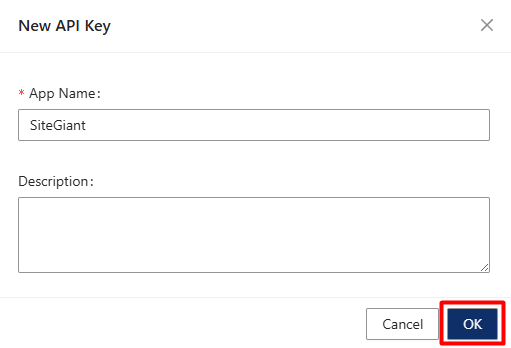
Step 3: Enter the App Name and Description (Optional) > click OK.
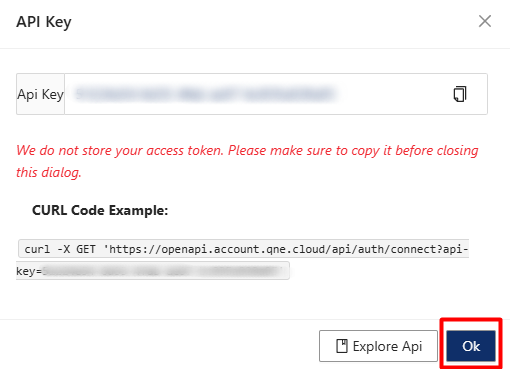
Step 4: Copy the API Key for later use > press OK.
3. QNE Integration
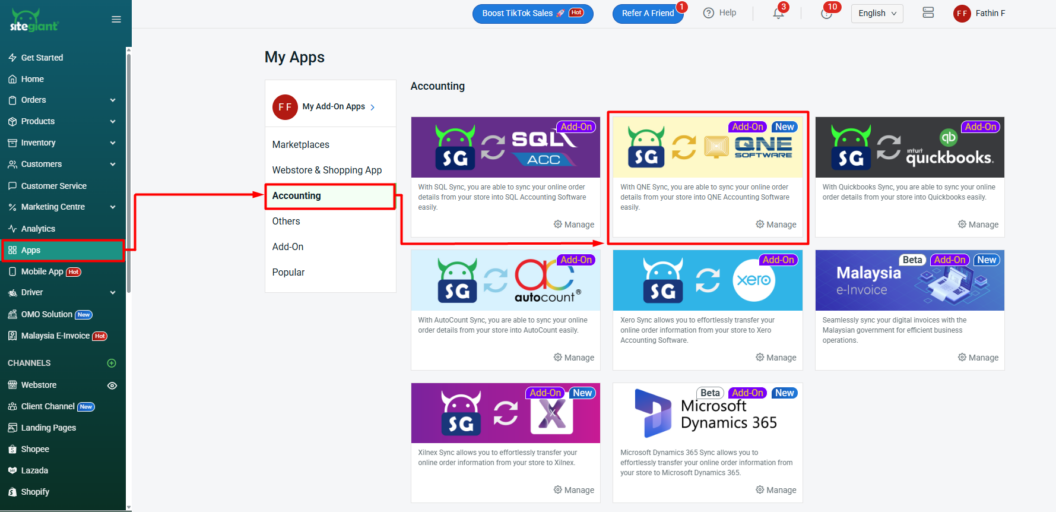
Step 1: Navigate to Apps on the sidebar menu > select Accounting > click QNE Software.
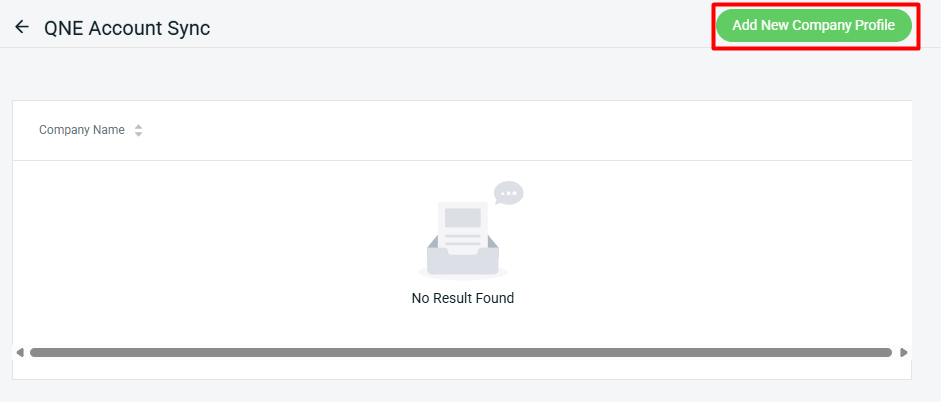
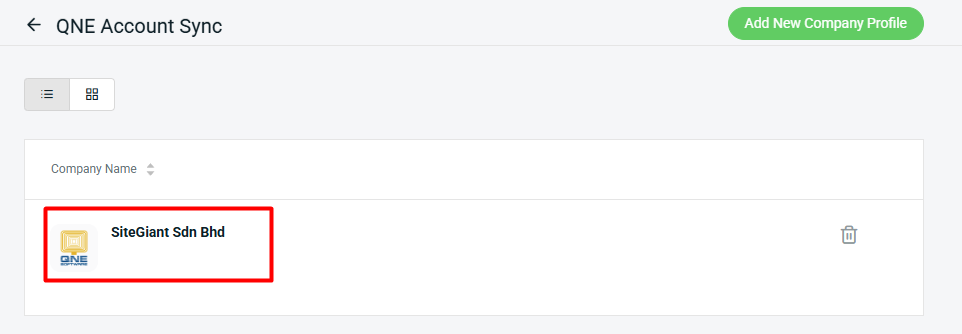
Step 2: Click Add New Company Profile.
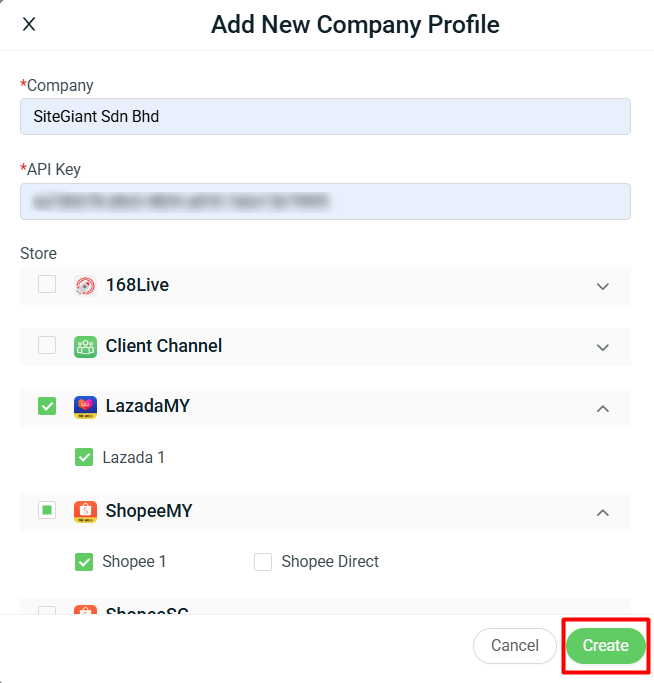
Step 3: Enter the Company Name and API Key > tick the Store that you want to update the invoice to QNE > Create.
Step 4: Click inside the Company Profile to proceed with the setup.
4. QNE Settings
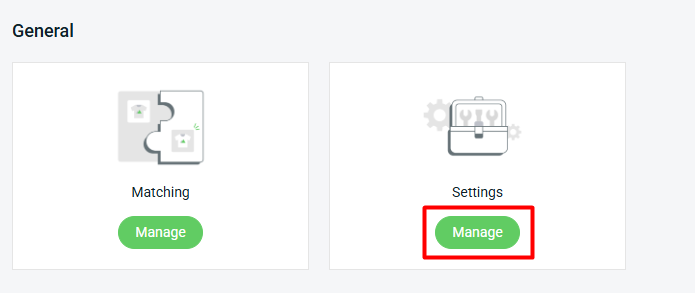
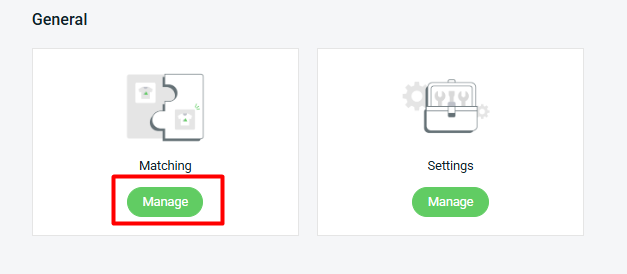
Step 1: Under the General section, click Manage Settings.
I. Company Profile Settings
This setting is configured during the integration process. However, if you have any new sales channels to update, you may amend them here. If no changes are required, you may leave the settings as they are from the integration.
Step 1: Update the Company Profile Name (optional) > tick or untick the Store(s) you wish to update > Save.
II. QNE Accounting Settings
These settings are also configured during the integration. If no changes are required, you can leave the settings as they are.
Step 1: Enter the API Key > Save.

III. General Settings
Step 1. Update the General Settings if you wish to apply them to your invoice > Save.
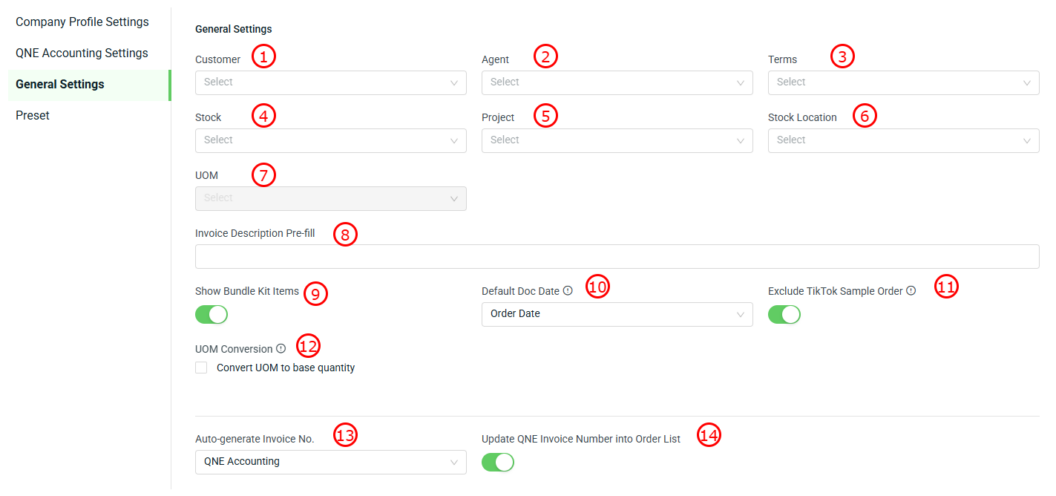
1. Customer: This customer code will be used on the invoice when no matching customer is set for the sales channel.

2. Agent: Sets a default sales agent for invoices.

3. Terms: Applies default payment terms (eg: Cash or 30 Days).

4. Stock: This stock code will be used on the invoice if no matching product is set.

5. Project: Links invoices to a specific project.

6. Stock Location: Sets a default location or warehouse for the invoice transaction.

7. UOM: This UOM will be used on the invoice when no UOM is set in the product matching.

8. Invoice Description Pre-fill: The description will be auto-filled and applied to all synced invoices.

9. Show Bundle Kit Items: Displays individual items inside a bundle/kit on the invoice.

10. Default Doc Date: Select which date is used as the invoice issue date.

11. Exclude TikTok Sample Order: Excludes TikTok sample orders from invoice creation.

12. UOM Conversion: Converts selected UOM into base quantity for syncing purchase order only.

13. Auto-generate Invoice No.: Selects where the invoice number is generated from.

14. Update QNE Invoice Number into Order List: Updates the QNE-generated invoice number back into the order list.
IV. Preset
Step 1: Toggle the Preset button on to reflect the update on the invoice > select the Item Code and UOM > Save.
📌Note: Click the Tooltip icon to check if these preset details can be updated for which sales channel.
5. QNE Matching
Step 1: Under the General section, click Manage Matching.
I. Item Matching
i) Manual Matching:
Step 1: Under Product Matching, all your inventory items will be listed > select the Item Code and UOM you want to match > Save.
ii) Bulk Matching:
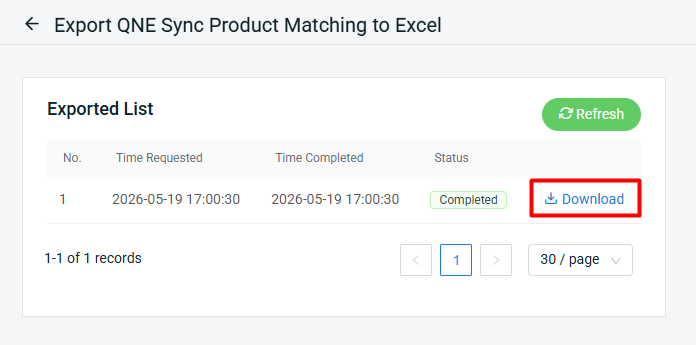
Step 1: Click More(…) > select Export.
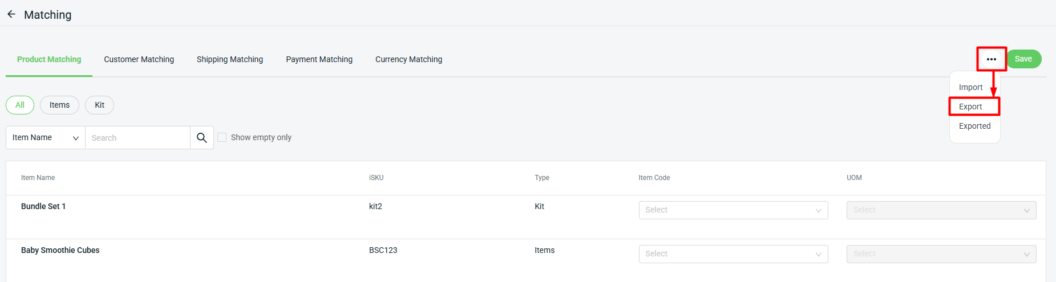
Step 2: Download from the Exported List.
Step 3: Update the qne_stock_code and qne_uom_code from the QNE account to match them with the SiteGiant list.

Step 4: Back to Product Matching page > press More (…) > Import > click Add file from your computer > Next > Proceed > Done.
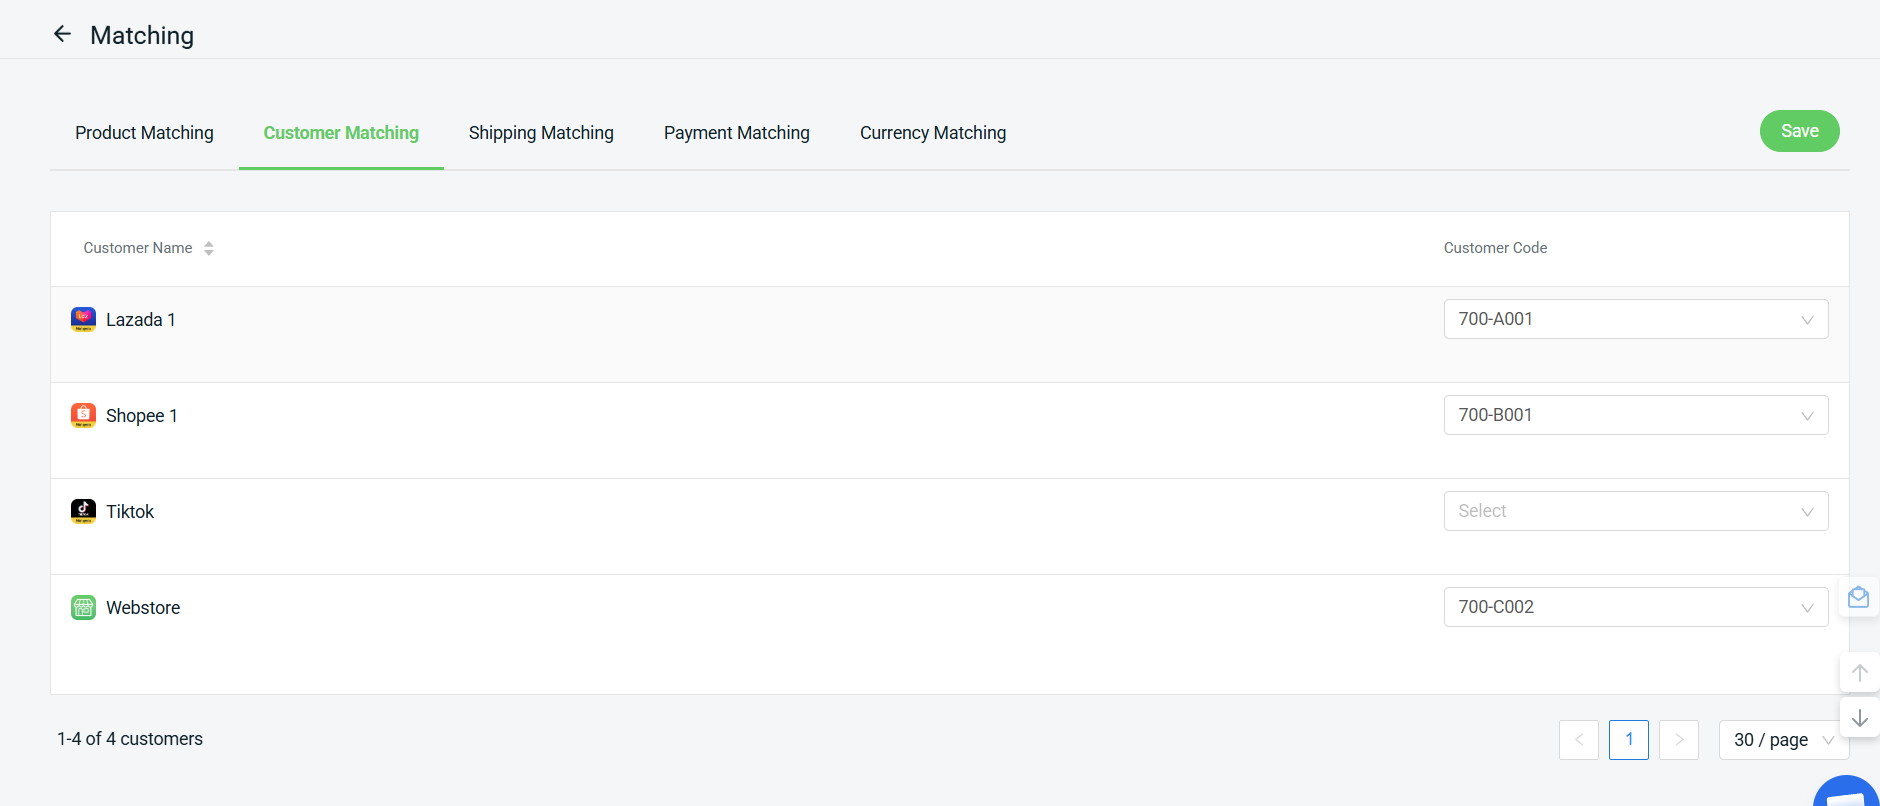
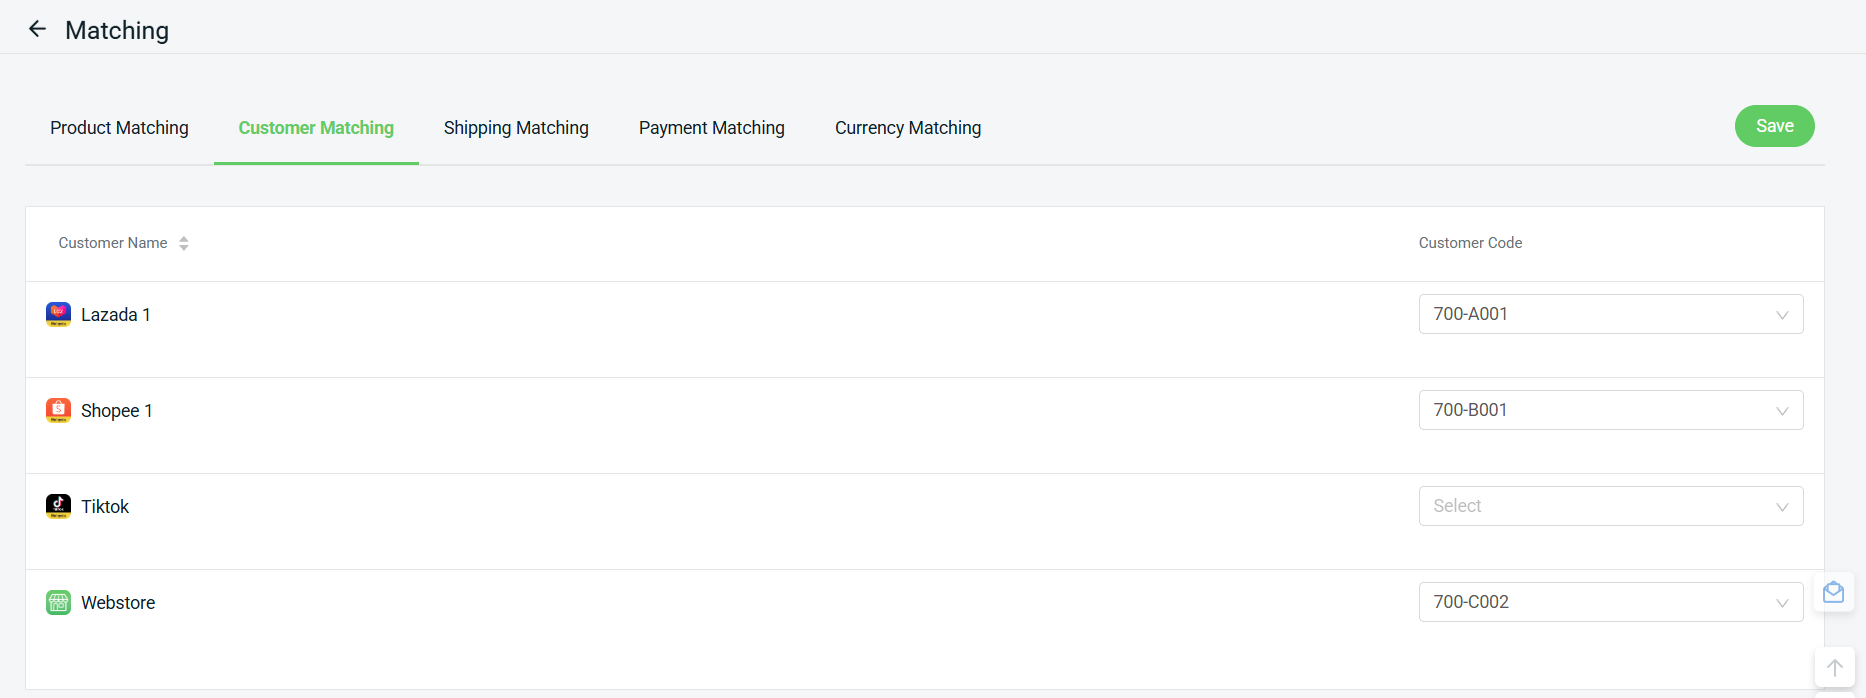
II. Customer Matching
Step 1: Select the correct QNE Customer Code to match the Sales Channel in SiteGiant > Save.
III. Shipping Matching
Step 1: Select the relevant Shipping Item Code and UOM to match with each sales channel > enable Status > Save.
📌Note: You may skip this step or disable the Status if you do not want the shipping fee to be updated on the invoice.
IV. Payment Matching
Step 1: Select the Deposit To code to match each sales channel > Save.
V. Currency Matching
Step 1: Select the QNE Accounting currency to match the SiteGiant currency > Save.

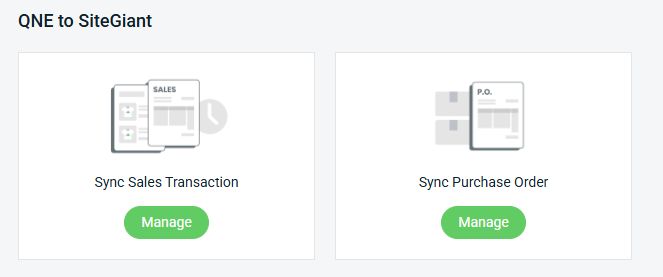
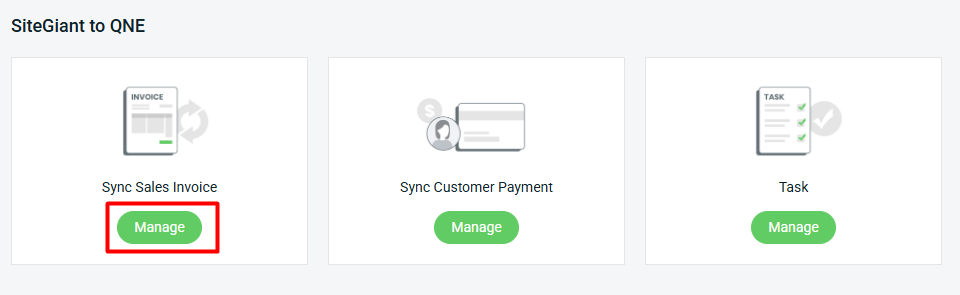
6. Sync Invoice (SiteGiant to QNE)
Step 1: Click Manage Sync Sales Invoice.
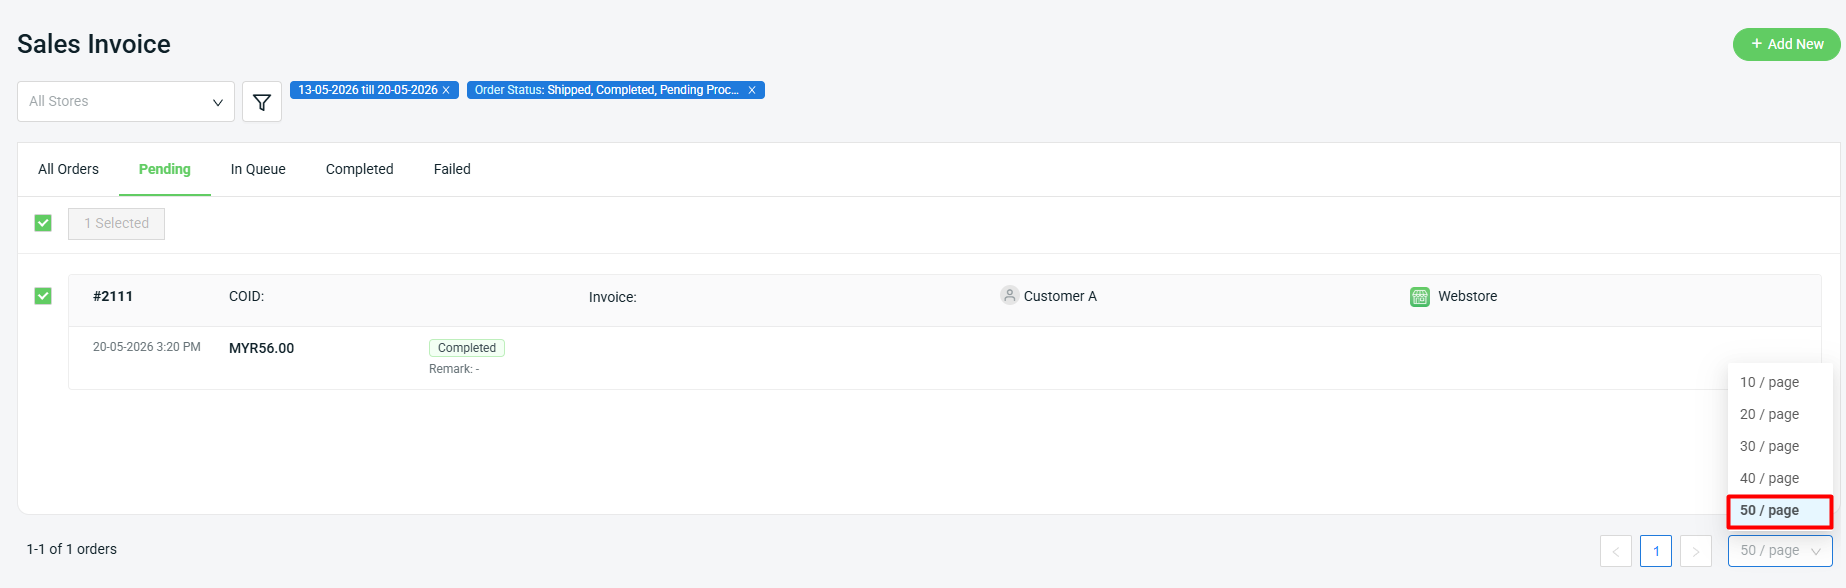
Step 2: Under the Pending tab > tick the order that you want to sync > click + Add New.
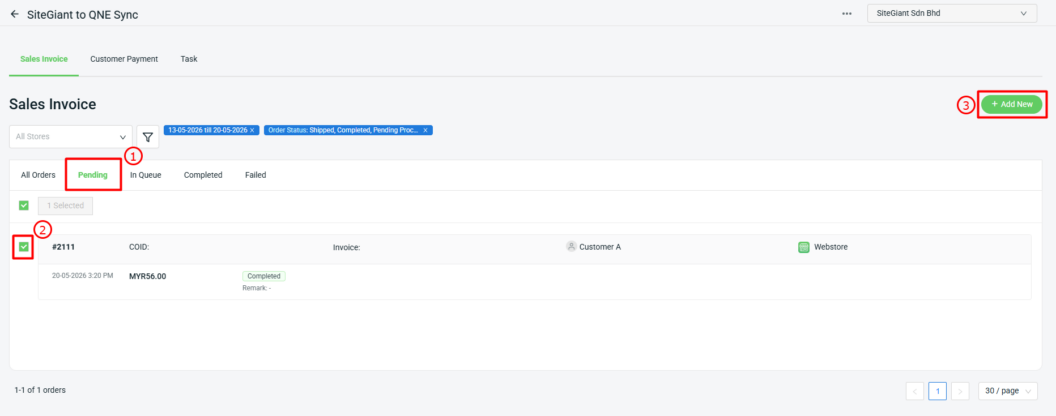
📌Note: The maximum number of orders that can be synced at one time is 50 per page.
Step 3: If all invoice details are completed, you may click the Sync button.
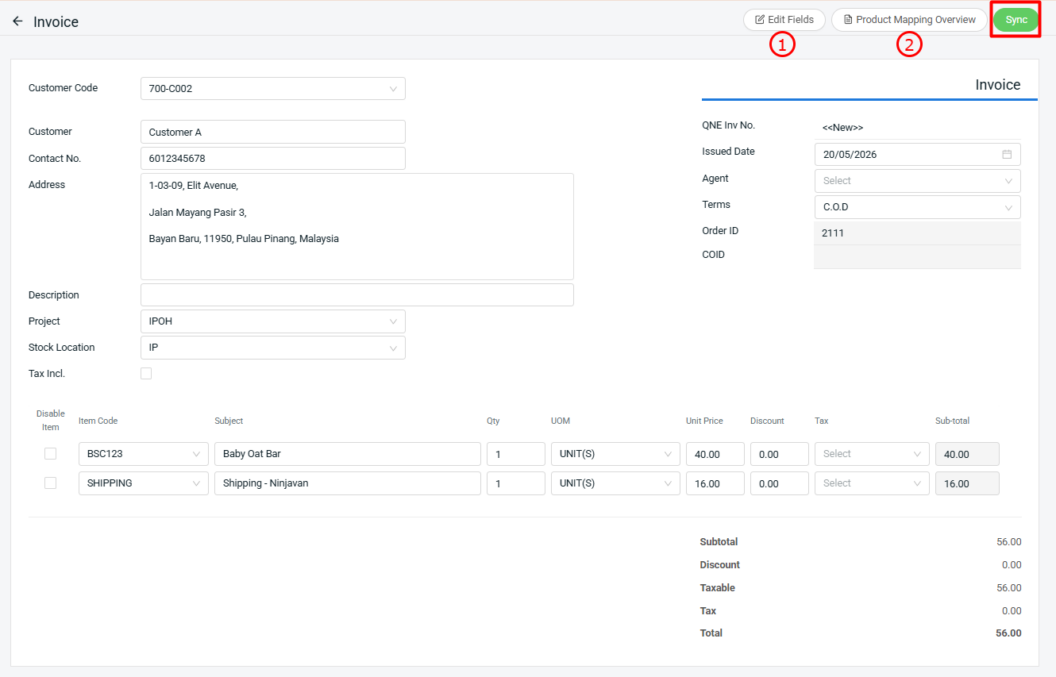
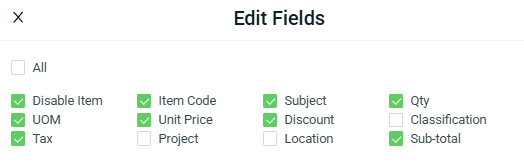
1. Edit Fields: Allows seller to select which fields to update in the invoice.
📌Note: If wish to apply different Projects and Locations for each item in the invoice, can enable the respective columns from the Edit Fields section.
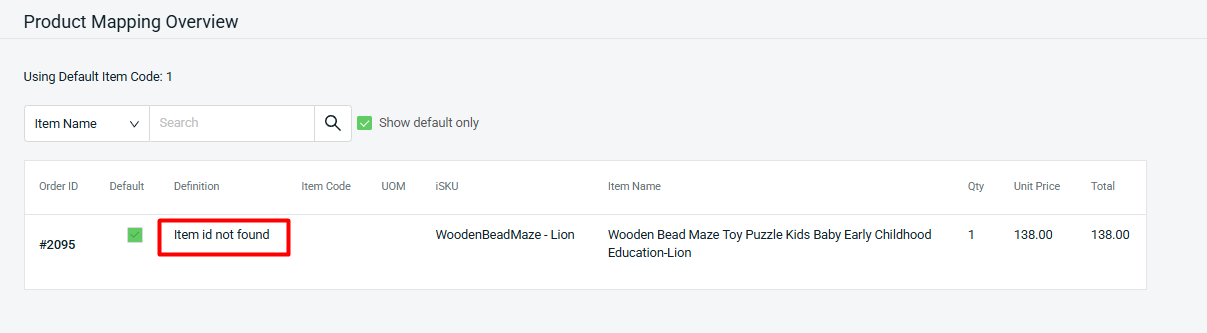
2. Product Mapping Overview: This page shows a summary view of how the products in the invoice are mapped between SiteGiant and QNE Accounting. If any products in the invoice have not been matched (product mapping not completed), they will be displayed on this page for your action.
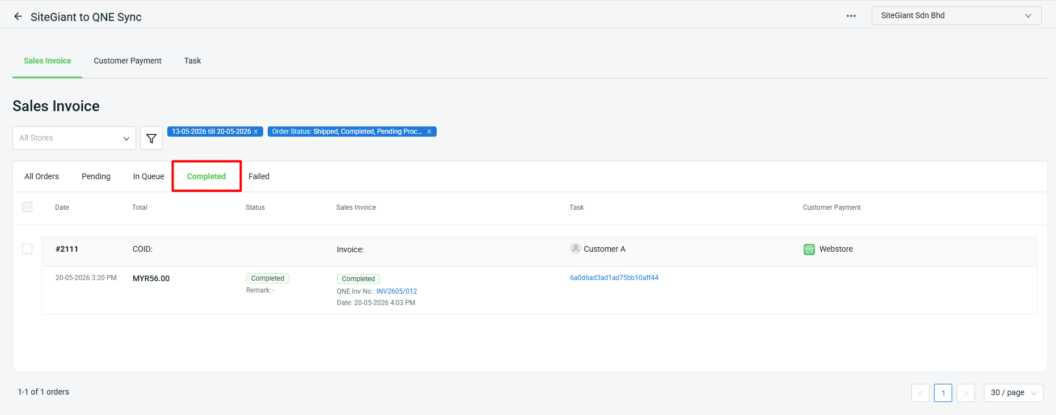
Step 4: Once the order has been successfully synced to QNE, it will automatically be moved to the Completed tab.
Step 5: The order syncing status can also be checked under the Task page.
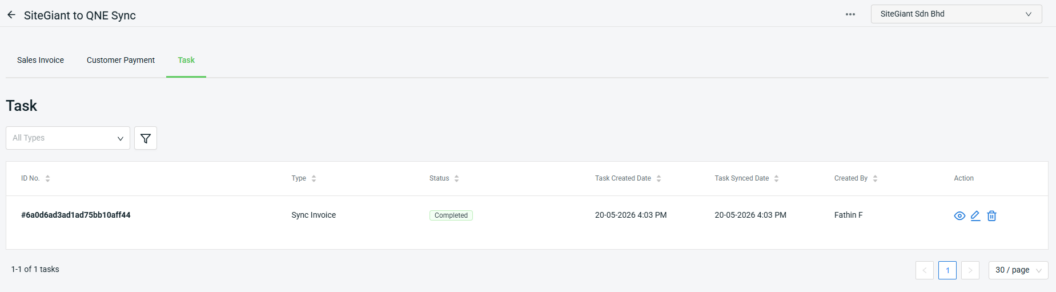
1. Eye Icon: View the invoice details that have been synced to QNE under the task.

2. Pencil Icon: This is normally used to check orders that have failed due to incorrect details. You can edit the details by filtering the order status before resyncing, or delete selected orders from the related task. Once an order is deleted, it will revert to pending status.

3. Trash Icon: Click this button to delete the entire task. All orders synced under this task will be moved back to pending status.
📌Note: If you sync more than one order at a time, all orders will be updated under the same task ID.
7. Sync Customer Payment (SiteGiant To QNE)
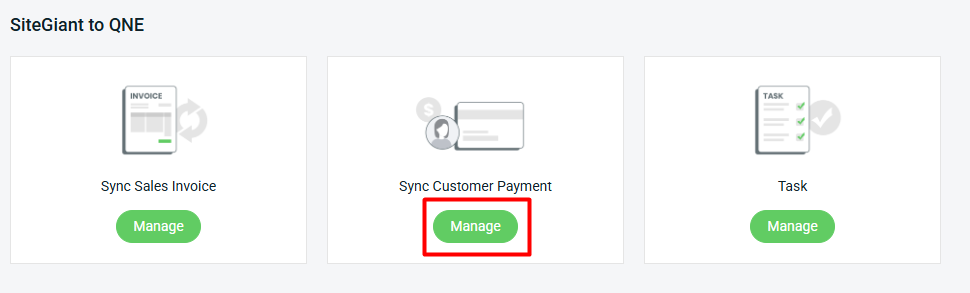
Step 1: Click Manage Sync Customer Payment.
Step 2: Click More (…) > Import > select the channel you would like to sync > Import file.
Step 3: Click Add file from your computer to upload > Next.
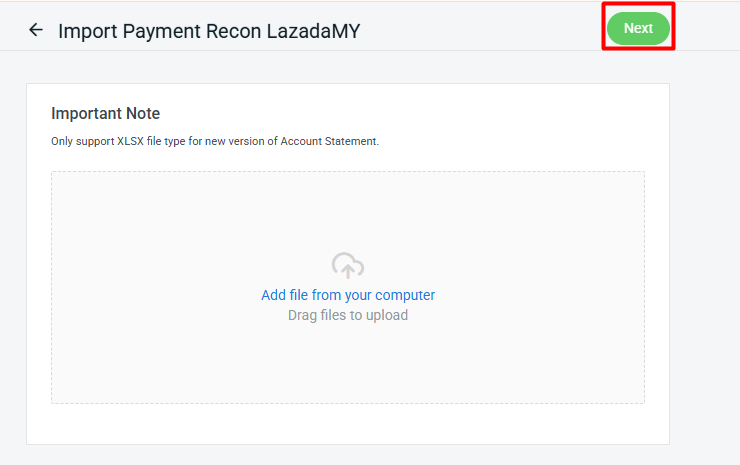
💡Tips: Learn more on How To Retrieve Income Statement From Marketplaces.
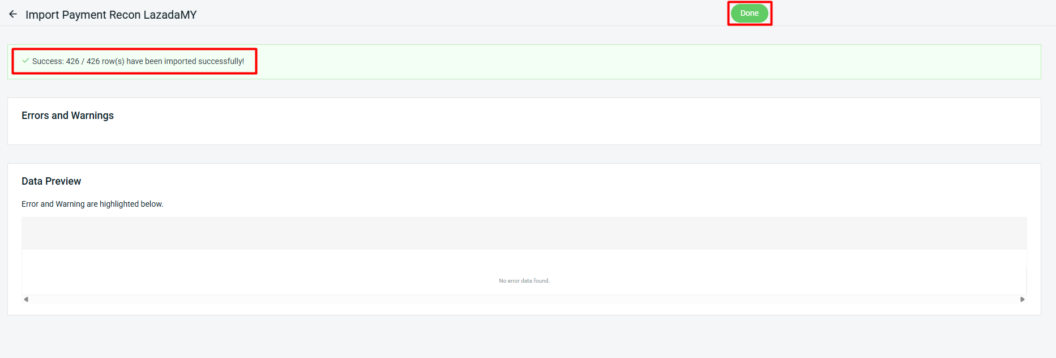
Step 4: If any errors are detected in the uploaded Excel file, they will be displayed under Errors and Warnings, and the affected column will be shown in Data Preview. Kindly correct the errors and reupload the file. Click Proceed if no errors are found.

Step 5: When the page shows Imported Successfully, the data has been successfully updated in SiteGiant > click Done.
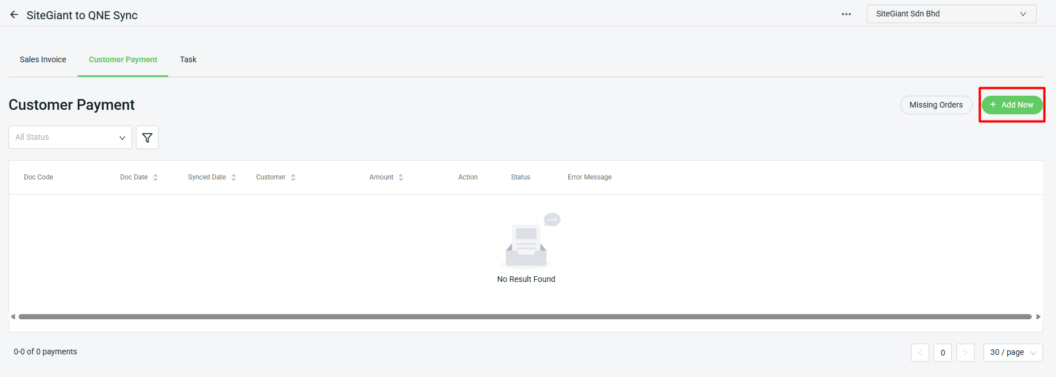
Step 6: Back to the Customer Payment page, click the + Add New button.
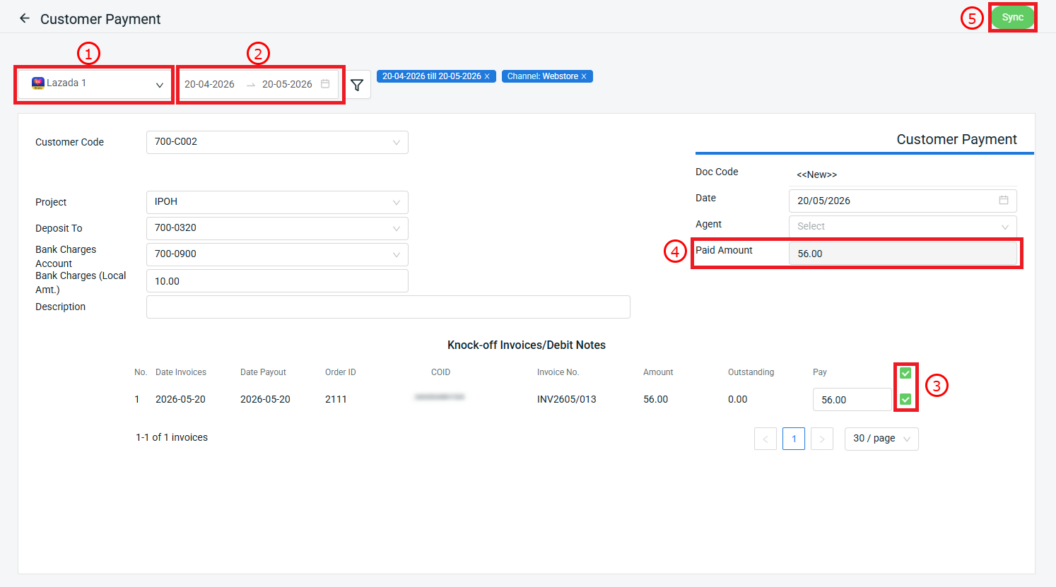
Step 7: Select Sales Channel > filter by Payment Date > tick the checkbox to knock off the invoice > total Paid Amount will be updated > click Sync.
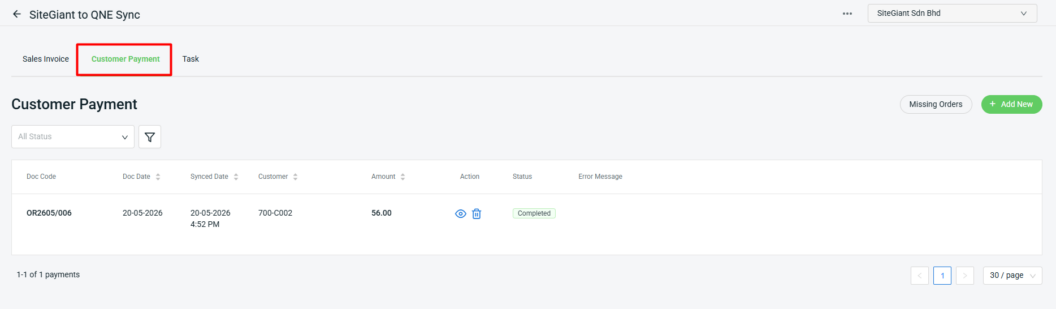
Step 8: It will be reflected on the Customer Payment page once it has been successfully synced to QNE.
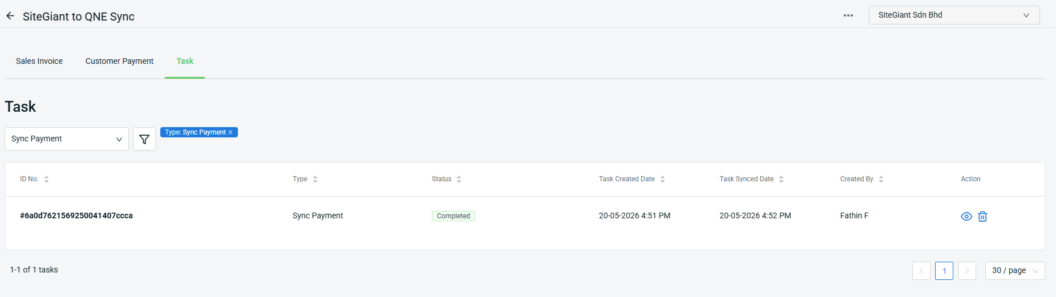
Step 9: The customer payment syncing status can also be checked under the Task page.
📝Additional Information
For the QNE to SiteGiant syncing feature, please refer to the tutorials provided in the links below: