
1. Introduction
2. Set Up D365 Integration
3. D365 Settings
4. D365 Matching
5. Sync Sales Order
6. Sales Order Preview in D365
1. Introduction

Microsoft Dynamics 365 Business Central is an all-in-one cloud-based ERP solution by Microsoft designed to help businesses manage their finances, operations, sales, and customer service within a single platform. It provides real-time insights, automates routine processes, and connects different parts of your business for better efficiency and control.
With SiteGiant’s Microsoft Dynamics 365 (D365) Sync, you can seamlessly transfer your online order data into your Business Central account, ensuring accurate records and streamlined business workflows.
📌Note: Please make sure you already registered an account with Microsoft Dynamics 365 Business Central for integration purposes. If you do not have an account yet, may proceed to register here.
2. Set Up D365 Integration
Step 1: Navigate to Settings at the sidebar menu > Sales Channels.
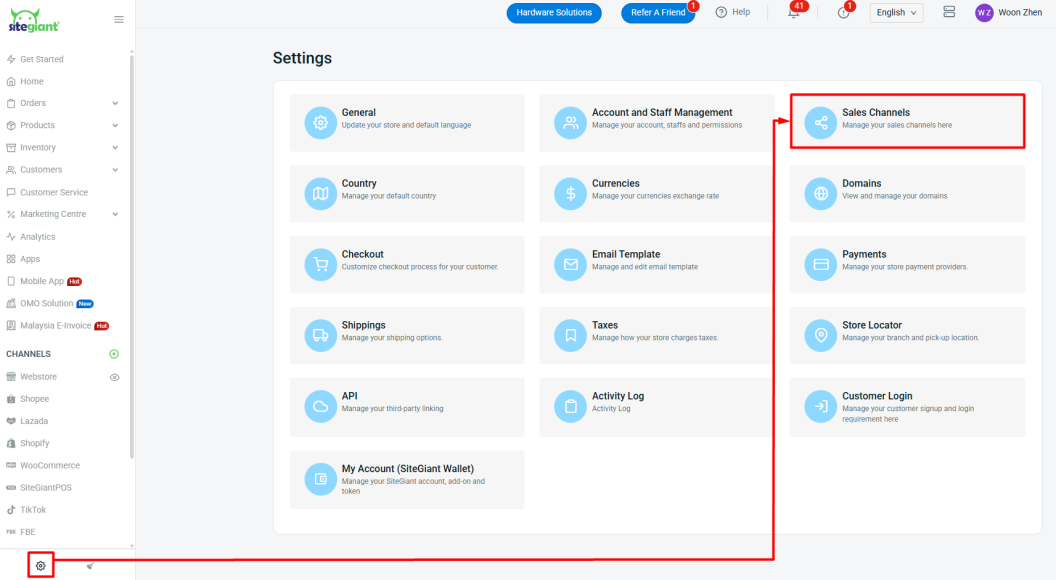
Step 2: Click + Add New Sales Channel > select Microsoft Dynamics 365 > fill in for all the required fields > Connect.
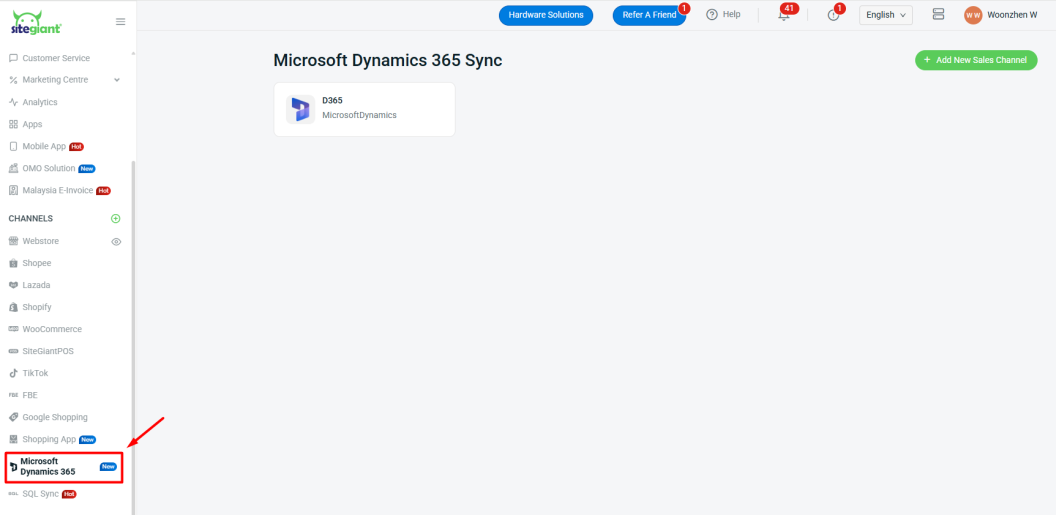
Step 3: If connected successfully, then a Microsoft Dynamics 365 channel will appear in the sidebar menu.
📌Note: If your Sales Channel quota in SiteGiant is sufficient, you can add more than one D365 account by clicking + Add New Sales Channel.
3. D365 Settings
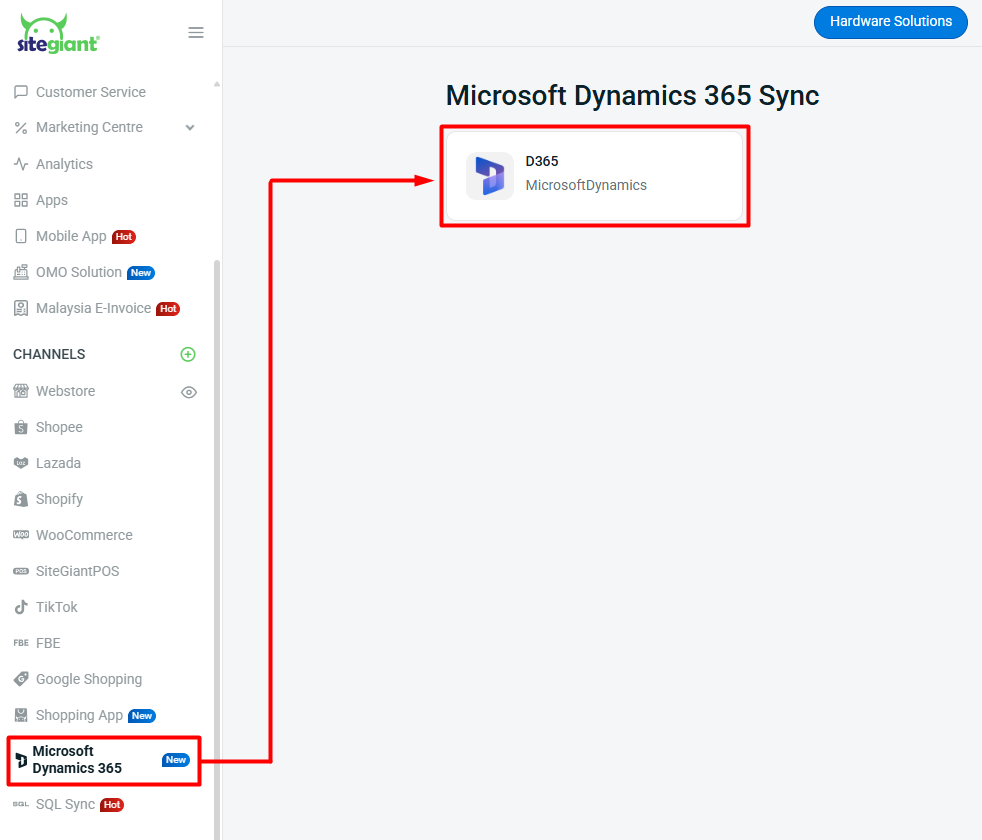
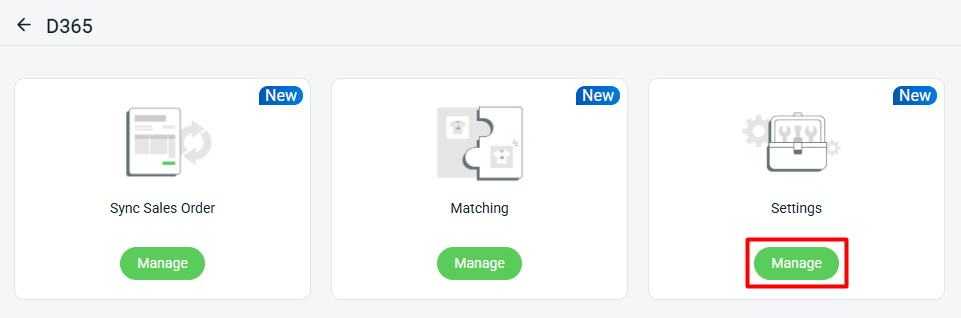
Step 1: Navigate to Microsoft Dynamics 365 at the sidebar menu > click MicrosoftDynamics app.
Step 2: Click Manage Settings.
Step 3: Select your Sales Order Preset option > Save.
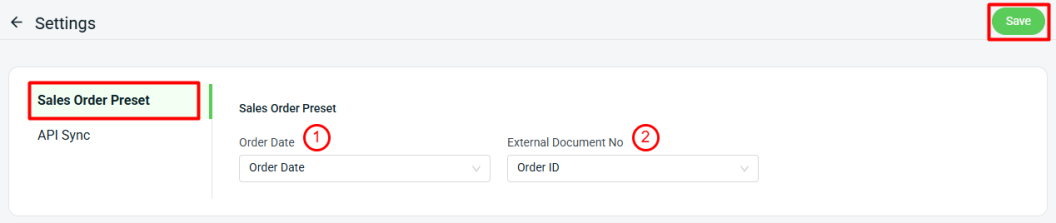
1. Order Date: Choose to sync the Sales Order Date of D365 based on the Order Date of SiteGiant ERP order or the Sync Date.

2. External Document No: Choose between Order ID, COID, and SiteGiant Invoice No to sync as the External Document No of D365 Sales Order.

📌Note: This preset setting only applies to upcoming sales order sync. It will not affect sales order that has been synced before.
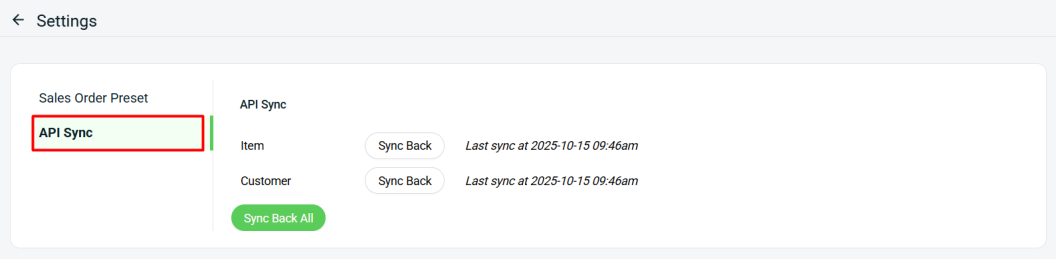
Step 4: When you have done integrated with D365 for the 1st time, the system will auto sync back all your Item & Customer data from D365.
In future, if there are any changes made to your Item / Customer data in D365, then you may come back here to sync back the latest data.
4. D365 Matching
Step 1: Navigate to Microsoft Dynamics 365 at the sidebar menu > click MicrosoftDynamics app.

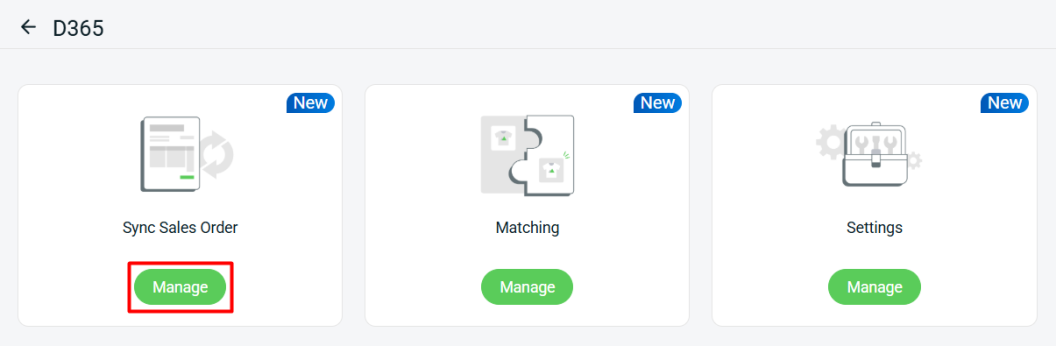
Step 2: Click Manage Matching.

Part I: Item Matching
i) Manual Matching:
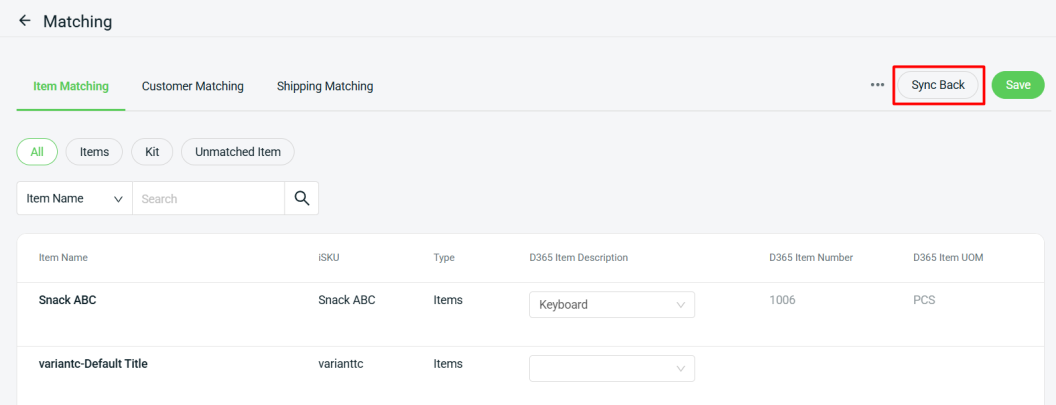
Step 1: Under Item Matching tab, all your SiteGiant Inventory Items will be listed > select the relevant D365 Item Description to match with the Inventory Item > Save.
📌Note: You may click the Sync Back button to retrieve the latest item update from D365.
ii) Bulk Matching through Excel Import:
⚠️Important: Please ensure that your latest Item data has been synced back from D365 before proceeding with this method.
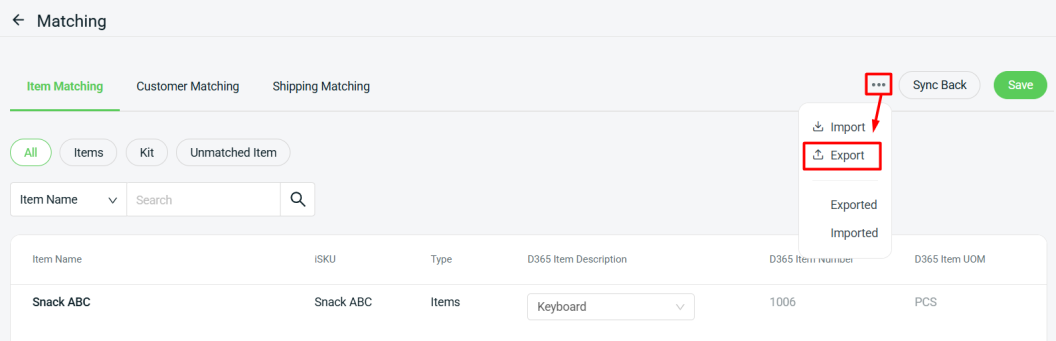
Step 1: Click … > Export.
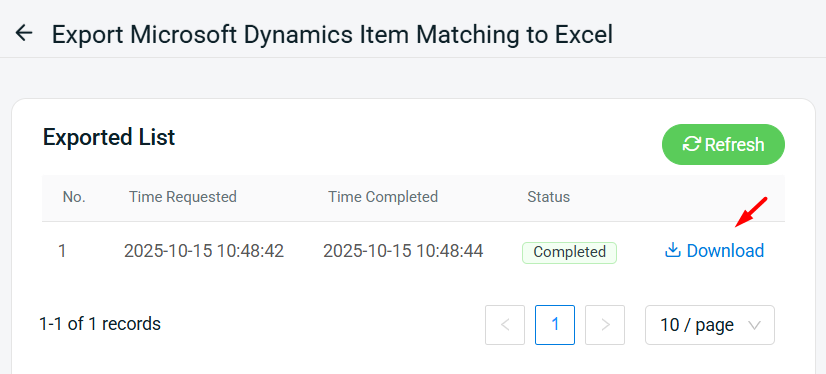
Step 2: Download the exported Excel file.
Step 3: Open the downloaded Excel file > click File > Info > Unprotect > return back to the workbook page.
Step 4: Fill in the D365 item number and its corresponding UOM for all the items that you want to match with > Save the Excel file.

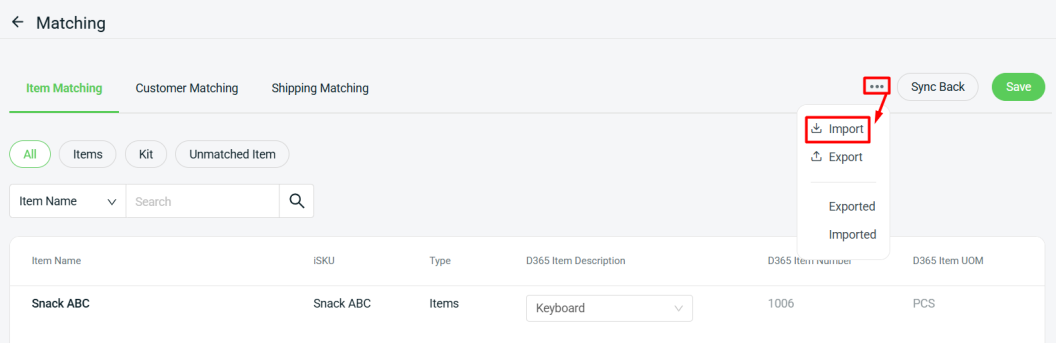
Step 5: Go back to the Item Matching tab > click … > Import.
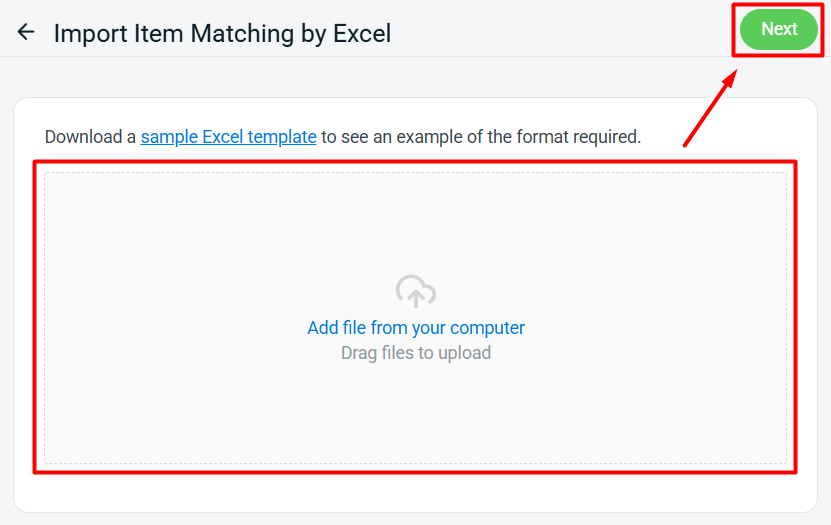
Step 6: Upload the previously saved Excel file > click Next.
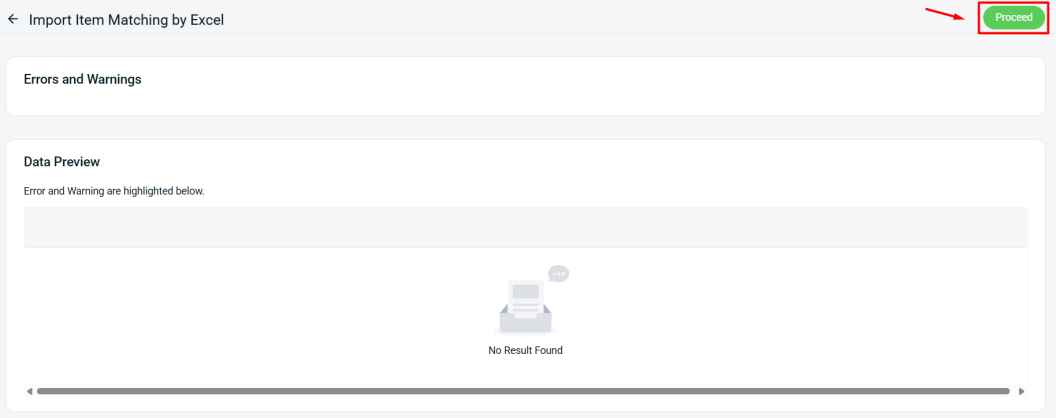
Step 7: Click Proceed if there is no error detected.
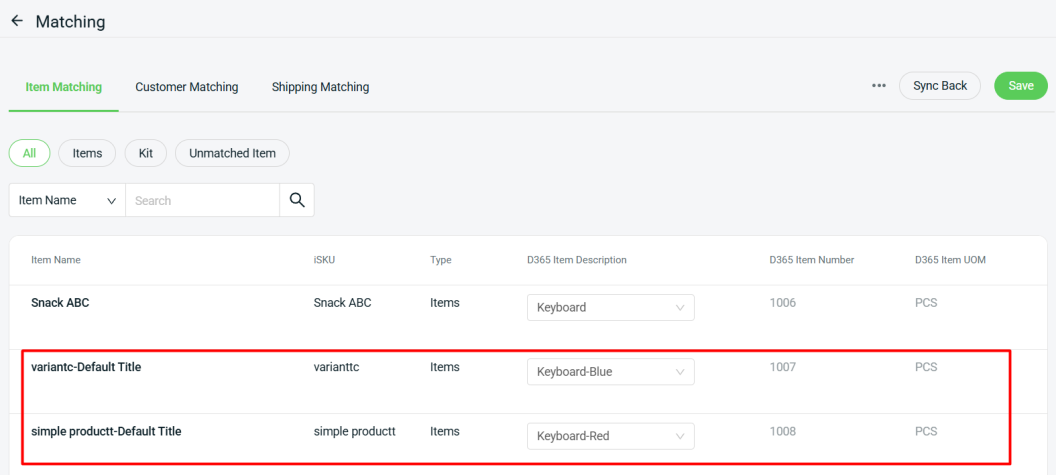
Step 8: Refresh the Item Matching tab to see the latest changes reflected.
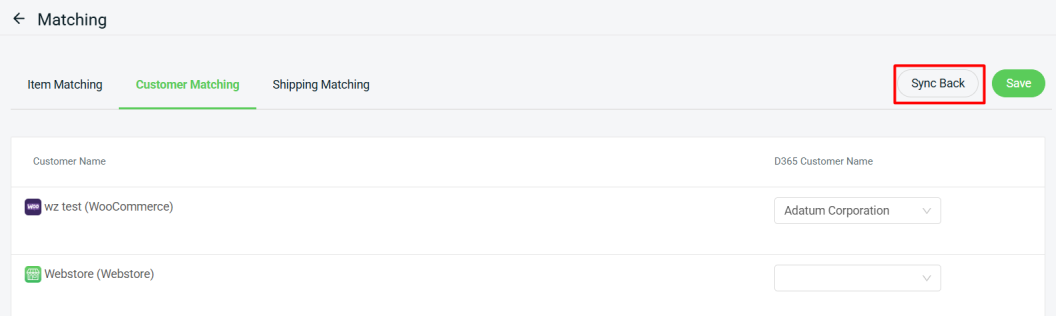
Part II: Customer Matching
Step 1: Under Customer Matching, select the relevant D365 Customer Name to match as the order customer for each sales channel in SiteGiant.
Part III: Shipping Matching
Step 1: Under Shipping Matching, select the relevant D365 Item Description to match as the order shipping fee for each sales channel in SiteGiant.
📌Note: Similar to the Item Matching tab, you can also sync back the latest data from Customer / Shipping Matching tab, if needed.
5. Sync Sales Order
Step 1: Navigate to Microsoft Dynamics 365 at the sidebar menu > click MicrosoftDynamics app.
Step 2: Click Manage Sync Sales Order.
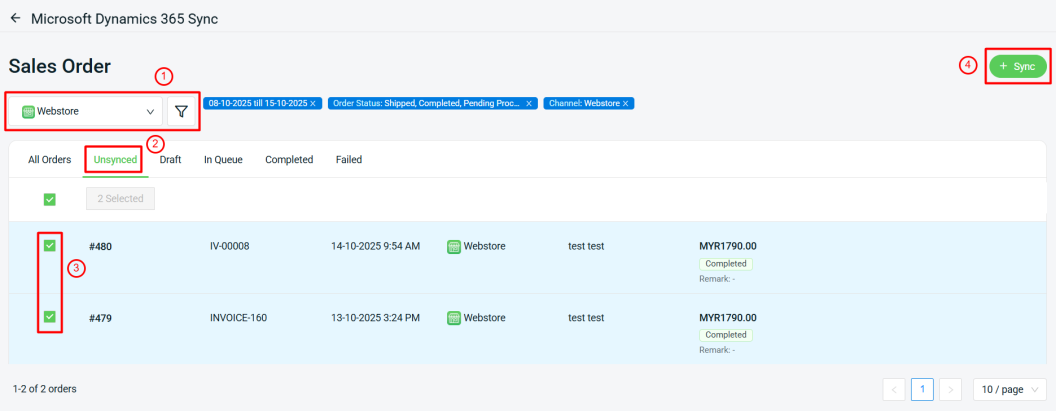
Step 3: Filter out the order that you want to sync > under the Unsynced tab > select the relevant orders > click + Sync.
Step 4: Inside the Sync Page, you can view/change the order details > then click Sync.
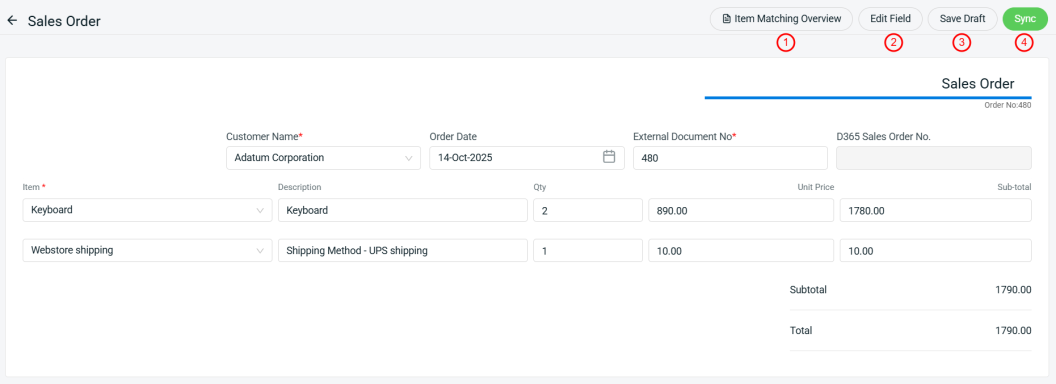
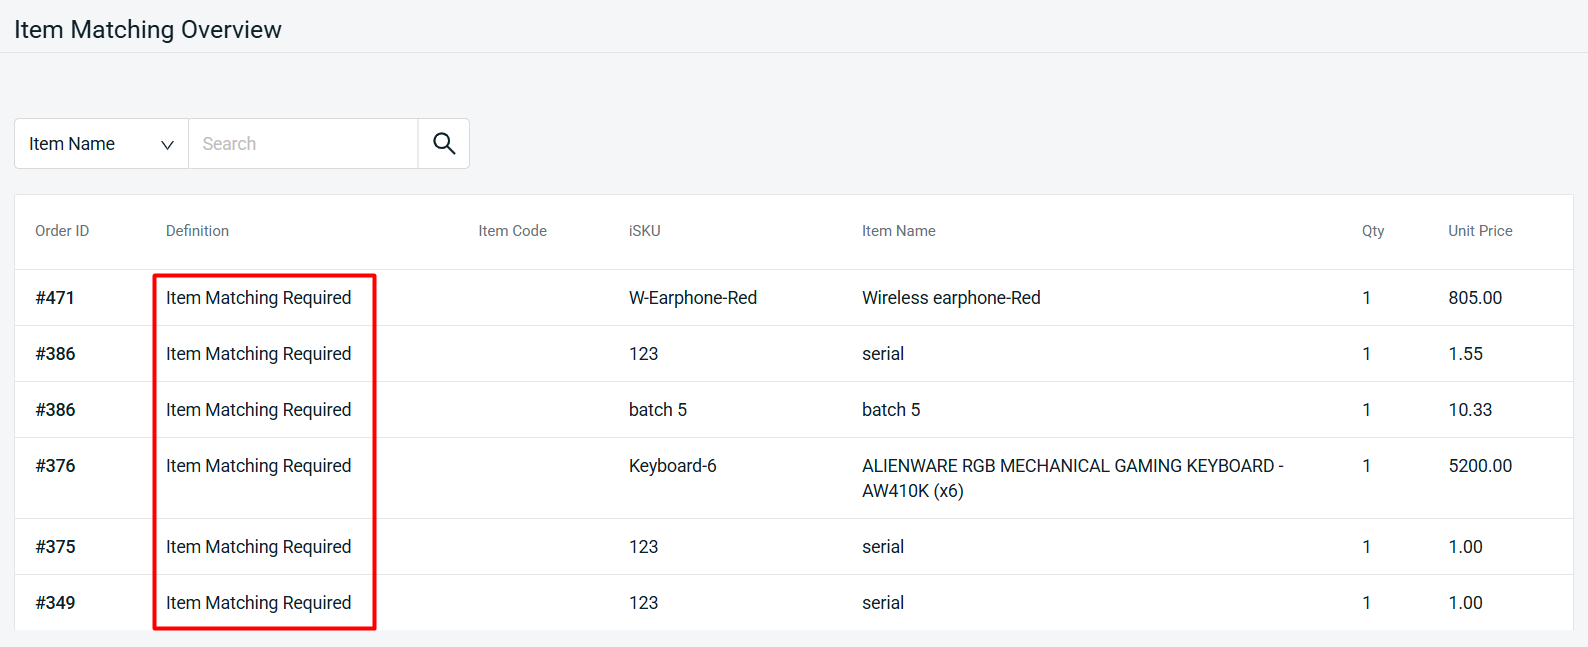
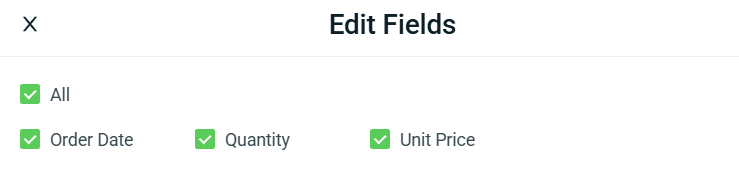
1. Item Matching Overview: This will display all the order ID and items that still have not done item matching yet.2. Edit Field: You may choose to show/hide certain fields in the sync page. However, please note that the hidden field data will still be synced over to D365.
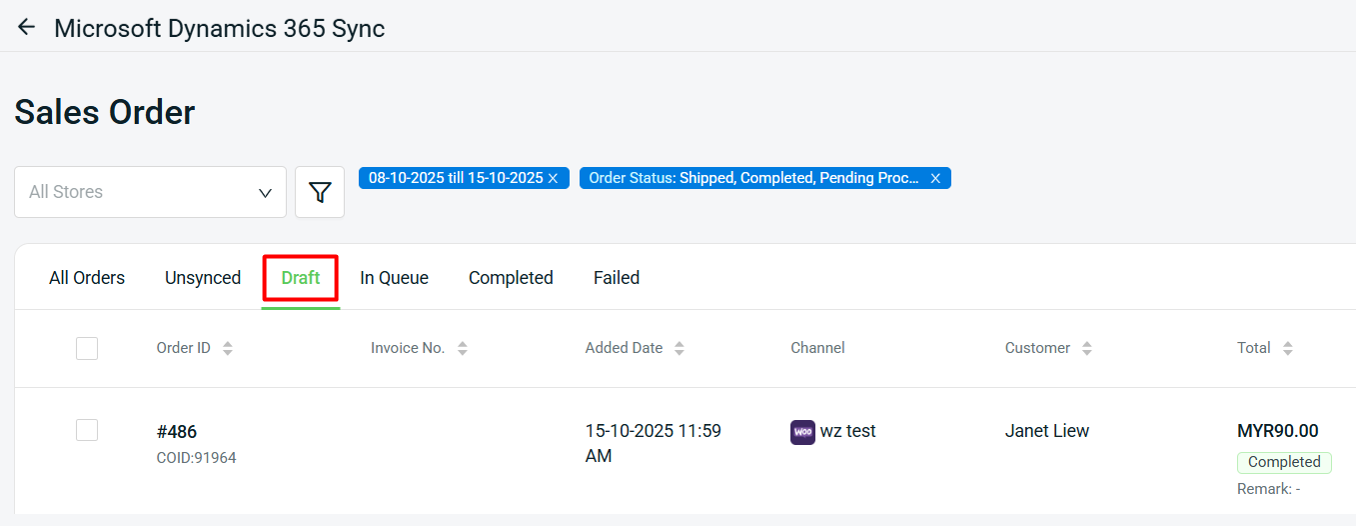
3. Save Draft: You may click this to temporarily move your orders to the Draft tab so that you can sync them again later when they are ready.
4. Sync: Once you are satisfied with the order details, you may click this to sync them over to D365 as Sales Orders.
 2. Edit Field: You may choose to show/hide certain fields in the sync page. However, please note that the hidden field data will still be synced over to D365.
 3. Save Draft: You may click this to temporarily move your orders to the Draft tab so that you can sync them again later when they are ready.
 4. Sync: Once you are satisfied with the order details, you may click this to sync them over to D365 as Sales Orders.
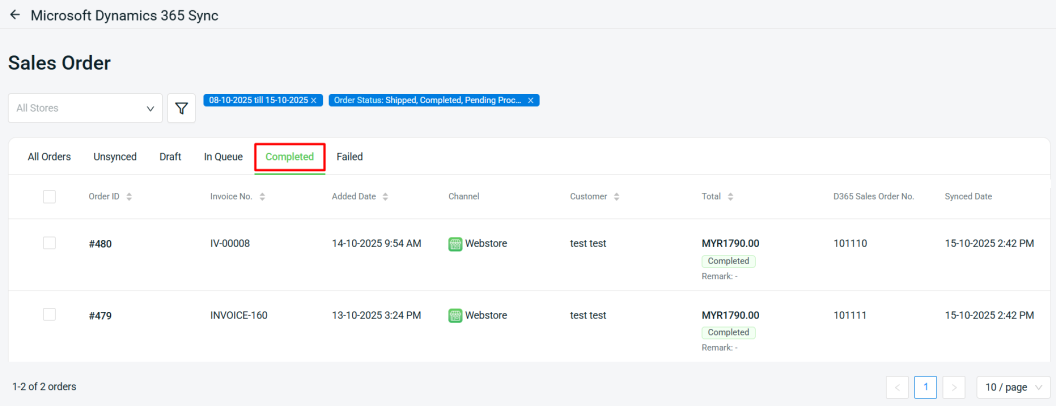
Step 5: Once the order is synced to D365, it will be moved to the Completed tab.
6. Sales Order Preview in D365
Step 1: Login to your D365 account > click ^Sales > Sales Orders.

Step 2: Click into any Sales Order No. synced from SiteGiant.
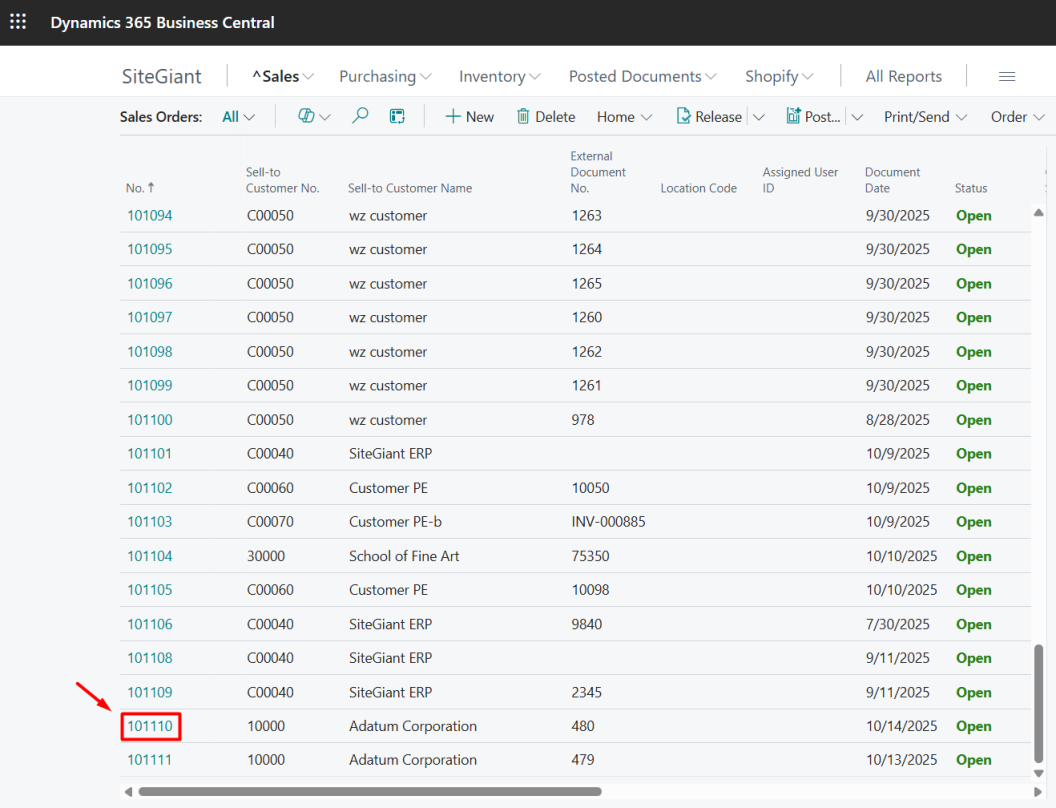
Step 3: You will then see the Sales Order details.
