
1. Introduction
2. Retrieve Conversion ID and Label
3. Set Up Google Ads Conversion Tracking
1. Introduction
Google Ads Conversion Tracking is an effective tool that helps you monitor key user actions on your SiteGiant webstore after interacting with your ads. This valuable data empowers you to optimize your campaigns and drive better sales performance.
Here is the list of events data that we can help to track in webstore:
- Begin Checkout – When user click ‘Checkout’ in cart page
- Add To Cart – When a product is added into the cart
- Remove From Cart – When a product is removed from the cart
- Loaded Checkout Page – When user enter checkout page
- Purchase – When user click ‘Place Order’ in the checkout page
- Loaded Home Page – When user navigate to home page
- Loaded Any Page – When user navigate to any webstore pages
This feature is only available in ERP Value Plus Plan and above.
2. Retrieve Conversion ID and Label
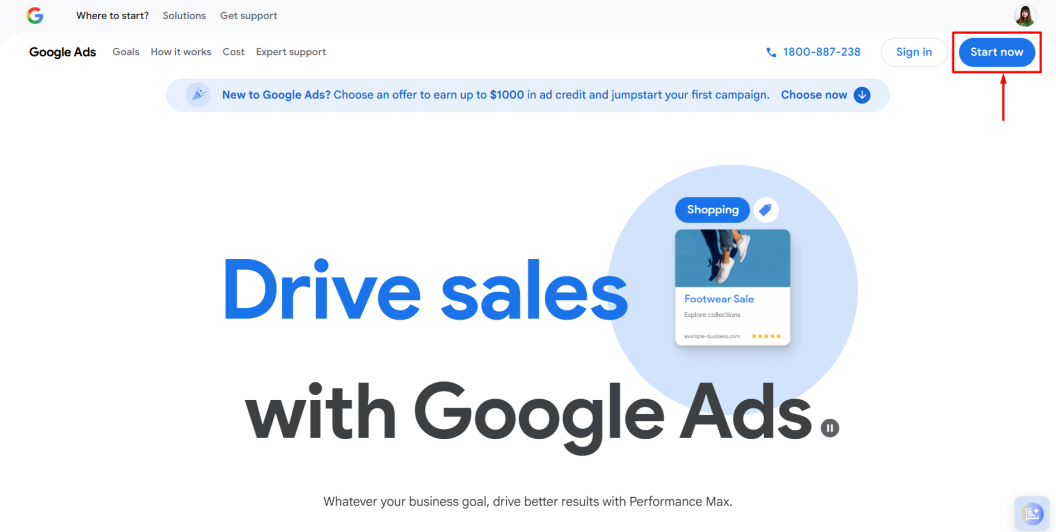
Step 1: Sign in to Google Ads with your Gmail Account > click Start Now.
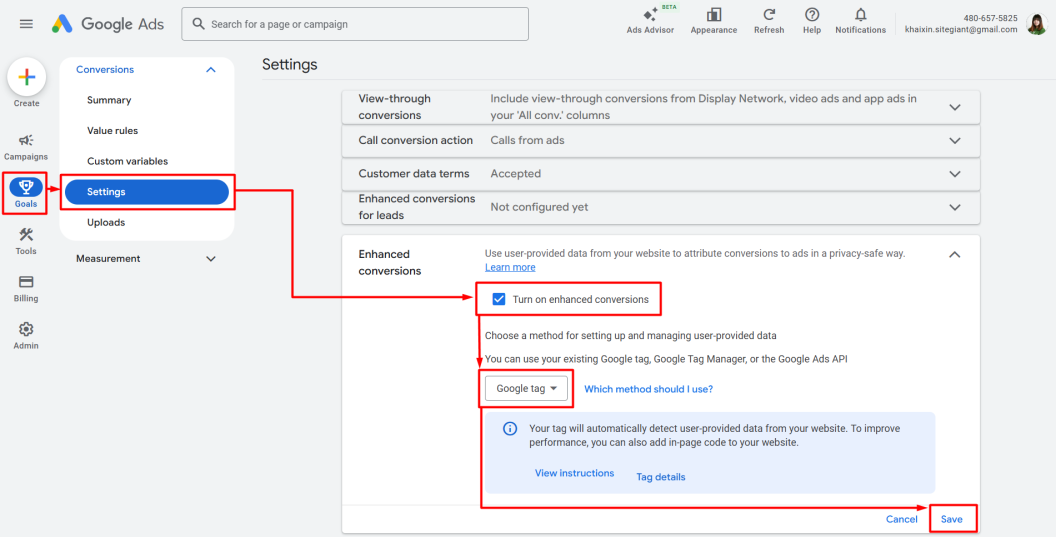
Step 2: Navigate to Goals > Settings > Enhanced conversions > tick Turn on enhanced conversions > choose Google tag > Save.
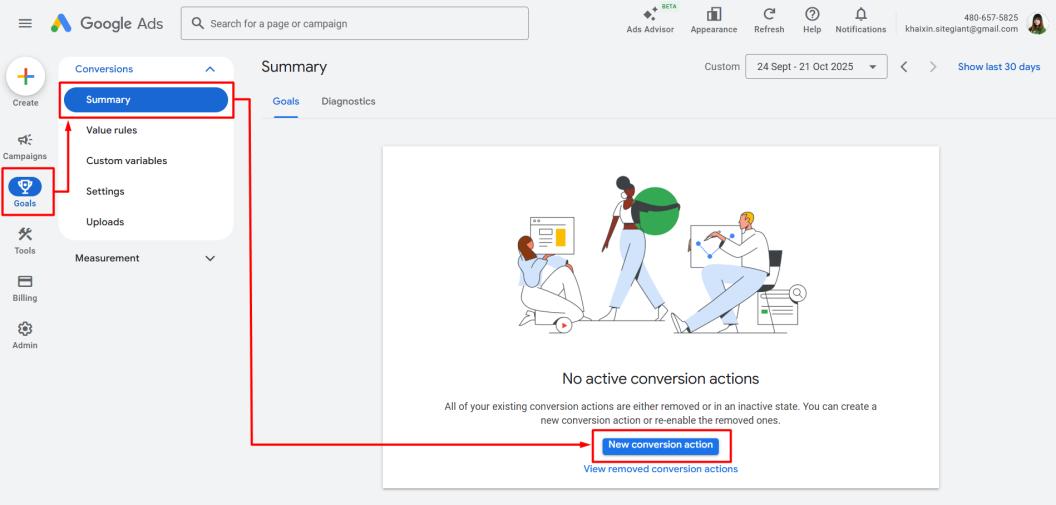
Step 3: Refer to Goals > Summary > New conversion action.
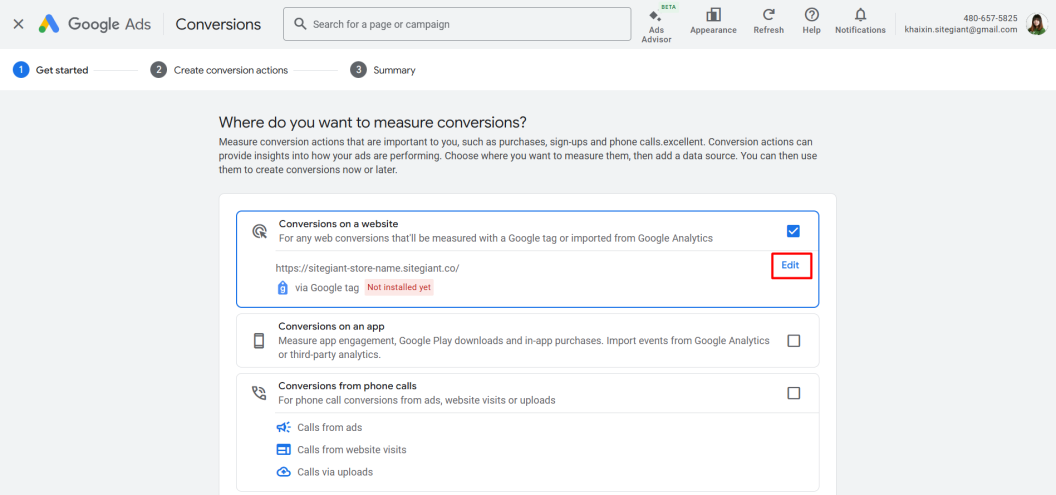
Step 4: Click Edit at Conversions on a website column.
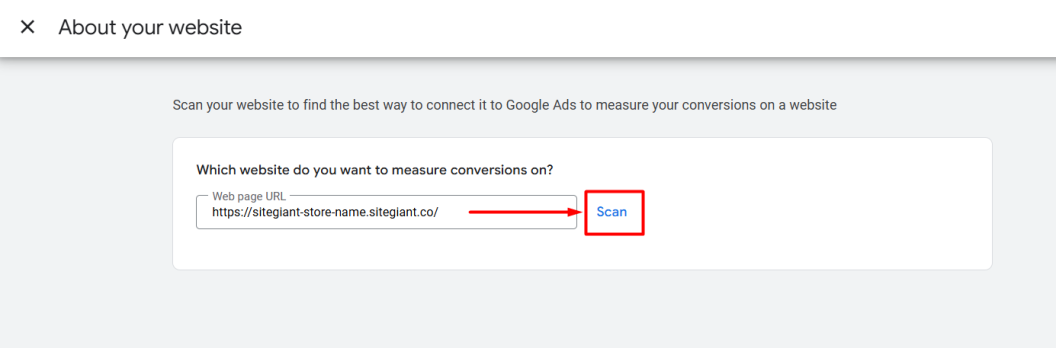
Step 5: Insert your Webstore domain name at the Web page URL column > Scan.
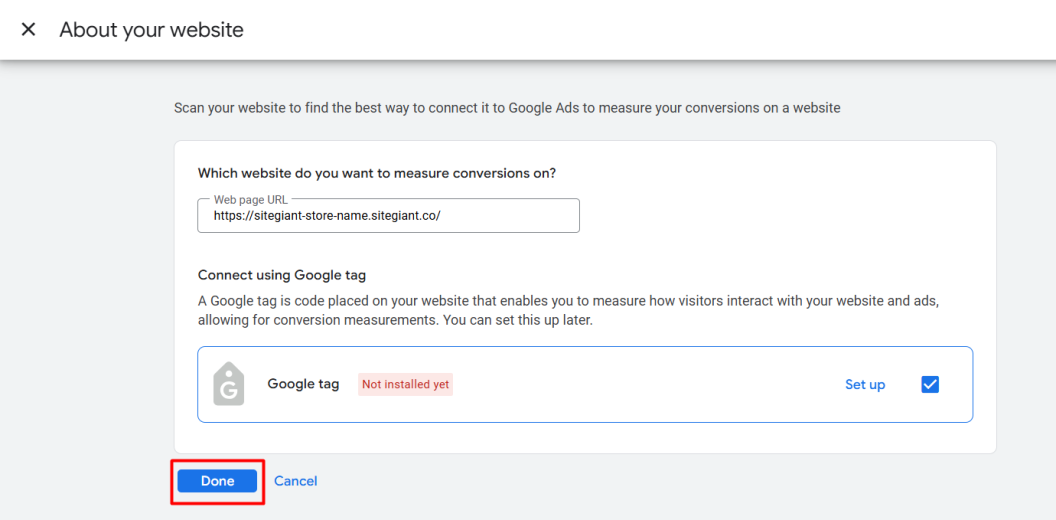
Step 6: Click Done button.
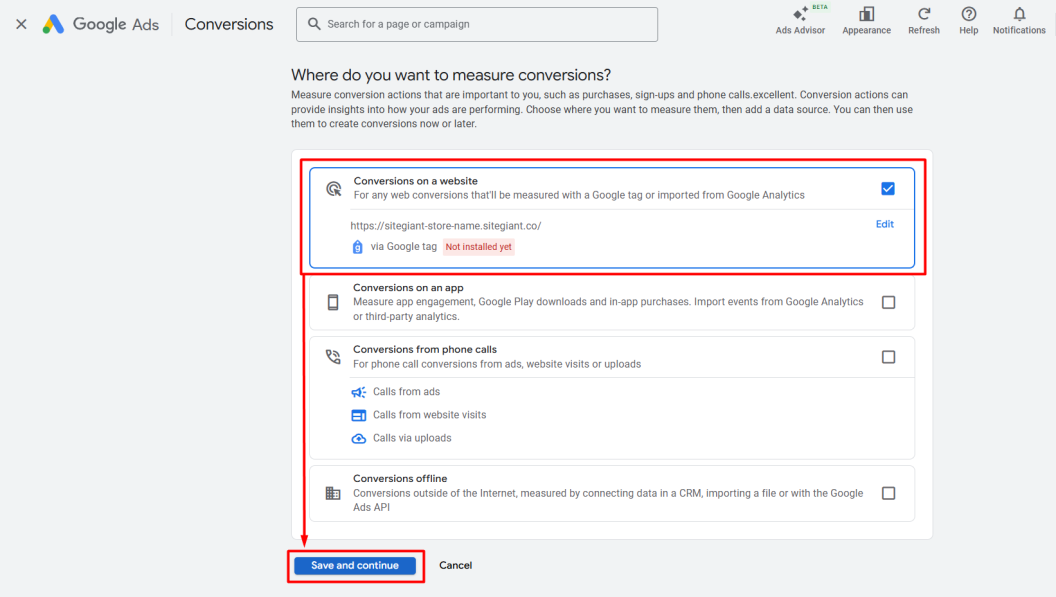
Step 7: Make sure Conversions on a website is selected > Save and continue.
Step 8: Click See all to expand the options > choose Page view.
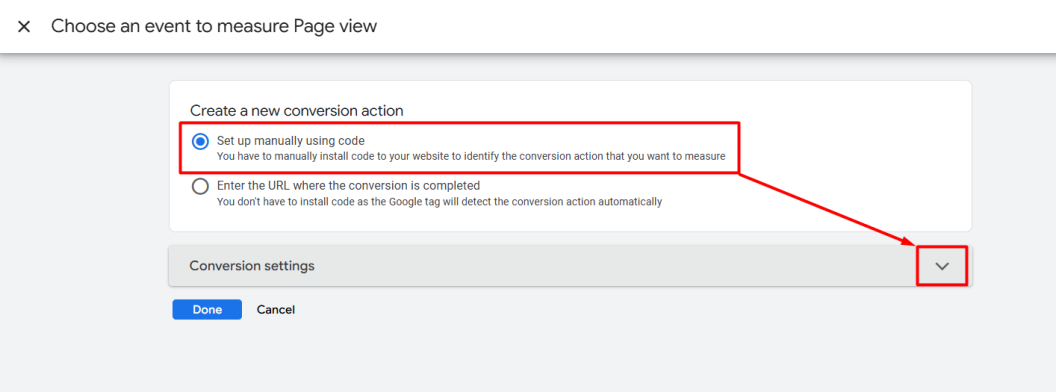
Step 9: Choose Set up manually using code > click the drop down icon of Conversion settings.
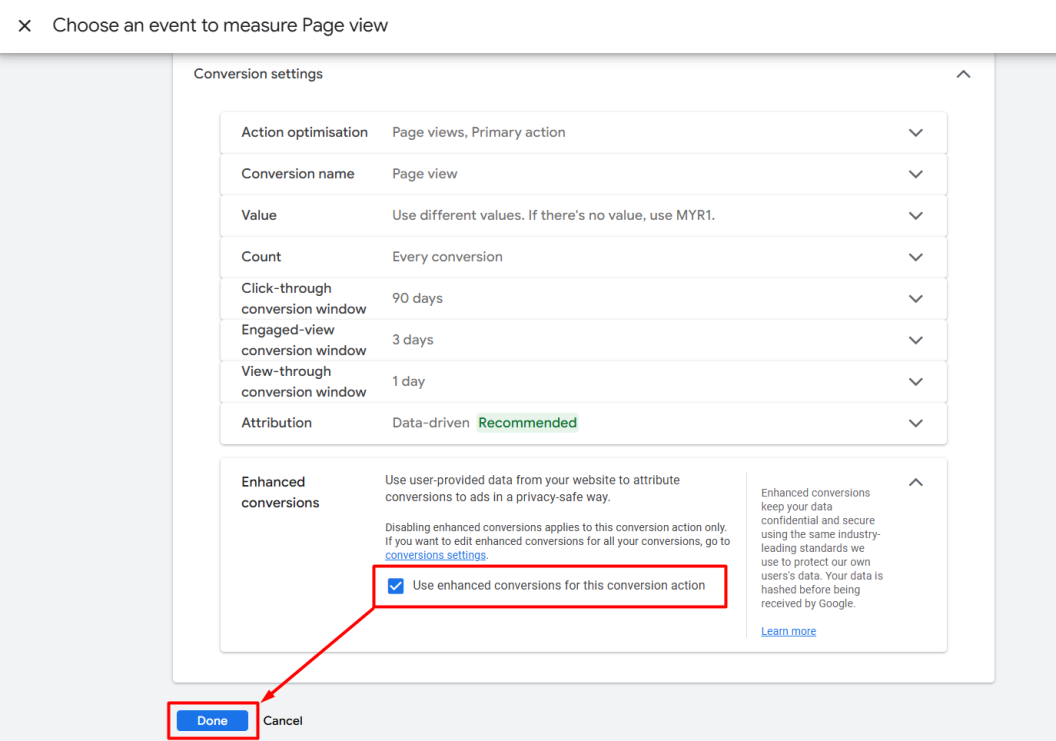
Step 10: Scroll down to Enhanced conversions section > tick Use enhanced conversions for this conversion action > Done.
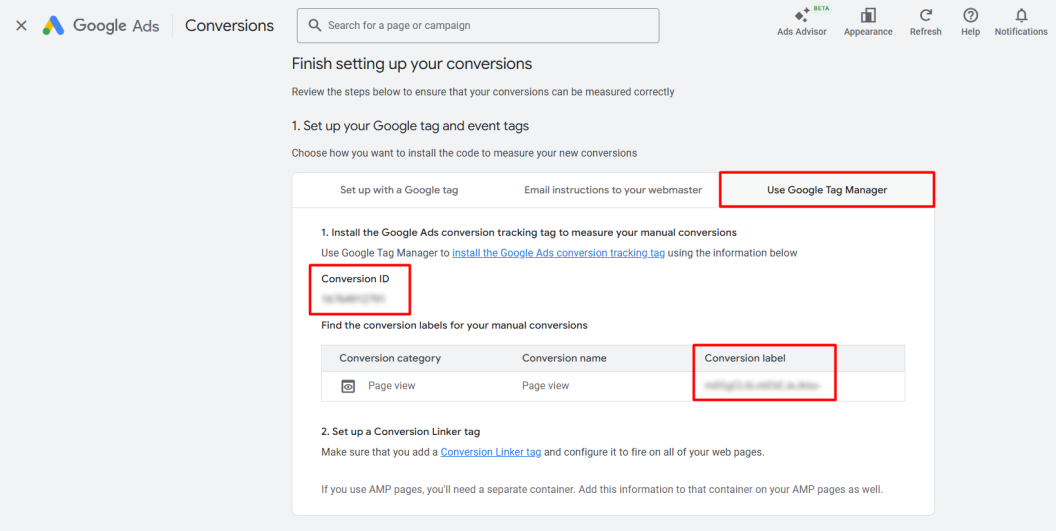
Step 11: Choose Use Google Tag Manager > copy the Conversion ID and Conversion label for later use.
3. Set Up Google Ads Conversion Tracking
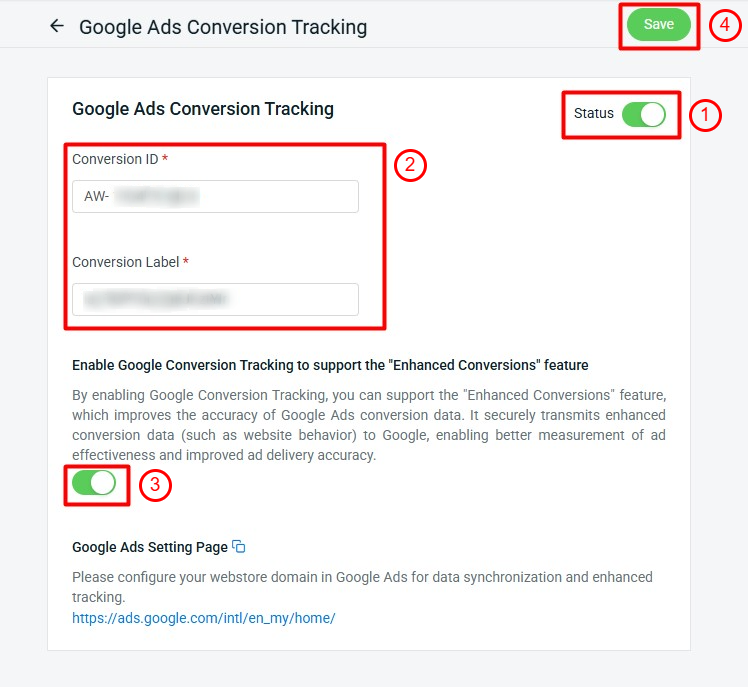
Step 1: Login to SiteGiant Seller Center > navigate to Apps on the sidebar menu > Webstore & Shopping App > Google Ads Conversion Tracking.
Step 2: Enable Status > paste the Conversion ID and Label that you copied > toggle On button if you wish to support Enhanced Conversions > Save.
Step 3: Back to the dashboard and Clear Cache to see the changes on your Webstore.
📌Note: You may test your conversion events by using Google Tag Assistant.