1. Introduction
2. Bulk Stock Adjustment
3. Stock Adjustment
4. Import Item List With Excel
5. Additional Information
1. Introduction
Managing your inventory just got simpler with our Stock Adjustment feature. It’s a tool that lets you easily update your inventory levels and sync them to all of your marketplaces.
⚠️Important Note:
1. Before starting, make sure all your products from marketplaces have performed Bulk Inventory Linking and linked with the correct inventory items.

2. Please ensure the Update Stock button is enabled in Sales Channels Settings.
2. Bulk Stock Adjustment
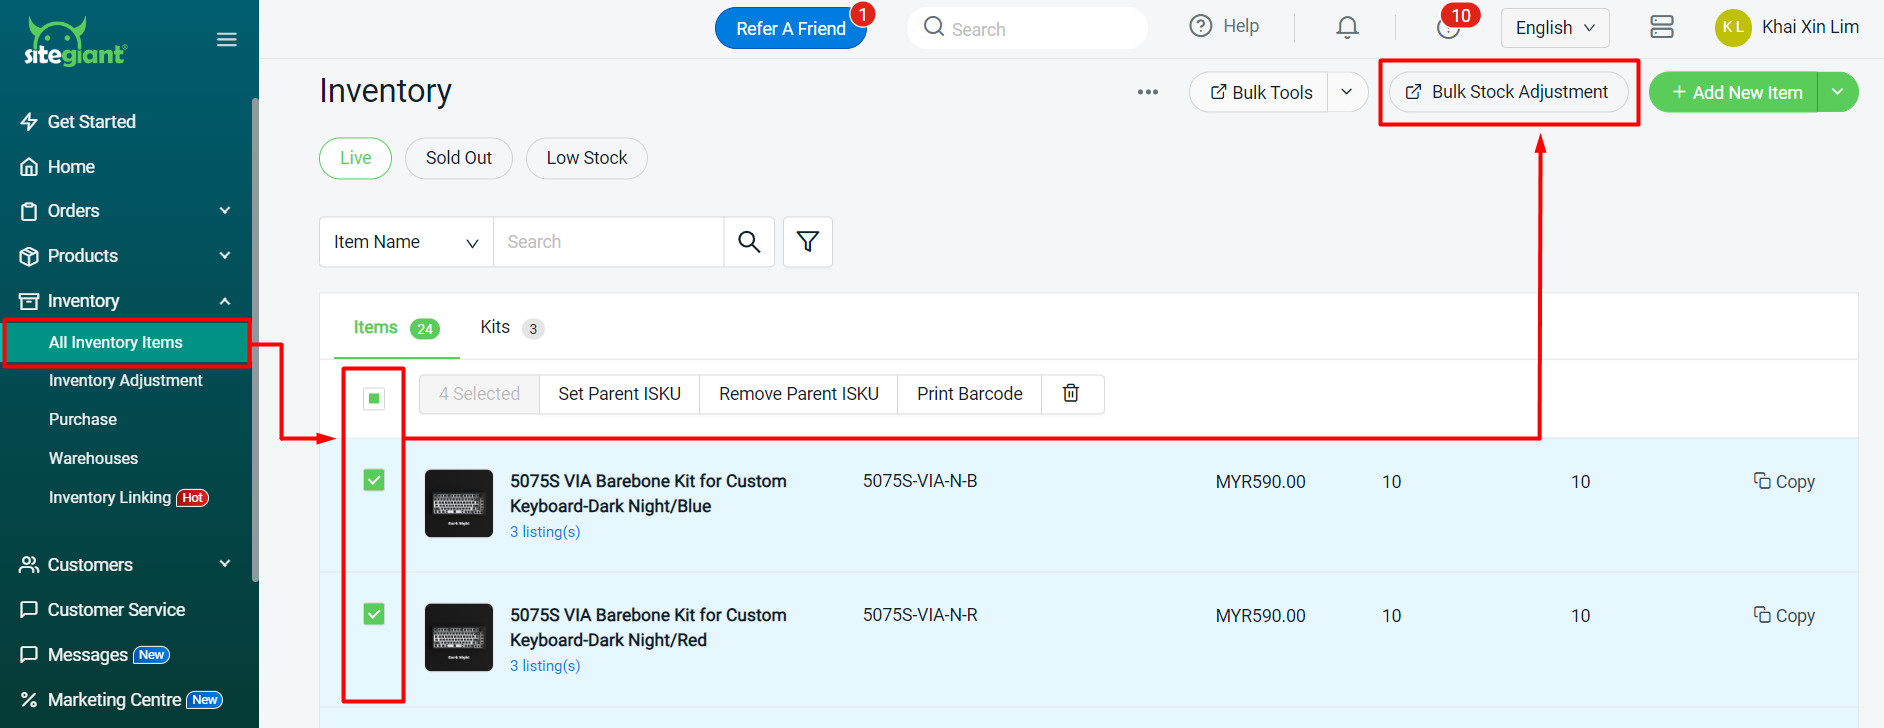
The Bulk Stock Adjustment feature allows you to easily select the inventory items and update your stock quantities on the All Inventory Items page.
Step 1: Navigate to Inventory > All Inventory Items > select the inventory items that you wish to update stock > Bulk Stock Adjustment.
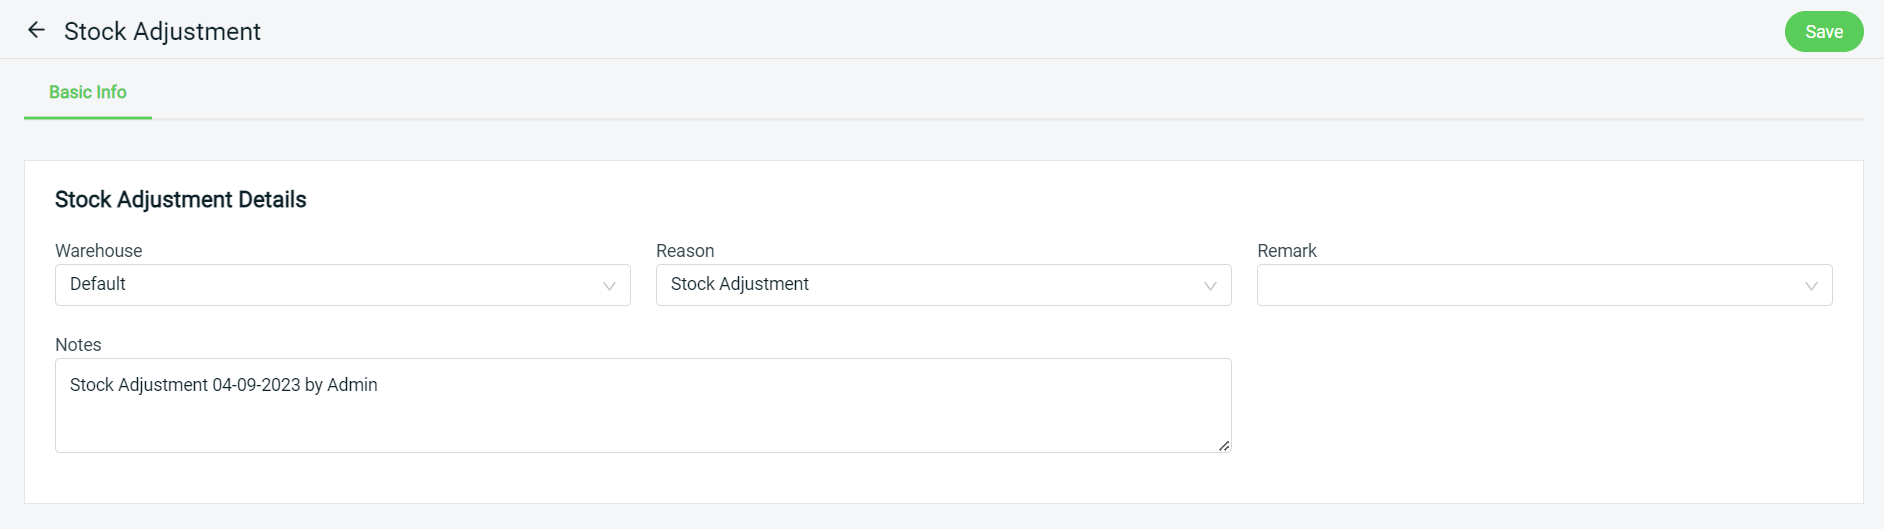
Step 2: Selected item(s) will be added to the Stock Adjustment page. Fill in Stock Adjustment Details such as Warehouse*, Reason*, Remark and Notes.
Step 3: Edit the stock quantities by Racks, Sellable (After), On Hand (After) or Quantity Change. Changing either 1 field will reflect on the others too.
Step 4: Once done, click on the Save button on the top right.
3. Stock Adjustment
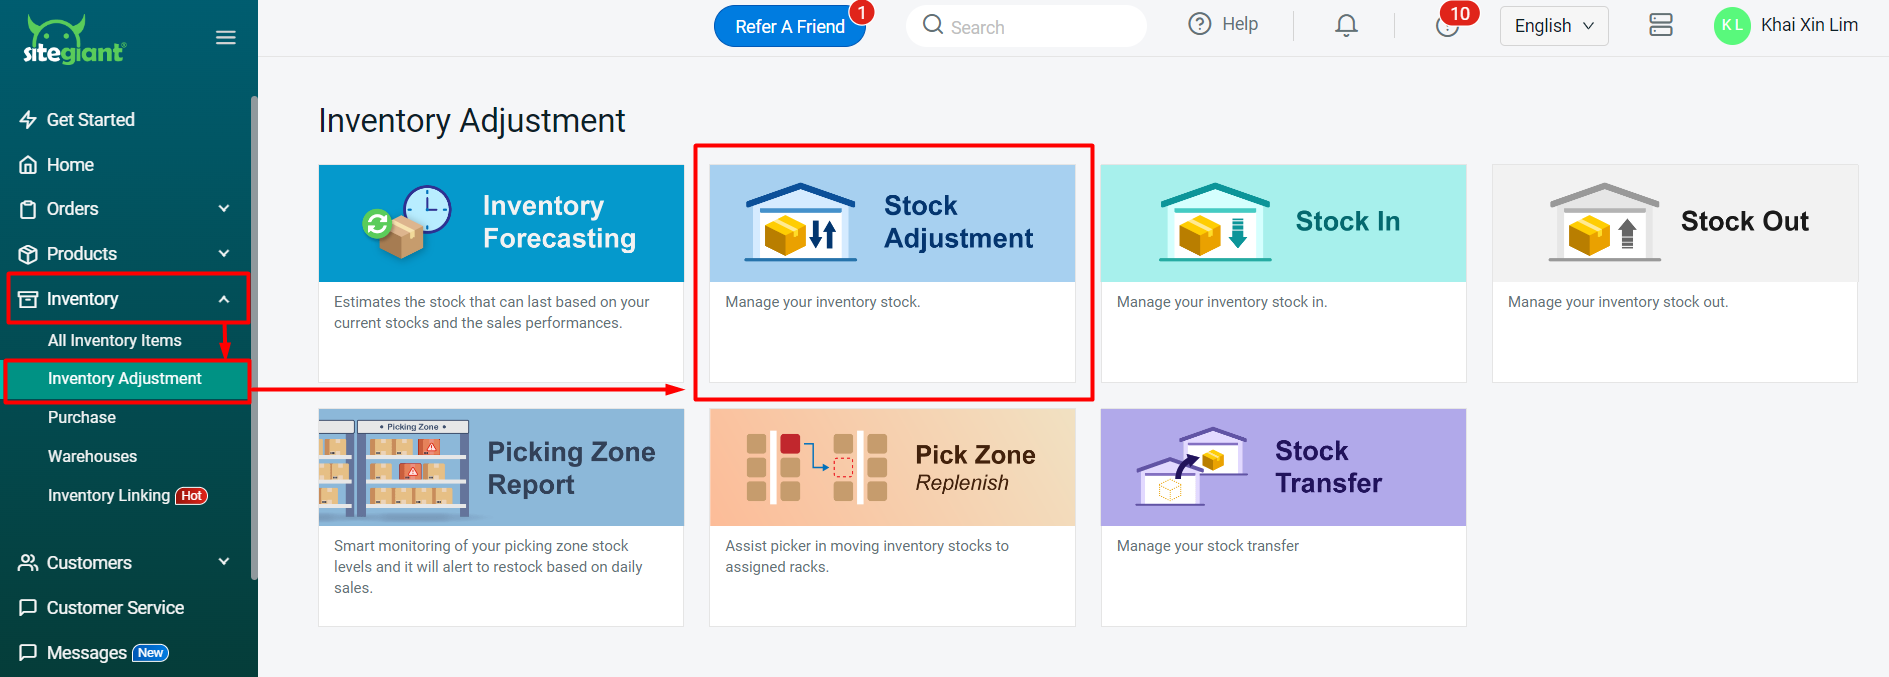
Step 1: Navigate to Inventory > Inventory Adjustment > Stock Adjustment.
Step 2: Click on the + Add Stock Adjustment button.

Step 3: Fill in Stock Adjustment Details such as Warehouse*, Reason*, Remark and Notes.
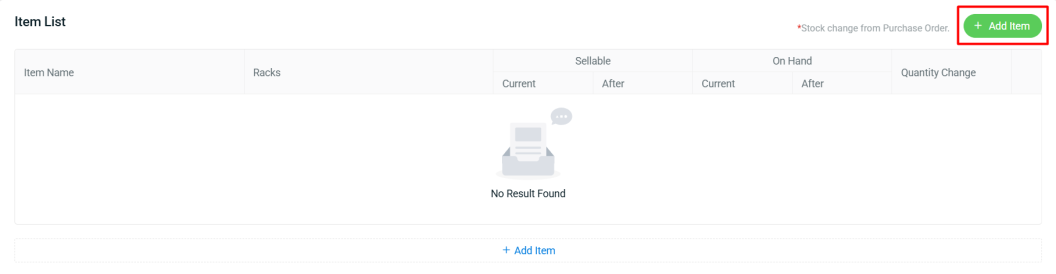
Step 4: Click on the + Add Item button.
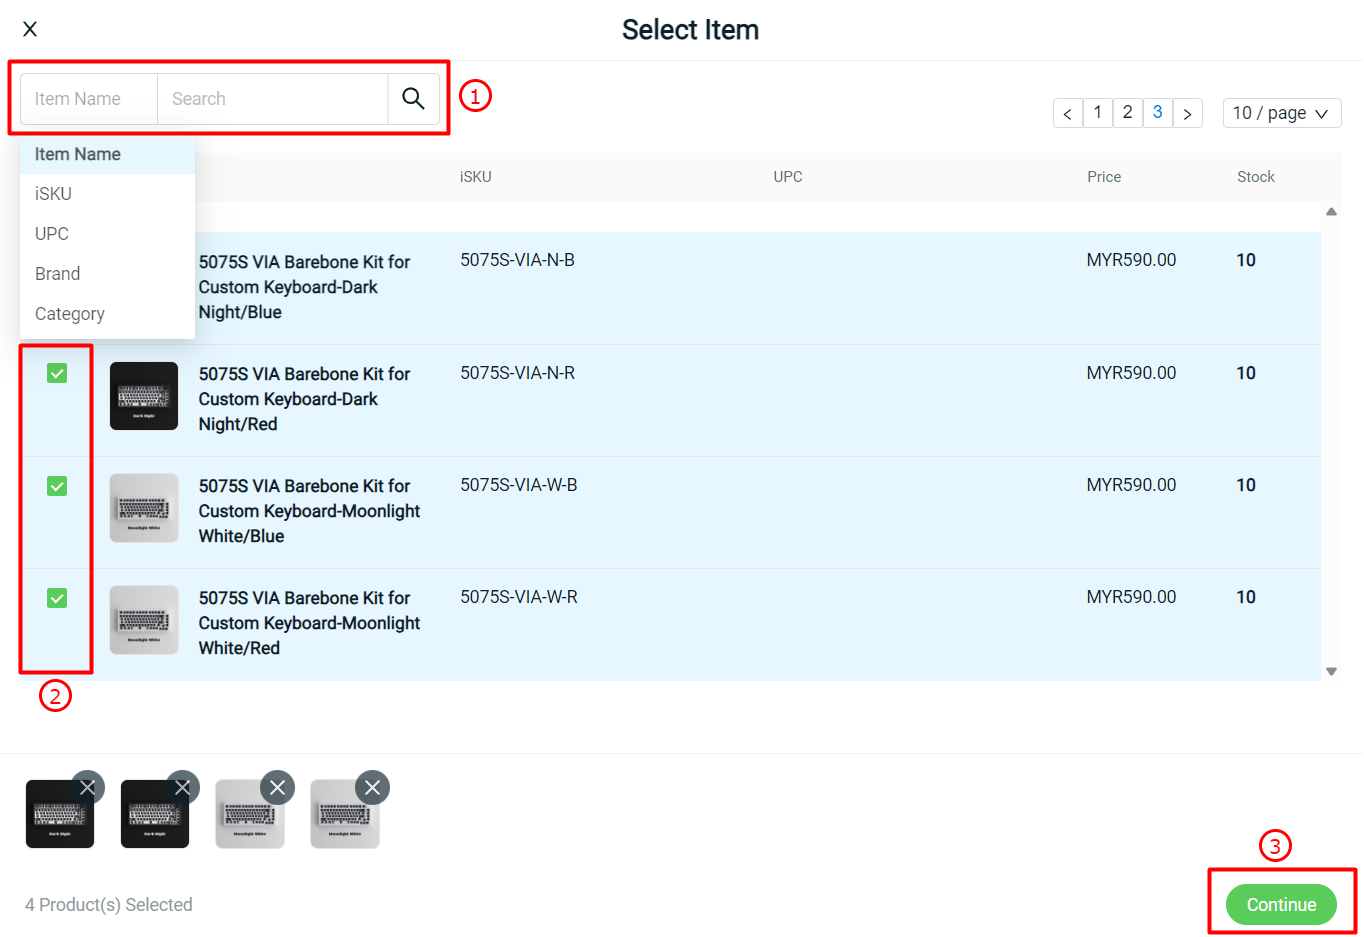
Step 5: You may search for your inventory item > select the item(s) > Continue.
Step 6: Edit the stock quantities by Racks, Sellable (After), On Hand (After) or Quantity Change. Changing either 1 field will reflect on the others too.
Step 7: Once done, click on the Save button on the top right.
4. Import Item List With Excel
Step 1: Navigate to Inventory > Inventory Adjustment > Stock Adjustment.
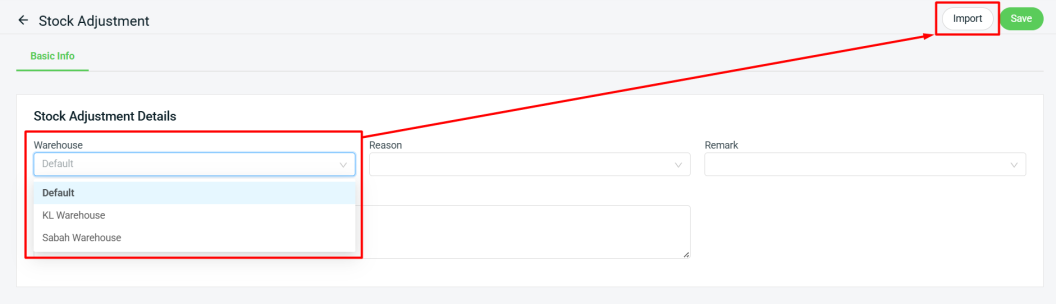
Step 2: Click on the + Add Stock Adjustment button.

Step 3: Select Warehouse > Import.
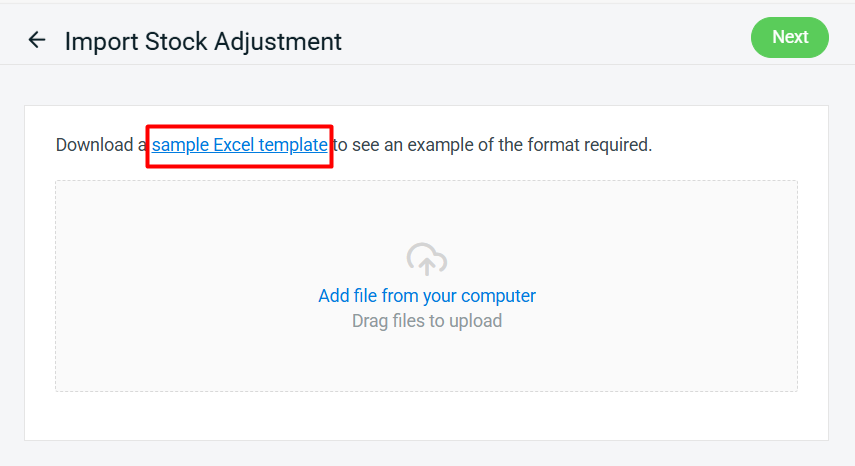
Step 4: Download the sample Excel template.
Step 5: Fill in the inventory details field in the Excel file.
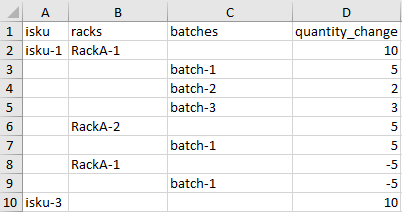
📌Note: Columns with * are required.
| Column | Description | Sample Data |
| isku* | Unique code to identify inventory item | shirt-black-s |
| racks | Storage location of inventory item | A-1 |
| batches | Grouping of inventory with same expiry date (Only applicable to ERP Ultimate X1 plan and above) | 2025-01-01-iYp73zme |
| quantity change* | The stock level that you wish to adjust (+/-) | 10 / -10 |
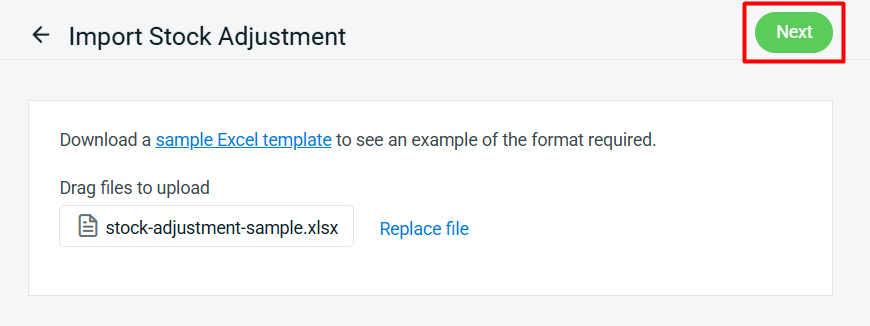
Step 6: Back to SiteGiant Import Stock Adjustment page > upload the Excel file > Next.
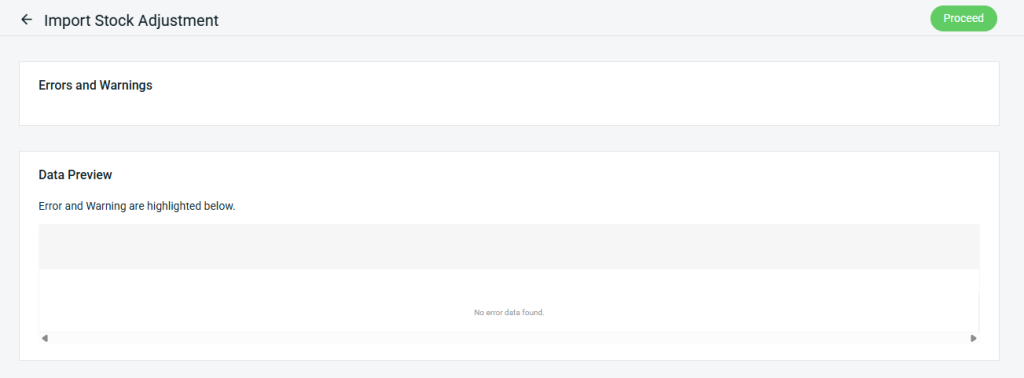
Step 7: If there are any errors in the Excel uploaded, you will see the error message in Errors and Warnings and it will show the error column in the Data Preview. Amend the error column and reupload the file. Click on Proceed if the file uploaded does not have errors.
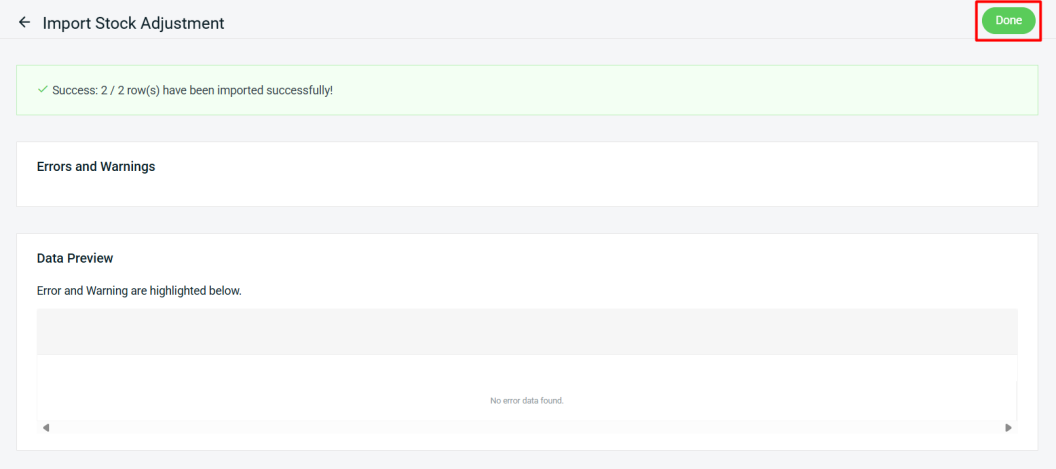
Step 8: Click Done.
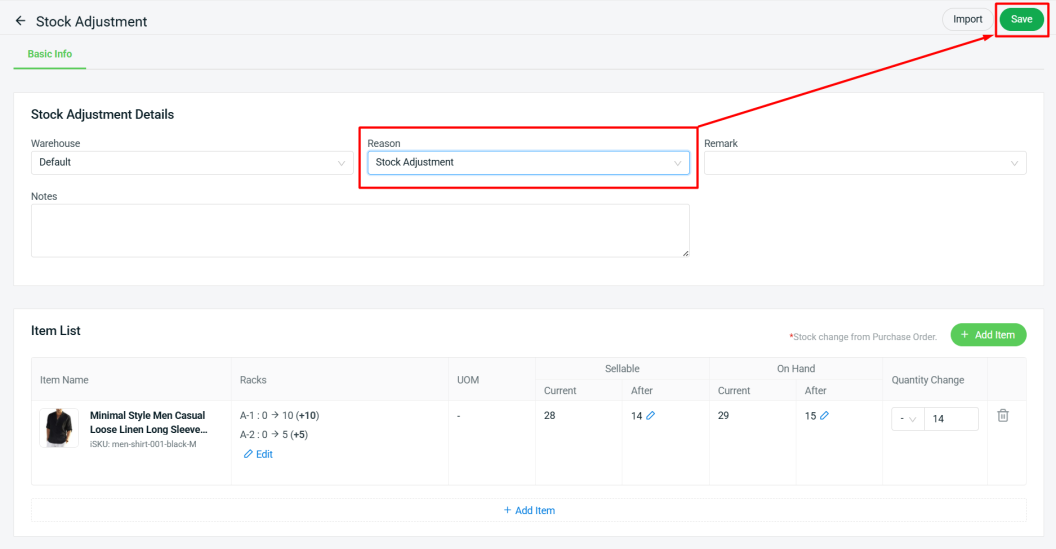
Step 9: The imported item(s) will be added to Item List. Continue to complete the Stock Adjustment Details such as Reason*, Remark and Notes > Save.
📝Additional Information
1. Stock Adjustment Record
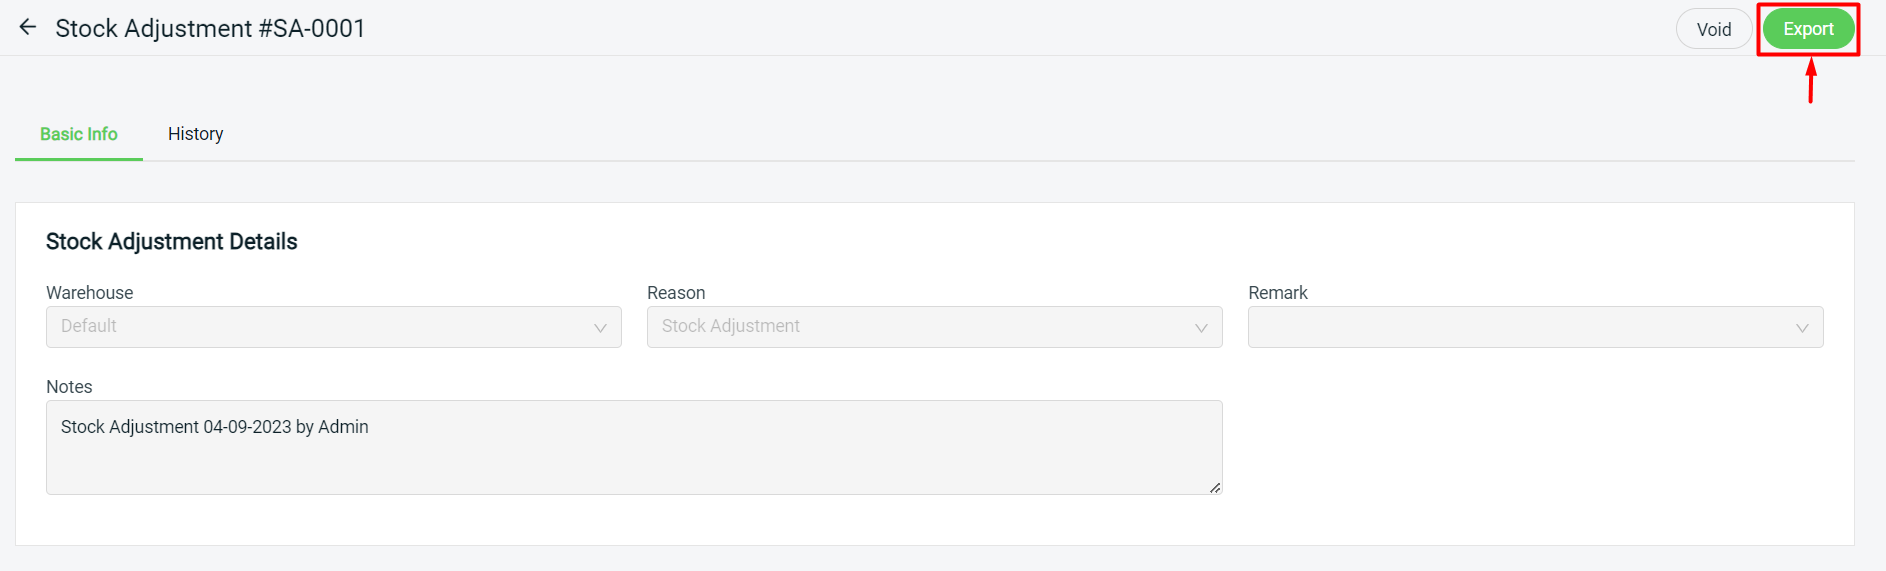
After saving the Stock Adjustment, a Stock Adjustment ID will be created.

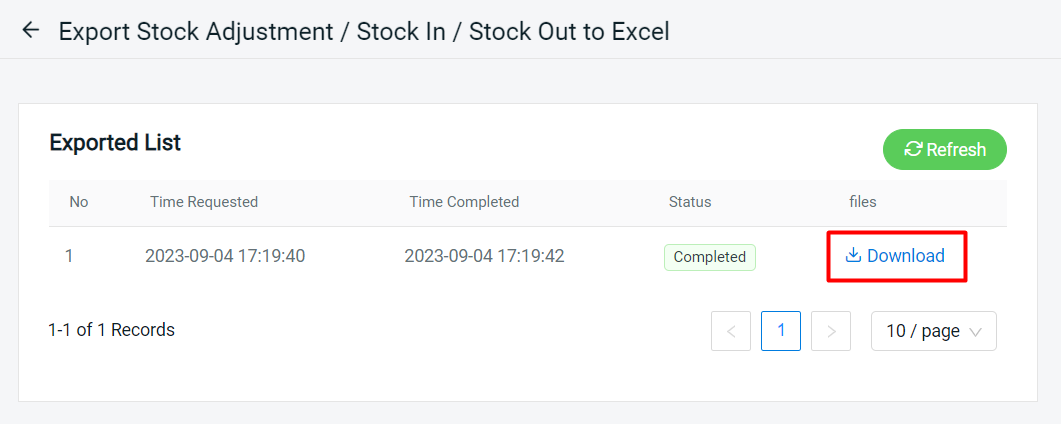
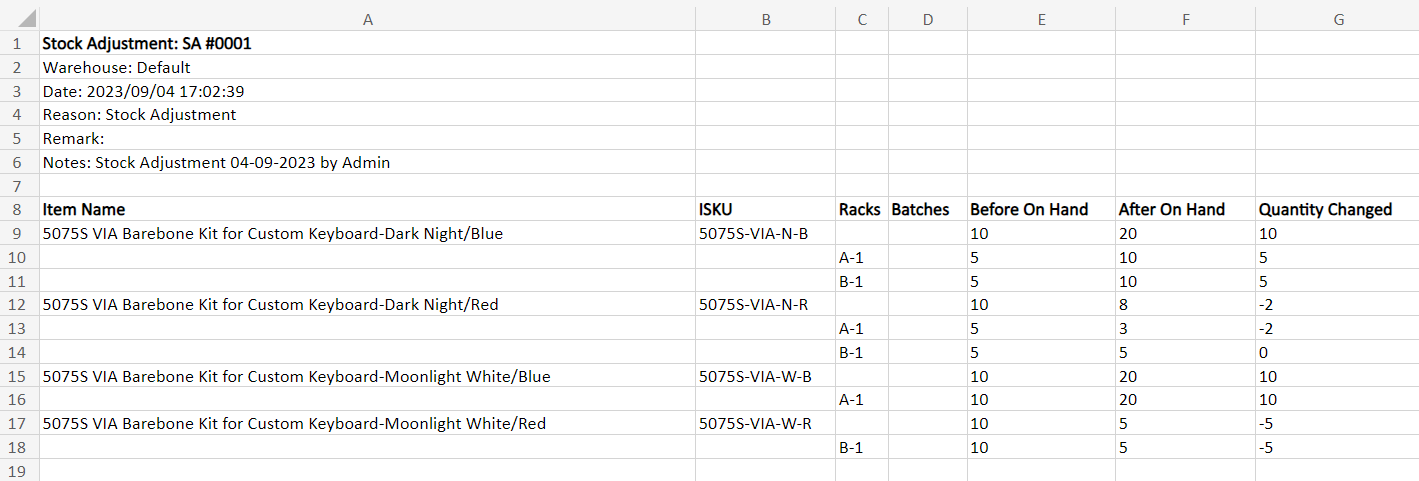
2. Export Stock Adjustment
Export and download the Stock Adjustment Excel file for further references.
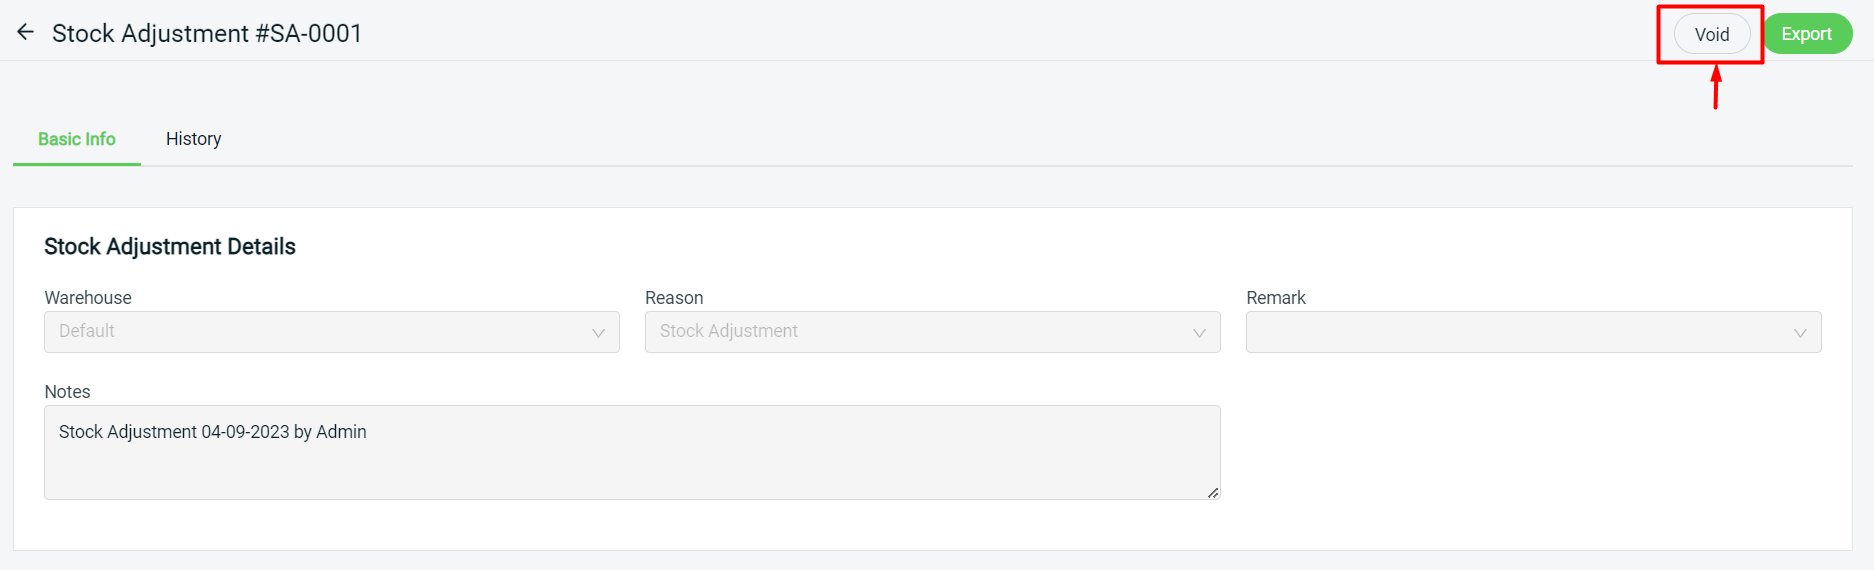
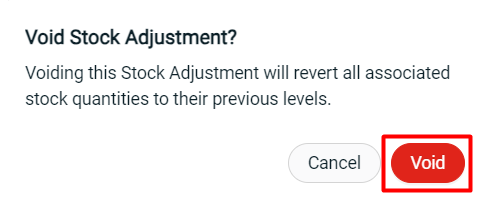
3. Void Stock Adjustment
Voiding the Stock Adjustment will revert all associated stock quantities to their previous levels.