1. Introduction
2. Stock Adjustment With Excel
1. Introduction
This feature allows you to manage and update your inventory stock for SiteGiant and marketplaces with Excel.
2. Stock Adjustment With Excel
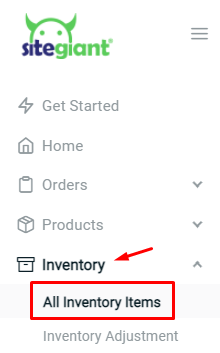
Step 1: Navigate to Inventory > All Inventory Items.

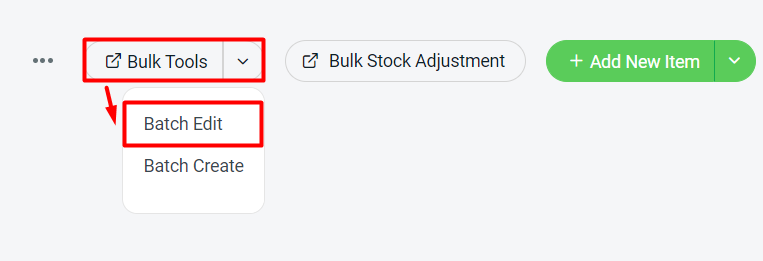
Step 2: Click on Bulk Tools > choose Batch Edit.

Step 3: Under download, select info type as Inventory > choose the warehouses > you can choose to filter by category or brands > Generate.

Step 4: Download the generated excel file (zipped).

Step 5: Update either quantity_change or ‘new_stock_on_hand column for inventory stock adjustment

?Note: If both quantity_change and new_stock_on_hand columns are filled, the system will update based on the quantity_changed.
Column with * is Not Editable.
| Column | Description |
| *name | The Inventory Item name |
| *isku | The iSKU of the Inventory Item |
| *warehouse | The allocated warehouse of the Item |
| *rack | If there is a rack set for your Item, you may insert the rack name |
| *stock_on_hand | The current stock you have in the warehouse |
| quantity_changed | The stock level that you wish to adjust (+/-) |
| new_stock_on_hand | Adjust the total new Stock On Hand quantity of the item |
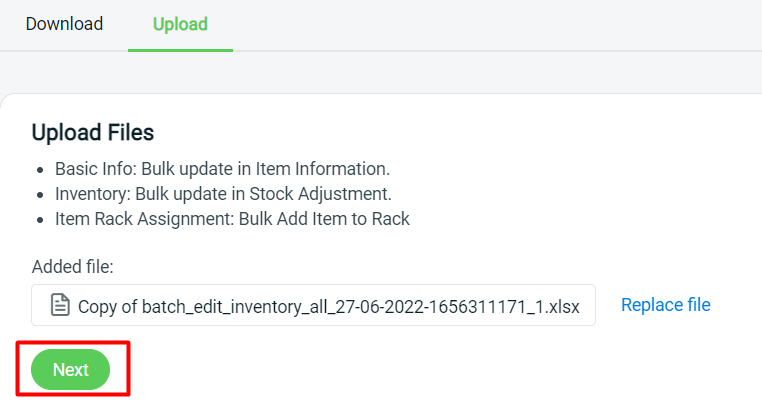
Step 6: Back to SiteGiant Batch Edit Upload page > upload the Excel file > Next.

Step 7: If there are any errors in the Excel uploaded, you will see the error message in Errors and Warnings and it will show the error column in the Data Preview. Amend the error column and reupload the file. Click on Proceed if the file uploaded does not have errors.

Step 8: Click Done to complete the process.

