Array ( [0] => Array ( [0] => Array ( [label] => Home [link] => https://support.sitegiant.com/en [title] => Home [type] => blog_home ) [1] => Array ( [label] => Products [link] => https://support.sitegiant.com/en/article-categories/products-en/ [title] => View all posts in Products [type] => kb_tax ) [2] => Array ( [label] => How To Create New Shopify Listing (Without Variant) [link] => https://support.sitegiant.com/en/knowledge-base/how-to-create-new-shopify-listing-without-variant/ [title] => How To Create New Shopify Listing (Without Variant) [type] => kb_current_page ) ) [1] => Array ( [0] => Array ( [label] => Home [link] => https://support.sitegiant.com/en [title] => Home [type] => blog_home ) [1] => Array ( [label] => Sales Channel : Shopify [link] => https://support.sitegiant.com/en/article-categories/shopify/ [title] => View all posts in Sales Channel : Shopify [type] => kb_tax ) [2] => Array ( [label] => How To Create New Shopify Listing (Without Variant) [link] => https://support.sitegiant.com/en/knowledge-base/how-to-create-new-shopify-listing-without-variant/ [title] => How To Create New Shopify Listing (Without Variant) [type] => kb_current_page ) ) )
  1. Products
  2. How To Create New Shopify Listing (Without Variant)
  1. Sales Channel : Shopify
  2. How To Create New Shopify Listing (Without Variant)

How To Create New Shopify Listing (Without Variant)

1. Introduction
2. Create New Product

1. Introduction

Once integrates Shopify with SiteGiant, you can create the product listing in SiteGiant and publish it to Shopify.


2. Create New Product

Step 1: Navigate to Products > Shopify Listing

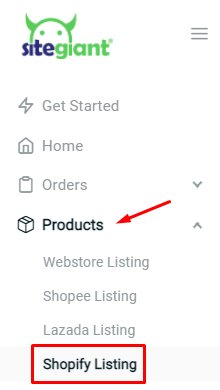
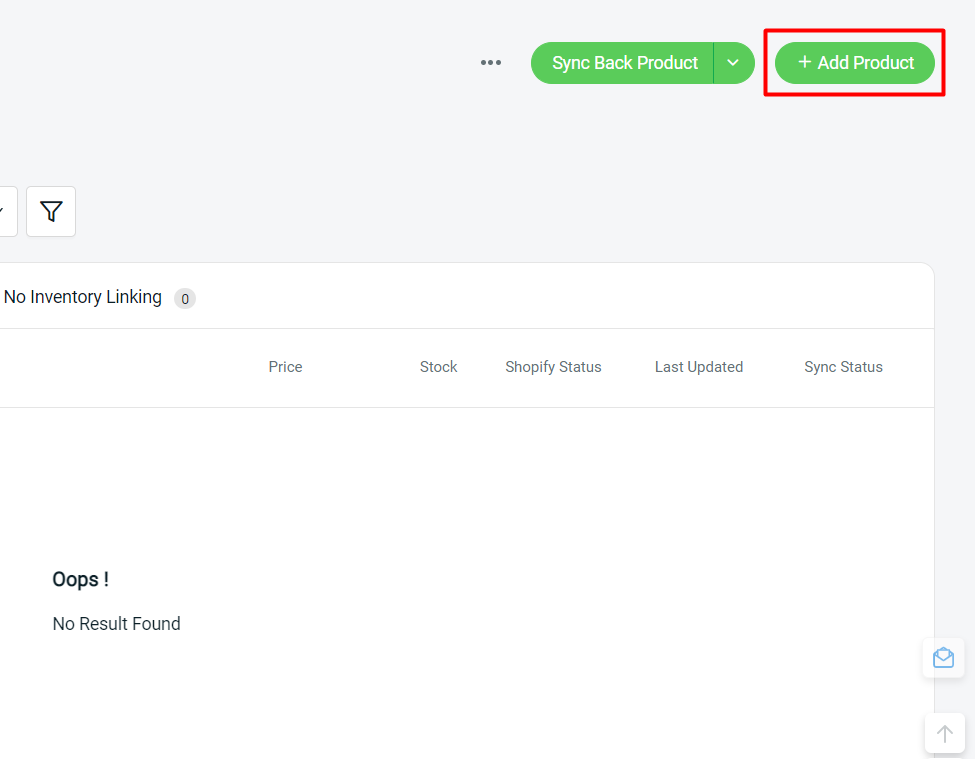
Step 2: Click on + Add Product button

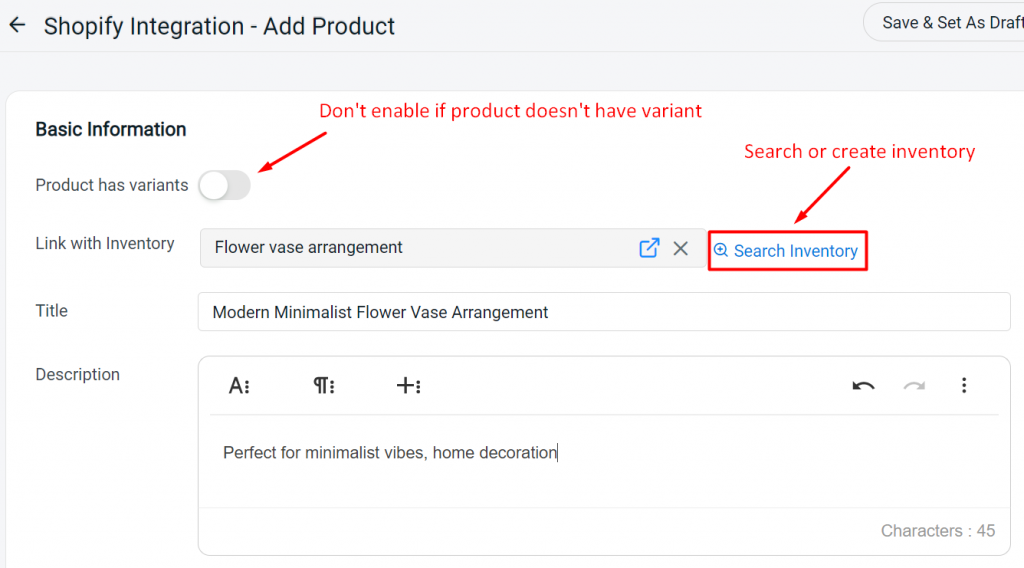
Step 3: Fill in the product basic information and link to an inventory item

Step 4: Upload the product image

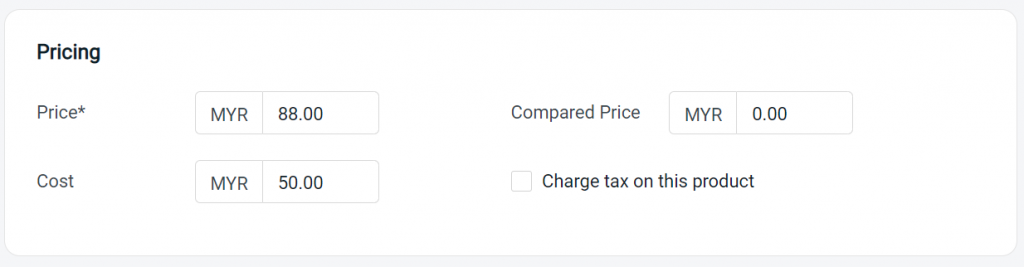
Step 5: Fill in the pricing details

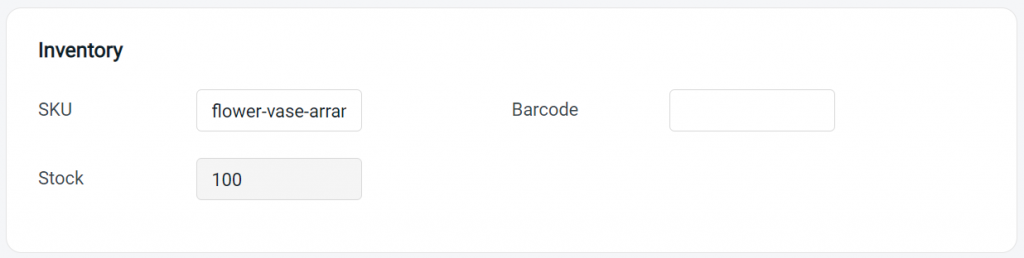
Step 6: Fill in your inventory details. (Note: The stock amount will be auto-inserted based on your inventory stock). You may also insert a Barcode if available (such as ISBN, UPC, GTIN, etc.)

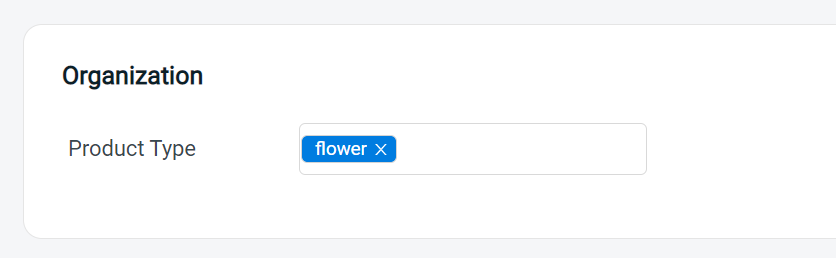
Step 7: Fill in your product type name

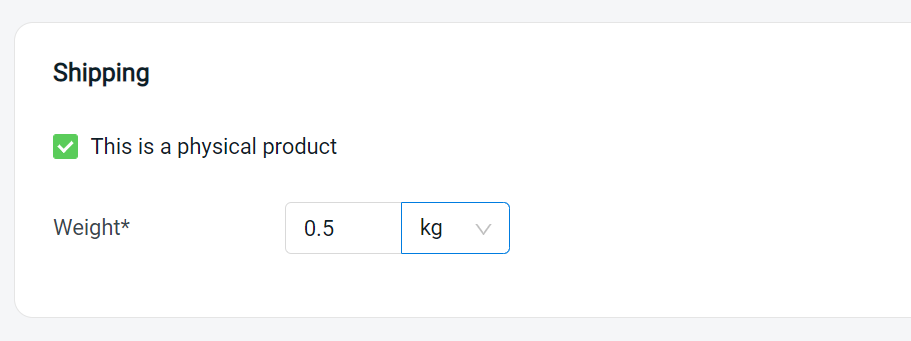
Step 8: If your product is a physical product and requires shipping, enable the Shipping option and fill in the details accordingly:

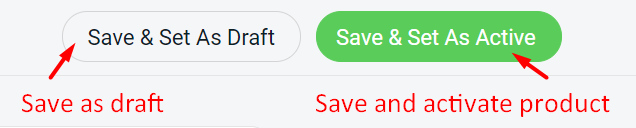
Step 9: Once all the information is filled in, you may proceed to Save either as a draft or as an active product

Step 10: And you’re done! Your draft/active products will be listed in your Shopify store accordingly.

Save as draft product sample:

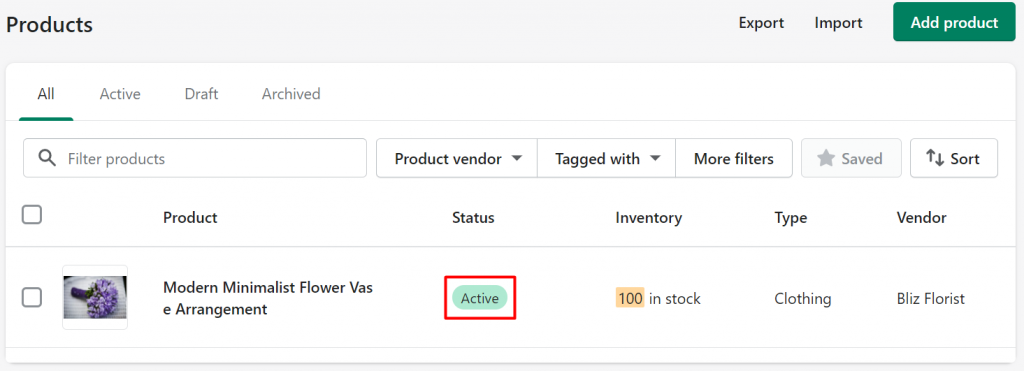
Save as active product sample:


?Additional Information

1. Bulk Copy Listing

You can copy products from Webstore Listing to Shopify Listing and vice versa. Learn More

Was this article helpful?

Need Support?
Can’t find the answer you’re looking for? Don’t worry we’re here to help!
Contact Support