
1. 簡介
2. 添加客戶群組
3. 編輯客戶群組
4. 刪除客戶群組
5. 設置預設客戶群組
1. 簡介
客戶群組讓您可以將客戶分類為不同的群組。
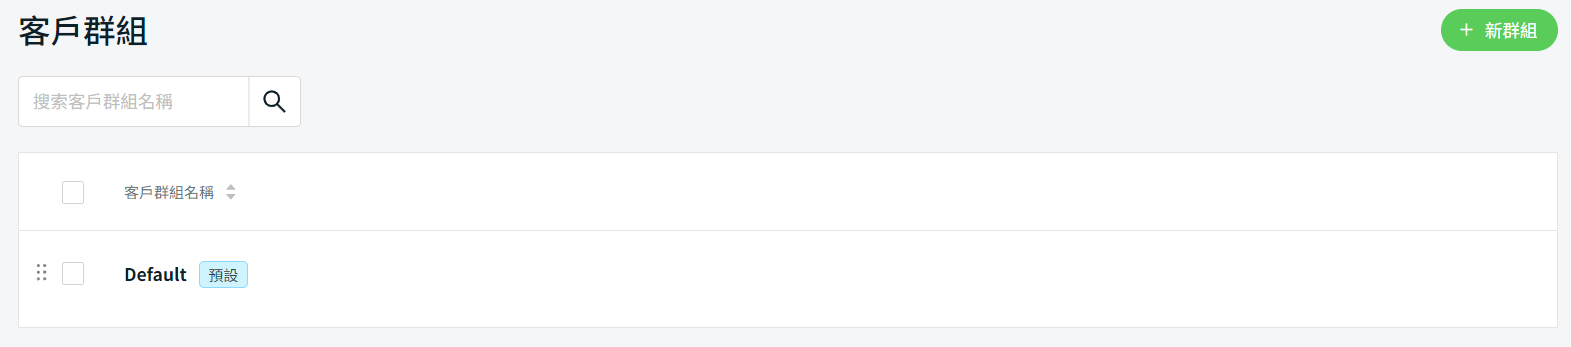
2. 添加客戶群組
步驟一:前往客戶 > 客戶群組。

步驟二:點擊 + 新群組按鈕以新增一個新的客戶群組。
步驟三:填寫客戶群組名稱 > 描述欄位是選填並僅供您參考 > 點擊保存。
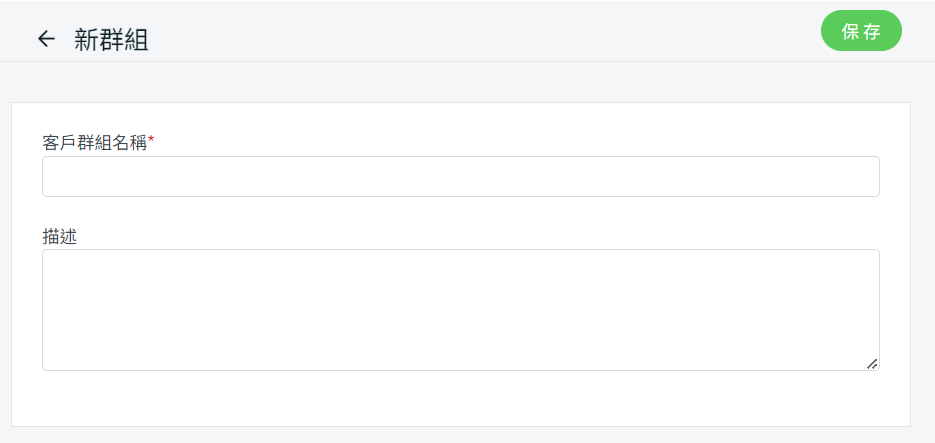
📌注意:最多可以添加 10 個客戶群組。
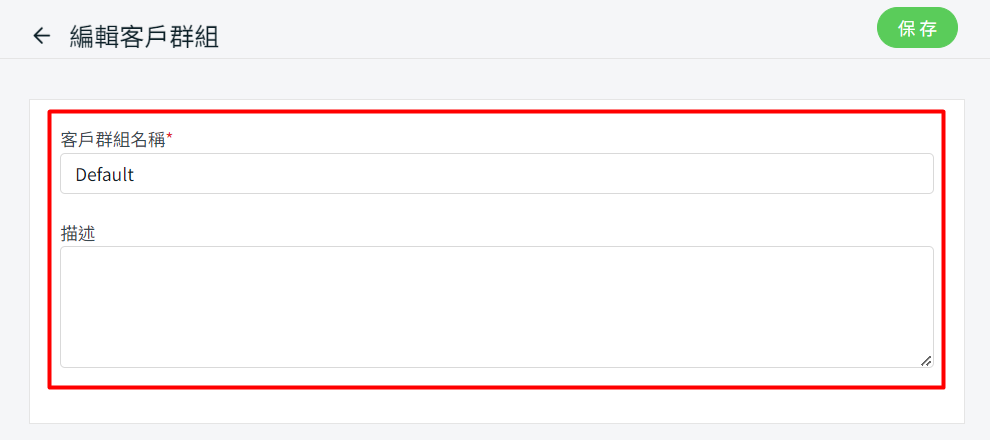
3. 編輯客戶群組
步驟一:從客戶群組頁面中,點擊客戶群組的名稱以進行編輯。

步驟二:編輯現有客戶群組的信息 > 保存。
4. 刪除客戶群組
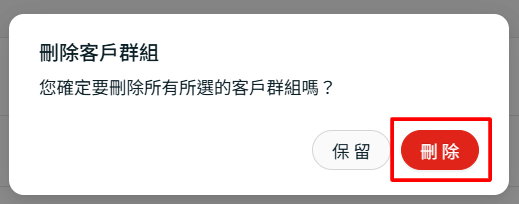
步驟一:從客戶群組頁面中,選擇客戶群組 > 點擊刪除圖標。
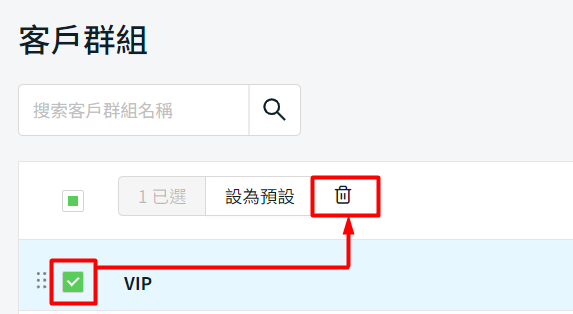
步驟二:點擊刪除以移除所選的客戶群組。
5. 設置預設客戶群組
步驟一:選擇客戶群組並設為預設。

步驟二:當客戶註冊帳戶時,他們將自動分配到預設客戶群組。