Array ( [0] => Array ( [0] => Array ( [label] => Home [link] => https://support.sitegiant.com/en [title] => Home [type] => blog_home ) [1] => Array ( [label] => Inventory [link] => https://support.sitegiant.com/en/article-categories/inventory-en/ [title] => View all posts in Inventory [type] => kb_tax ) [2] => Array ( [label] => How To Manage Warehouse [link] => https://support.sitegiant.com/en/knowledge-base/how-to-manage-warehouse/ [title] => How To Manage Warehouse [type] => kb_current_page ) ) )
  1. Inventory
  2. How To Manage Warehouse

How To Manage Warehouse

1. Introduction
2. Manage Warehouse

1. Introduction

SiteGiant will auto-generate a warehouse for you and set it as the default warehouse. If you have multiple warehouses, you can add the warehouse in SiteGiant and change the default warehouse according to your needs.


2. Manage Warehouse

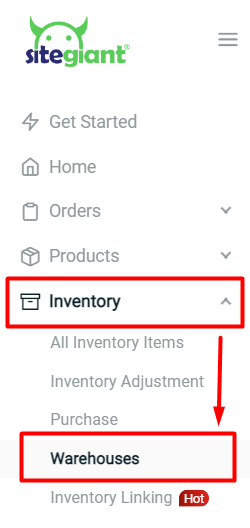
Step 1: Navigate to Inventory > Warehouses
Step 2: Click on More (…) > Manage Warehouse

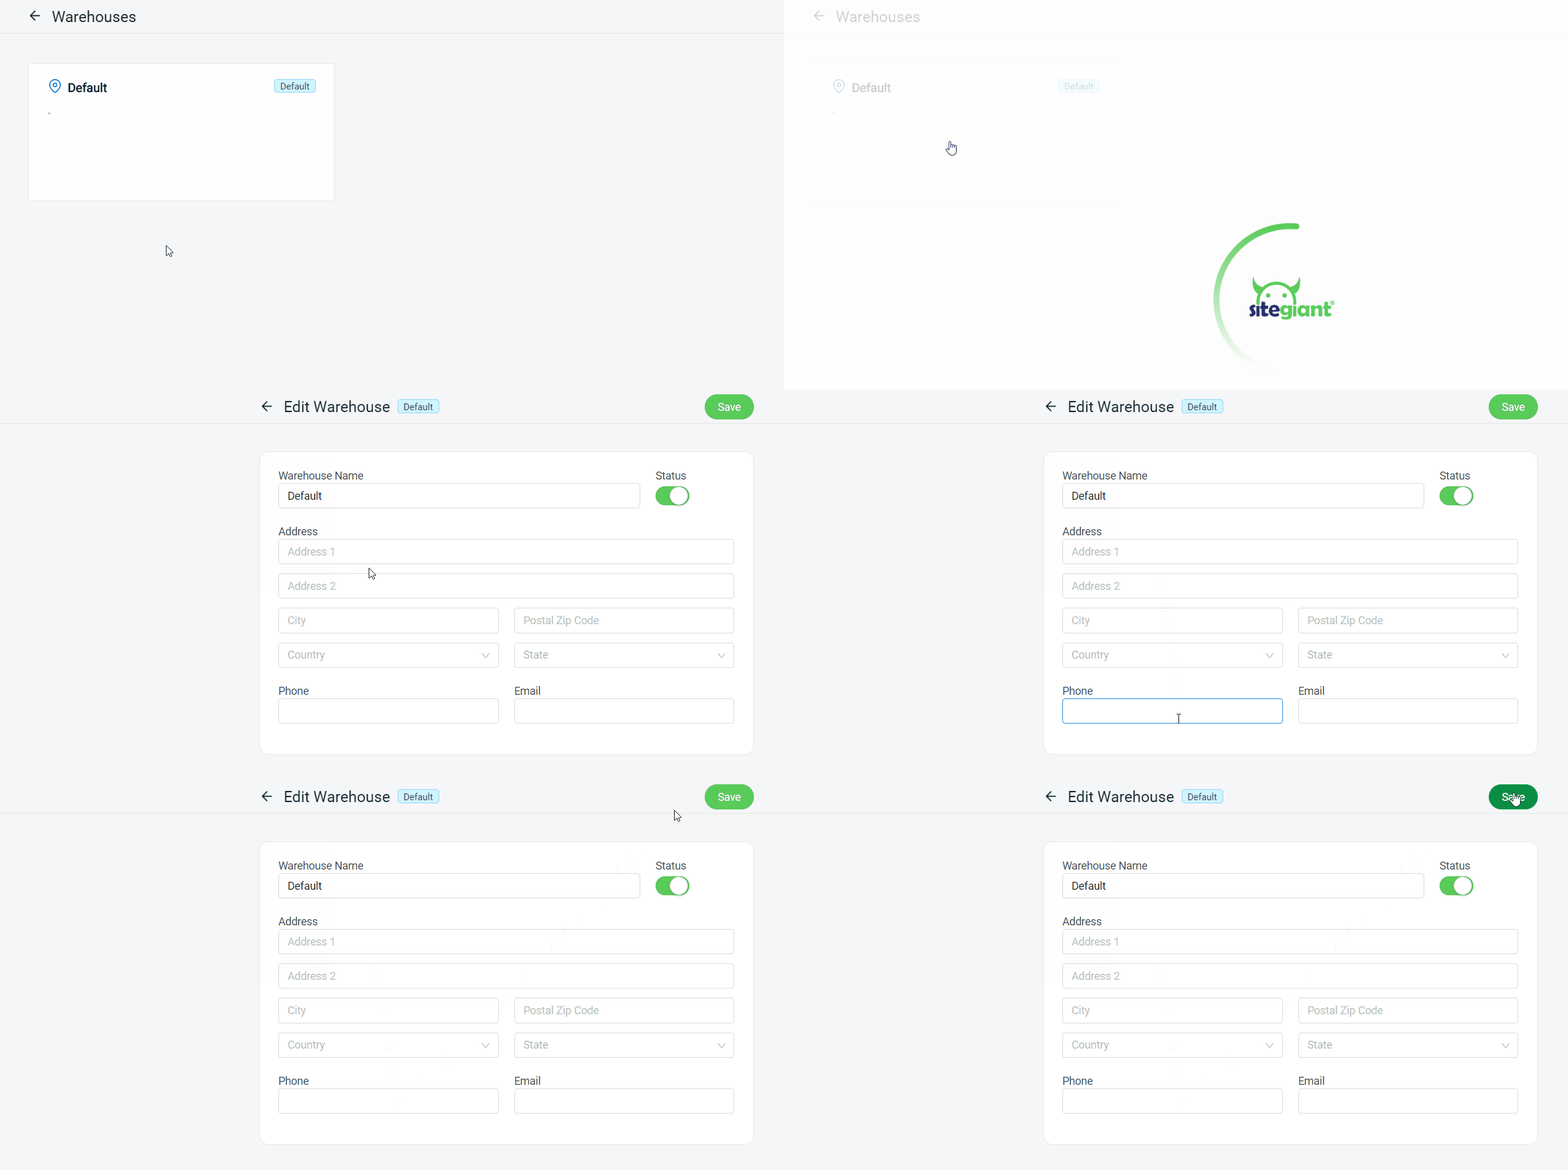
Step 3: Click into Default Warehouse > fill in warehouse details > Save
Step 4: If you have multiple warehouses, click on Add Warehouse to create a warehouse

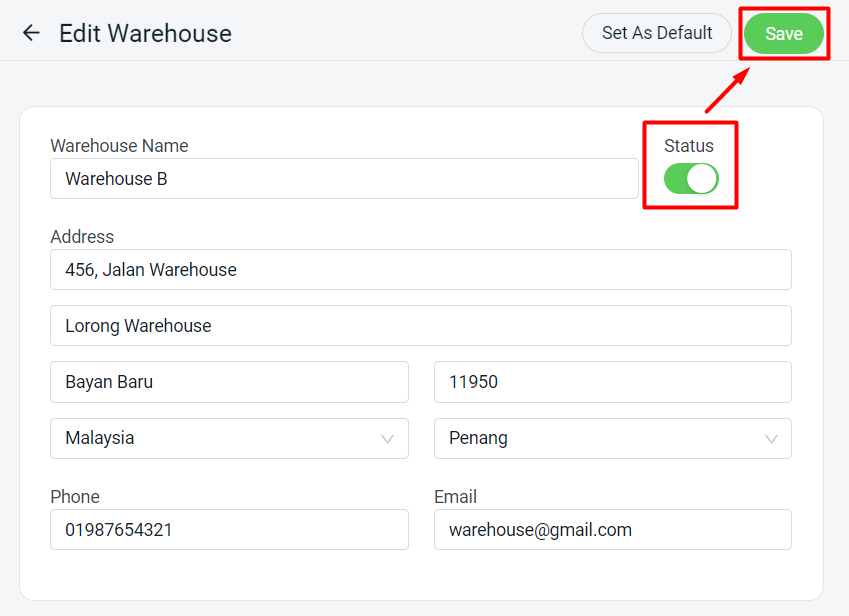
Step 5: Fill in the new warehouse details > enable the status > click Set As Default if you wish to set this warehouse as the default warehouse > Save
Was this article helpful?

Need Support?
Can’t find the answer you’re looking for? Don’t worry we’re here to help!
Contact Support