1. Introduction
2. Manage Facebook Messenger Chat Plugin
1. Introduction
Facebook Messenger Chat Plugin is a powerful tool that allows you to integrate Facebook Messenger directly into your webstore, enabling seamless communication between you and your customers. This integration brings the convenience and familiarity of Messenger to the webstore, enhancing customer engagement and support.
2. Manage Facebook Messenger Chat Plugin
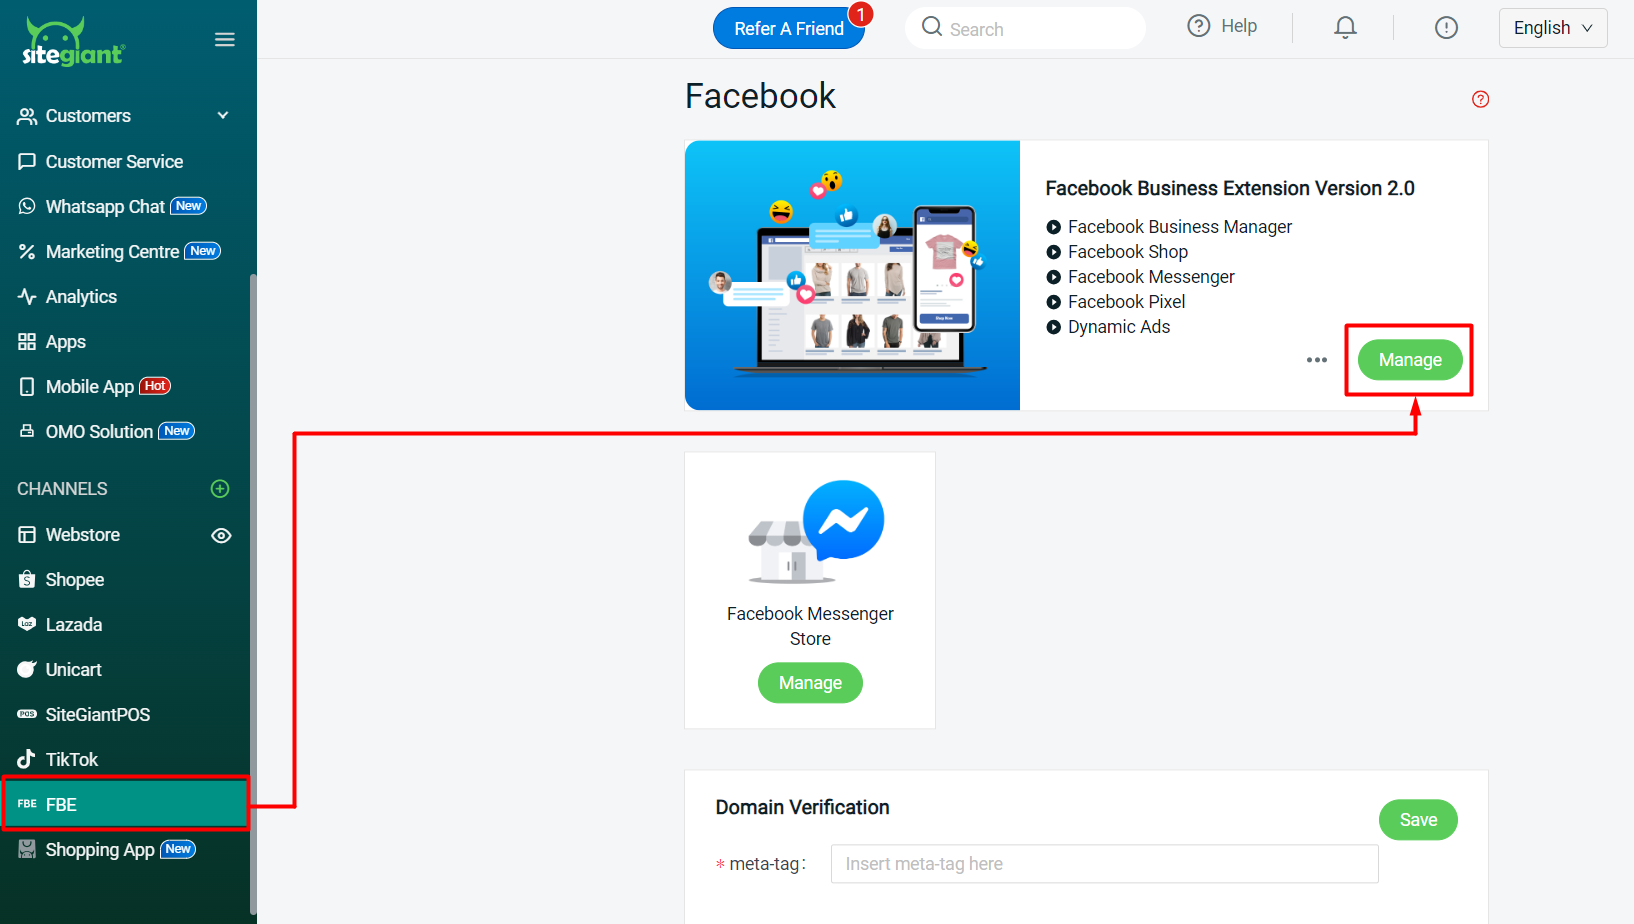
Step 1: Navigate to FBE channels on the sidebar menu > click the Manage button to enter Meta Business Suite.
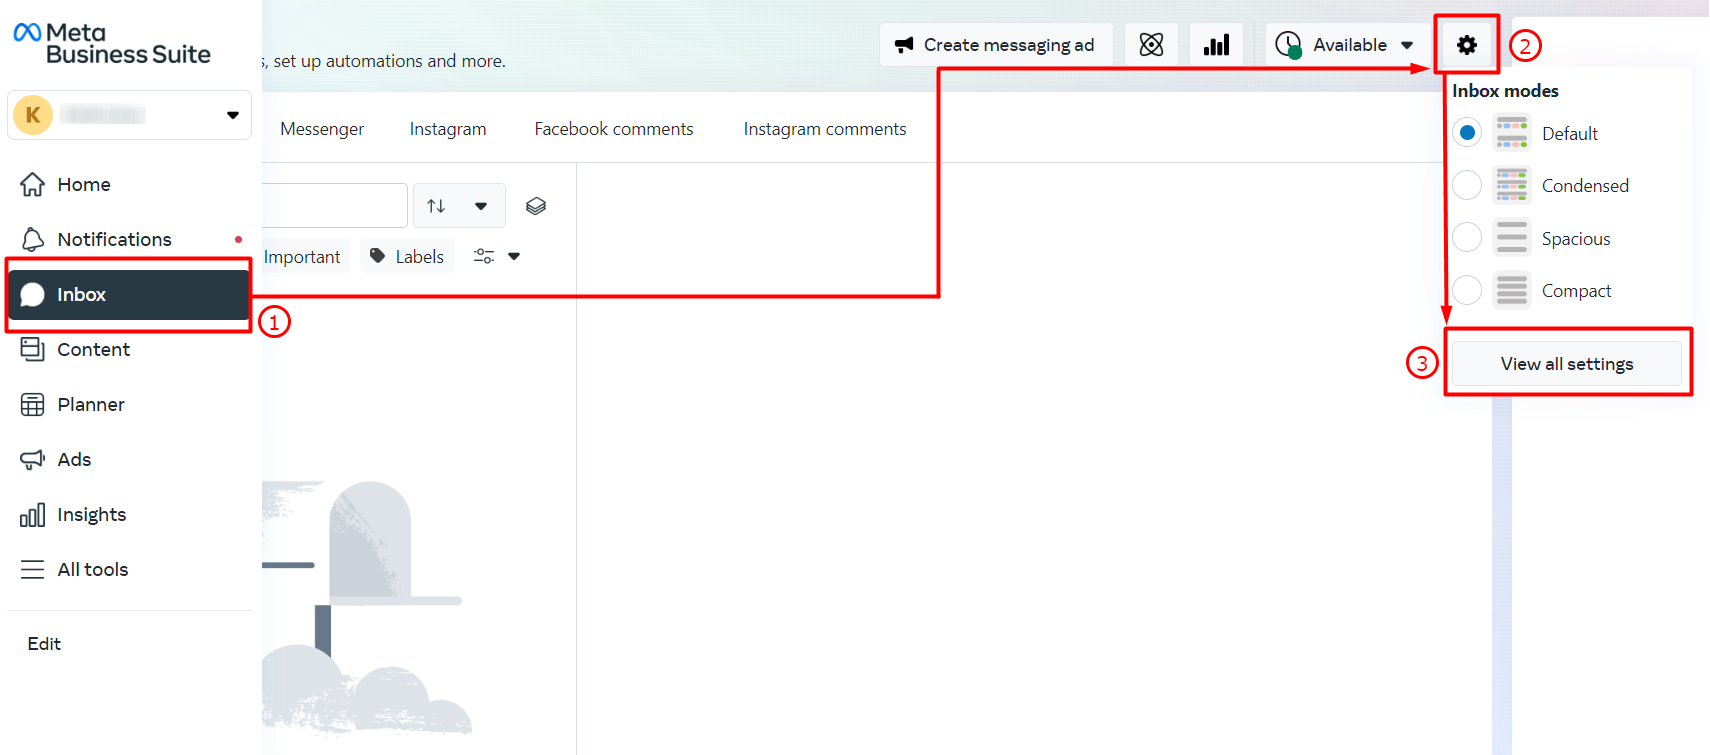
Step 2: Click on Inbox on the sidebar menu > click on the Settings icon > View all settings.
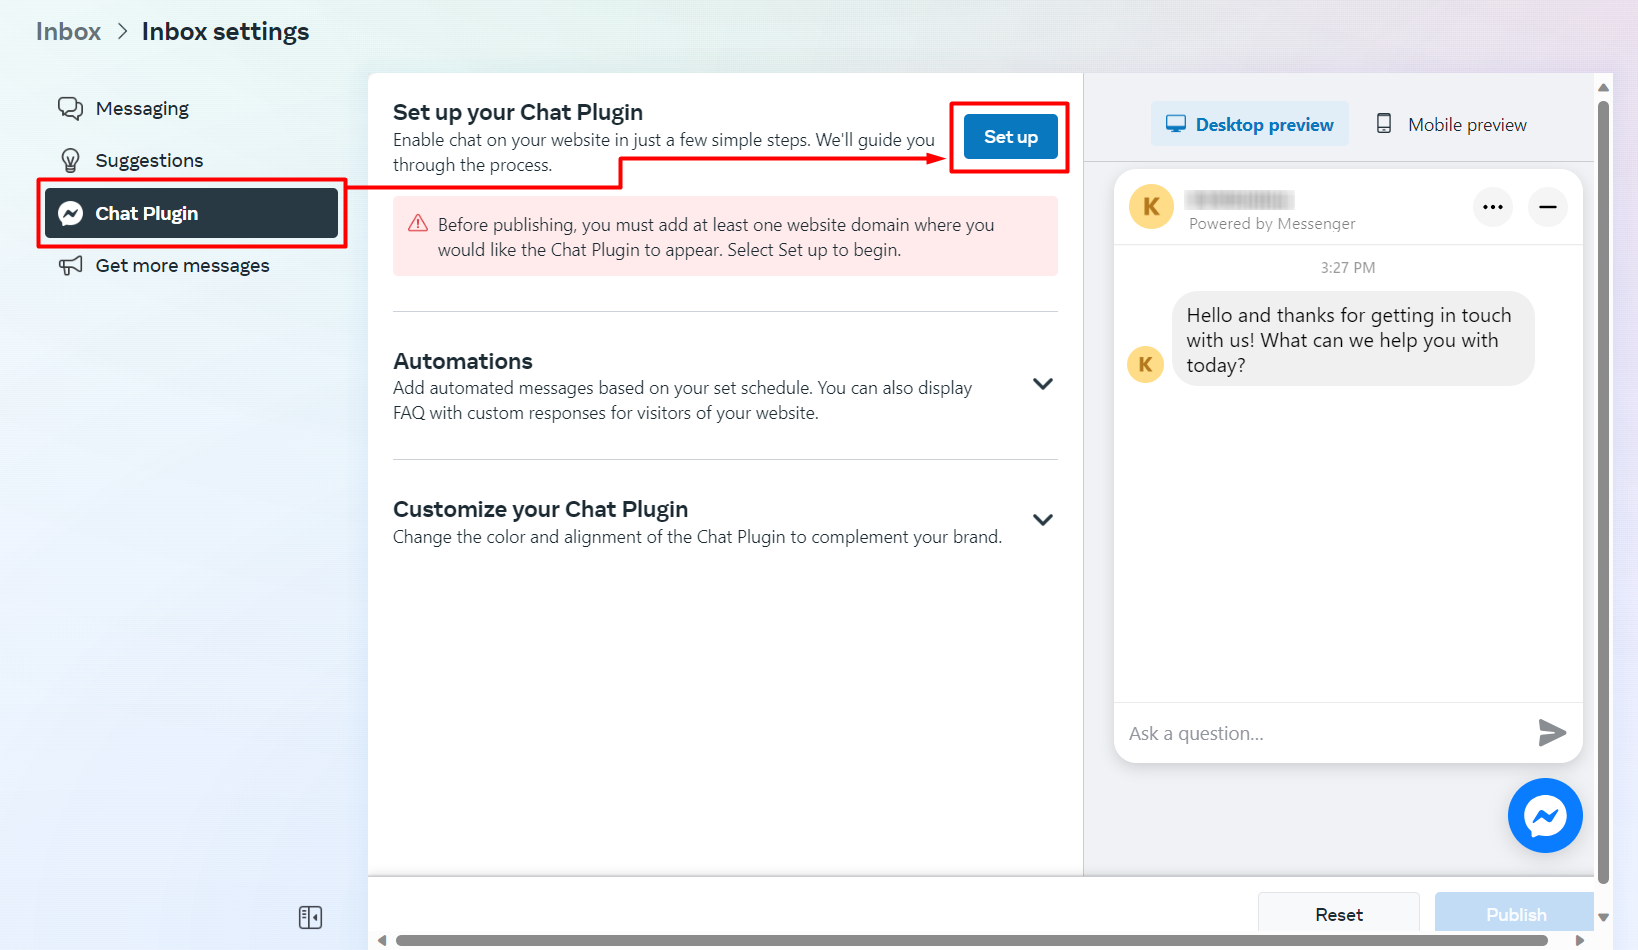
Step 3: Go to Chat Plugin > click on the Set up button to set up your Chat Plugin.
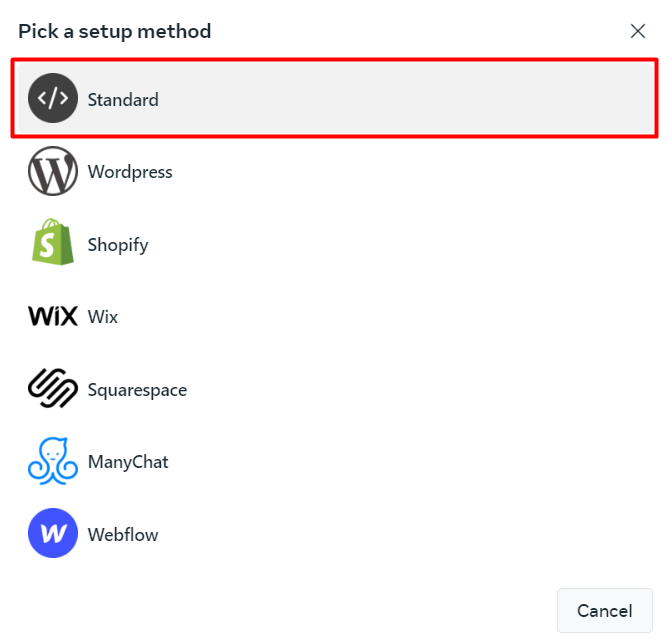
Step 4: Choose Standard as the setup method.
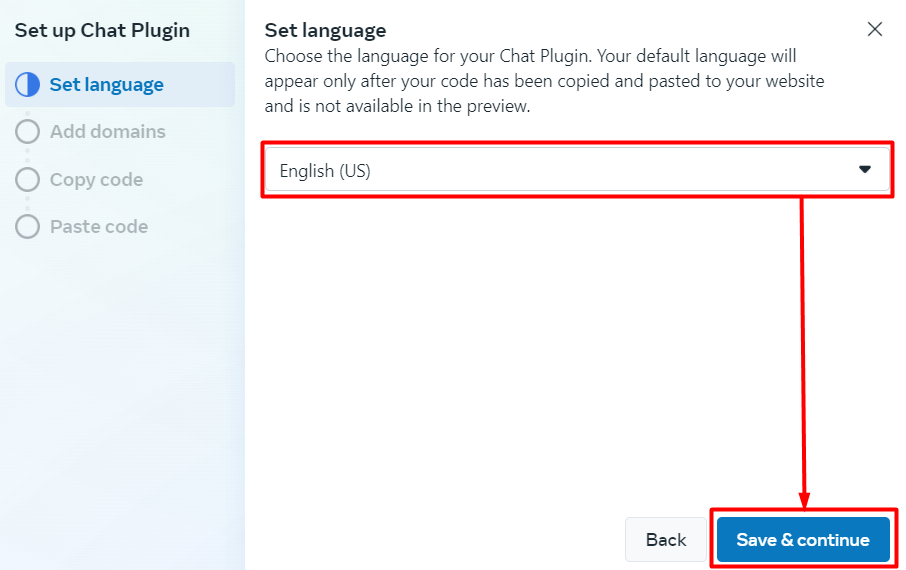
Step 5: Choose the language for your Chat Plugin > Save & continue.
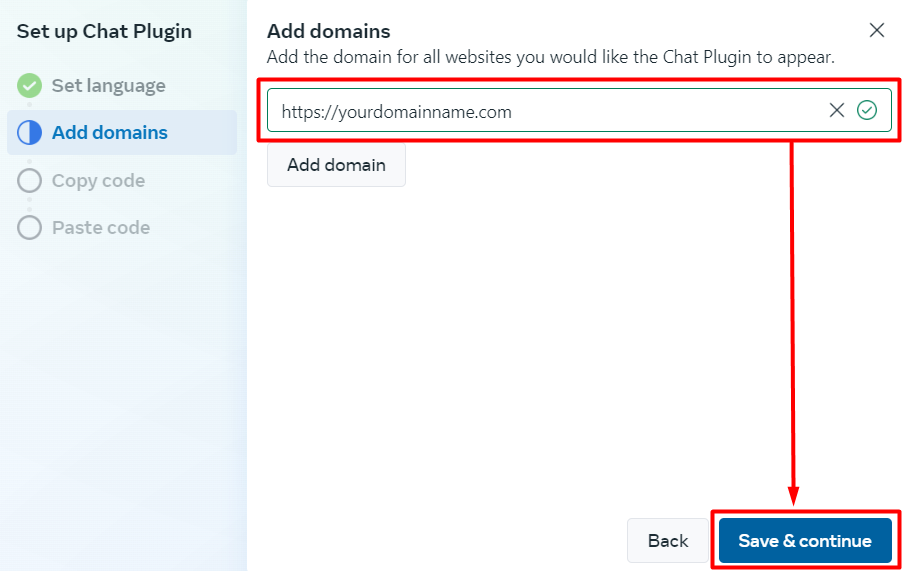
Step 6: Add your webstore domain URLs you would like the Chat Plugin to appear > Save & continue.
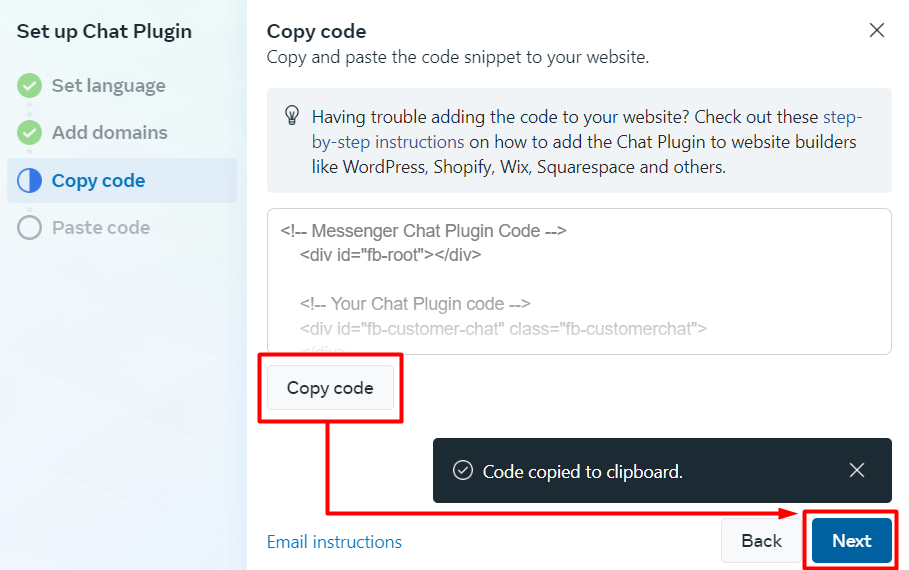
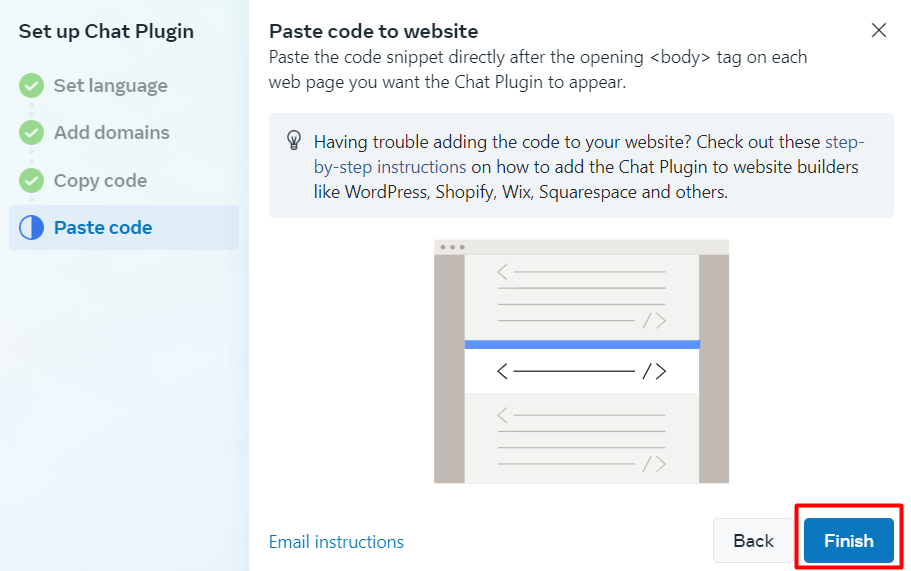
Step 7: Click on the Copy code button > Next.
Step 8: Click on the Finish button > Done.
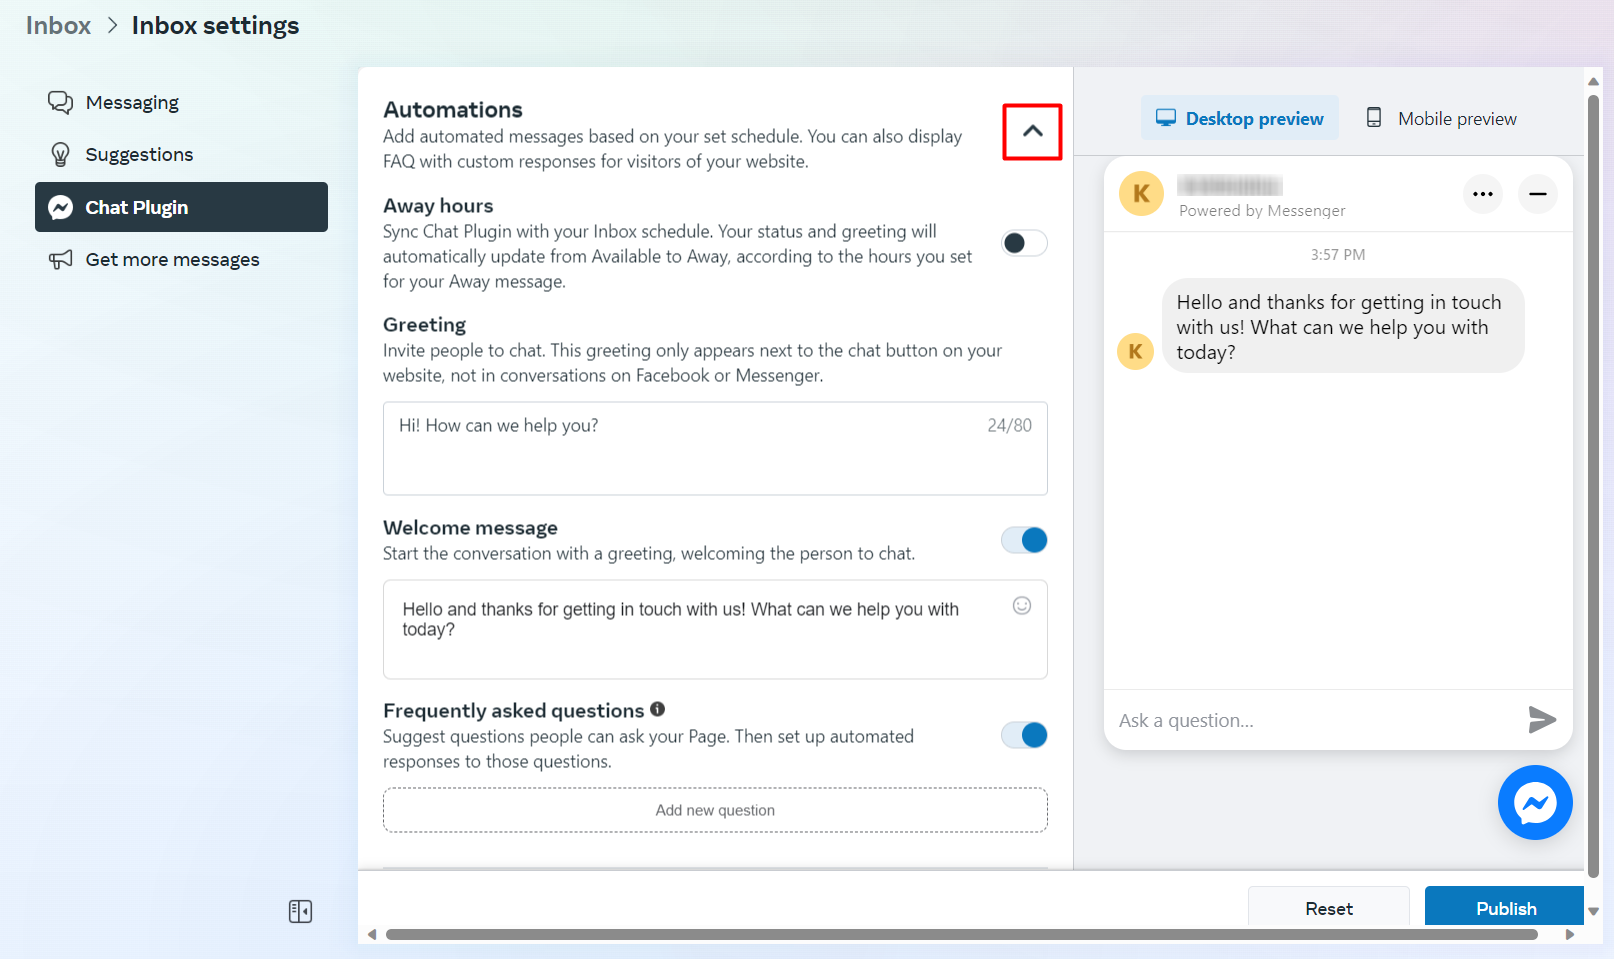
Step 9: Expand the Automations section to customize your automated messages based on your schedule.
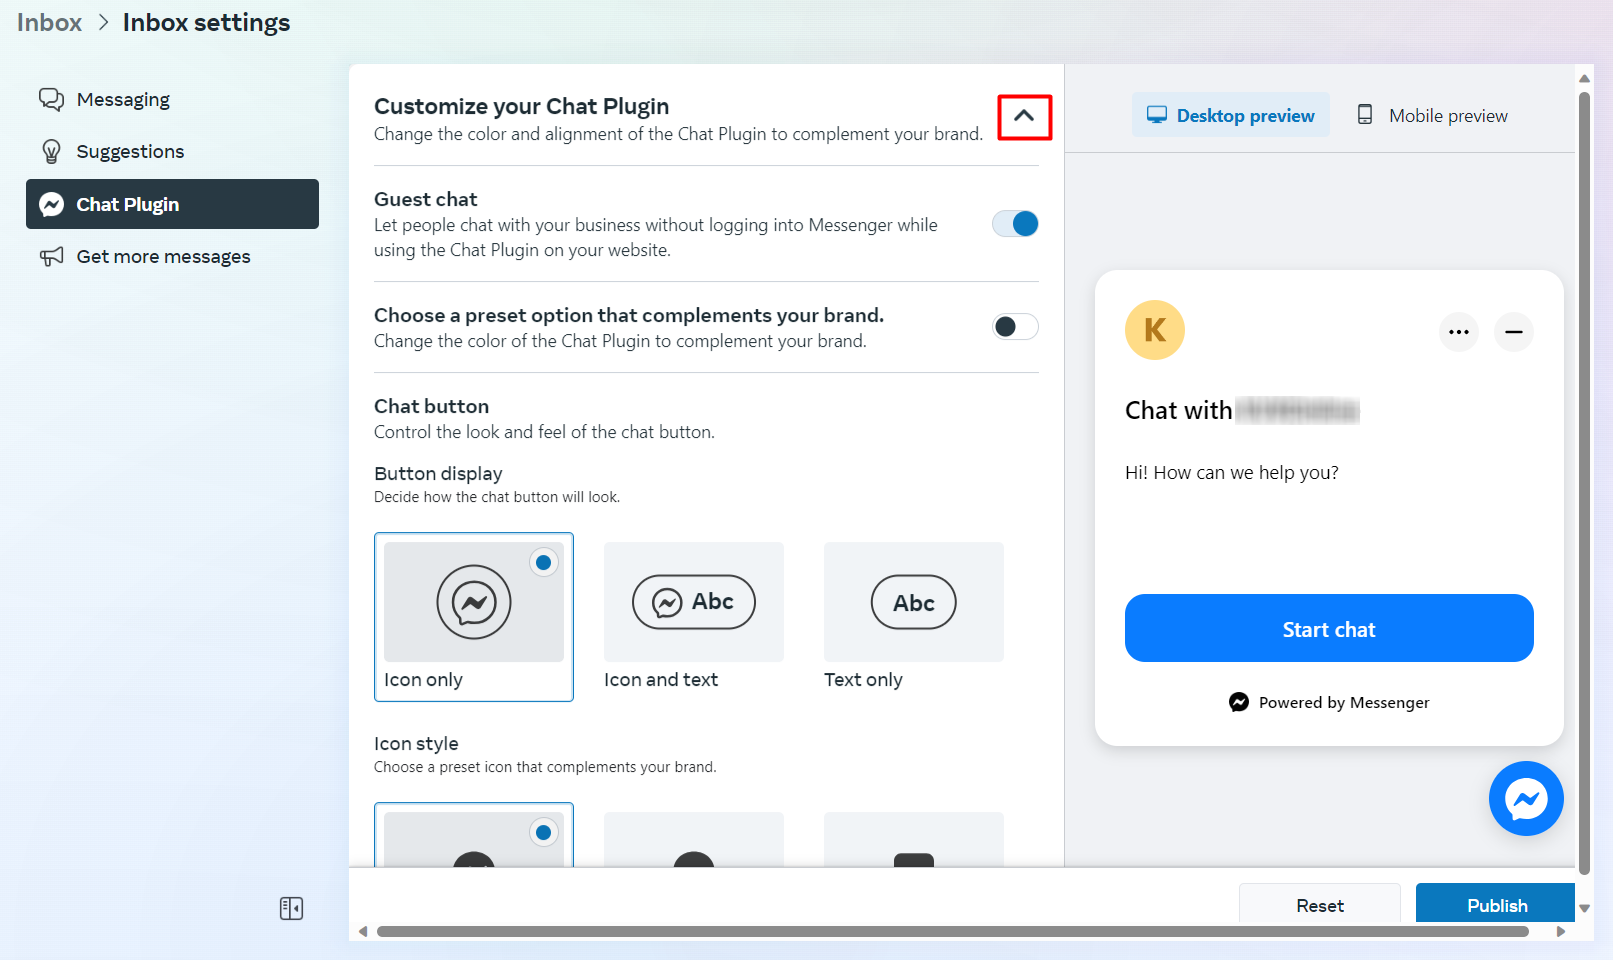
Step 10: Expand the Customize your Chat Plugin section to change the chat button display and position.
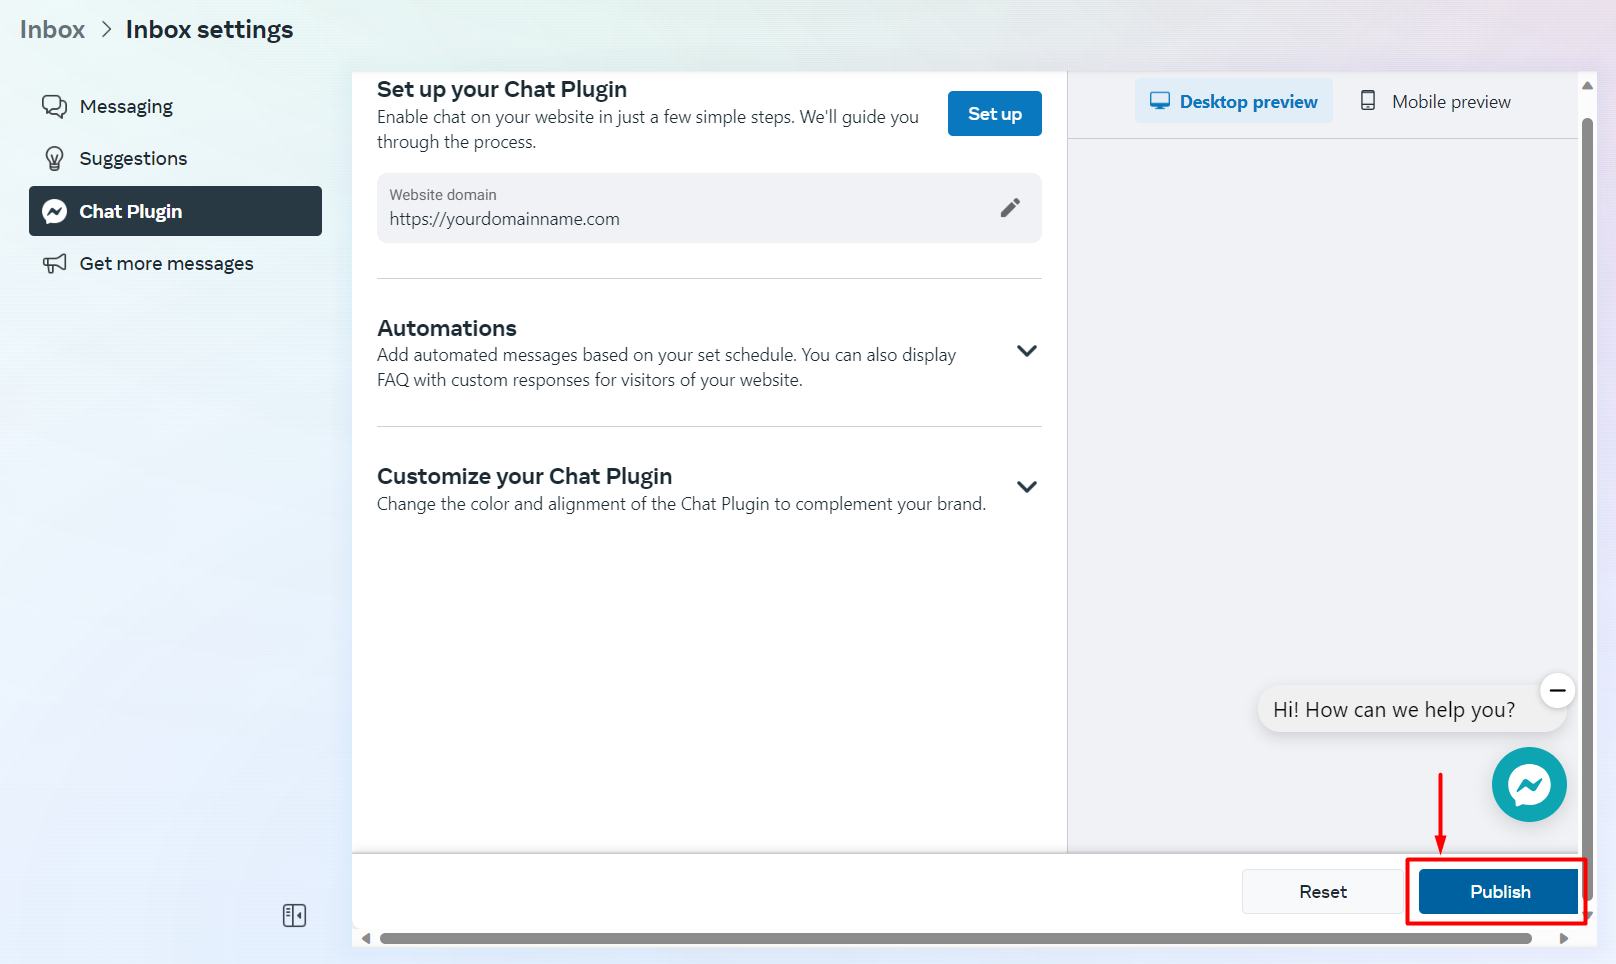
Step 11: Once done, click the Publish button on the bottom right.
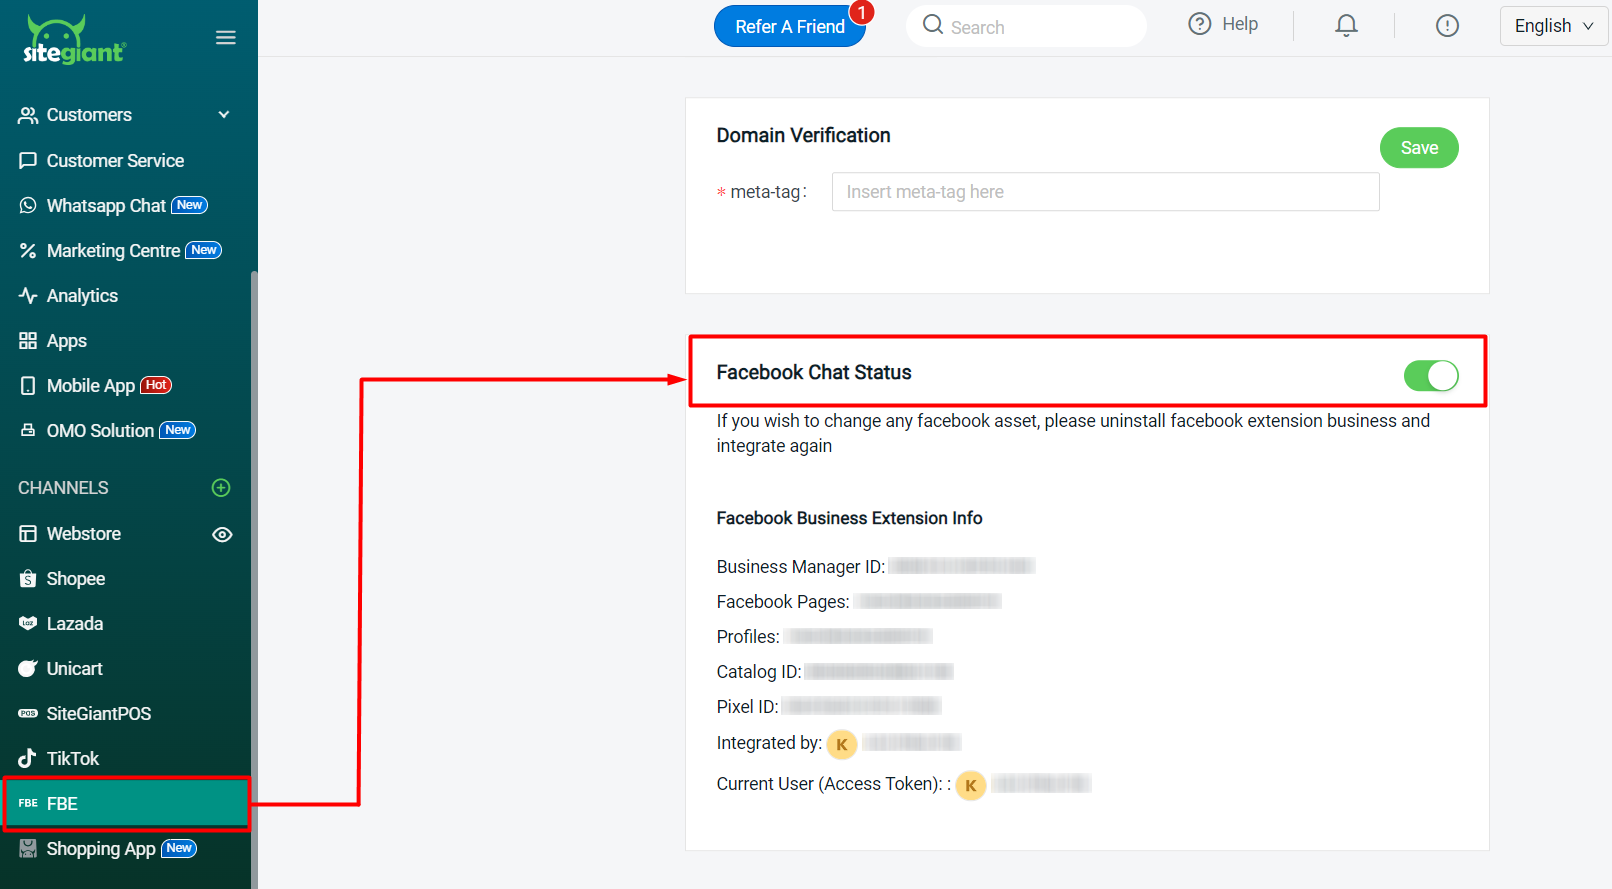
Step 12: Back to SiteGiant Seller Center > FBE channels > make sure Facebook Chat Status is enabled.