1. Introduction
2. Add Customer Group
3. Edit Customer Group
4. Delete Customer Group
5. Set As Default Customer Group
1. Introduction
Customer Group enables you to categorize your customer into different groups.
2. Add Customer Group
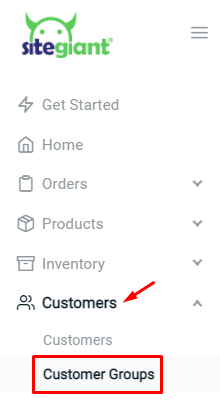
Step 1: Go to Customers > Customer Group on the dashboard menu
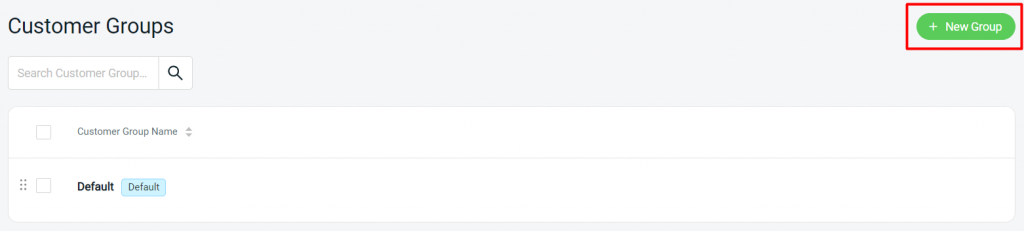
Step 2: Click on the + New Group button to add a new customer group
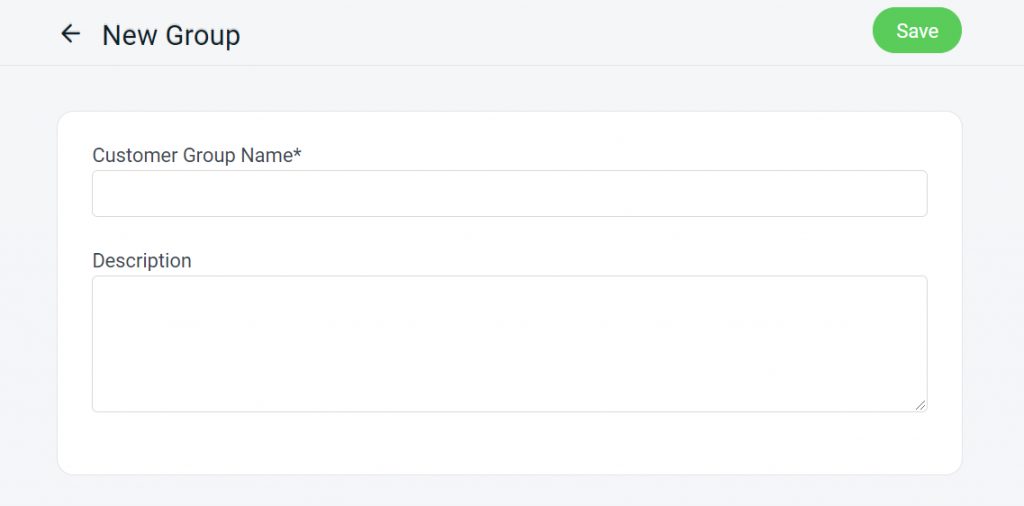
Step 3: Fill in the Customer Group Name > as for the Description, it is optional to fill up for your reference only > Save
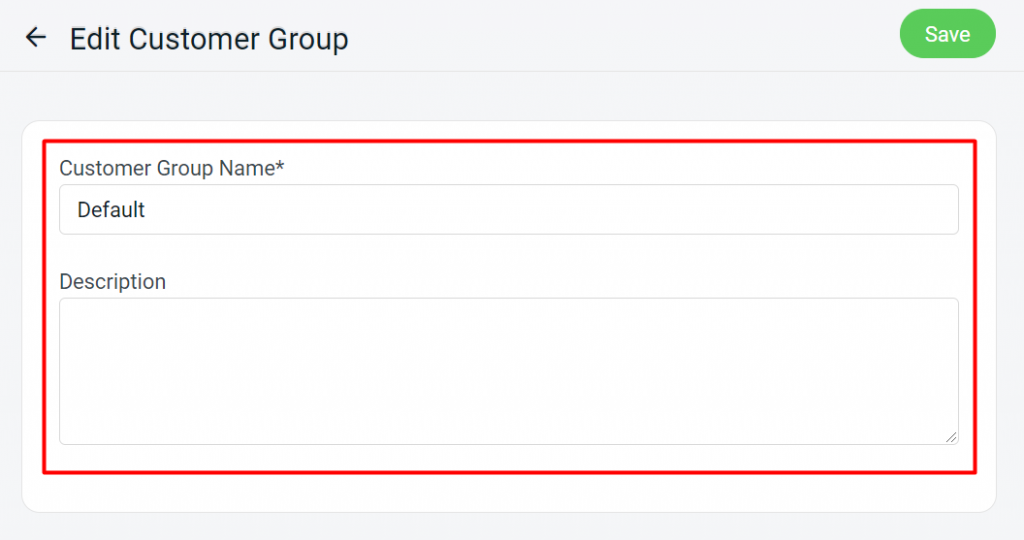
3. Edit Customer Group
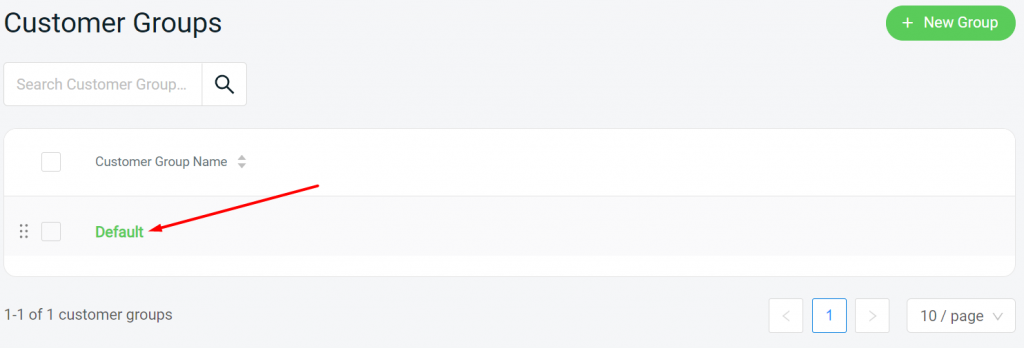
Step 1: From the Customer Groups page > click the name of the customer group to edit
Step 2: Edit the details of the existing customer group > Save
4. Delete Customer Group
Step 1: From the Customer Groups page, select the customer group > click on the Delete icon

Step 2: Click Yes, Confirm to remove the selected customer groups

5. Set As Default Customer Group
Step 1: Select the Customer Group and Set As Default
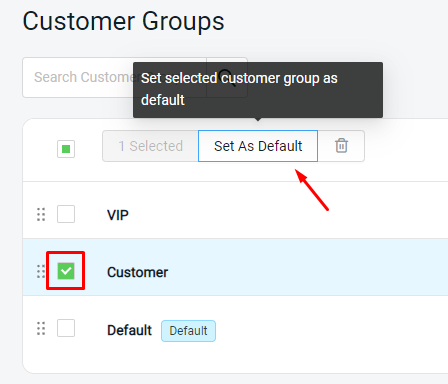
Step 2: When customers registered an account, they will be auto-assigned with the Default customer group