1. Introduction
2. Create Order Manually
1. Introduction
Most of the time, you’ll be receiving orders automatically when customers place orders through your webstore. However, in some cases, you may receive orders through other sources such as WhatsApp, Facebook Messenger, Instagram, etc. Hence, in order to keep track of your orders and inventory, you may manually create these custom orders on the platform.
2. Create Order Manually
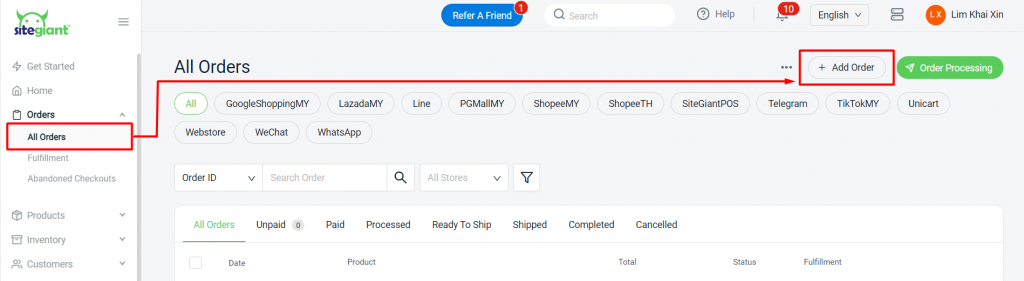
Step 1: Navigate to Orders > All Orders > + Add Order
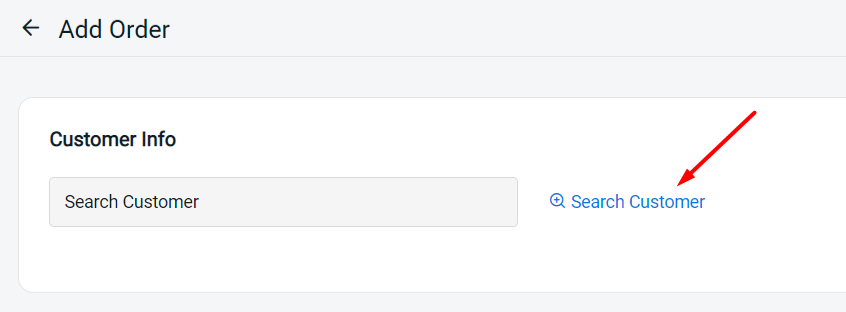
Step 2: Click on Search Customer at Customer Info to insert the customer details
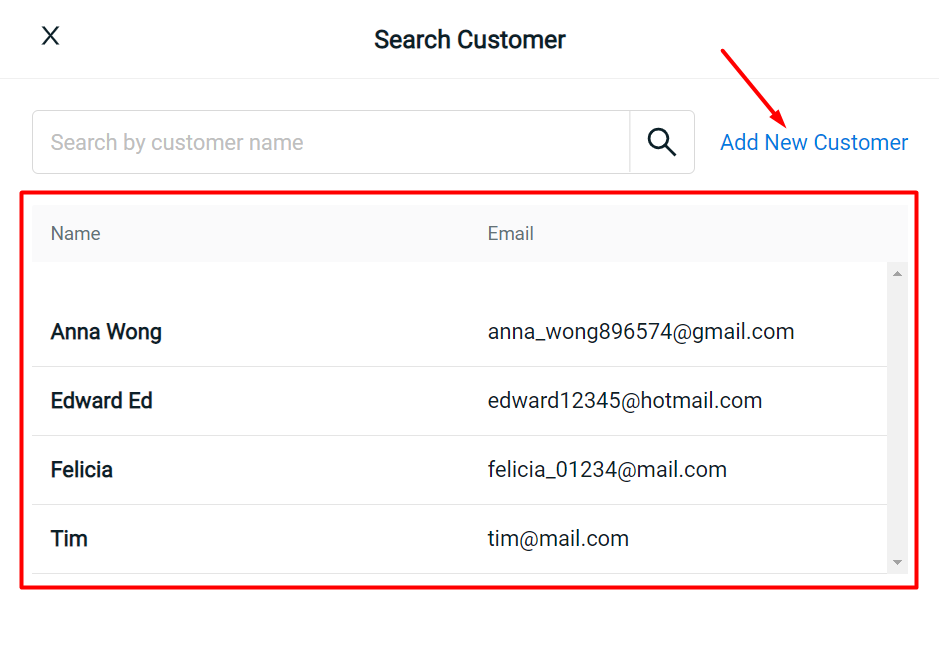
Step 3: Choose the customer from your existing customer list > you can also Add New Customer to create a new customer
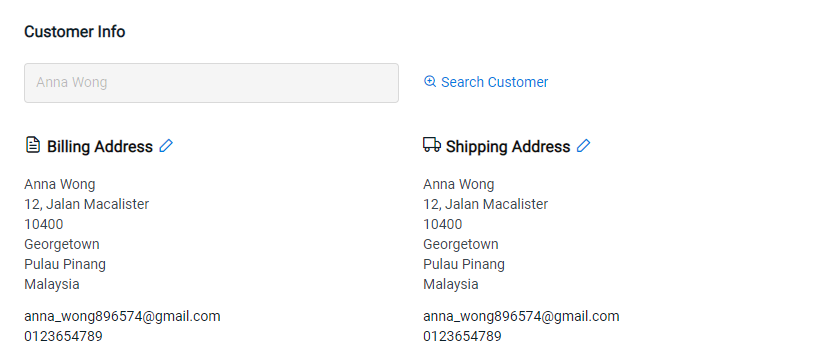
Step 4: The customer’s Billing Address and Shipping Address will be displayed once added. You may click the Edit icon if you wish to amend the information.
Step 5: Go to Order Details > search and select product > Add Product
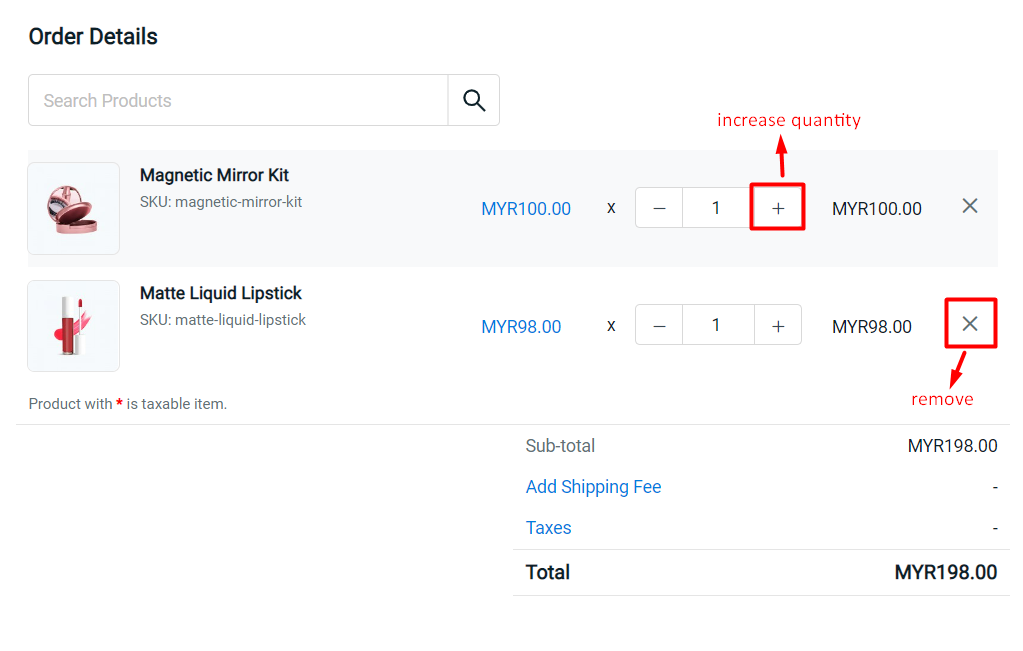
Step 6: You may adjust the quantity of the product. You may also remove the product from the Order List if you have accidentally added the wrong product
Step 7: Click on the Add Shipping Fee to select the shipping method for the order
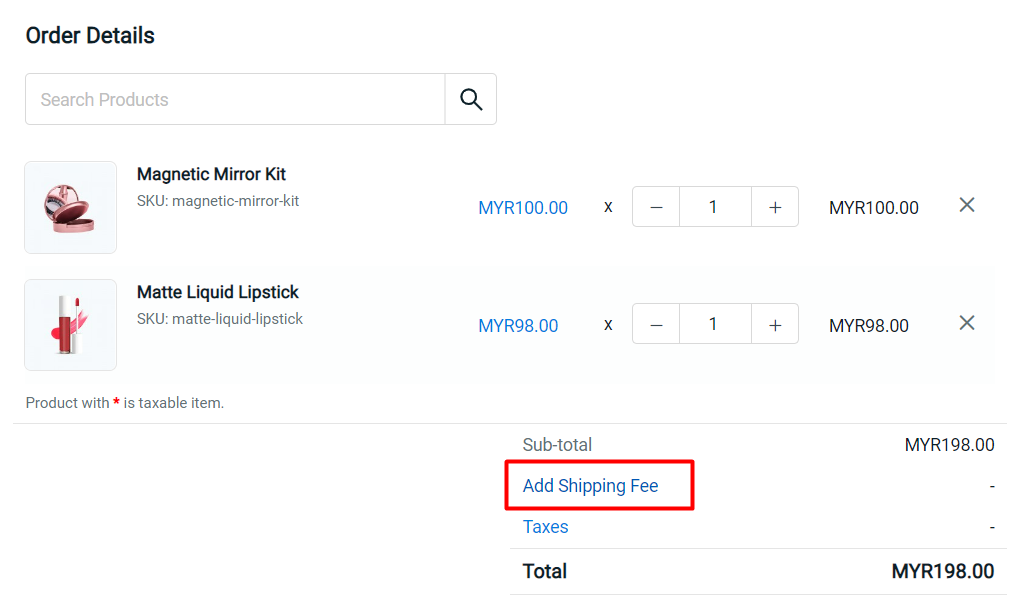
?Note: The product price is not customizable, it will follow the price of the webstore listing
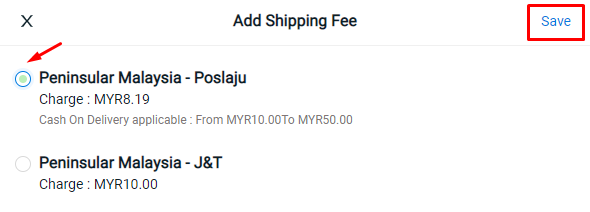
Step 8: Choose the shipping method > Save
Step 9: Go to Payment and choose the payment method

?Note: You may tick Mark this order as paid if you received the payment if the customer has made payment in advance (optional)
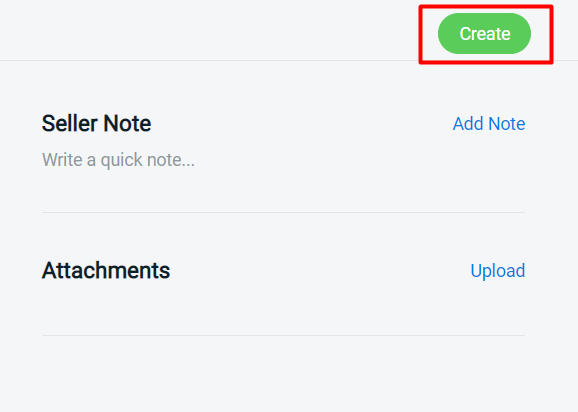
Step 10: You may add on your own Seller Note for reference > upload the Attachments if there is any payment proof provided from the customer > Create