1. Introduction
2. Add Favicon And Logo
1. Introduction
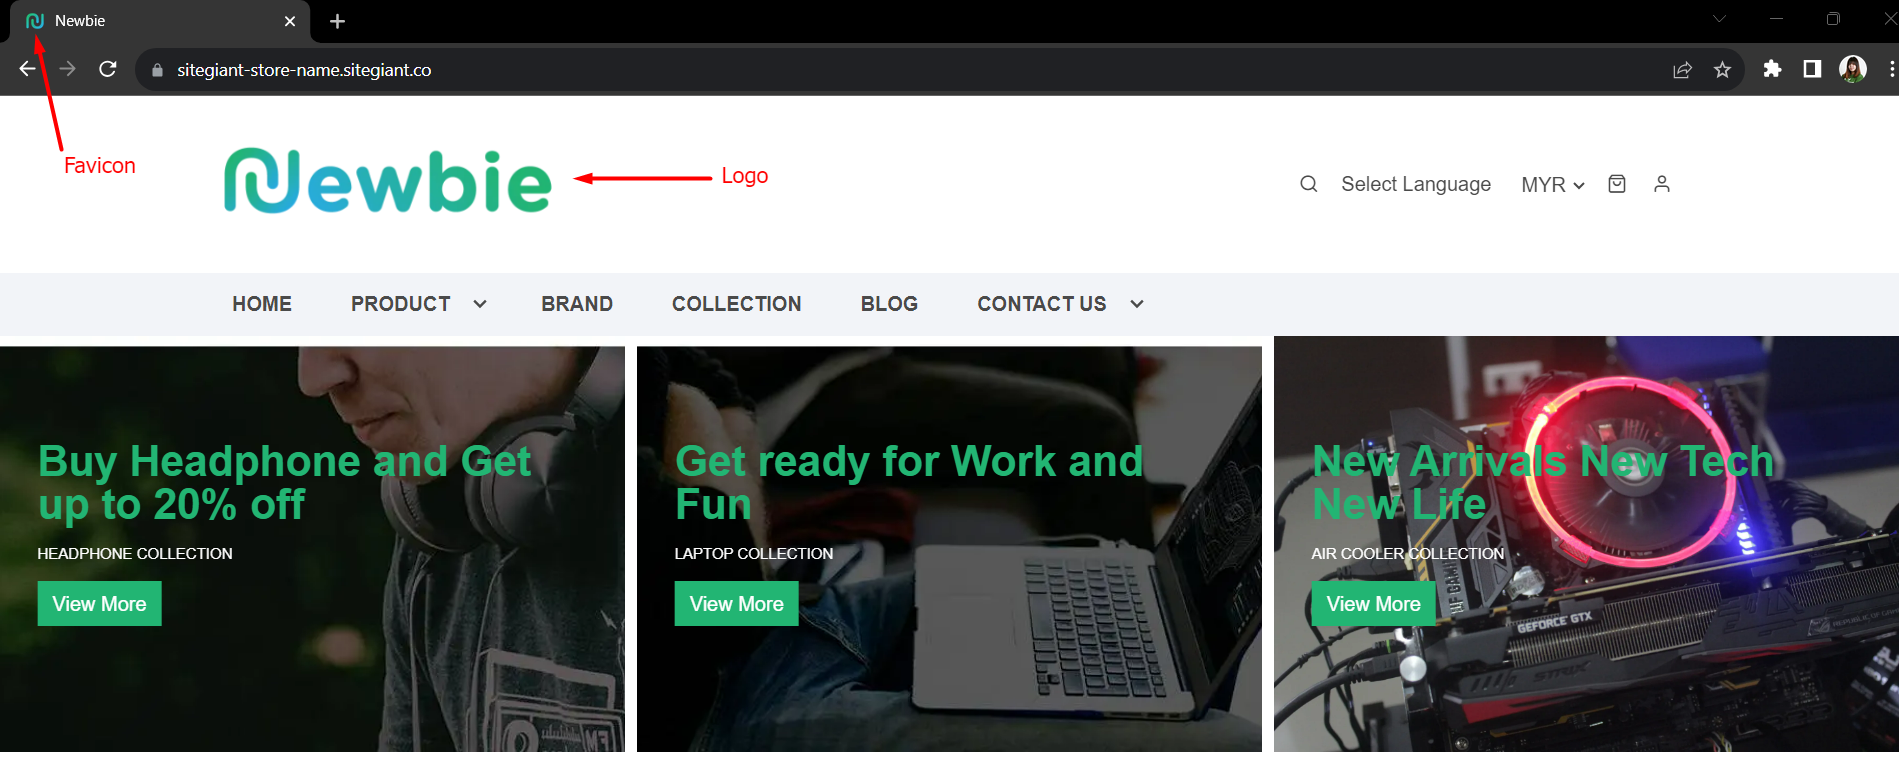
A favicon, short for “favourite icon”, is a small icon or image that is displayed in the web browser’s tab when a user visits a website. Favicons help users quickly identify and locate a specific website among multiple open tabs.
A logo is a unique and distinctive visual representation of a brand, company, organization, or product. Logo plays a crucial role in building brand identity and conveying the values and personality of a represented entity across various media and contexts.
2. Add Favicon And Logo
Step 1: Navigate to Webstore channels on the sidebar menu > go to Preferences.
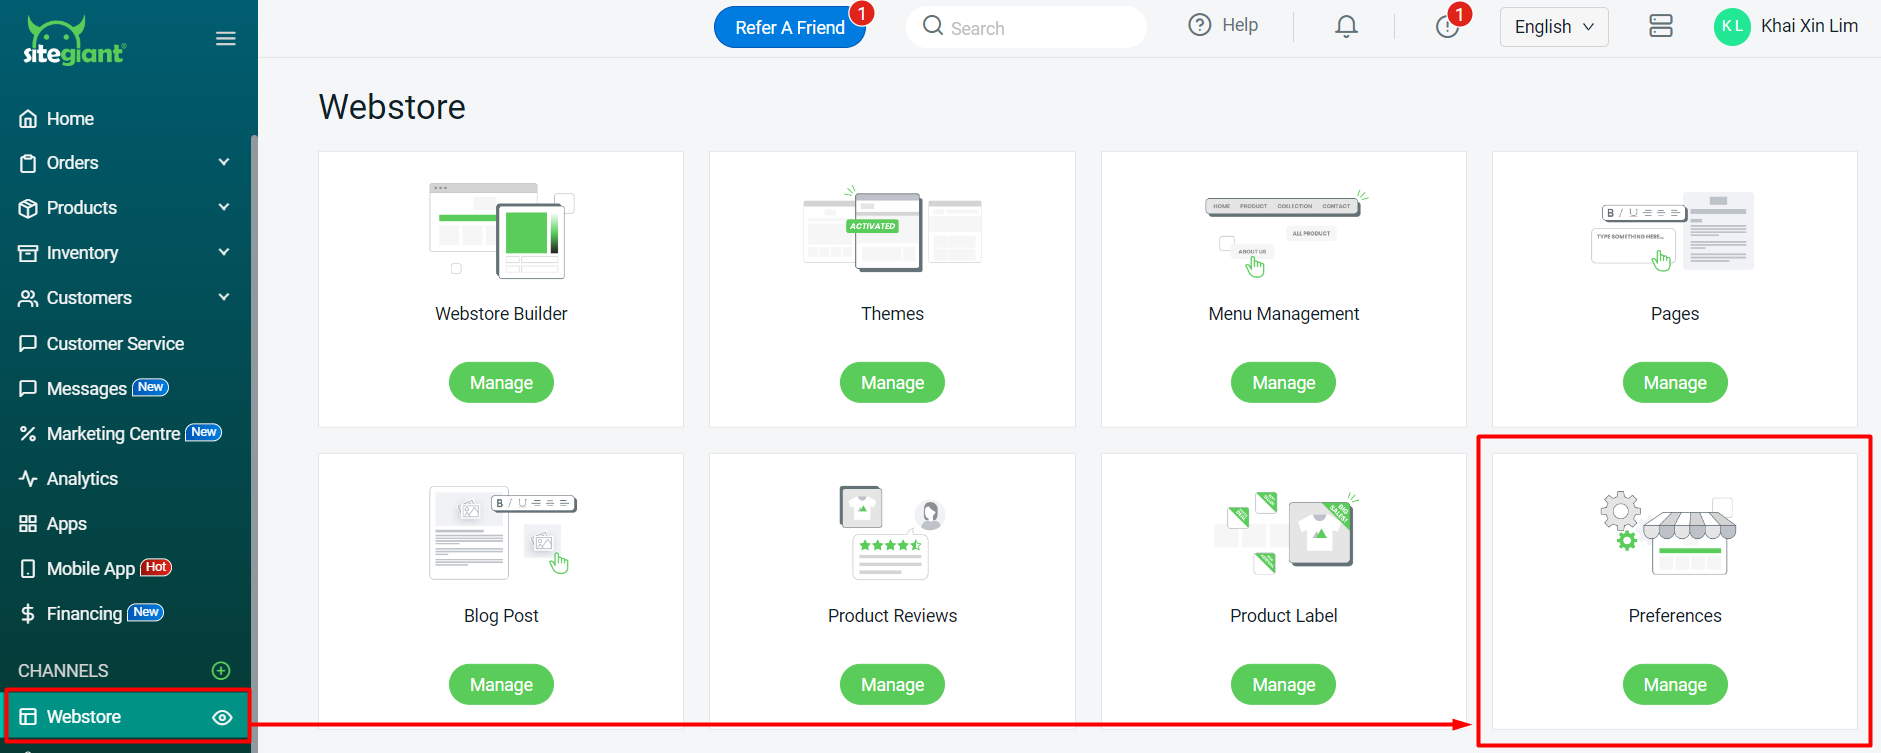
Step 2: Under the Webstore Business Info section, upload the Favicon and Logo based on the required size and format > Save.
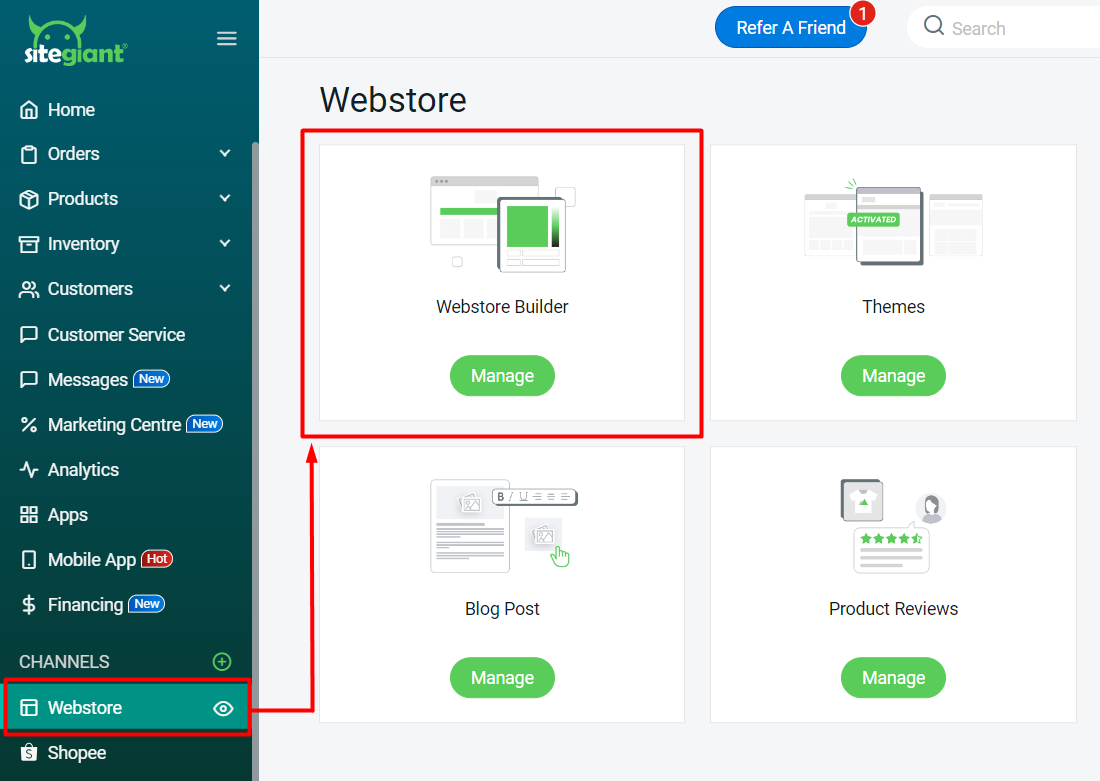
Step 3: Back to Webstore channels > go to Webstore Builder.
Step 4: Click on Settings > Header > choose Header Layout > you may adjust the Logo Size based on your preferences.
Preview: