1. Introduction
2. Export Products
3. Import Products
1. Introduction
Too many products to update in a short time? Instead of updating all your products one by one in the system, you can now export all your products, amend the products in the Excel file, and import them to your Webstore Listing when it is complete.
2. Export Products
Step 1: Navigate to Products > Webstore Listing > More(…) > Export Product.

Step 2: Choose to export All Products or Selected Products > Export.

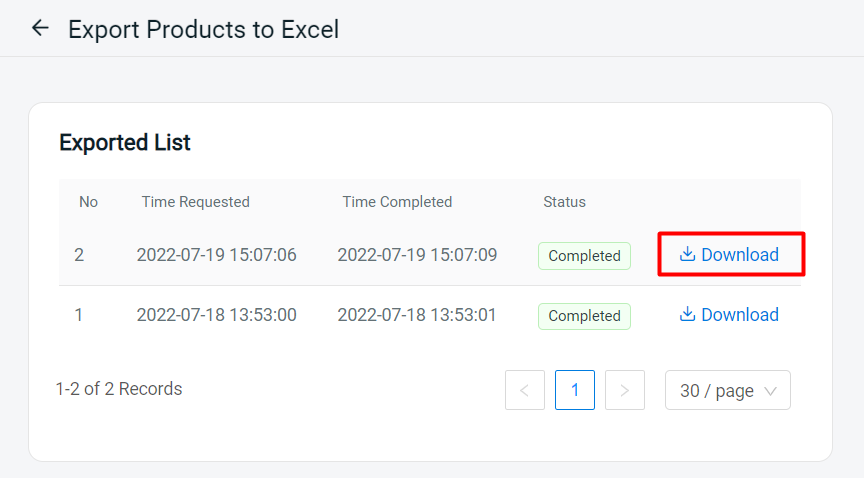
Step 3: Download the Excel file from Exported List > open the Excel file.
Step 4: Modify the product details in the Excel file.
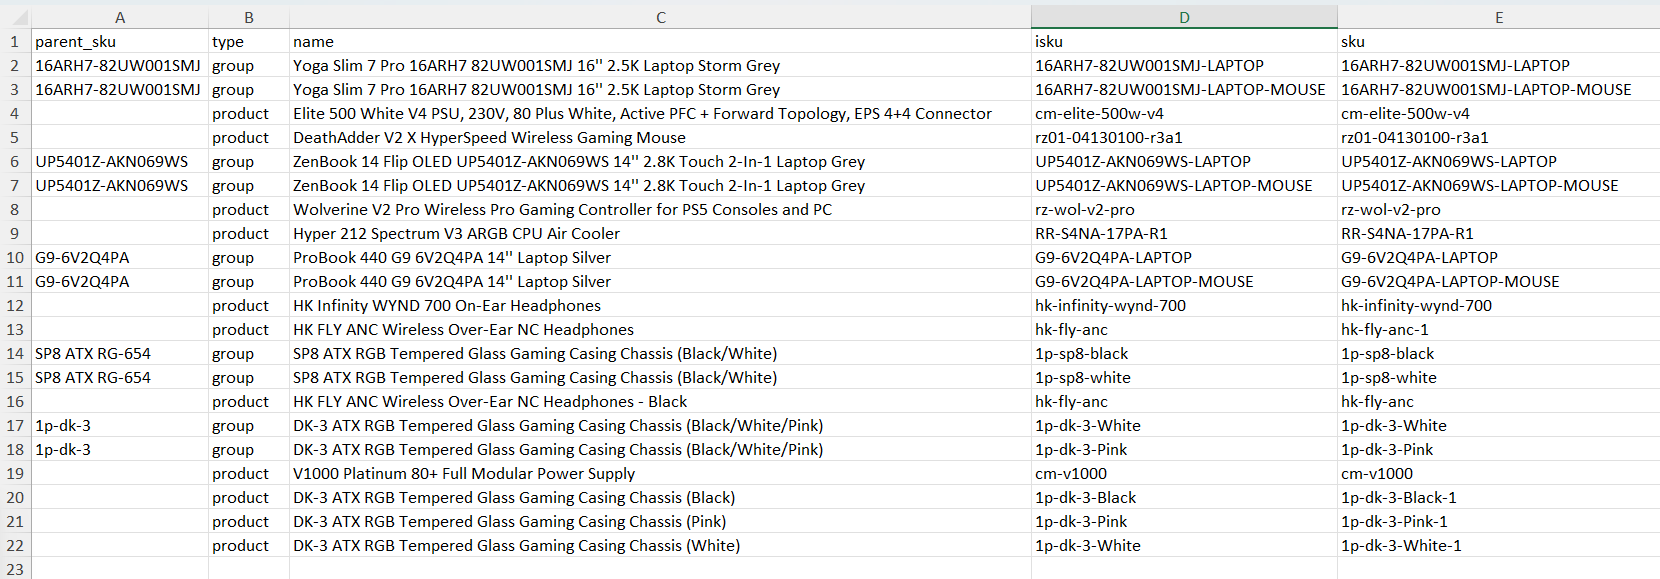
?Note: You may delete the column which will not be updated except for the required (*) column.
| Column | Description | Sample Data |
|---|---|---|
| parent_sku * | Parent SKU for variant grouping | 1p-dk-3 |
| type * | Single product or group product | product: single product group: with variants |
| name * | Product name | DK-3 ATX RGB Tempered Glass Gaming Casing Chassis |
| isku | Linked inventory item SKU | 1p-dk-3-White |
| sku * | Product code | 1p-dk-3-White |
| brand | Brand name | 2NDPLAYER |
| free_shipping | Whether offer free shipping | no / yes |
| option1 name | Variant 1 option name | Colour |
| option1 value | Variant 1 option value | Black / White |
| option2 name | Variant 2 option name | Size |
| option2 value | Variant 2 option value | S / M / L |
| weight | Weight of the product | 5 |
| weight_unit | Unit of the weight | kg / g / oz / lb |
| length | (Dimension) length of the product (cm) | 50 |
| width | (Dimension) width of the product (cm) | 25 |
| height | (Dimension) height of the product (cm) | 45 |
| cost | Cost price | 50 |
| price | Unit price | 100 |
| special_price | Discount price | 70 |
| special_price_date_start | Discount start date (YYYY-MM-DD) | 2023-09-01 |
| special_price_date_end | Discount end date (YYYY-MM-DD) | 2023-12-31 |
| inventory | Stock quantity | 1000 |
| set_allocated_stock | Whether allocate a certain quantity to sell on webstore | no / yes |
| allocated_stock | Stock quantity of the allocated stock | 20 |
| description | Product specification content. Require HTML code to align the content. | <p>This is the description.</p> |
| sorting | Product sorting in webstore | 0,1,2,3… |
| visibility | Condition to publish product | publish / unpublish |
| taxable | Whether the product has tax charges | yes / no |
| image | Image link to upload as product thumbnail | https://… |
Step 5: To edit the special_price column, the price column is a required column.
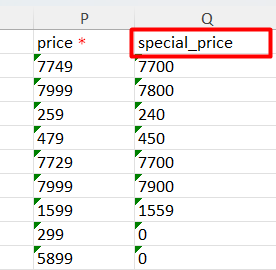
Step 6: If the special_price_date_start and special_price_date_end columns are blank, then the special price will be offered in the long term without a due date.

Step 7: If your product has variants, the option name and option value columns must be imported together, and cannot be without each other.

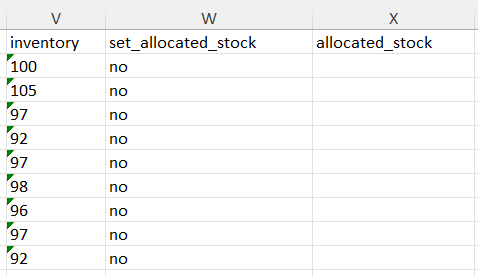
Step 8: The inventory, set_allocated_stock, and allocated_stock are used for display purposes only. Inventory update has to go through Stock Adjustment features, while Allocated Stock changes have to be performed in the system.
Step 9: Save the Excel file once done edit.
3. Import Products
Step 1: Navigate to Products > Webstore Listing > More(…) > Import Products.

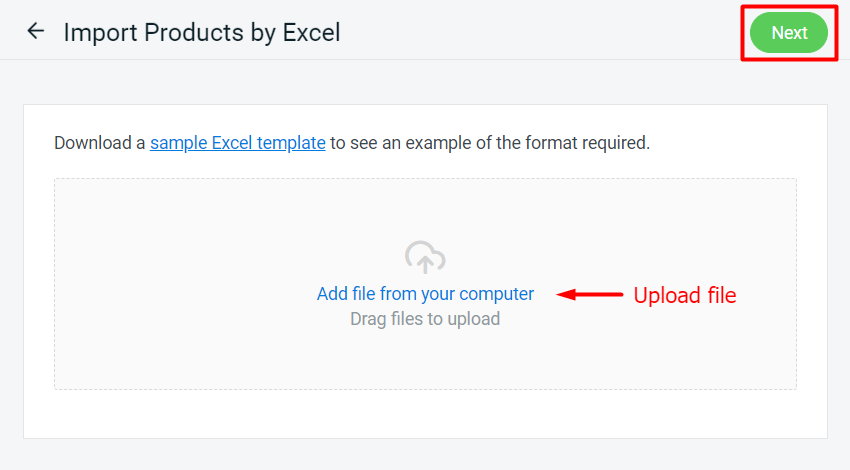
Step 2: Upload the Excel file > Next.
Step 3: If there are any errors in the Excel uploaded, you will see the error message in Errors and Warnings and it will show the error column in the Data Preview. Amend the error column and reupload the file. Click on Proceed if the file uploaded does not have errors.

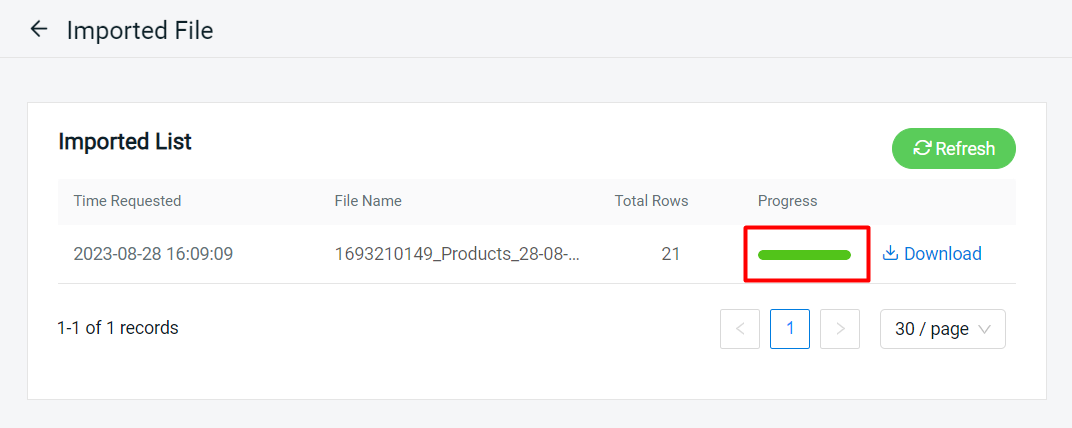
Step 4: Wait for the system to process the imported file. Refresh to see the changes. If the progress bar becomes green, it means the file is successfully uploaded.
