1. Introduction
2. Set Up Google Search Console
3. Add Sitemaps
1. Introduction
Google Search Console is a free service offered by Google that assists you in monitoring, maintaining, and troubleshooting your SiteGiant webstore presence in Google Search results. You may not need to sign up for Search Console to be included in Google Search results, but Search Console will help you understand and improve how Google sees your site. Learn more
2. Set Up Google Search Console
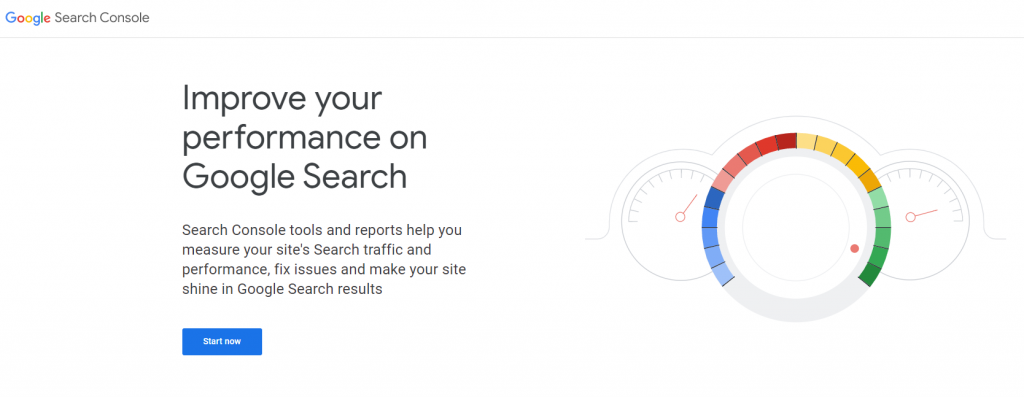
Step 1: Go to Google Search Console
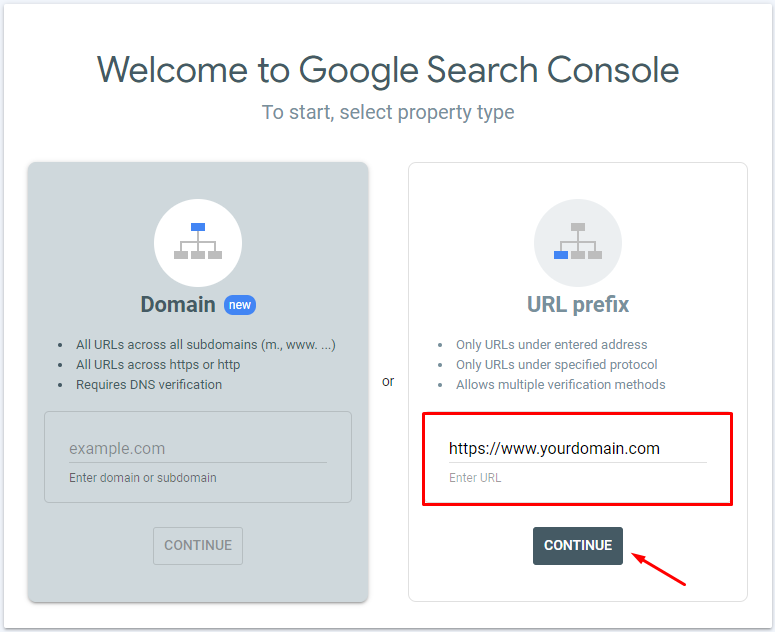
Step 2: Insert your domain name at the URL prefix > Continue
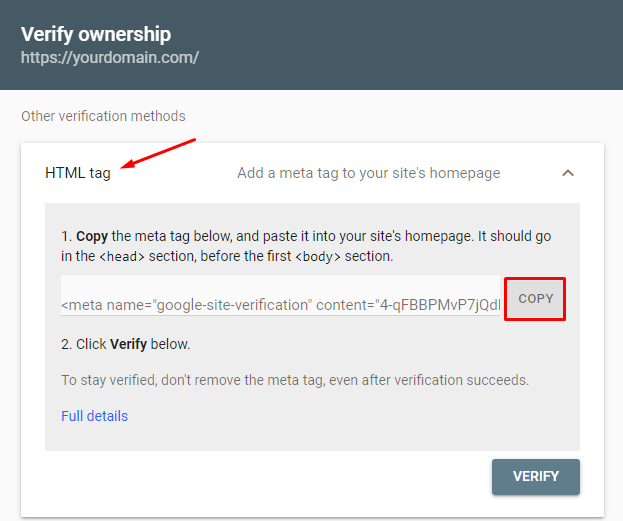
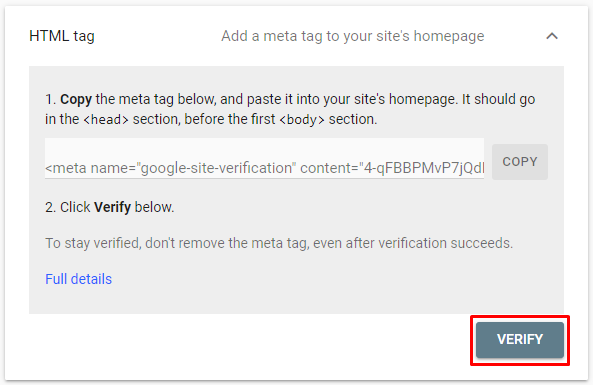
Step 3: Click the verification method with the HTML tag > copy the meta tag code
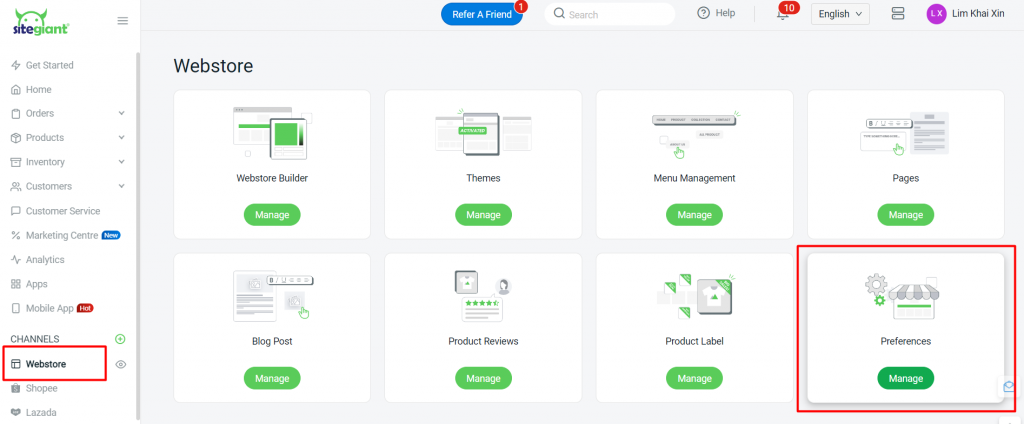
Step 4: Log in to your SiteGiant Seller Center > go to Webstore > Preferences
Step 5: Paste the HTML meta tag code at the Google Domain Verification section > Save

Step 6: Back to Google Search Console > click the Verify button
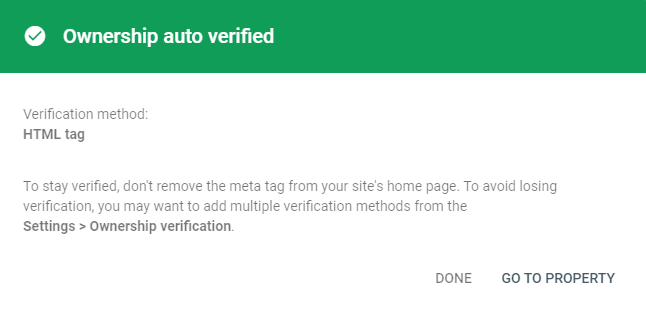
Step 7: The Google Search Console set up is now done. Kindly wait for Google to crawl the latest updates from your SiteGiant webstore.
3. Add Sitemaps
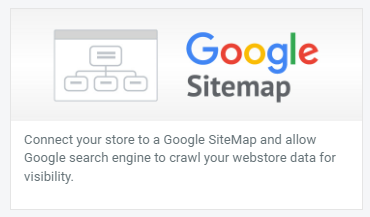
Step 1: Go to Apps > Webstore > Google Sitemap
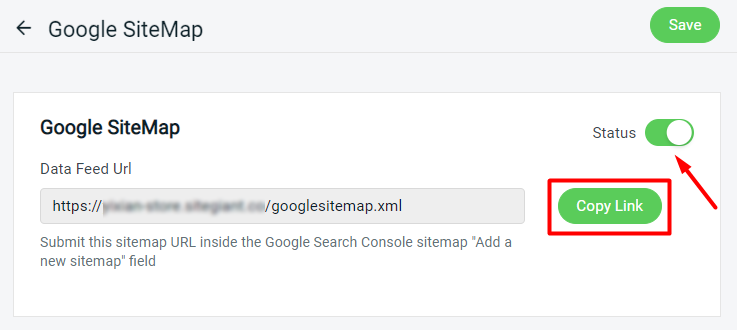
Step 2: Enable Status > Copy Link > Save
Step 3: Go to Google Search Console > Sitemaps > Paste the “googlesitemap.xml” > Submit

