1. Introduction
2. Request Shippop Business API Key
3. Set Up Shippop Business Integration
4. Sync Order To Shippop Business
1. Introduction
Shippop is a one-stop delivery solution that integrates with multiple couriers and logistic providers for e-commerce merchants. With Shippop Business, you can enjoy a Postpaid account with lower shipping rates. You can also sync the order information over without the need to enter them manually. It will save you time and prevent human mistakes in the process.
2. Request Shippop Business API Key
Step 1: Register a business account
Step 2: Once your Shippop Business account is created, email Shippop Customer Support at cs@shippop.my or contact the PIC of your Shippop Business Account to request API Key
3. Set Up Shippop Business Integration
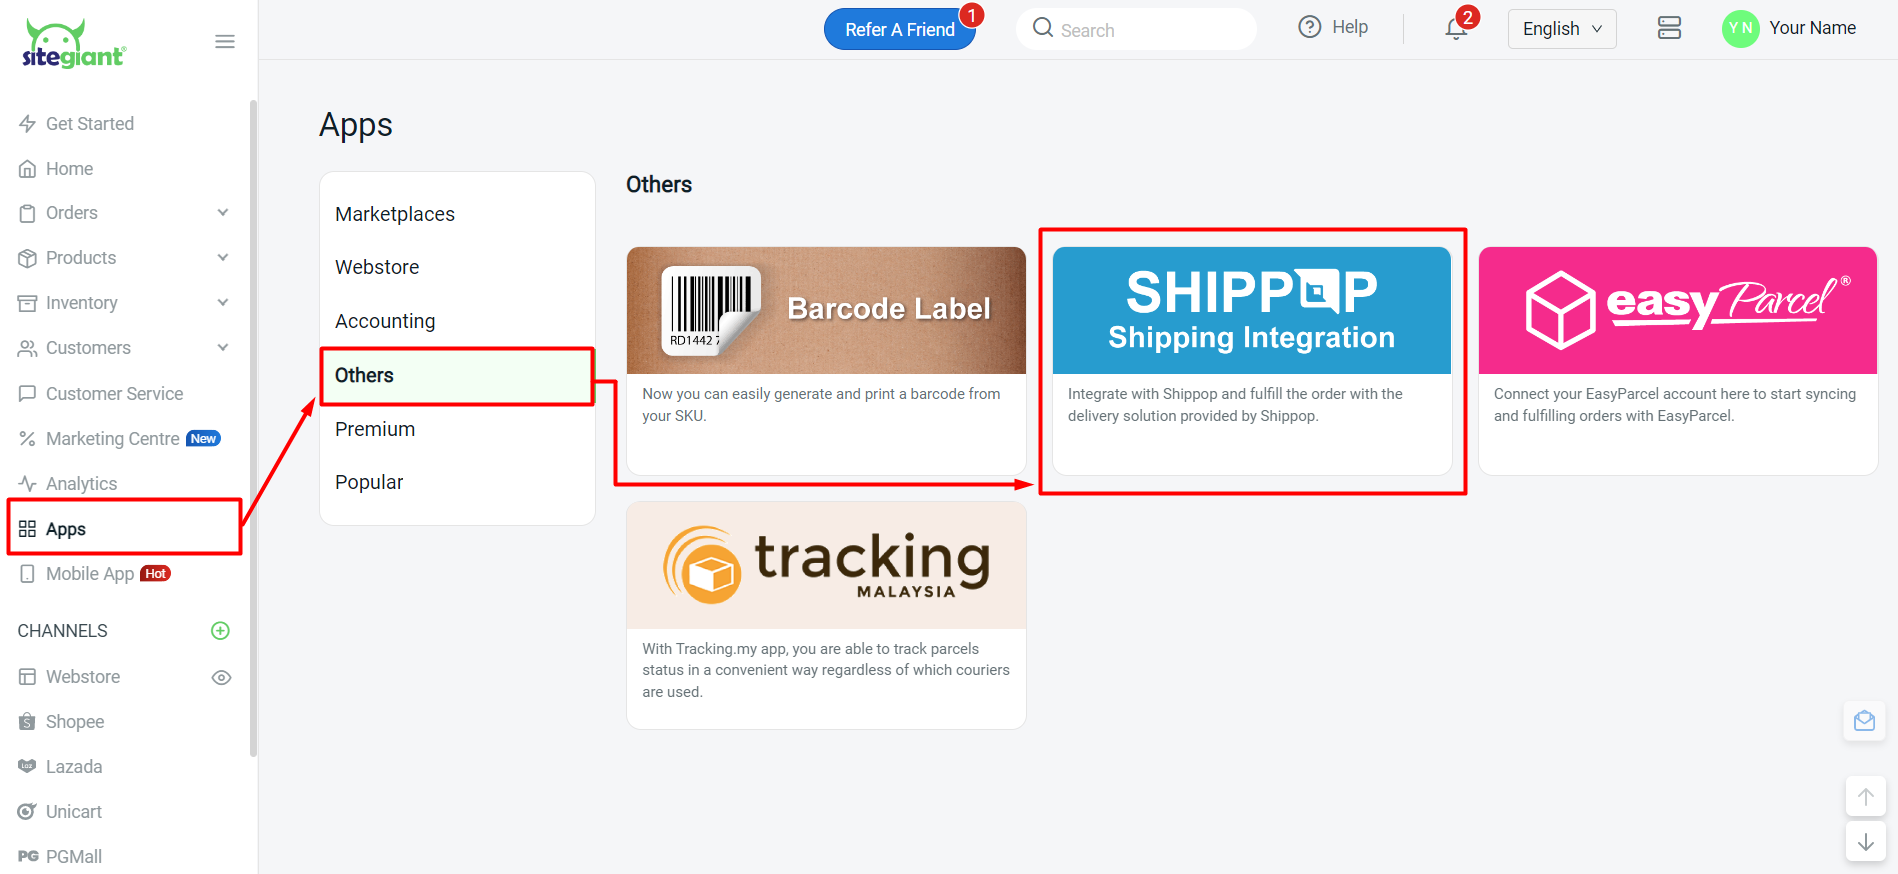
Step 1: Log in to your SiteGiant Seller Center > go to Apps > Others > Shippop Shipping Integration
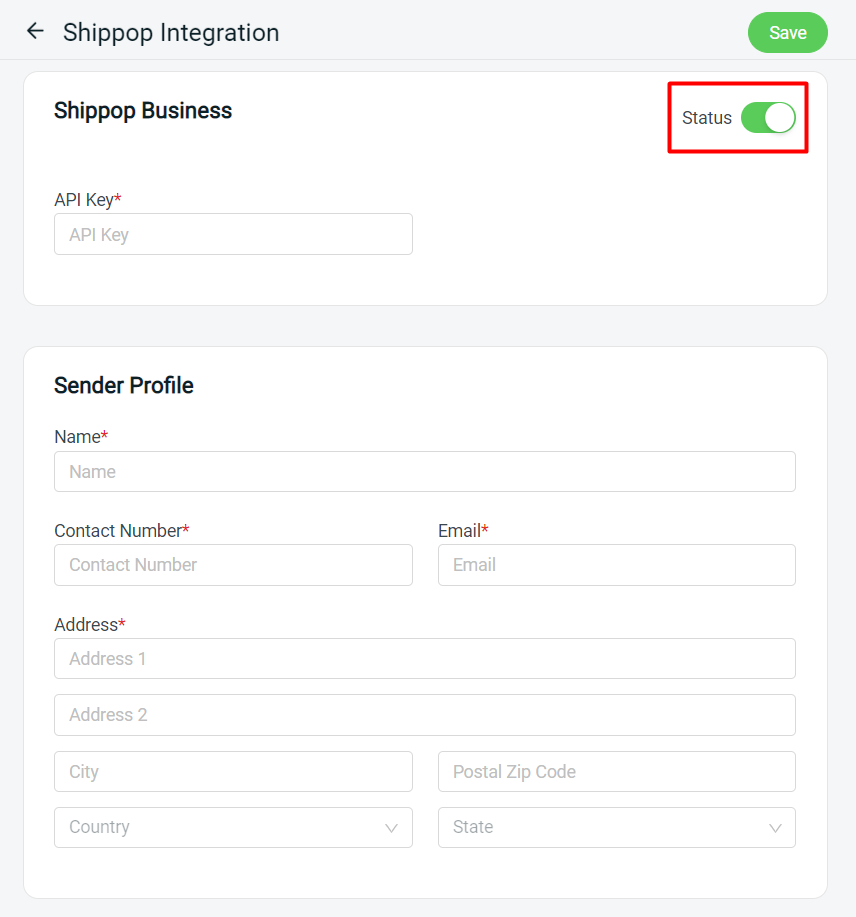
Step 2: Turn on the Shippop Business Status > insert the API Key > fill in the Sender Profile > Save
4. Sync Order To Shippop Business
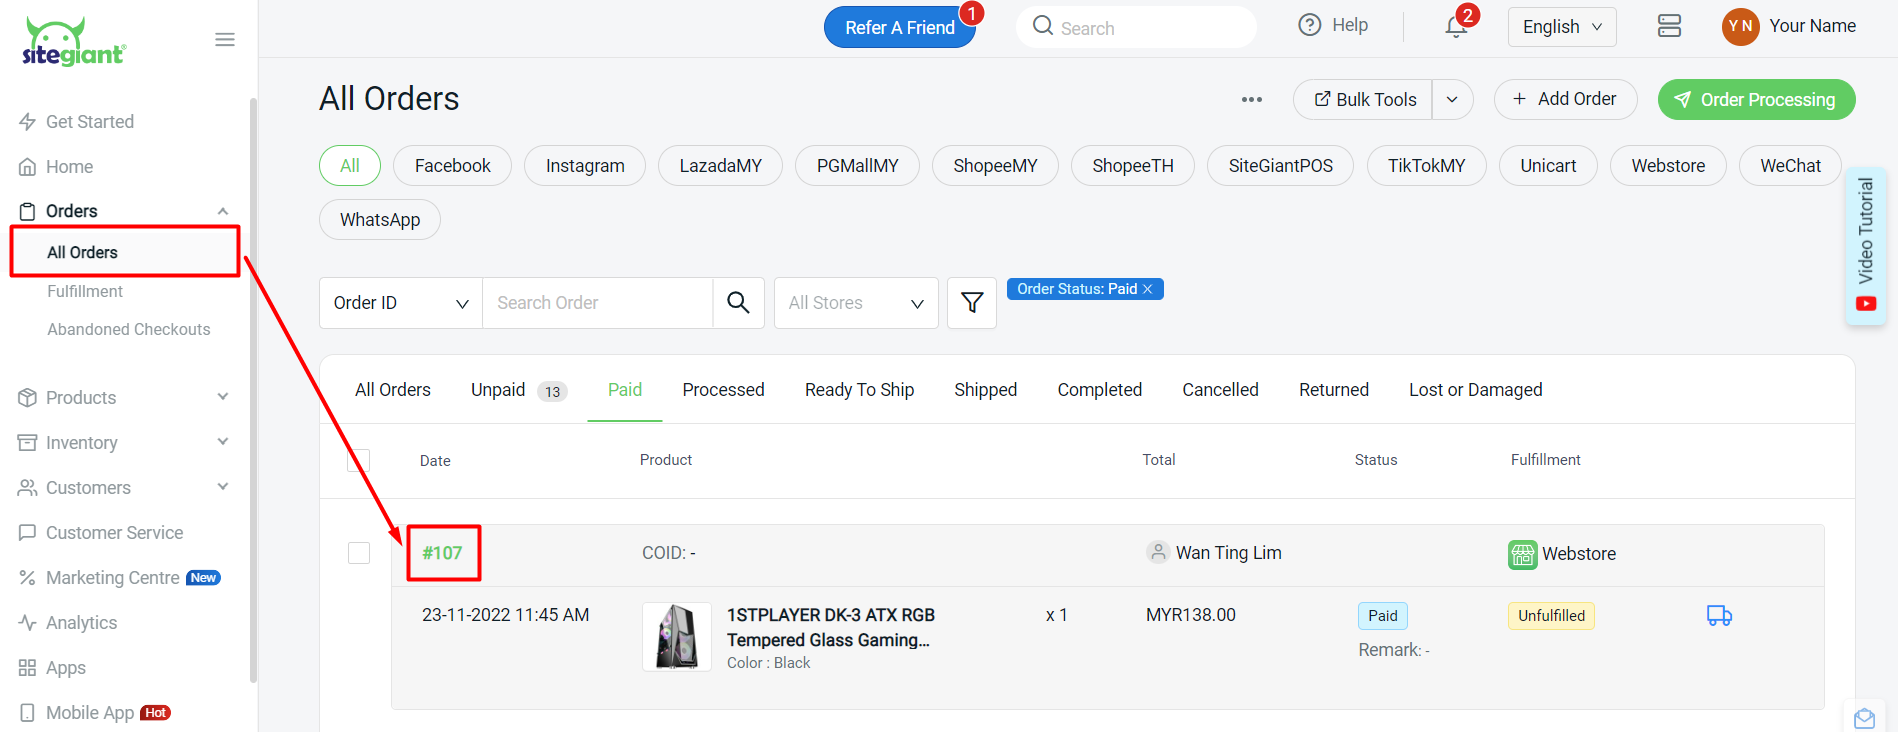
Step 1: Go to All Orders > click the Order Number to go into the Manage Order page
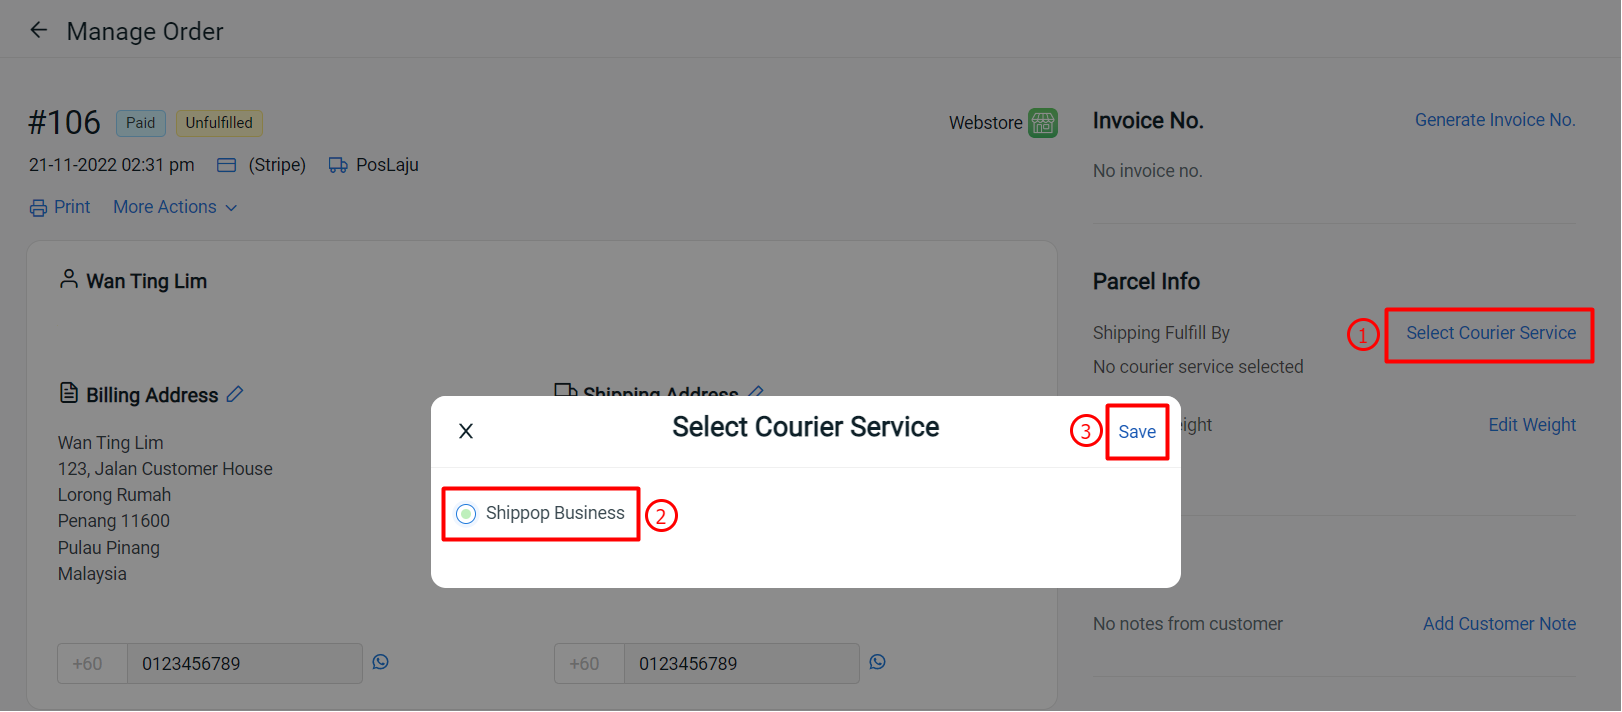
Step 2: Under the Parcel Info section, click on Select Courier Service > select Shippop as the Courier Service > Save
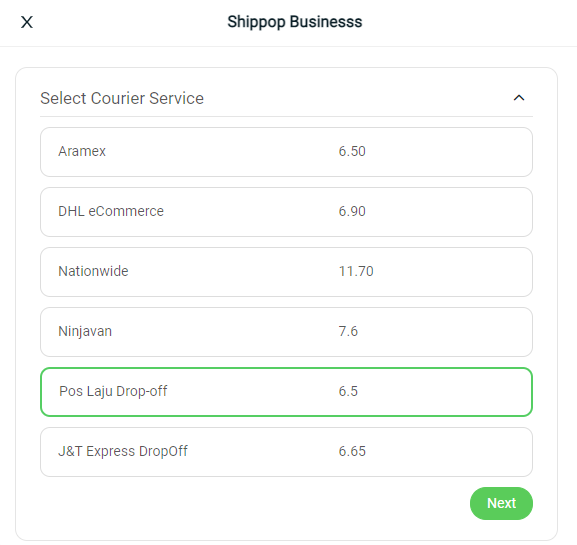
Step 3: Choose your preferred Courier Service > Next
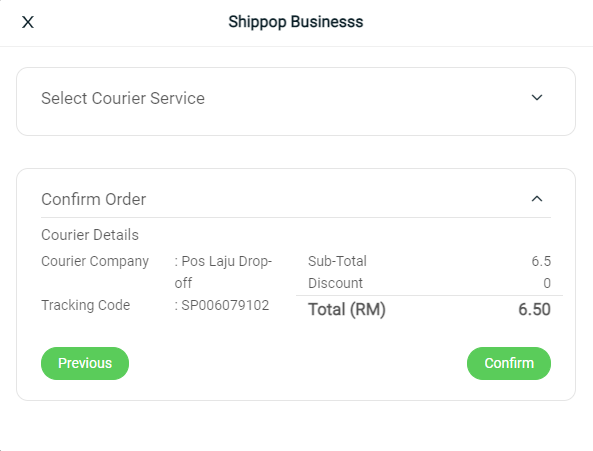
Step 4: The courier details and rate will be shown > click Confirm to proceed
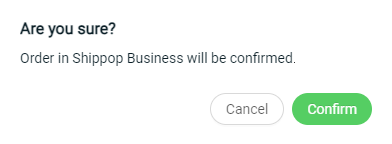
Step 5: Click Confirm to sync the order to Shippop Business
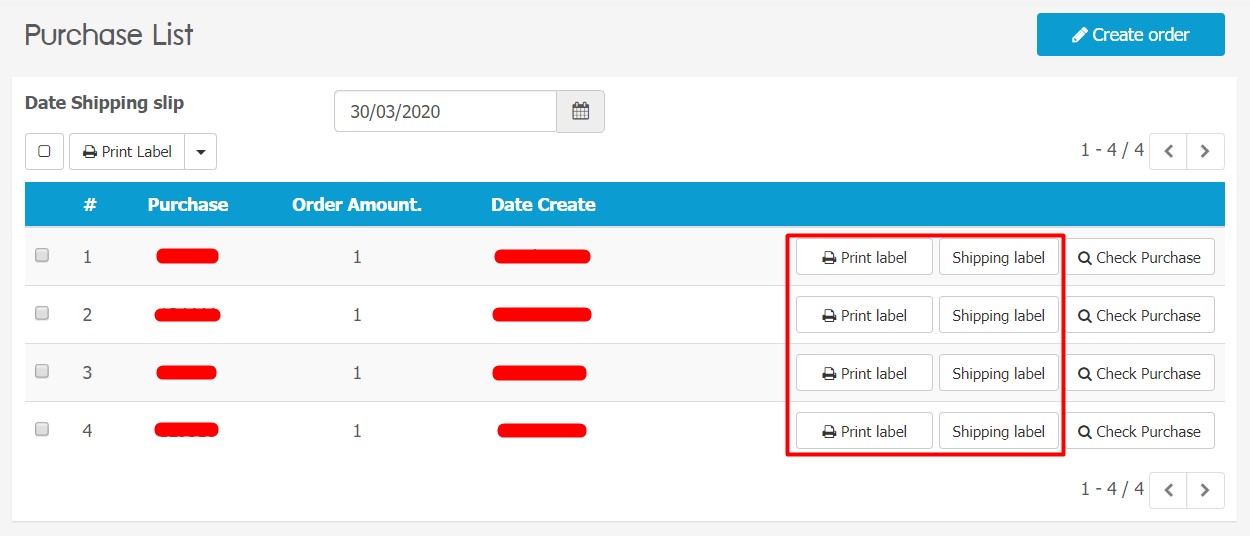
Step 6: Go to your Shippop account > click on Delivery List > Order List

Step 7: You may proceed to print the Shipping Label of the synced orders
