1. Introduction
2. Add Slideshow Image
1. Introduction
Once shoppers land on your website, the first thing that attracts them would be the Big Slide Show. Hence, design good quality and attractive banners, and make use of the Slide Show feature to tell your shoppers about your featured products, important announcements or the benefits of shopping on your webstore.

2. Add Slideshow Image
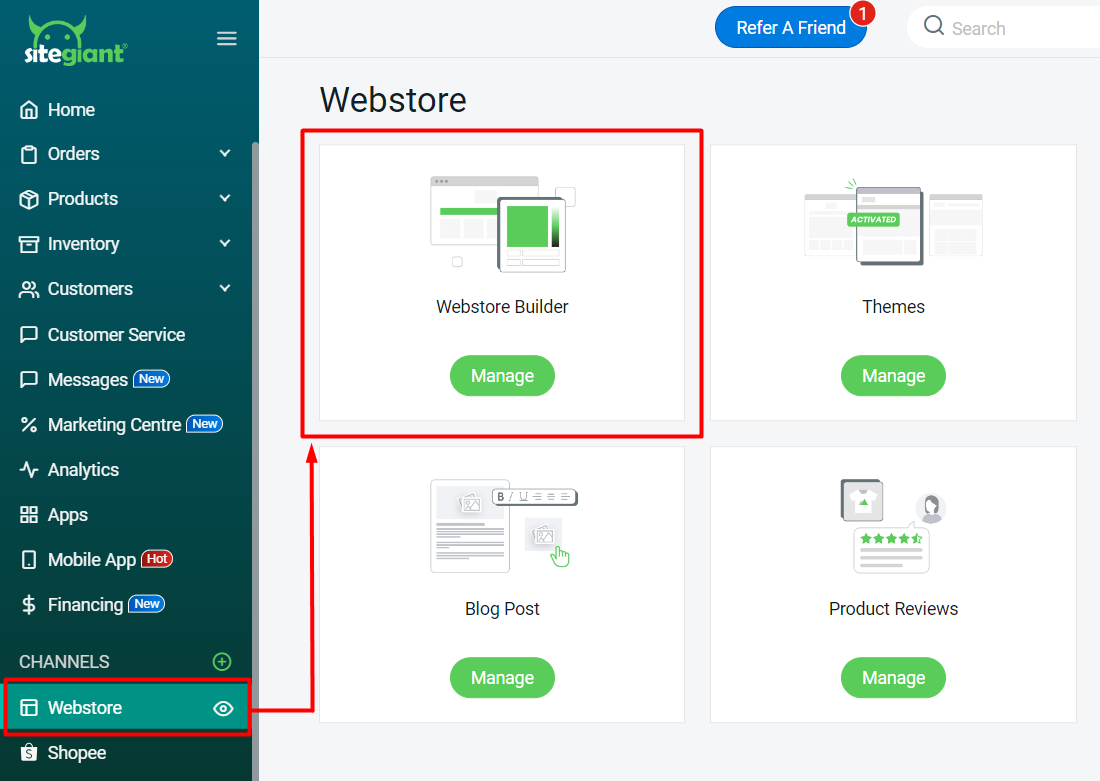
Step 1: Navigate to Webstore channels on the sidebar menu > Webstore Builder.
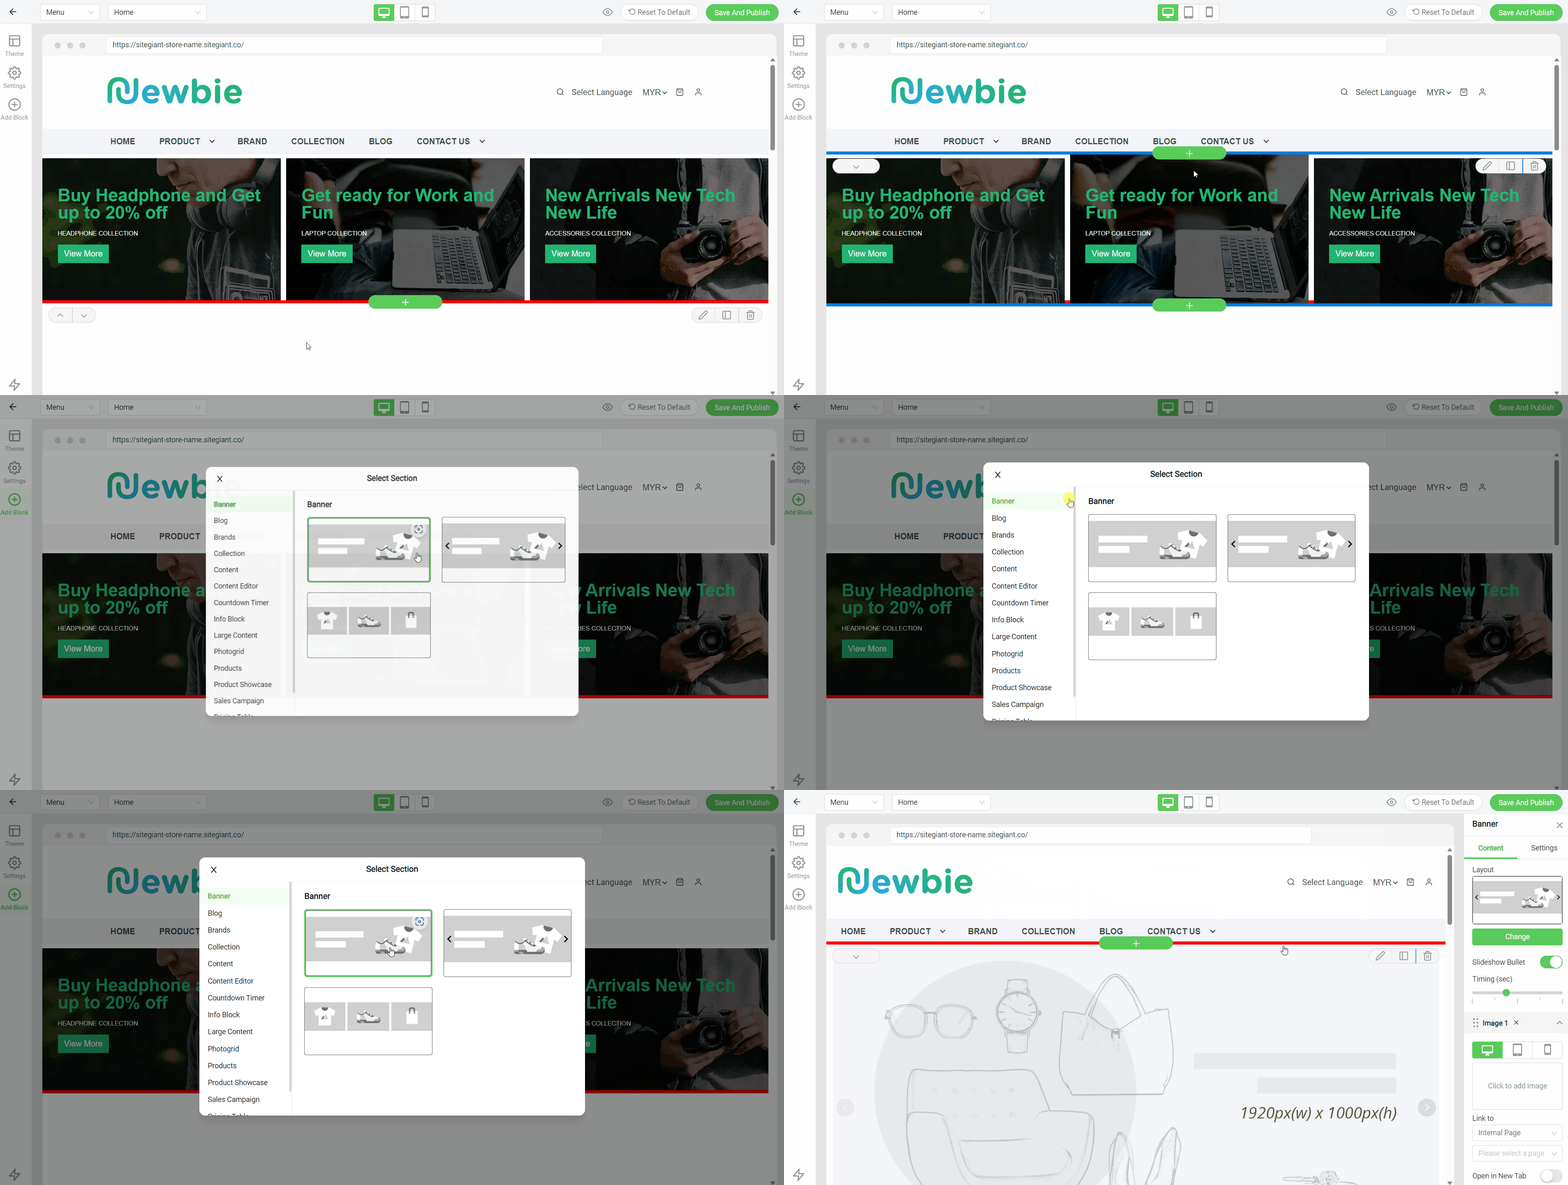
Step 2: Add a new block by clicking on the (+) button > Banner > select the Banner Layout based on your preferences.
Step 3: Go to the Content sidebar to add images and link the page to the banners.
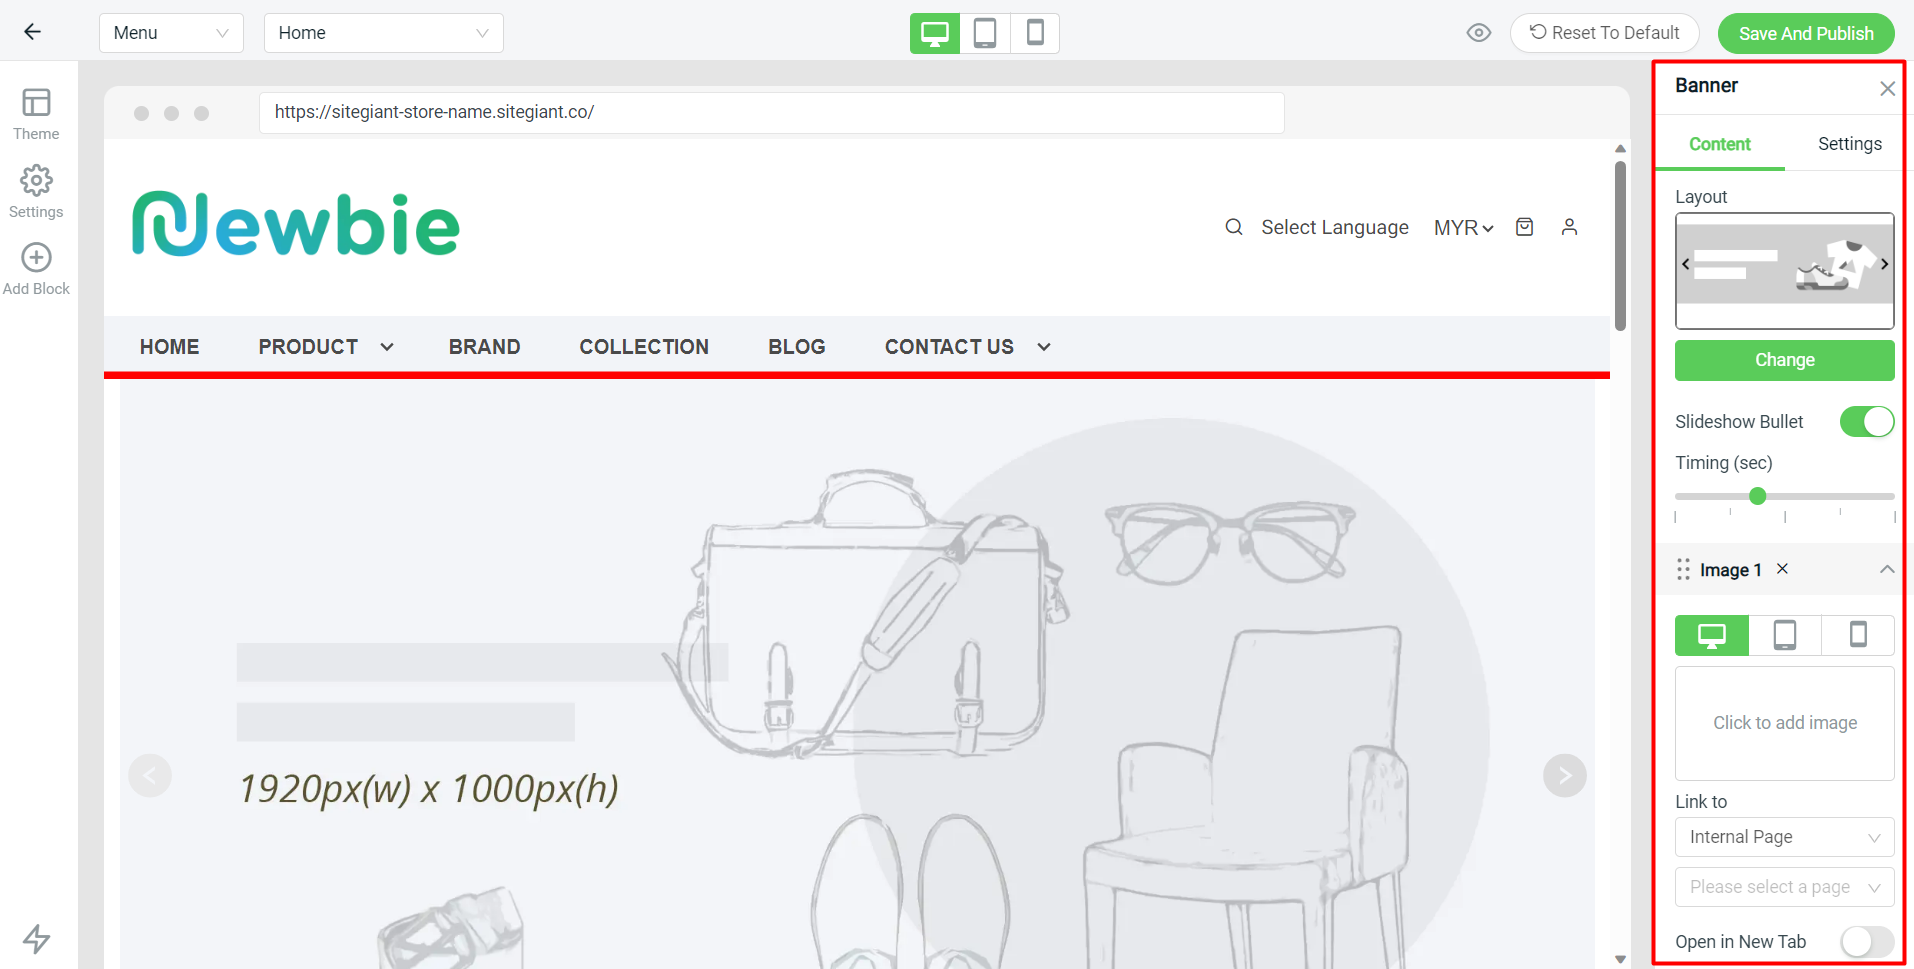
Step 4: You may upload different sizes of banner images for different devices to optimise the user experience. (optional)
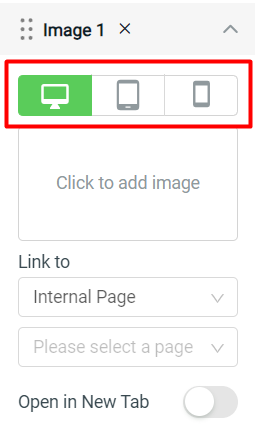
?Note: Recommended image size 1920px (W) x 1000px (H) and below 2MB.
Step 5: Proceed to the Settings tab to customize the background, content padding and banner width.
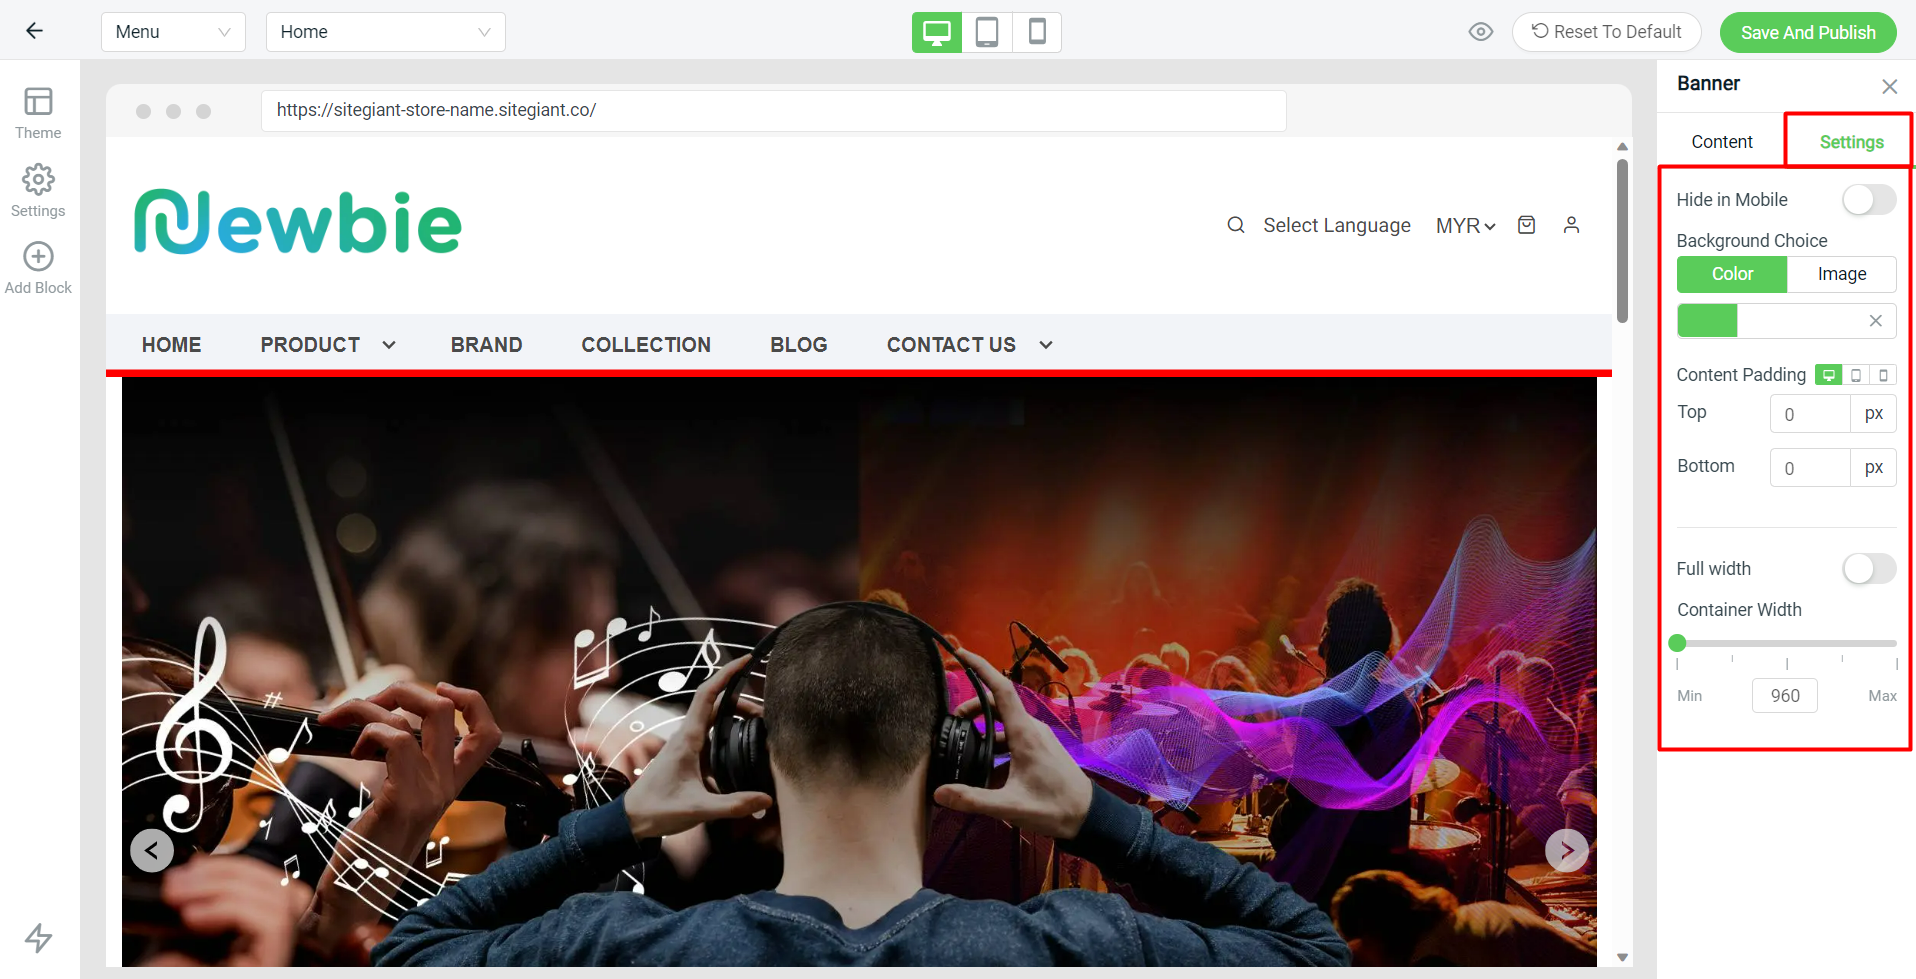
Step 6: Once it is done, click on the Save And Publish button on the top right.
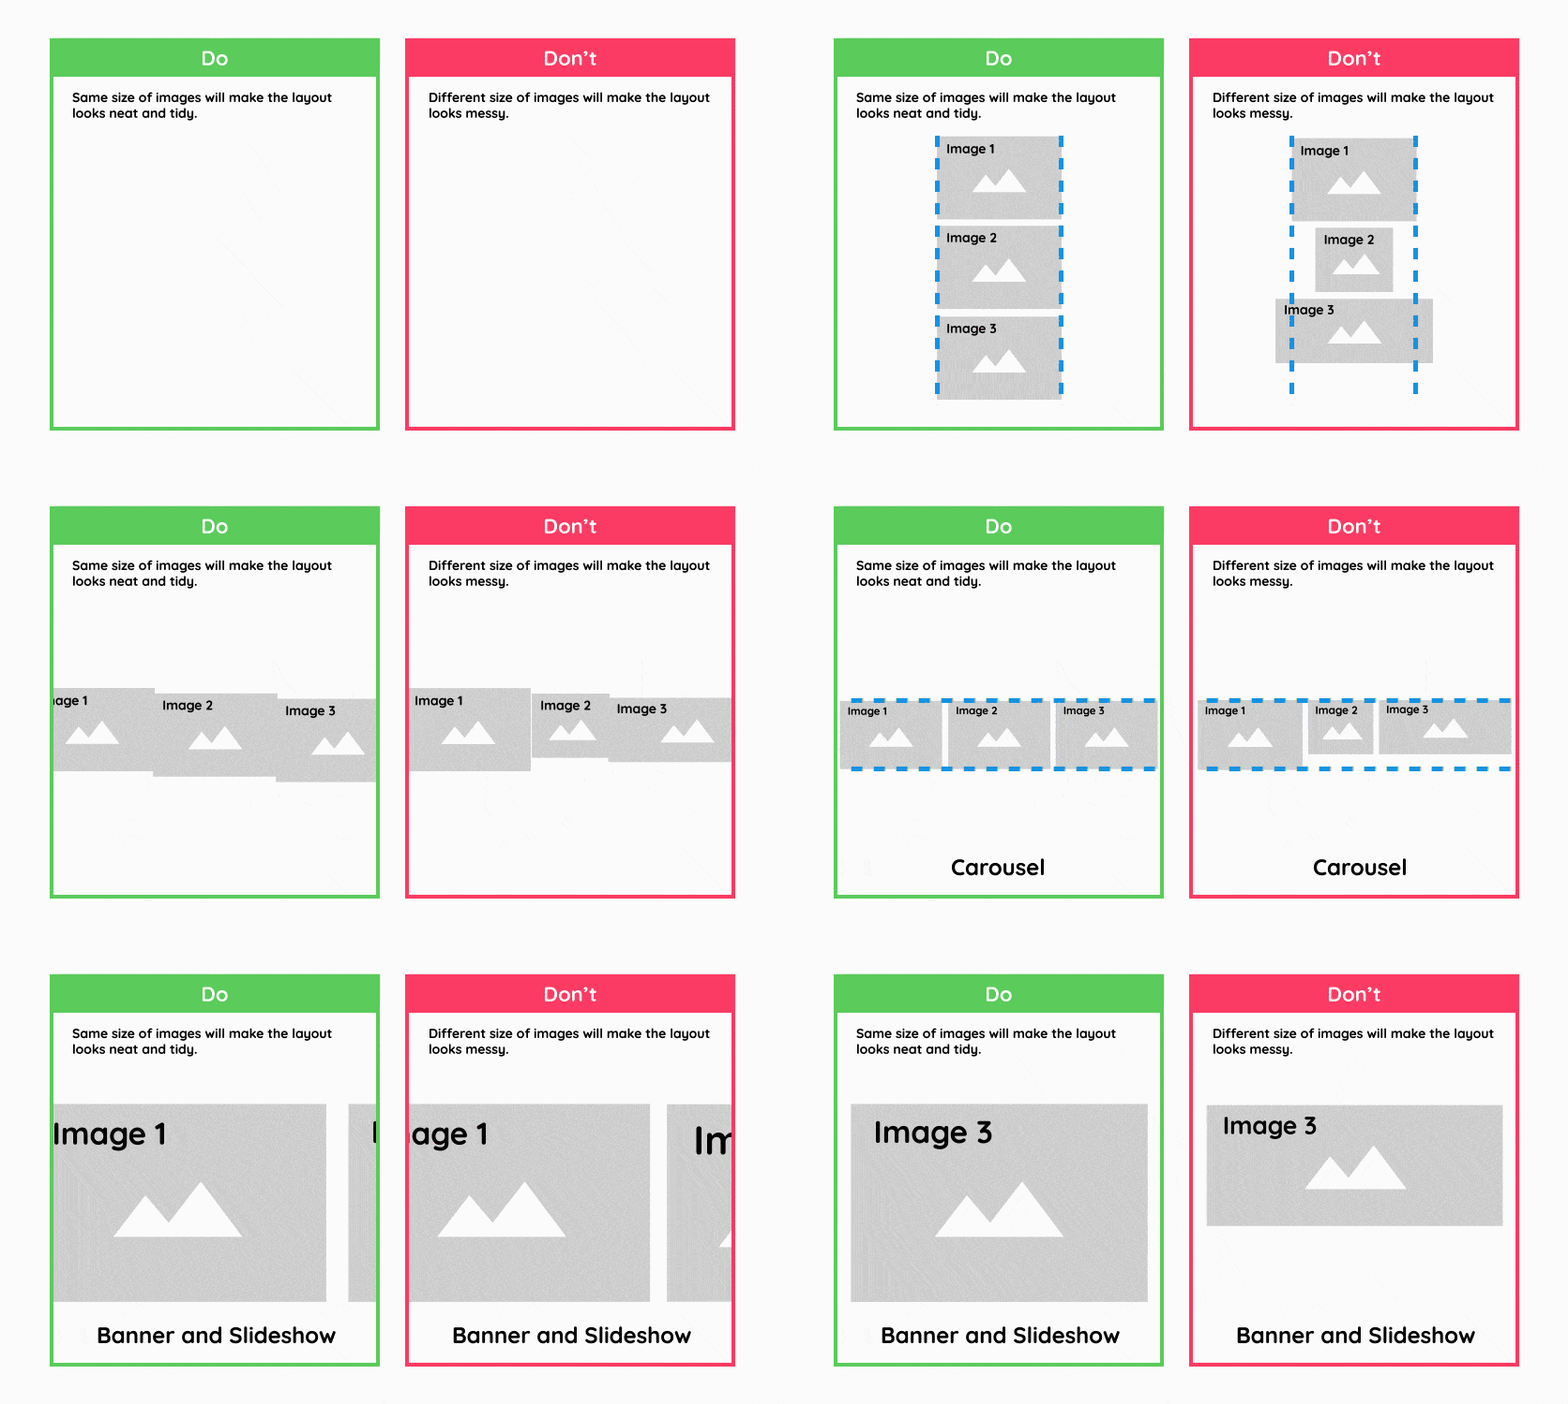
?Tips: May refer to the Do and Don’t to make the images when arranging the slideshow images.
