1. Introduction
2. Add Shopee Media Center (Video)
3. Create Shopee Listing
4. Additional Information
1. Introduction
Once you have integrated your Shopee Seller Centre with SiteGiant, you can create product listings in SiteGiant and publish them to the Shopee Seller Centre.
2. Add Shopee Media Center (Video)
If you do not want to use video with your product, skip Step 2 and move on to Step 3.
Step 1: Go to Products > Shopee Listing
Step 2: Press More(…) > select Shopee Media Center
Step 3: Click the Arrow Button > Press Click or drag file to this area to upload > select Video > click Upload
📌Note: You can only see videos uploaded from the SiteGiant system. Existing video from Shopee Seller Center will be unable to sync back.
Step 4: After the video has been uploaded, the status will be displayed as follows:
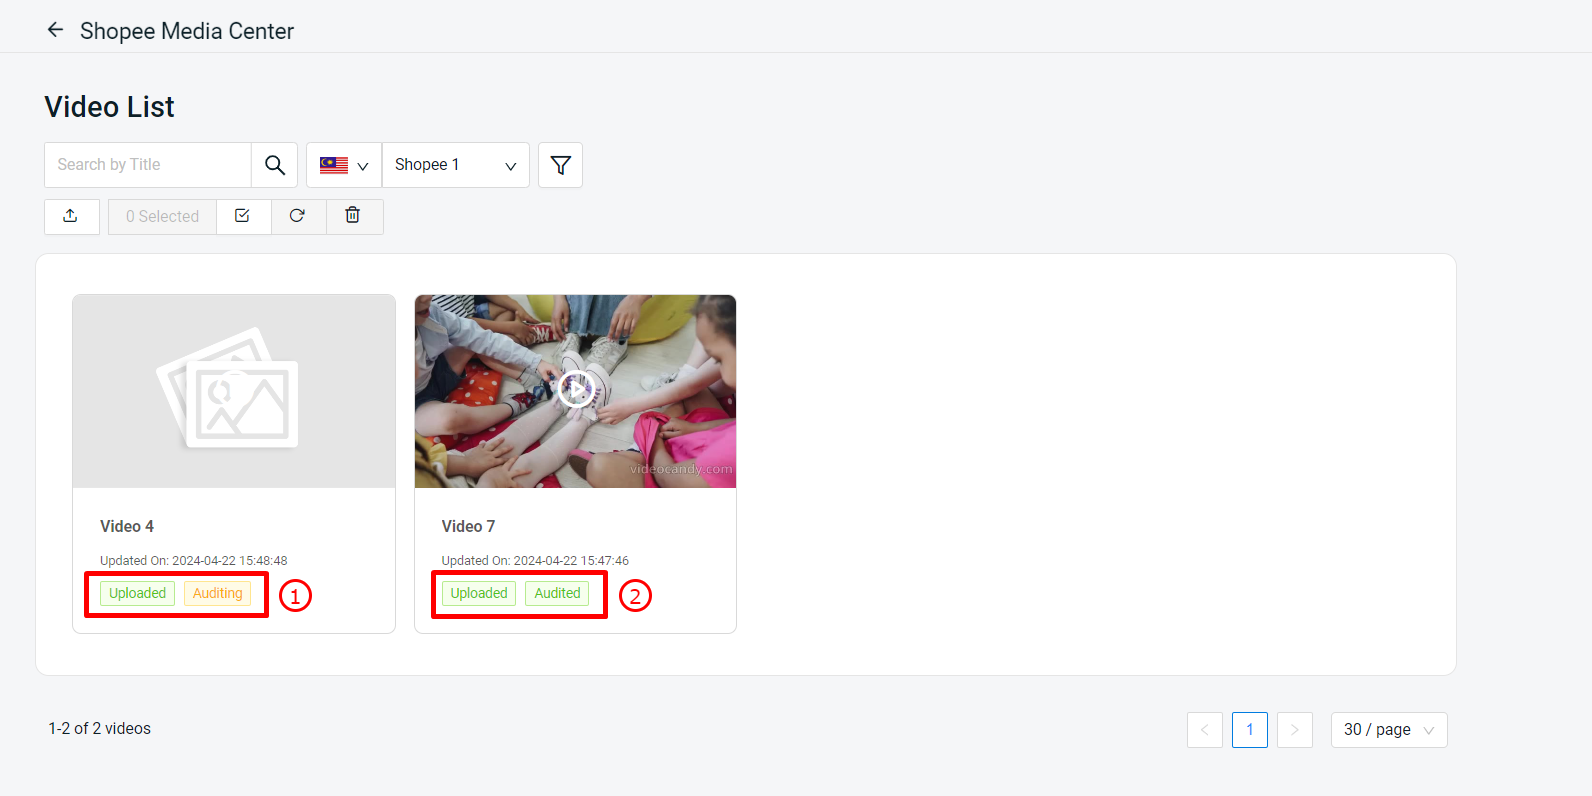
1. Uploaded | Auditing: The video is still being reviewed by Shopee support. It is not yet able to be used on your Shopee Product Details page.

2. Uploaded | Audited: The video has been reviewed by Shopee. Only videos with this status are eligible to apply on the Shopee Product Details page.

💡Tips: Please ensure that your video follows the characteristics listed below
Size: Max 30Mb and resolution should not exceed 1280x1280px
Duration: 10s-60s
Format: MP4
3. Create Shopee Listing
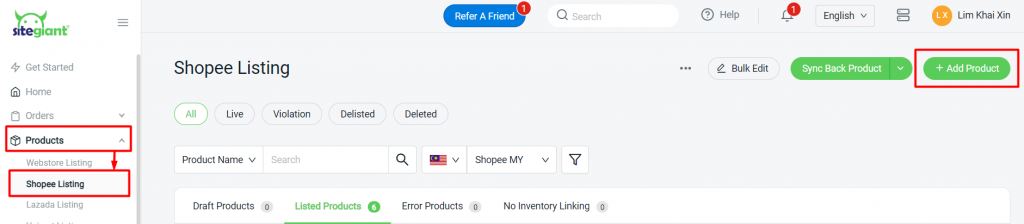
Step 1: Navigate to Products > Shopee Listing > + Add Product.
Step 2: If your product has variants, enable the Product has variants status > fill in the Parent SKU, Product Name, and Categories. The categories would be recommended based on the Product Name.

Step 3: Insert a complete and detailed Product Description to give customers a better understanding of the product. Only certain selected whitelisted sellers are able to upload images in the Description. If this applies to you, you may enable the Description with Image status and upload images in the description.
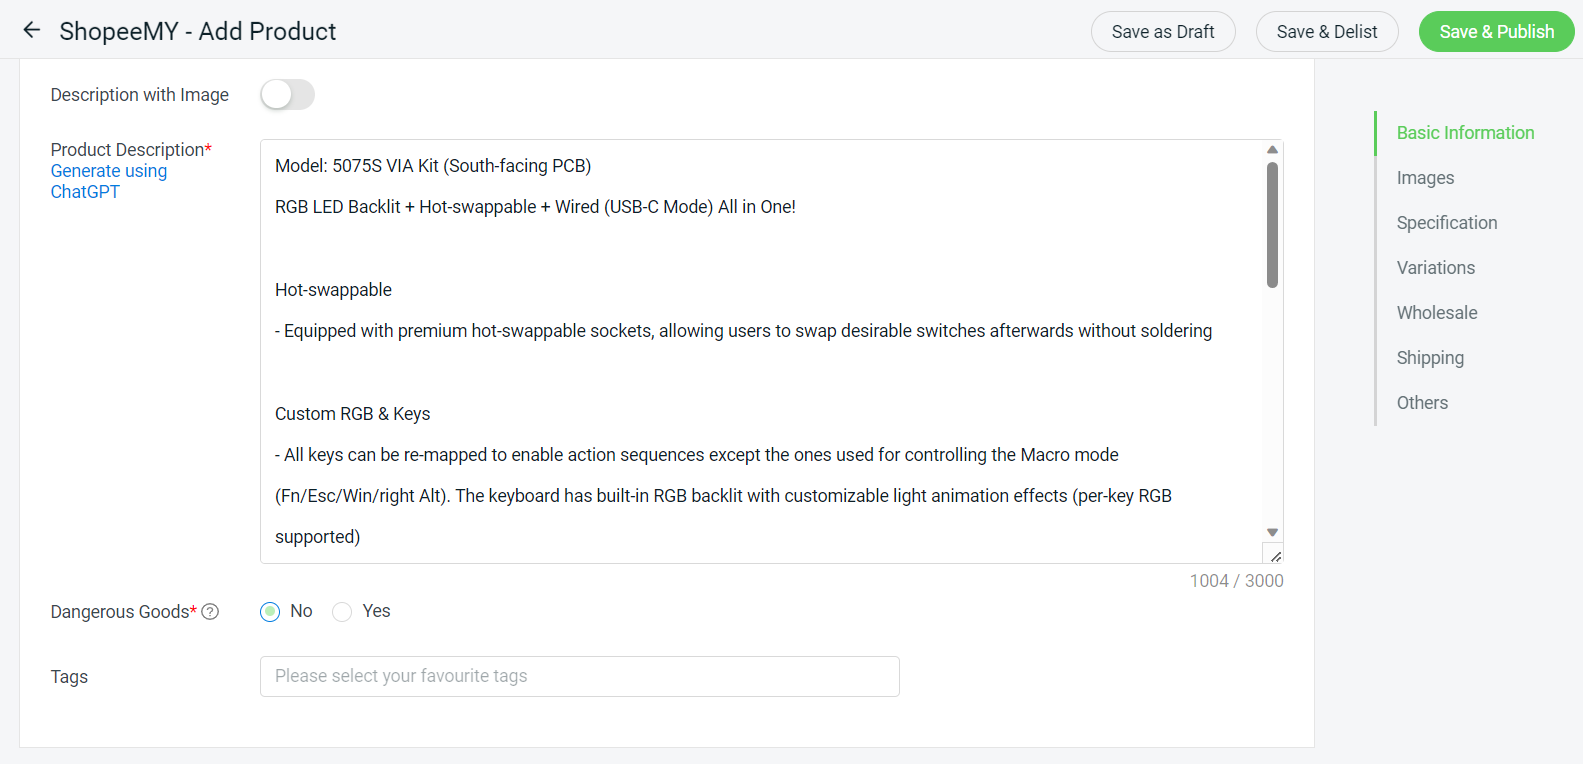
💡Tips: If you have no idea what to write in the Product Description, introduce you to the Generate using ChatGPT feature. Every merchant gets 50,000 tokens by default.
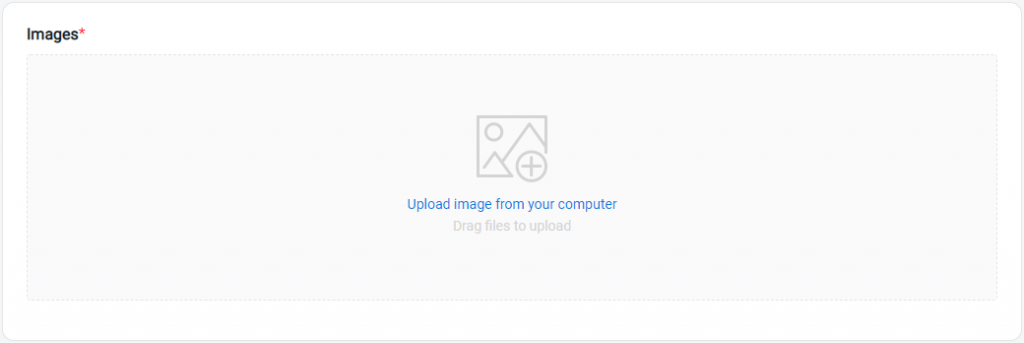
Step 4: Upload your product images (Recommended: Image size less than 2MB).
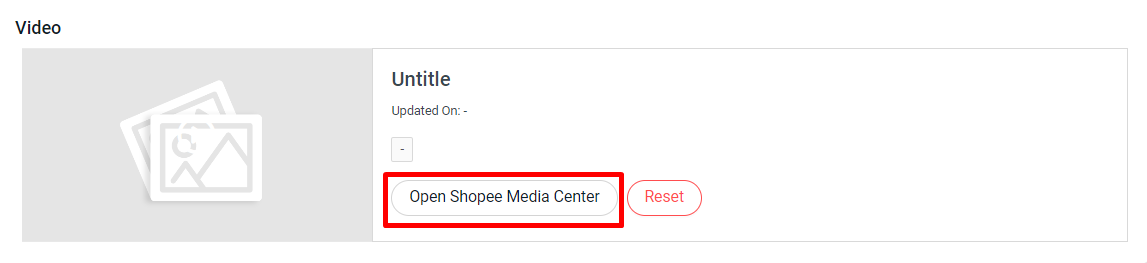
Step 5: Click Open Shopee Media Center to upload the product’s video, which is already under the Uploaded | Audited status
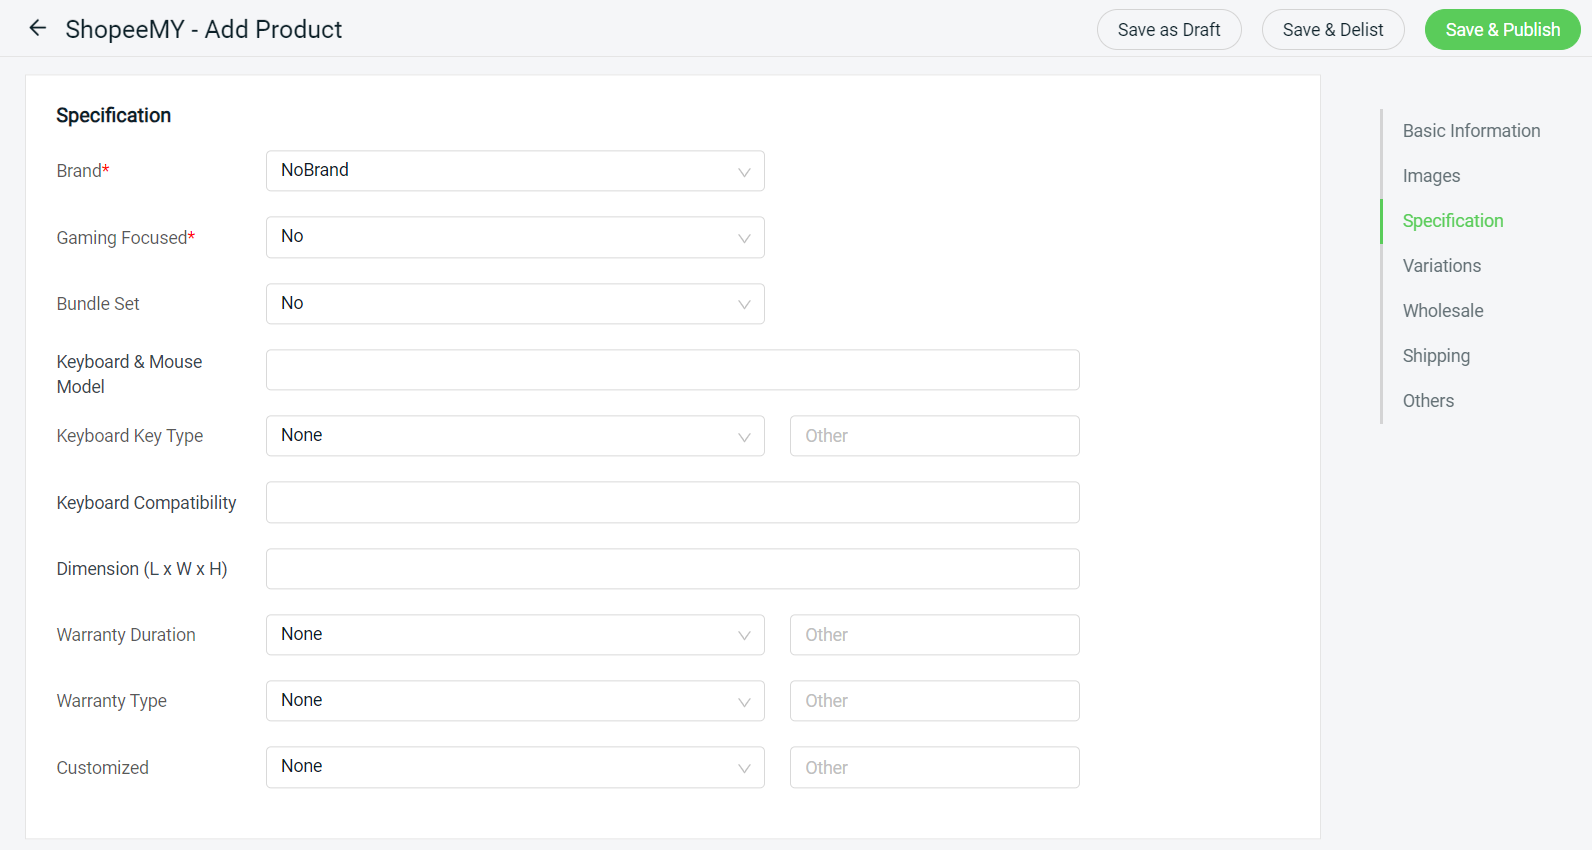
Step 6: Fill up the Specification based on the selected category.
Step 7: If the Product has variants enabled, you will find this Variations section. Enter the Variation Name and Options. You can also choose to add an image for each of the variations options. Maximum can up to 2 types of Variation.
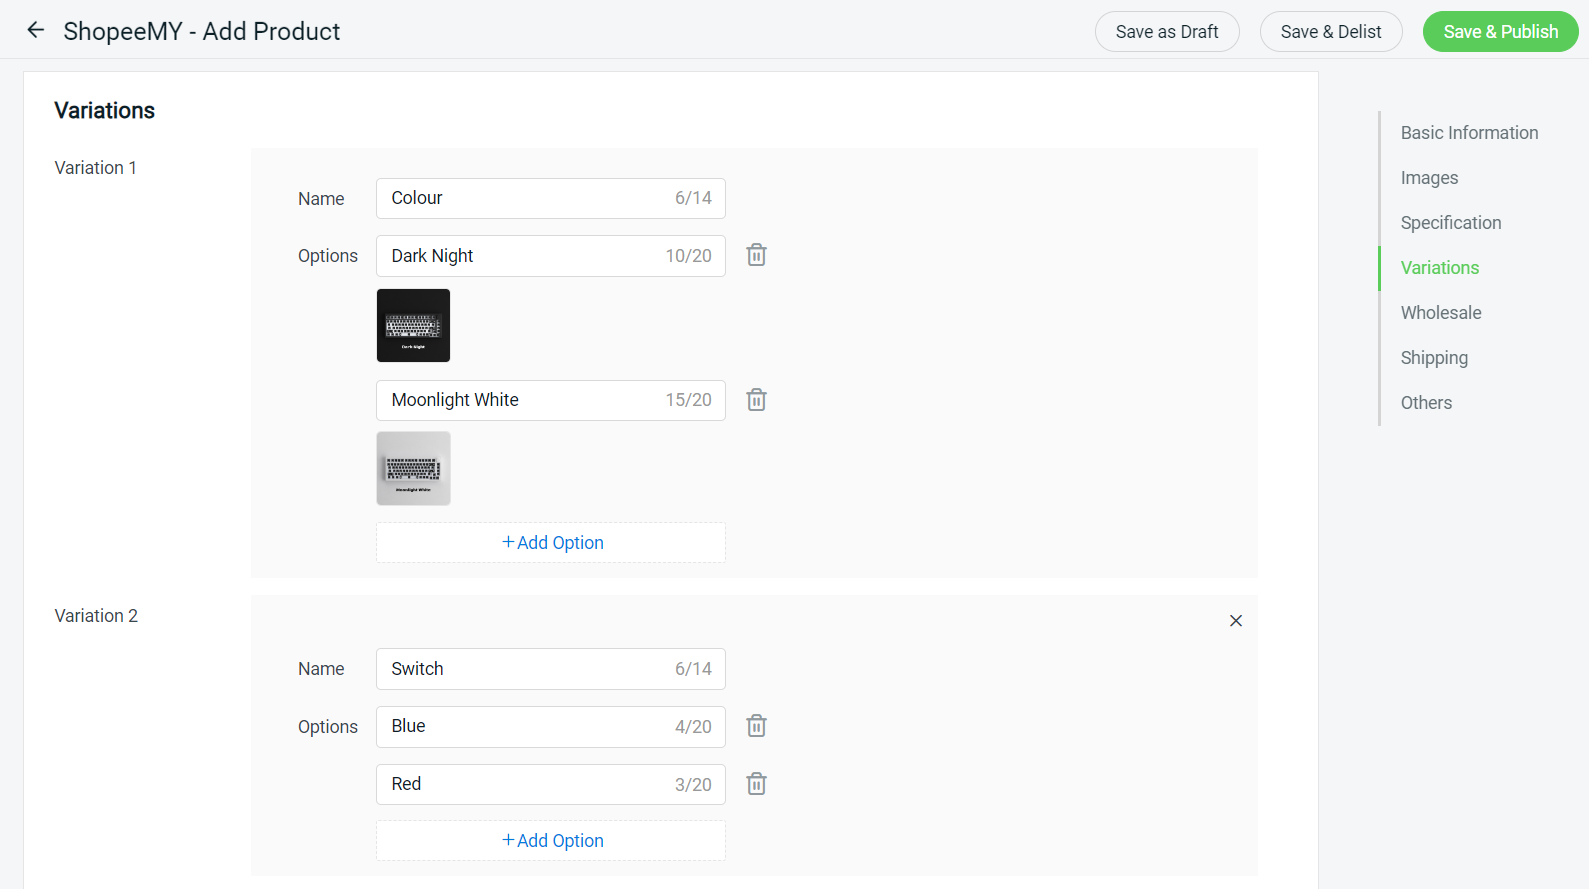
📌Note: For one variation type (single-tier variation), you can add up to 50 options. For two variation types, the variations combinations cannot exceed 50.
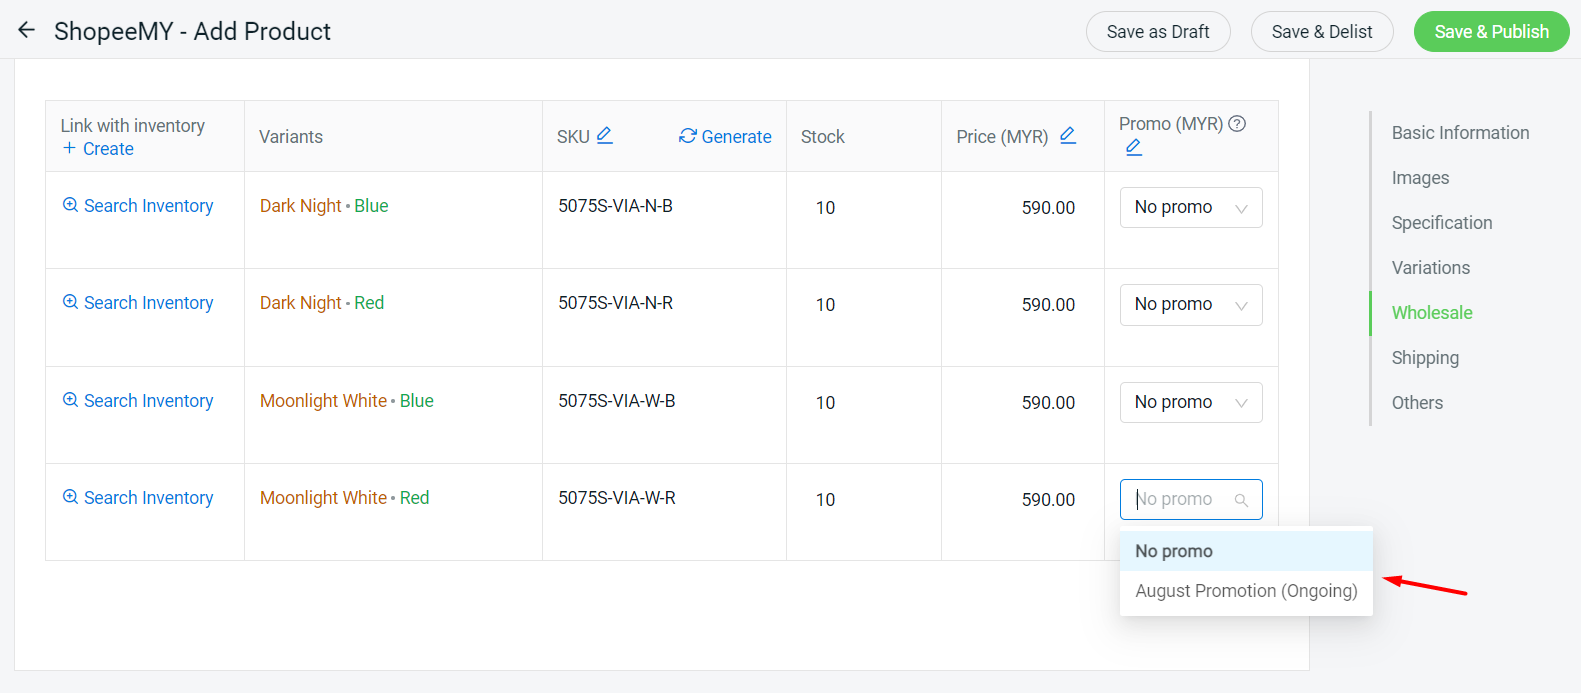
Step 8: Fill in the Variant SKU, Stock, Price, and Promo for the variations.
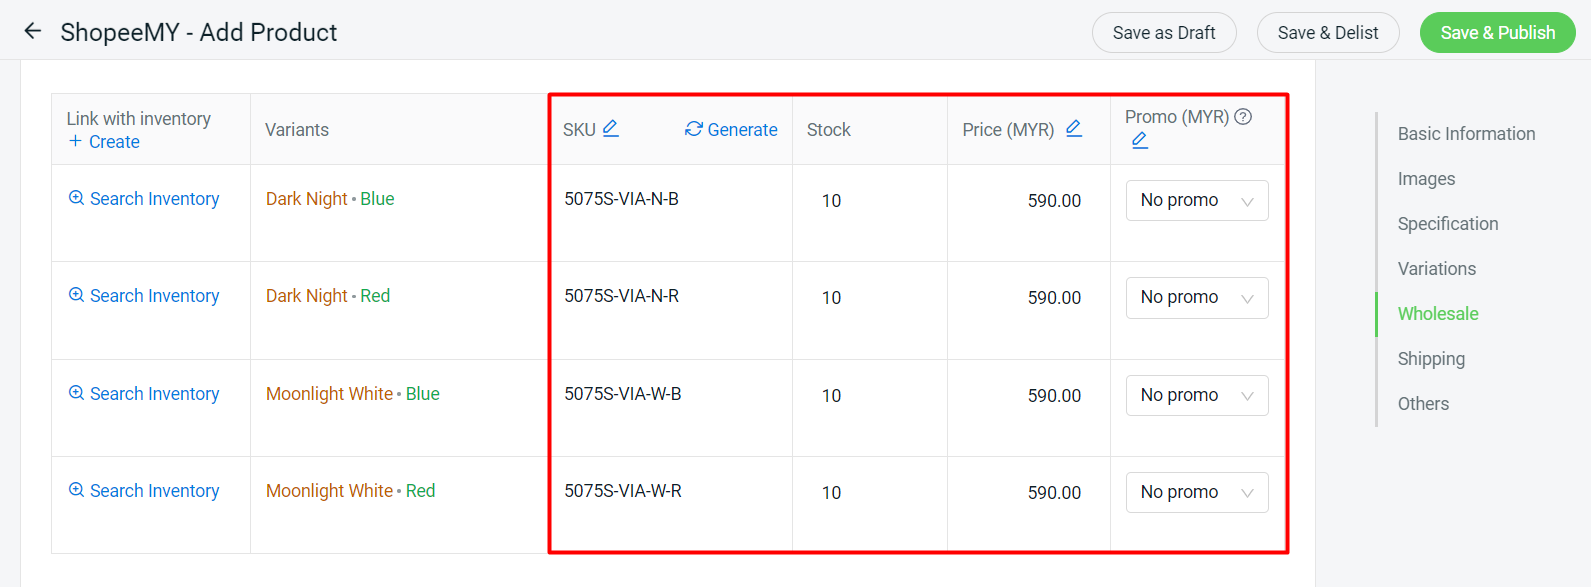
💡Tips: If your product doesn’t have an SKU code, you may use the Generate function to generate an SKU for your variations. The format would be [Parent SKU]-[Variation 1 Options]-[Variation 2 Options].
📌Note: For the Promo, the Discount Promotion must be created in Shopee Seller Center first, then go to Apps > Marketplaces > Shopee Promotion Listing to sync back the promotion. After that, only you are able to add the variation into the Discount Promotion and set the promotion price.
Step 9: If you wish to create a Wholesale Promotion, you may enable the Wholesale Product Status, and then set the Price Tier Quantity and Unit Price.

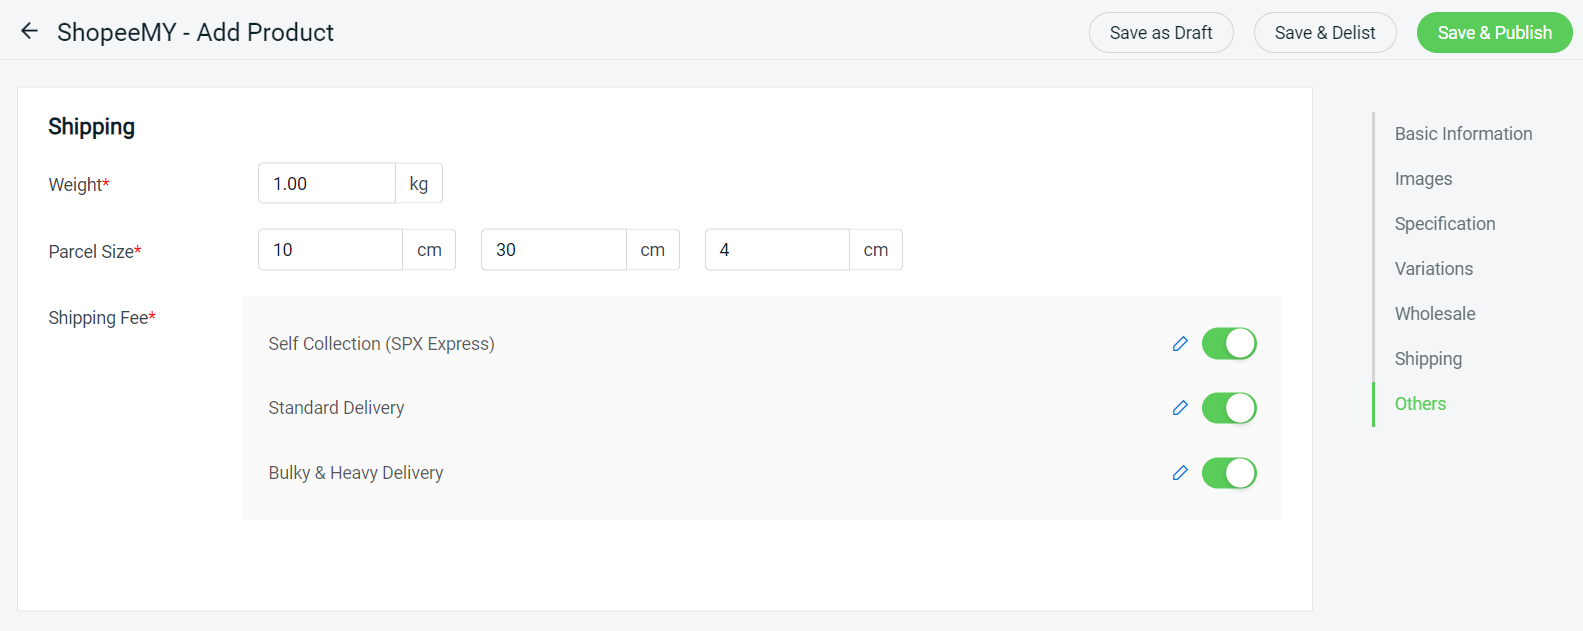
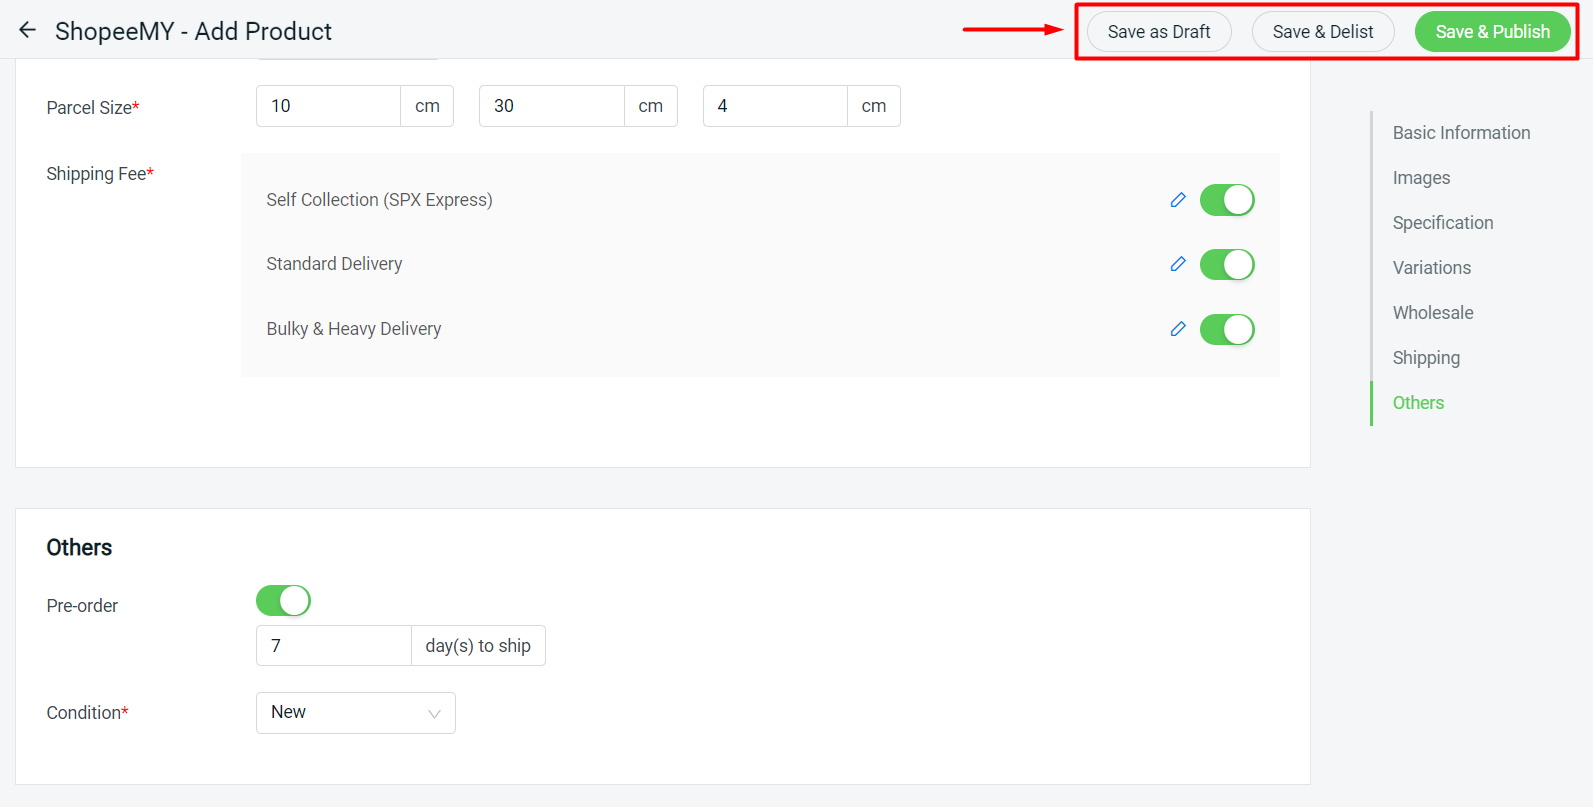
Step 10: Under the Shipping section, fill in the Weight, Parcel Size (WxLxH), and the Shipping Fee.
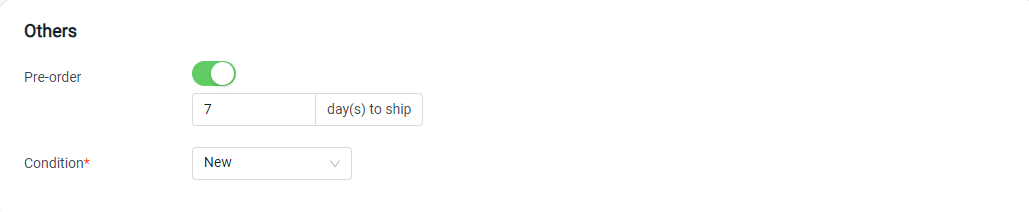
Step 11: If your product is a Pre-order product that requires a longer time (7-30 days) for order preparation, you may turn on the Pre-order status and set the days to ship > set the Condition of the product whether is New or Used.
Step 12: Click on the Save & Publish button on the right top to sync the product over to Shopee Seller Centre.
However, if you do not wish to publish the product immediately in Shopee Seller Centre, you may just Save as Draft or Save & Delist.
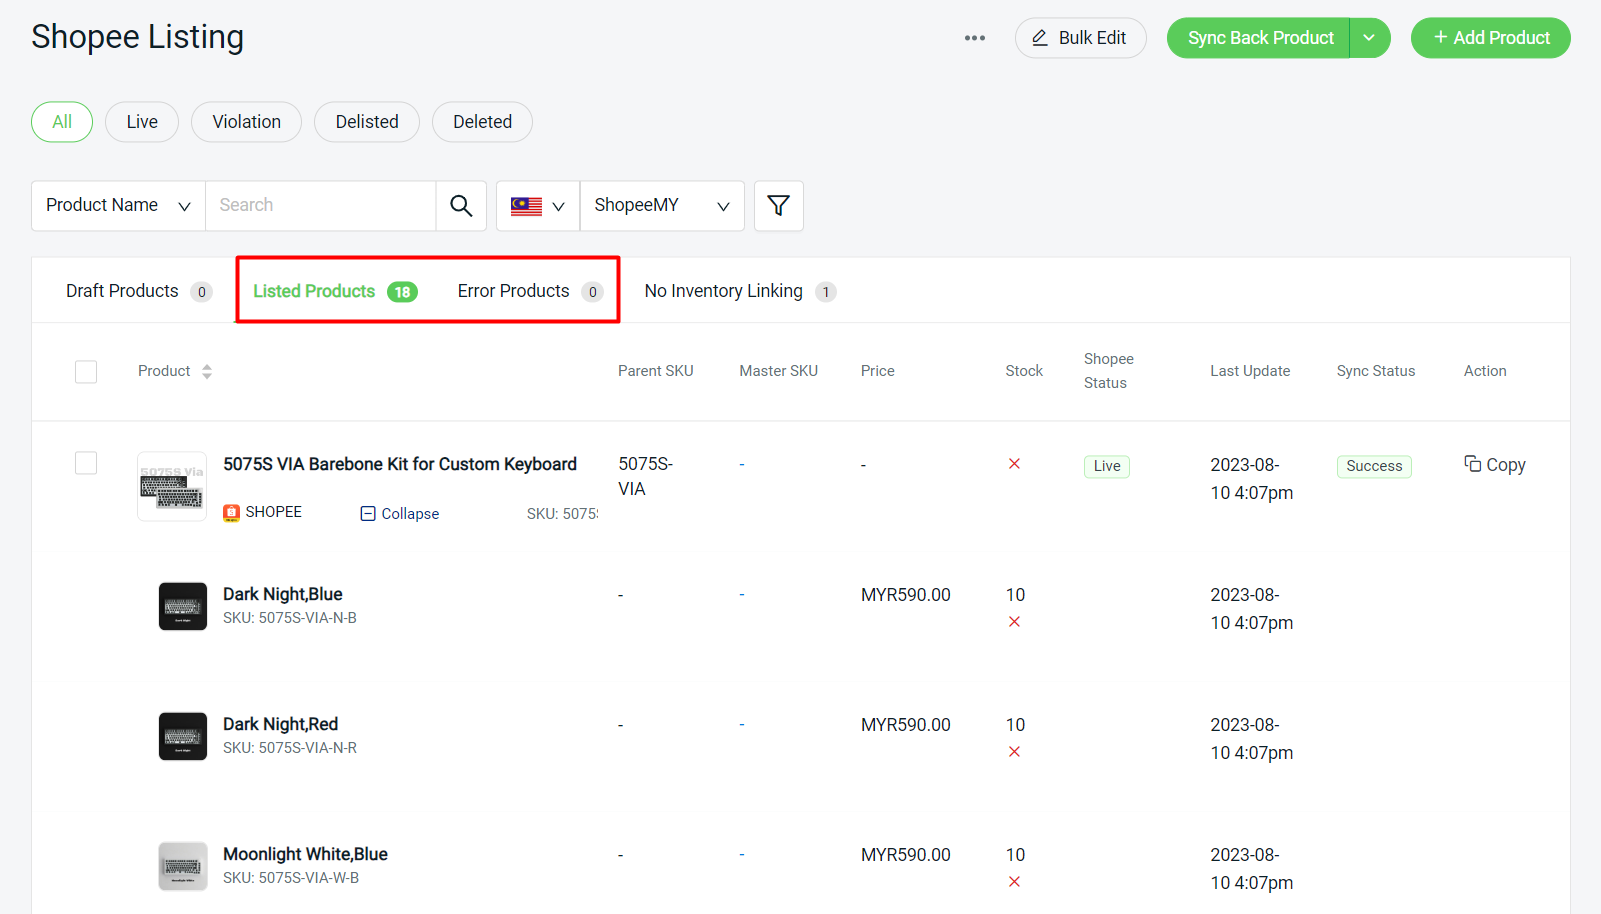
Step 13: If the product is successfully synced, it will appear in Listed Products. Otherwise, if it has any error in the syncing process, it will move to the Error Products tab. You may check the error message, amend the product listing, and then sync it again.
📝Additional Information
1. Bulk Copy Listing
You can copy products from Shopee Listing to other marketplaces or from other marketplaces to Shopee Listing. Learn More